Unlock Your Creativity with a Vision Board
Do you ever feel like your creative vision is scattered? A well-crafted vision board can be the key to unlocking your artistic dreams! Whether you’re a painter, illustrator, or designer, vision boards serve as a visual roadmap to spark inspiration, organize your artistic goals, and bring your dream projects to life.
In this guide, you’ll learn why every artist needs a vision board, what tools and materials are essential, and how to create one that fuels your creativity. Let’s dive in!
Why Artists Need a Vision Board
A vision board is more than just a collage—it’s a powerful tool to manifest your artistic goals. Here’s why you should start one today:
✔ Clarify Your Artistic Vision: Define the colors, styles, and themes that inspire your work.
✔ Boost Creativity: Seeing your ideas visually arranged helps generate new concepts.
✔ Stay Motivated: Displaying your artistic goals in a tangible format keeps you inspired.
✔ Organize Your Projects: Plan upcoming pieces, collections, or creative milestones.
✔ Manifest Success: Artists who visualize their dreams are more likely to achieve them!

Best Vision Board Ideas for Artists
Your vision board should reflect your unique artistic style and goals. Here are a few creative ways to design yours:
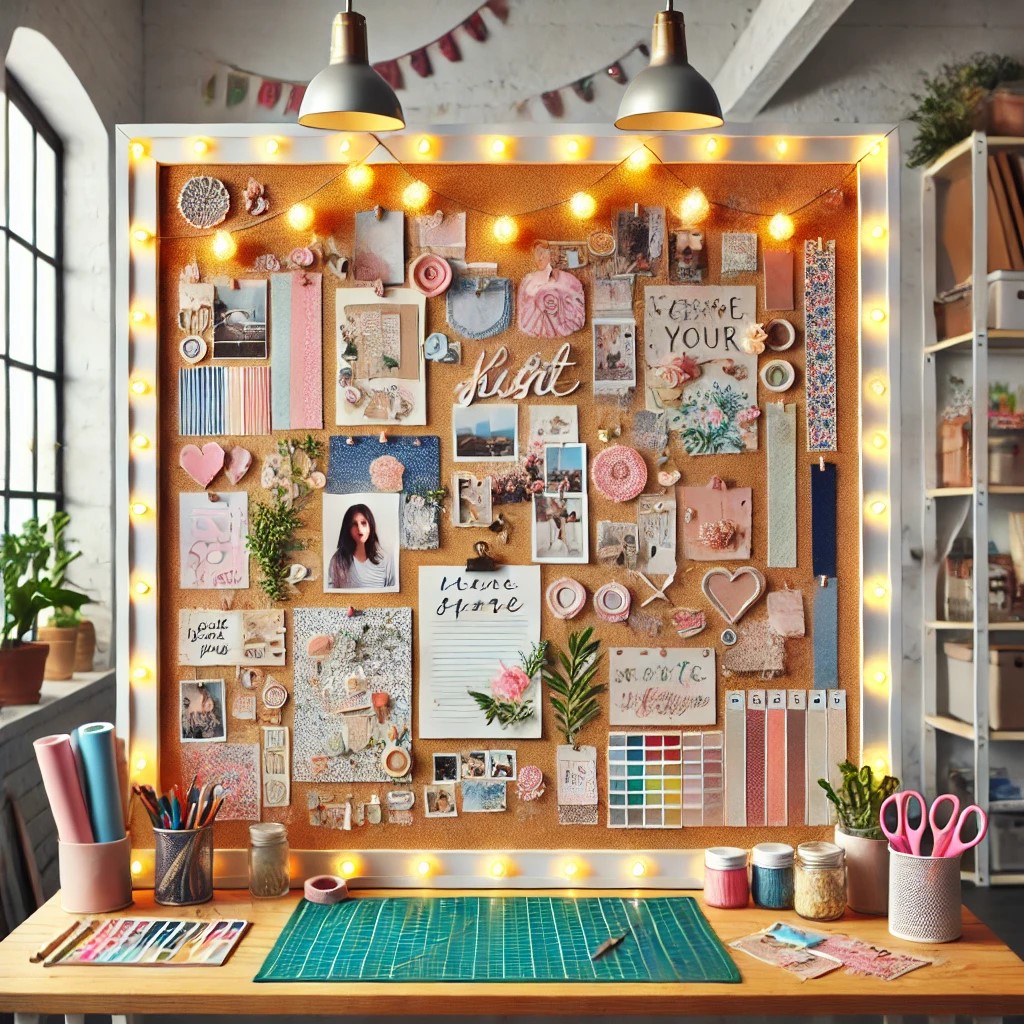
🎨 Traditional Vision Board: Use a corkboard or poster board to pin images, quotes, and textures.
🖥 Digital Vision Board: Create a Pinterest board or a Canva collage for an easy-to-update version.
📖 Sketchbook Vision Board: Use a journal to create themed pages for different projects.
🖼 Framed Vision Board: Arrange images in a decorative frame to display in your studio.
Must-Have Tools & Materials for Your Artistic Vision Board
Here’s what you’ll need to bring your vision board to life:
Board Options
✔ Corkboard (great for pinning and rearranging ideas)
✔ Poster board (for a scrapbook-style layout)
✔ Sketchbook (for a portable vision board)
✔ Digital tools (Pinterest, Canva, or Procreate for digital boards)

Creative Materials
✔ Magazines & Printables: Cut out images, colors, and typography that inspire you.
✔ Colored Markers & Paint: Add personal touches with sketches and color swatches.
✔ Washi Tape & Stickers: Perfect for layering and decorating your board.
✔ Glue Stick & Scissors: Essential for assembling your board.
✔ Pins & Clips: Great for moveable elements on a corkboard.

Inspiring Elements to Include
✔ Artworks You Admire: Print out works from your favorite artists for motivation.
✔ Color Palettes: Experiment with shades and combinations for future projects.
✔ Textures & Patterns: Fabrics, nature elements, or mixed-media textures to enhance creativity.
✔ Inspirational Quotes: Words that fuel your artistic passion.
✔ Goals & Milestones: Set clear artistic goals and visualize your dream projects.
(Pro Tip: Keep adding new elements as your style evolves!)
Step-by-Step Guide: How to Make a Vision Board That Inspires Your Art
✨ Step 1: Set Your Creative Intentions
- Ask yourself: What do I want to achieve artistically?
- Define your goals (e.g., mastering a new medium, selling artwork, launching a collection).

✂ Step 2: Gather Materials & Inspiration
- Collect magazine cutouts, Pinterest prints, or personal sketches.
- Choose images that evoke emotions and spark ideas.

🎨 Step 3: Organize & Arrange Your Board
- Start with a focal point (e.g., a dream project or a quote).
- Group elements by theme, color, or artistic style.
- Leave space to add new inspirations over time.

📌 Step 4: Assemble & Customize
- Pin, glue, or tape down your elements.
- Layer textures, washi tape, and stickers for a dynamic look.
- Add handwritten notes or doodles for personal flair.

🌟 Step 5: Display & Use Your Vision Board
- Place your vision board in your art studio or workspace.
- Reflect on it daily to keep your inspiration alive.
- Adjust and update as your artistic journey evolves!

Where to Find the Best Vision Board Supplies
Looking for high-quality materials? Here are some must-have items:
✅ Corkboards & Bulletin Boards – 🛍️ Shop Now
✅ Artistic Stickers & Washi Tape –🛍️ Shop Now
✅ Aesthetic Magazines for Collage Art – 🛍️ Shop Now
✅ Markers & Watercolor Pens – 🛍️ Shop Now
✅ Sketchbooks for Portable Vision Boards –🛍️ Shop Now

Final Thoughts: Bring Your Artistic Dreams to Life!
A vision board is a powerful creative tool that keeps your artistic inspiration fresh and focused. Whether you’re setting long-term goals or simply gathering ideas for your next masterpiece, a vision board can guide you toward artistic success and fulfillment.
📌 Pin this guide for later! 💬 What’s the theme of your next vision board? Share your ideas in the comments!
✨ Want more inspiration? Follow our Pinterest board for creative vision board ideas!

🎯 Art Goals & Vision Board Inspiration