
Drawing hands can be one of the most challenging yet rewarding skills to master as an artist. From intricate details to subtle shading, hands convey emotion, movement, and realism in art. Whether you’re a beginner or an experienced artist looking to refine your technique, this guide will help you achieve lifelike hand drawings with graphite pencils.
In this step-by-step tutorial, we’ll cover:
✔️ The best graphite pencils and tools to use
✔️ Step-by-step techniques to draw realistic hands
✔️ Shading methods for depth and dimension
✔️ Common mistakes to avoid
✔️ Product recommendations for your ultimate hand-drawing toolkit
Let’s dive in!
Essential Tools for Drawing Realistic Hands
Before you start sketching, having the right supplies can significantly improve your results. Here are the must-have tools:
✏️ Graphite Pencils – A variety of soft and hard graphite pencils (2H to 8B) for light outlines and deep shading.
🖊️ Mechanical Pencil – Great for precision in fine details like knuckles and wrinkles.
🔄 Blending Stumps – Ideal for smooth shading transitions.
⚡ Kneaded Eraser – For lifting highlights and softening edges.
📖 Sketchbook with Smooth Paper – Works best with graphite, allowing seamless blending.
🛒 Recommended Art Supplies for Hand Drawing:
Now that you have your tools, let’s start sketching!
Step-by-Step Guide to Drawing Realistic Hands
1. Start with Basic Shapes
- Lightly sketch an oval for the palm and cylinders for the fingers.
- Use simple lines for knuckle placement and hand proportions.
2. Refine the Proportions
- The middle finger is usually the longest, while the pinky is the shortest.
- The palm is roughly the same length as the middle finger.
- Thumb placement is key—attach it at an angle from the palm.
3. Add Details and Contours
- Sketch the knuckles, wrinkles, and creases with a light touch.
- Define the shape of each finger, ensuring realistic curvature.
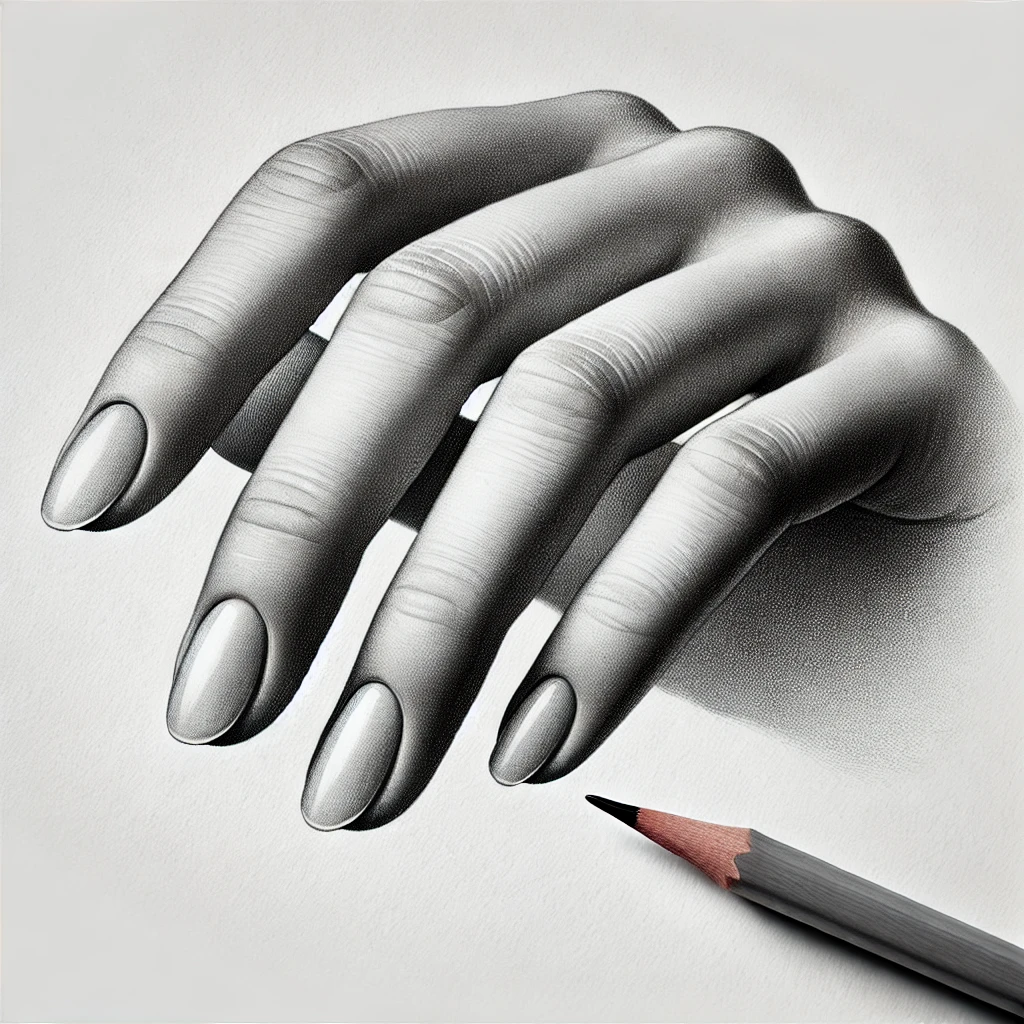
4. Master the Art of Shading
- Identify your light source—this will determine shadow placement.
- Use hatching and cross-hatching for depth.
- Blend gently with a tissue or blending stump for a smooth finish.
- Leave subtle highlights on the knuckles and fingertips to create a lifelike effect.
🛒 Top Blending Tools:
Want to take your hand drawing to the next level? Watch this tutorial here for easy tips to improve your realistic drawings! ✏️🎨✨
Common Mistakes to Avoid
❌ Flat Fingers – Remember that fingers have cylindrical volume.
❌ Stiff, Unnatural Positions – Use references for natural gestures.
❌ Ignoring Proportions – Keep the palm-to-finger ratio accurate.
❌ Over-Blending – Maintain visible pencil strokes for texture.
Pinterest-Worthy Hand Drawing Ideas 🎨
Need inspiration? Try sketching these Pinterest-perfect hand poses:
📌 Hands holding an object (cup, flower, pencil)
📌 Expressive gestures (peace sign, pointing, open palm)
📌 Hands in dramatic lighting for high contrast
Share your sketches on Pinterest and tag your art! 🔖
Final Tips
✅ Practice Daily – Hands require consistent practice to master.
✅ Use Reference Photos – Observe hand anatomy from different angles.
✅ Experiment with Different Pencil Grades – Combine hard and soft pencils for depth.
🛒 Build Your Hand-Drawing Art Kit:
✨ Ready to improve your realistic drawing skills? Save this guide, grab your pencils, and start sketching today! 🎨
👉 Pin it for later and follow for more art tutorials! 📌✨