There’s something enchanting about preserving fresh herbs straight from your garden. Not only does it keep your favorite flavors and aromas intact, but it also adds a vintage, rustic charm to your kitchen. A DIY botanical herb drying rack is the perfect solution for anyone who loves herbal apothecary aesthetics, home cooking, or natural decor. In this guide, you’ll learn how to craft your own elegant, artistic herb drying rack that blends functionality with beauty.

1. Choosing the Right Materials 🛠️✨
Before starting, gather materials that enhance the vintage aesthetic while ensuring durability.
✅ Rustic Wooden Rod or Reclaimed Wood Plank – Provides a natural, antique look. Recommended: Reclaimed Barnwood Hanging Rod

✅ Brass or Iron Hooks – Adds an elegant touch while being sturdy. Recommended: Vintage Brass S-Hooks

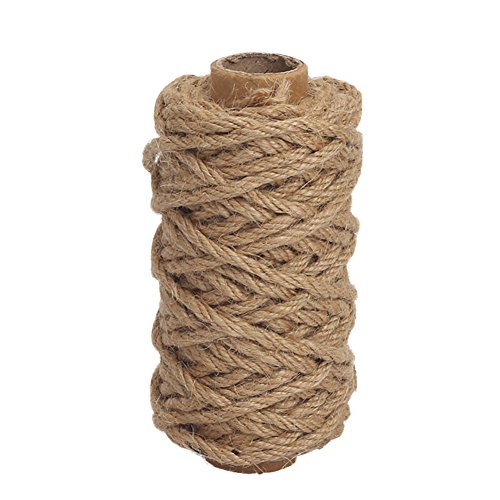
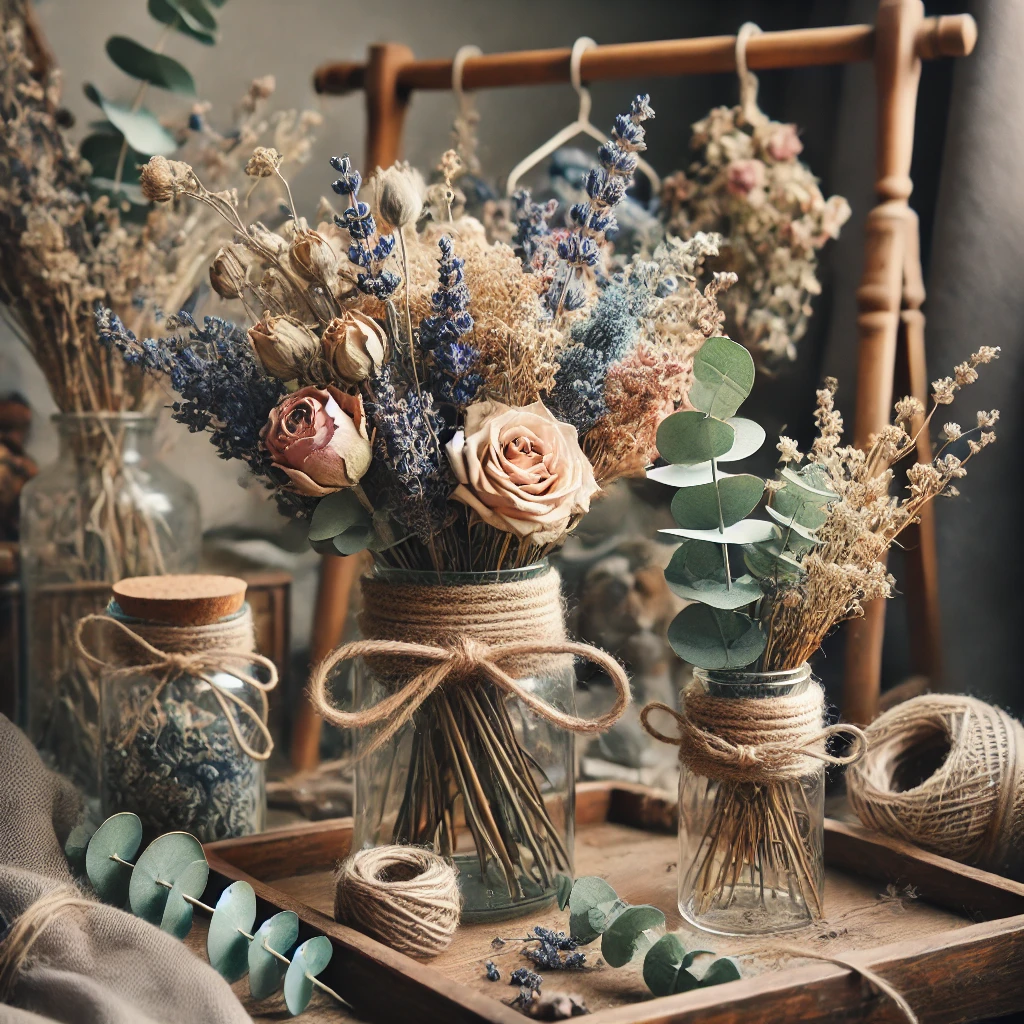
✅ Jute Twine or Leather Cord – Ideal for tying herb bundles. Recommended: Natural Jute Twine Set
✅ Wall Brackets or Ceiling Hooks – For hanging the rack securely. Recommended: Antique Cast Iron Brackets

✅ Mini Chalkboard Labels or Wooden Tags – To label your herbs stylishly. Recommended: Handcrafted Wooden Herb Tags

2. Step-by-Step Guide to Crafting Your Herb Drying Rack 🌿
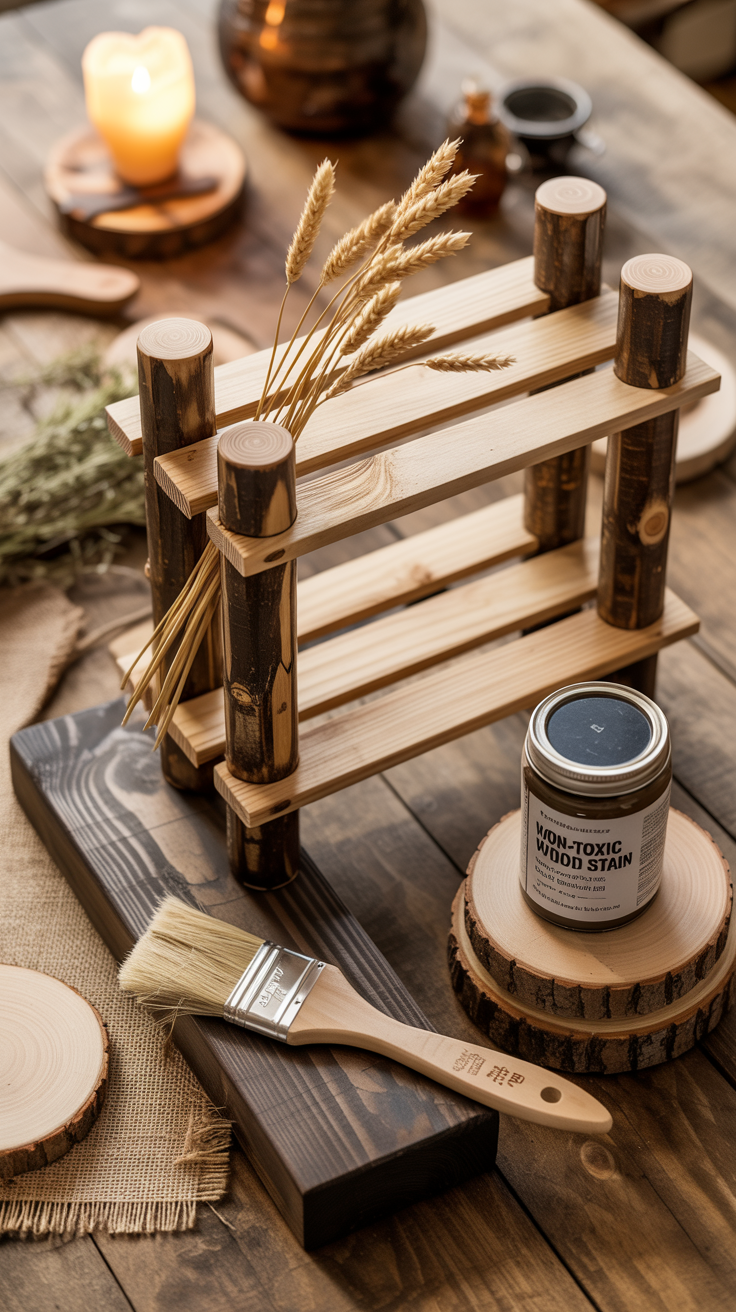
Step 1: Prepare the Wooden Base
- If using a wooden rod, ensure it’s smooth and cut to your preferred length.
- If using a wood plank, sand down the edges and apply a stain or paint for a vintage touch. Recommended: Non-Toxic Wood Stain in Aged Oak
Step 2: Attach Hooks & Brackets
- Screw in brass or iron hooks evenly along the wooden rod or plank.
- If using a wall-mounted rack, attach decorative brackets to secure it to the wall.
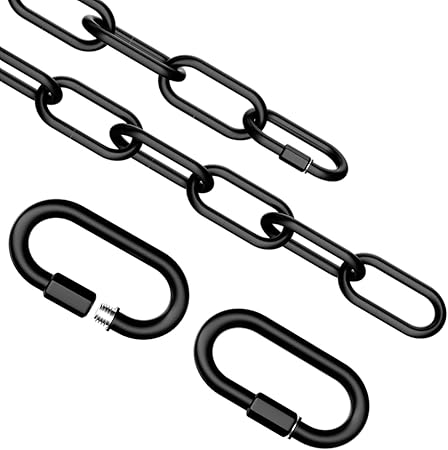
- For a hanging ceiling rack, drill hooks into the ceiling and suspend the rod using chains or jute rope. Recommended: Rustic Metal Chain for Hanging Racks
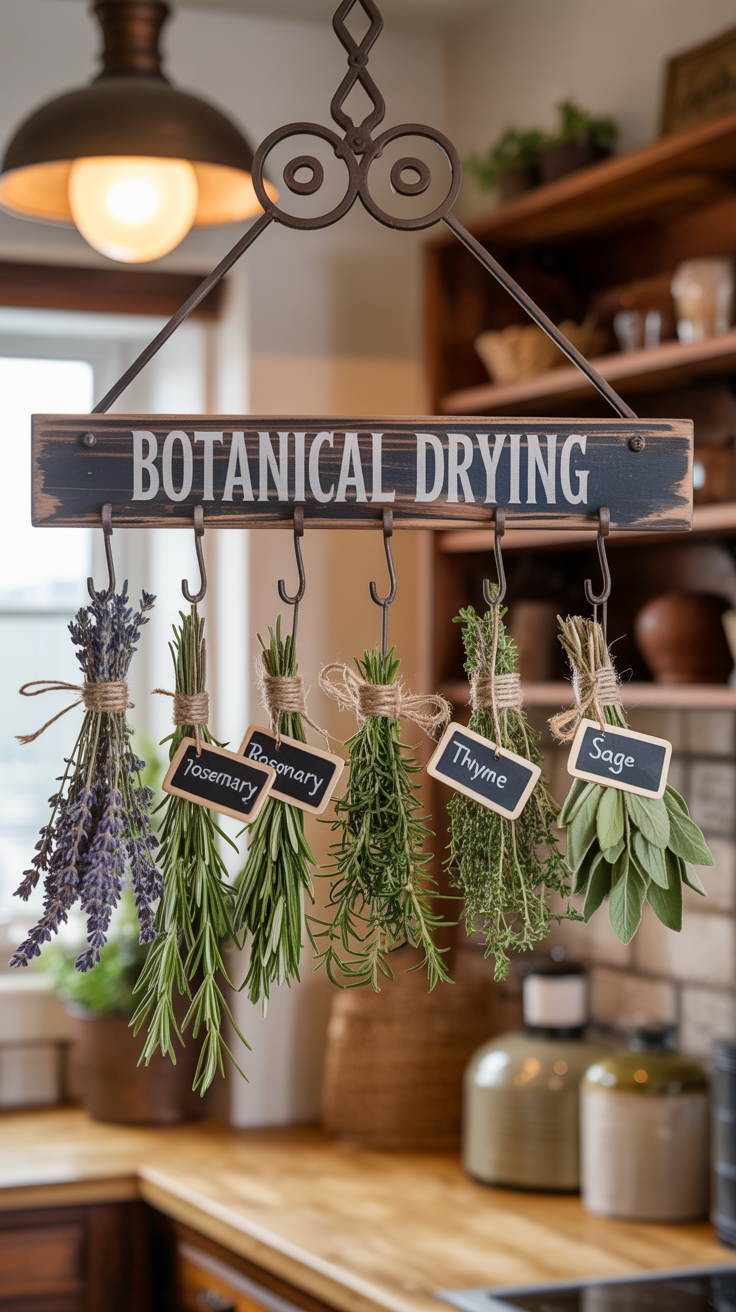
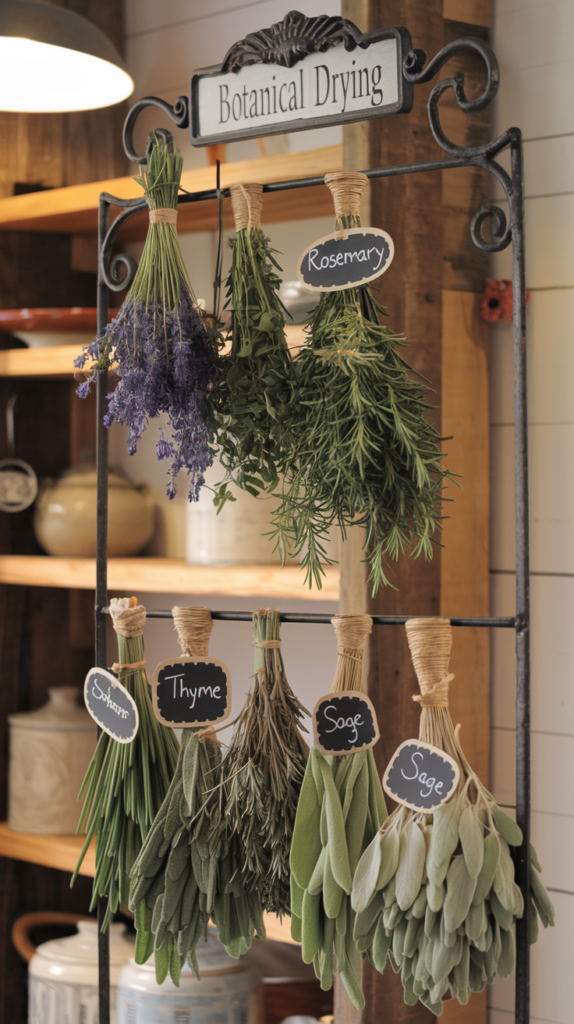
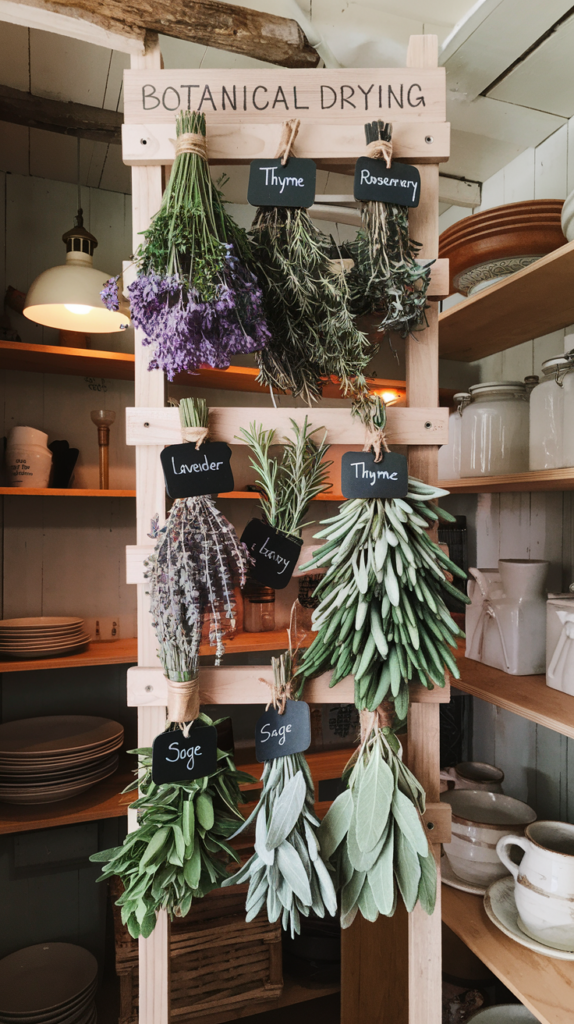
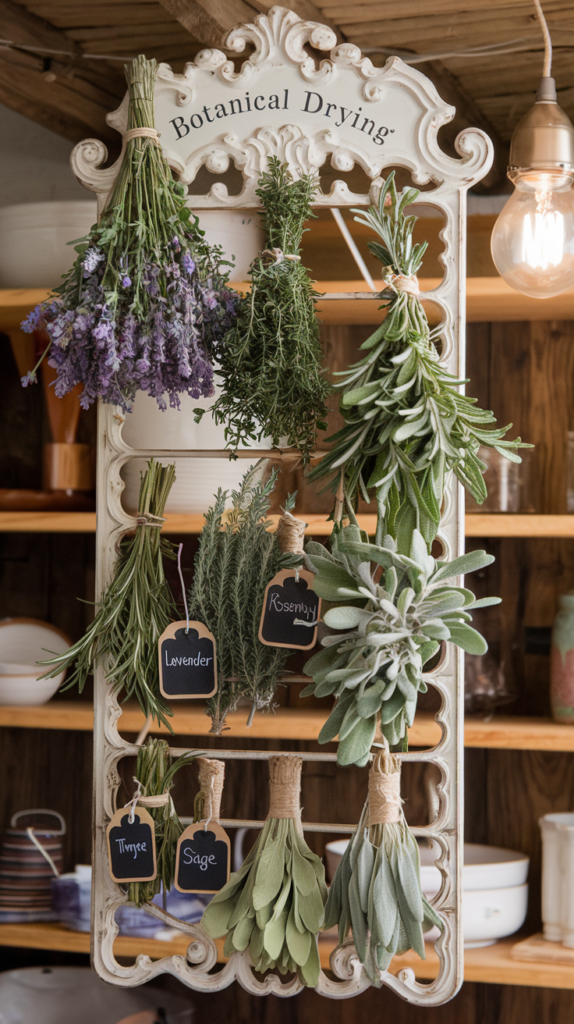
Step 3: Tie and Label Your Herbs
- Gather small bunches of lavender, rosemary, thyme, basil, or sage.
- Secure each bundle with jute twine or leather cord and loop it onto the hooks.
- Use chalkboard labels or wooden herb tags for a farmhouse-chic look.

3. Where to Hang Your Herb Drying Rack 🏡🌱
- In the kitchen – Above your stove or next to a window for easy access.
- Near a sunny window – Sunlight can gently dry herbs while adding a warm ambiance.
- On a covered patio or garden shed – Keeps the herbs in a well-ventilated space with a charming, outdoor feel.
- Inside a pantry – If you prefer a discreet yet functional space.
💡 Tip: Keep your rack in a dry, well-ventilated area to prevent mold and ensure the best herb preservation.
4. Adding Decorative & Functional Elements ✨
- Dried Floral Bundles & Eucalyptus Stems – Enhance the beauty of your herb display. Recommended: Preserved Eucalyptus Bunch

- Vintage Glass Jars & Apothecary Bottles – Store dried herbs in aesthetic containers. Recommended: Antique-Inspired Herb Storage Jars

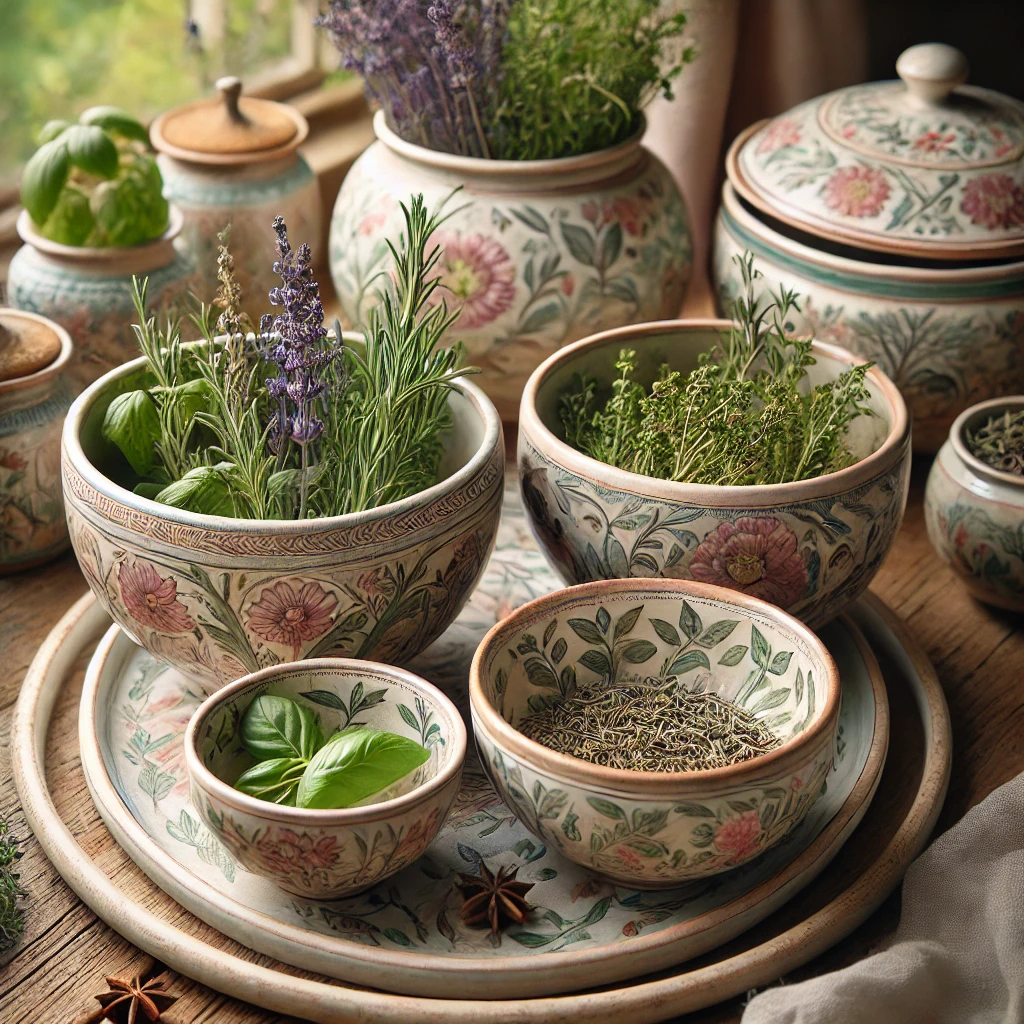
- Hand-Painted Ceramic Bowls – Perfect for displaying fresh-cut herbs before drying. Recommended: Artisanal Ceramic Herb Bowls

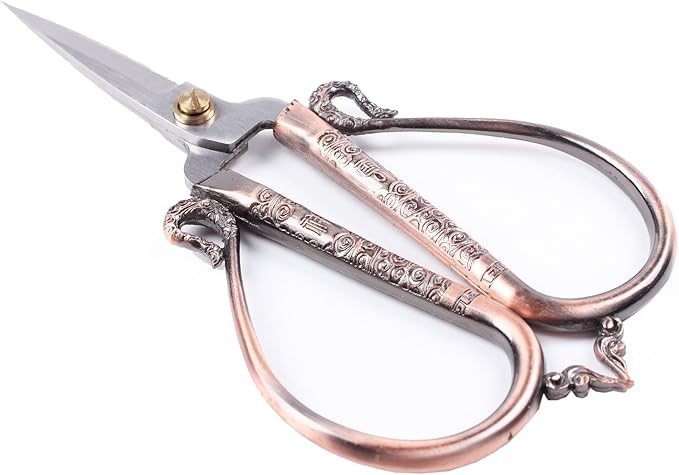
- Wrought Iron Herb Scissors – A stylish and practical addition. Recommended: Vintage Herb Shears
5. Benefits of a DIY Herb Drying Rack 🌿🌞
✅ Preserves flavor & aroma – Dried herbs maintain their essential oils better than store-bought versions.
✅ Adds a rustic, decorative charm – Aesthetic and functional all in one.
✅ Encourages sustainable living – Reduces waste and promotes organic herb use.
✅ Perfect for artistic & cozy kitchen styling – Ideal for cottagecore, bohemian, or French country aesthetics.
Final Touches & Creative Inspiration
Now that your DIY herb drying rack is ready, enjoy the process of collecting, drying, and using fresh herbs in your cooking, teas, or homemade beauty products. This elegant botanical setup isn’t just functional—it’s a piece of art in your home.
📌 Pin this guide to your Pinterest board for future reference!