Welcome the beauty of spring into your home with enchanting DIY floral-embedded soy candles! These handcrafted candles blend the elegance of pressed flowers with the soothing essence of essential oils, creating a stunning and aromatic decor piece. Perfect for gifts, self-care rituals, or home ambiance, this step-by-step guide will walk you through the process of making your own eco-friendly soy candles infused with nature’s charm.
🕯️ Essential Materials for DIY Floral-Embedded Candles

(This blog contains affiliate links, meaning I make a small commission at no extra cost to you.)
Gather these must-have materials before starting your candle-making journey:
✅ Soy Wax Flakes – A natural, clean-burning wax perfect for beginners. Shop Now 🛒
✅ Cotton Wicks – Ensures an even, soot-free burn. Get Yours 🛒
✅ Pressed Flowers – Dried blooms for a delicate and artistic touch. Find Beautiful Pressed Flowers 🛒
✅ Essential Oils – Adds a subtle and relaxing fragrance. Explore Scents 🛒
✅ Glass or Ceramic Jars – Choose stylish, heat-resistant containers. Best Candle Jars 🛒
✅Wick Holders – Helps secure the wick while pouring wax. Check These Out 🛒
✅ Double Boiler or Microwave-Safe Container – For melting soy wax efficiently.

🌸 Step-by-Step Guide to Making Floral-Embedded Soy Candles
1️⃣ Prepare Your Candle Jars
- Ensure your glass or ceramic jars are clean and dry.
- Secure the cotton wick at the center using a wick holder or a dab of melted wax.
2️⃣ Melt the Soy Wax
- Use a double boiler method or microwave in 30-second intervals, stirring gently.
- Once fully melted, let it cool slightly (about 120-130°F) before adding fragrance.
3️⃣ Add Essential Oils for a Soothing Aroma
- Mix 10-15 drops of your favorite essential oil into the melted wax.
- Stir well to distribute the fragrance evenly.
- Popular spring scents include lavender, rose, jasmine, and citrus.

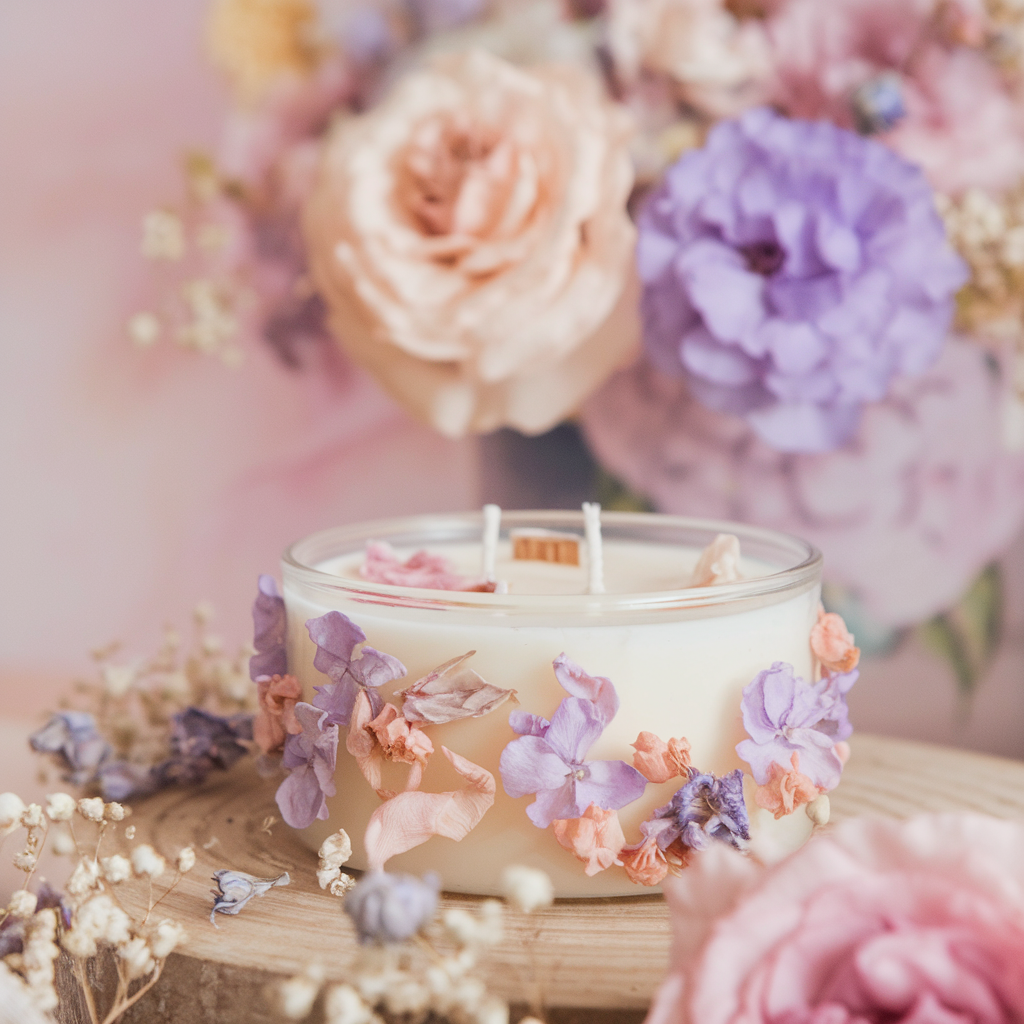
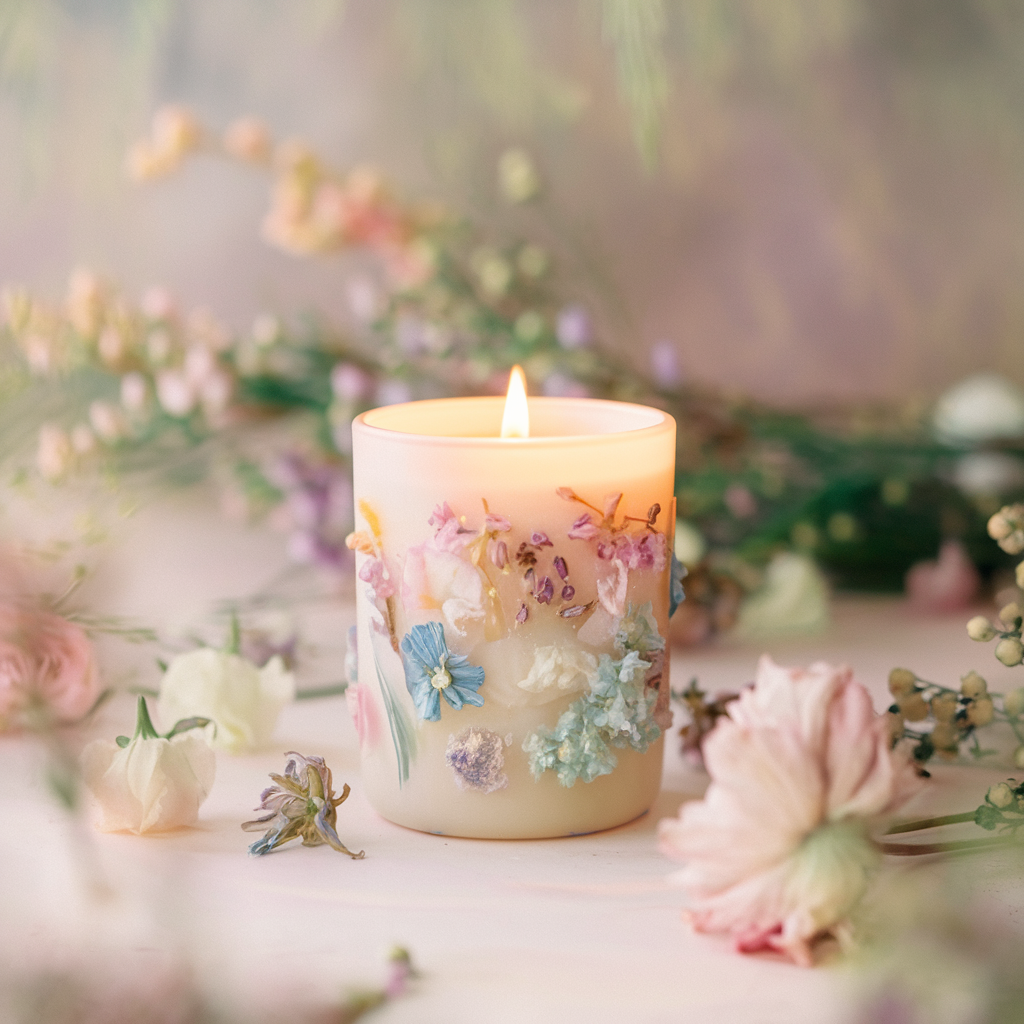
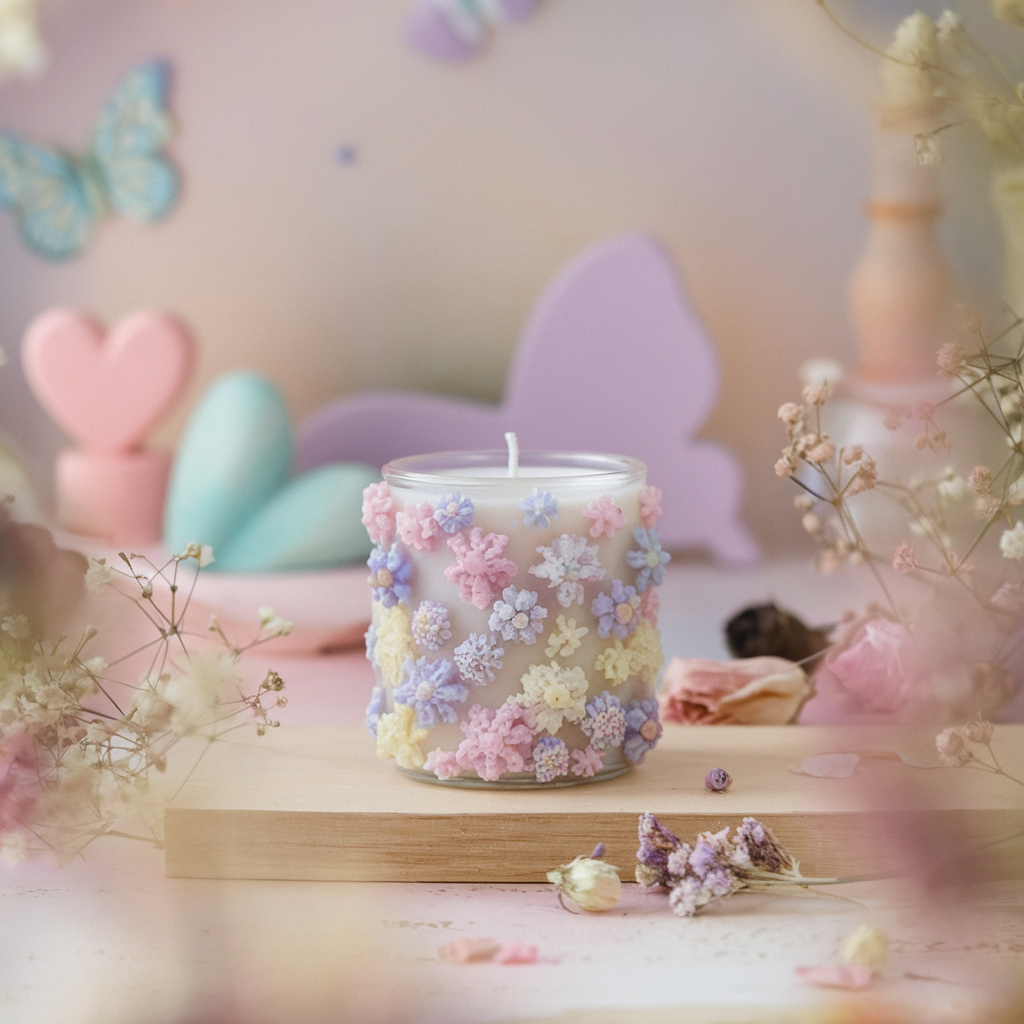
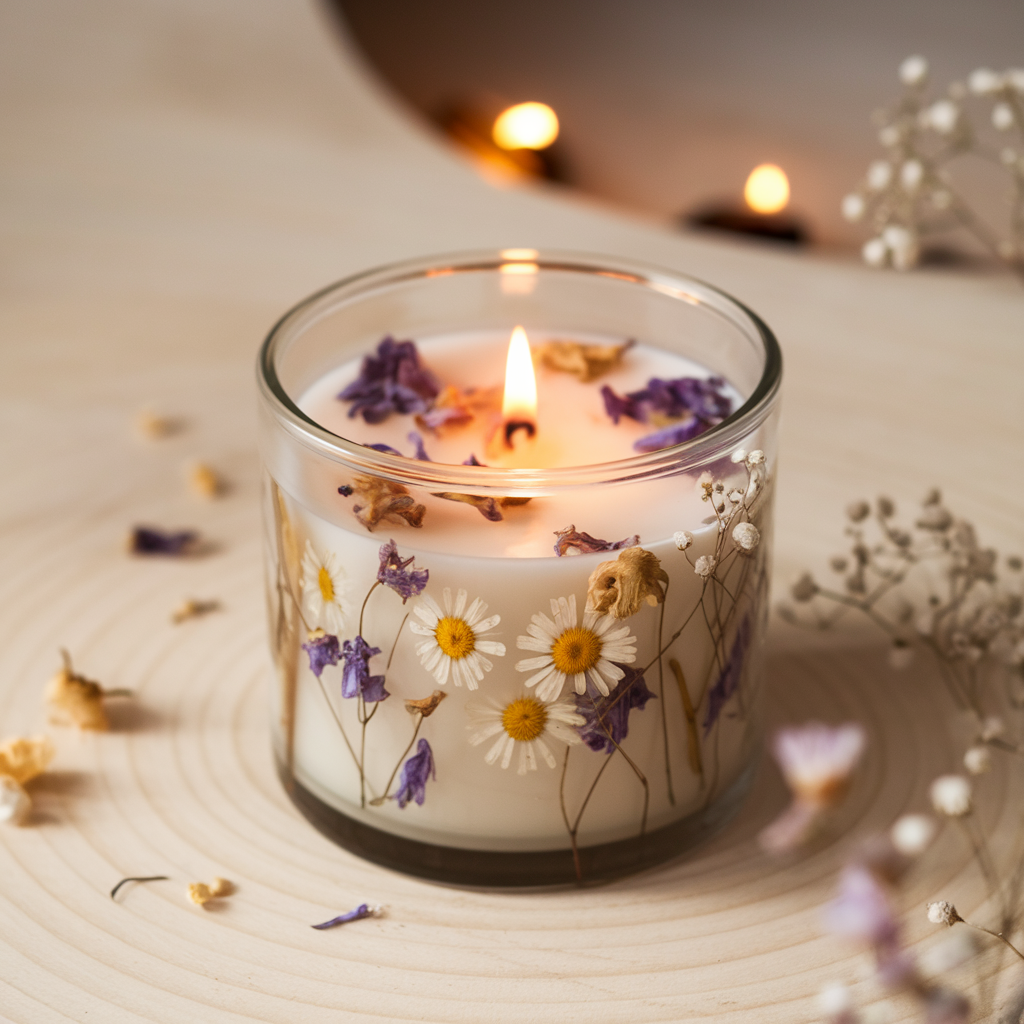
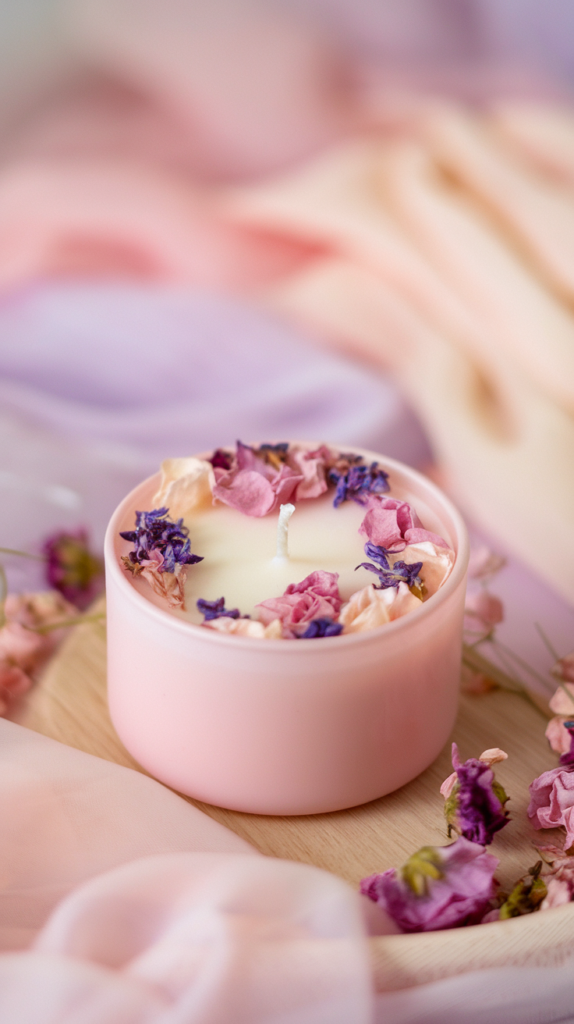
4️⃣ Embed Pressed Flowers for a Stunning Effect
- Gently arrange pressed flowers along the inner walls of your jar before pouring wax.
- Use a brush to lightly adhere flowers with a bit of melted wax to prevent floating.
5️⃣ Pour the Wax & Set the Candle
- Slowly pour the scented soy wax into the prepared jar.
- Keep the wick centered and let the candle cool for 24 hours before trimming the wick.
6️⃣ Final Touches & Decorative Embellishments
- Trim the wick to about 1/4 inch for a clean burn.
- Tie a ribbon, twine, or label around the jar for a personalized touch.
- Light your handmade candle and enjoy the gentle glow of spring magic! ✨
🌿 Creative Variations & Styling Tips
Want to customize your candles even further? Try these ideas:
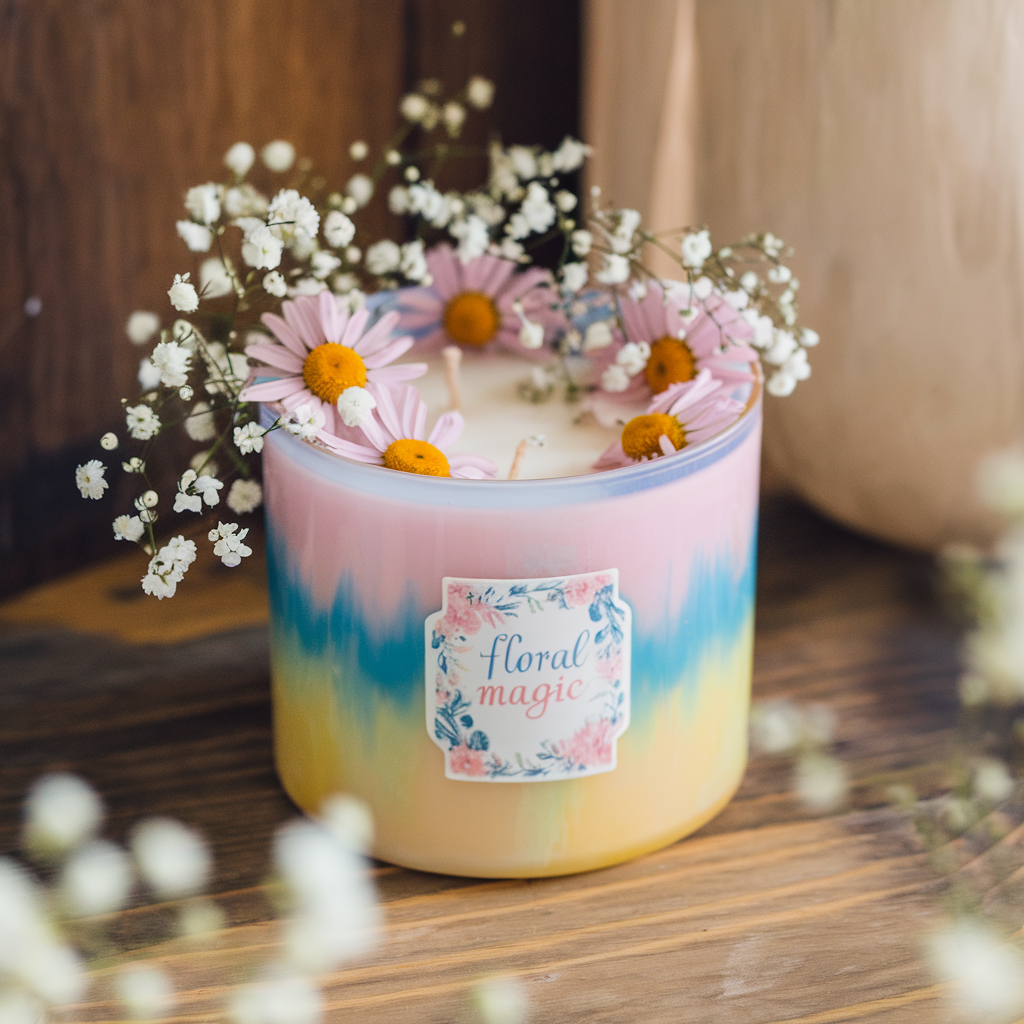
🌼 Mix & Match Flowers: Use a blend of daisies, forget-me-nots, and baby’s breath for a whimsical look. 🌸 Layered Wax Colors: Pour different colored wax layers for a unique ombré effect. 🌿 Personalized Labels: Create DIY labels with elegant fonts and soft pastel designs. Printable Label Templates 🛒
🎁 Gift-Ready Packaging: Wrap your candles in eco-friendly packaging for a thoughtful spring gift. Eco Gift Wrap Ideas 🛒

📌 Share Your Creations & Pin for Later!
Did you love this DIY? Share your handcrafted floral soy candles on Pinterest and tag #SpringCandleMagic #DIYHomeDecor for a chance to be featured!
📌 Save this guide for your next craft project! Pin it now and let your creativity shine! ✨
🕯️ Ready to make more handmade candles? Browse our recommended supplies and start crafting today! Shop Supplies 🛒
Let the warmth of spring bloom in your home with these gorgeous, nature-inspired soy candles. Happy crafting! 🎨🌸