An organized art space is a productive art space! Whether you have a dedicated studio or a small creative nook, keeping your art supplies neat and accessible will help you work efficiently and stay inspired. This guide breaks down the best storage solutions, must-have organizers, and smart hacks to help you curate a Pinterest-worthy, clutter-free art setup.
(This blog contains affiliate links, meaning I make a small commission at no extra cost to you.)
Why Organizing Your Art Supplies Matters
✔️ Saves Time – No more searching for lost brushes or paints.
✔️ Boosts Creativity – A tidy space enhances focus and inspiration.
✔️ Preserves Supplies – Proper storage extends the lifespan of materials.
Pro Tip: Organizing is about efficiency AND aesthetics—choose solutions that look great and keep your workspace functional!
Step-by-Step Guide to Organizing Art Supplies
1. Declutter & Sort Your Materials
- Go through all your art supplies and purge dried-out paints, broken tools, or duplicate items.
- Group items into categories: paint, brushes, sketchbooks, markers, tools, etc.
- Keep only the supplies you actively use and love.
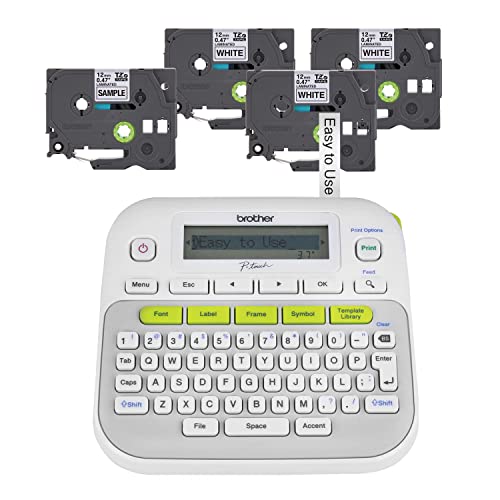
Declutter Must-Haves: Label Maker | Sorting Trays
PTD210, Easy-to-Use Label Maker Bundle (4 Label Tapes Included), White, Small
4-Size Versatile Bathroom and Vanity Drawer Organizer Trays, Storage Bins for Makeup, Bedroom, Kitchen Gadgets Utensils and Office

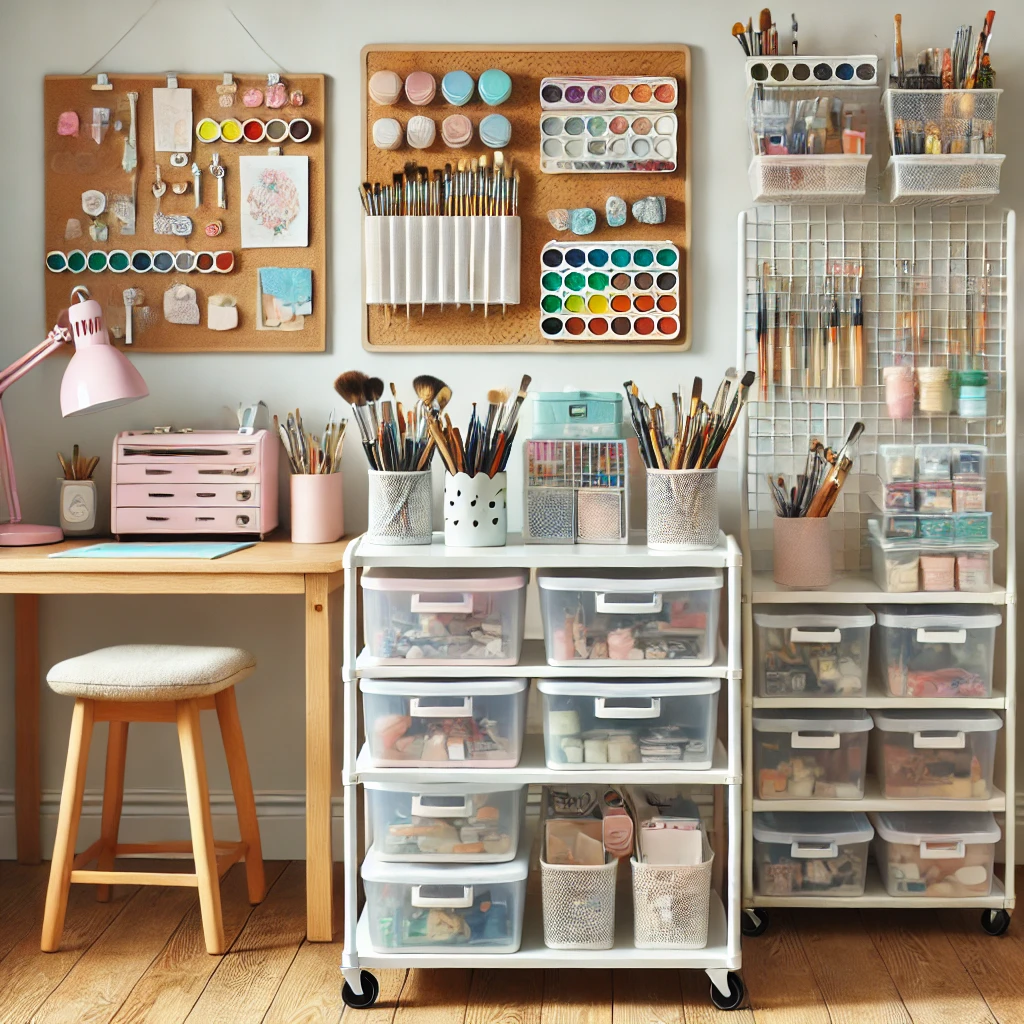
2. Choose the Right Storage Solutions
- Clear bins & drawer dividers – Easily see and access supplies.
- Rolling carts – Perfect for small spaces and mobile workstations.
- Wall-mounted organizers & pegboards – Keeps frequently used tools at arm’s reach.
- Labeled jars & containers – Ideal for brushes, pens, and small accessories.
Storage Essentials: 3-Tier Rolling Cart | Wall Pegboard Kit
Rolling Metal Organization Cart with Handle and Lockable Wheels, Multifunctional Storage Shelves for Kitchen Living Room Office White


3. Organize Paints & Mediums for Easy Access
- Store acrylics and oils upright in a rack to prevent leaks.
- Use a tiered shelf or wall-mounted rack for quick color selection.
- Arrange watercolor pans in a labeled case for convenience.
Top Paint Storage: Acrylic Paint Organizer | Watercolor Palette Case
6 Support Bead Options. Thick, Durable, Crystal-Clear Acrylic with Diamond-Polish Finish. Paint Bottle Organizer & Painting Storage. SB

Large Watercolor Palette Box Metal Tin with 28 Full Pans

4. Keep Brushes & Pens Neatly Stored
- Use brush holders or mason jars to separate by size/type.
- Store delicate brushes in protective cases to maintain shape.
- Arrange pens and markers horizontally to prevent ink from drying unevenly.
Best Organizers: Rotating Brush Holder | Marker Storage Case
Rack Holds Paintbrushes, Makeup Cosmetic Brushes, Pencils, Pens, Markers, Art Tools, Desk Stand - Students, Teachers

Holds 224 Pens with 32 Compartments- Art Supply Storage & Holder for Alcohol Markers Pens Pencils

5. Organize Sketchbooks & Paper Efficiently
- Stack sketchbooks vertically for easy flipping.
- Use magazine holders or file organizers for loose sheets.
- Keep a clipboard or easel nearby for quick access to blank paper.
Smart Solutions: Vertical File Organizer | Sketchbook Storage Rack
Clear PET Desk Organizer and Storage Bins Holding for Magazines, Binders, Notebooks, Envelopes, Multi-purpose Plastic Document Organizer for Home Office, 4 pack

6. Utilize Hidden Storage & Multi-Use Furniture
- Opt for a storage bench or ottoman to hide bulky materials.
- Use a folding desk with built-in compartments.
- Install floating shelves to maximize wall space.
Space-Saving Picks: Storage Bench | Wall-Mounted Shelf Set
43 Inches Folding Storage Ottoman Bench, Ottoman Foot Rest, End of Bed Bench, Storage Chest, Load 660 lb, for Living Room, Bedroom, Entryway, Dark Gray ULSF77K

15.7" Wall Mounted Shelf Over Toilet Farmhouse Home Decor Display Bookshelf Small 15.7 x 6.7 inch Set of 2, Rustic Brown (008-40BN)

7. Label Everything for a Streamlined Workspace
- Use stickers or chalk labels for quick identification.
- Categorize bins and drawers for paints, tools, scrap paper, embellishments, etc.
- Keep a color-coded system for different mediums.
Labeling Tools: Custom Chalk Labels | Label Maker Machine
1.5″ Round Chalkboard Kitchen Pantry Labels for Canning,Mason or Spice Jars Waterproof & Repeatable Kitchen Pantry Label Blackboard Stickers Household Organizing ...

9 Type Styles, 8 Deco Mode Patterns, Navy Blue, Blue Gray

Extra Tips for a Pinterest-Worthy Art Space
✔️ Keep a Clean Desk Policy – End each session with a quick tidy-up.
✔️ Use Aesthetic Storage Bins – Functionality meets design.
✔️ Incorporate a Mood Board – Helps visualize your projects and color palettes.
✔️ Rotate Supplies Seasonally – Keep frequently used materials within reach.
Create Your Dream Art Studio Today!
A well-organized art space reduces stress, enhances creativity, and keeps your materials in top condition. With these simple storage hacks and organizing tips, you can transform any space into a clutter-free, inspiring studio!
If you found this guide helpful, check out my post on ‘How to Choose the Perfect Lighting for Your Art Studio’.