Spring is a season of renewal, and what better way to celebrate its beauty than by capturing delicate butterflies in a realistic sketch? Whether you’re a beginner or an experienced artist, this step-by-step tutorial will guide you in creating lifelike butterfly drawings. We’ll explore essential techniques, tools, and artistic inspiration to bring these graceful creatures to life on paper.
(This blog contains affiliate links, meaning I make a small commission at no extra cost to you.)
🎨 Essential Materials for Sketching Butterflies
Before we dive into the tutorial, let’s gather the right tools to ensure precision and realism.
✅ Sketching Pencils: A set of graphite pencils ranging from H (light) to 6B (dark) for depth and texture. Recommended Set 🛒
✅ Erasers: A kneaded eraser for soft highlights and a precision eraser for fine details. Shop Here 🛒
✅ Blending Tools: A blending stump or cotton swabs for smooth shading. Get Yours 🛒
✅ High-Quality Paper: Use a smooth-textured sketchbook or heavyweight paper for crisp lines. Best Paper Options 🛒
✅ Fine Ink Pens (Optional): Add defined outlines with a precision pen. Explore Options 🛒
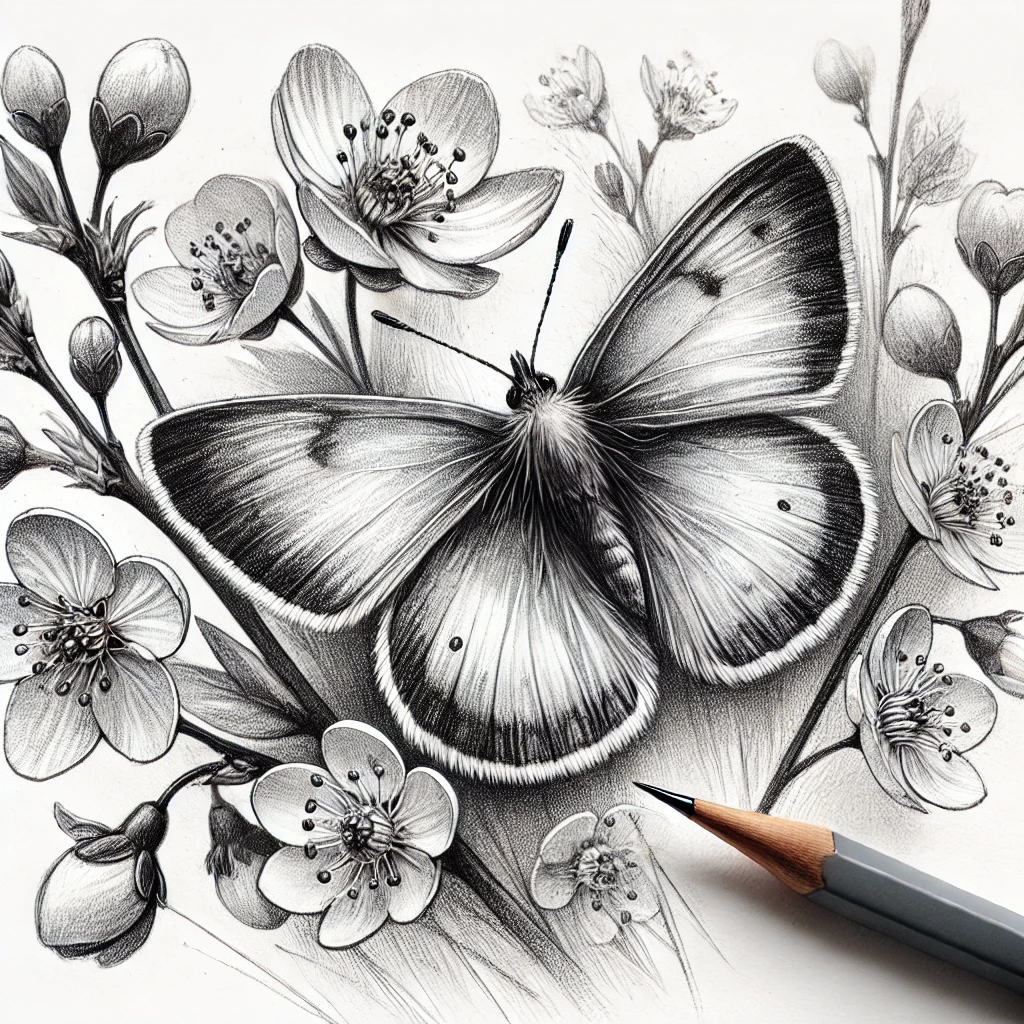
🦋 Step-by-Step Guide to Sketching a Realistic Butterfly
1️⃣ Observing and Choosing a Reference
- Find high-resolution butterfly images or observe them in nature.
- Focus on wing patterns, symmetry, and delicate details.
- Websites like Unsplash or Pinterest offer free inspiration.
2️⃣ Outlining the Basic Shape
- Lightly sketch a vertical centerline to maintain symmetry.
- Draw two overlapping ovals to form the butterfly’s body.
- Add elongated shapes for the wings, ensuring balance on both sides.
3️⃣ Refining the Wing Structure
- Sketch curved lines to divide the wings into sections.
- Use light strokes to create intricate details, following the reference image.
- Pay attention to natural curves and patterns unique to each species.
4️⃣ Adding Depth and Texture
- Start shading the body with a soft B pencil, layering for realism.
- Add texture to the wings by varying pencil pressure for a delicate effect.
- Use a kneaded eraser to lift highlights and enhance contrast.
5️⃣ Enhancing the Details
- Outline the wing patterns with fine, confident lines.
- Shade the dark areas gradually, preserving the translucent look.
- Use a blending stump for seamless transitions and realistic softness.
6️⃣ Final Touches and Highlights
- Intensify shadows to create depth and dimension.
- Use a white gel pen or eraser to highlight intricate areas.
- Step back and assess the drawing, refining details as needed.
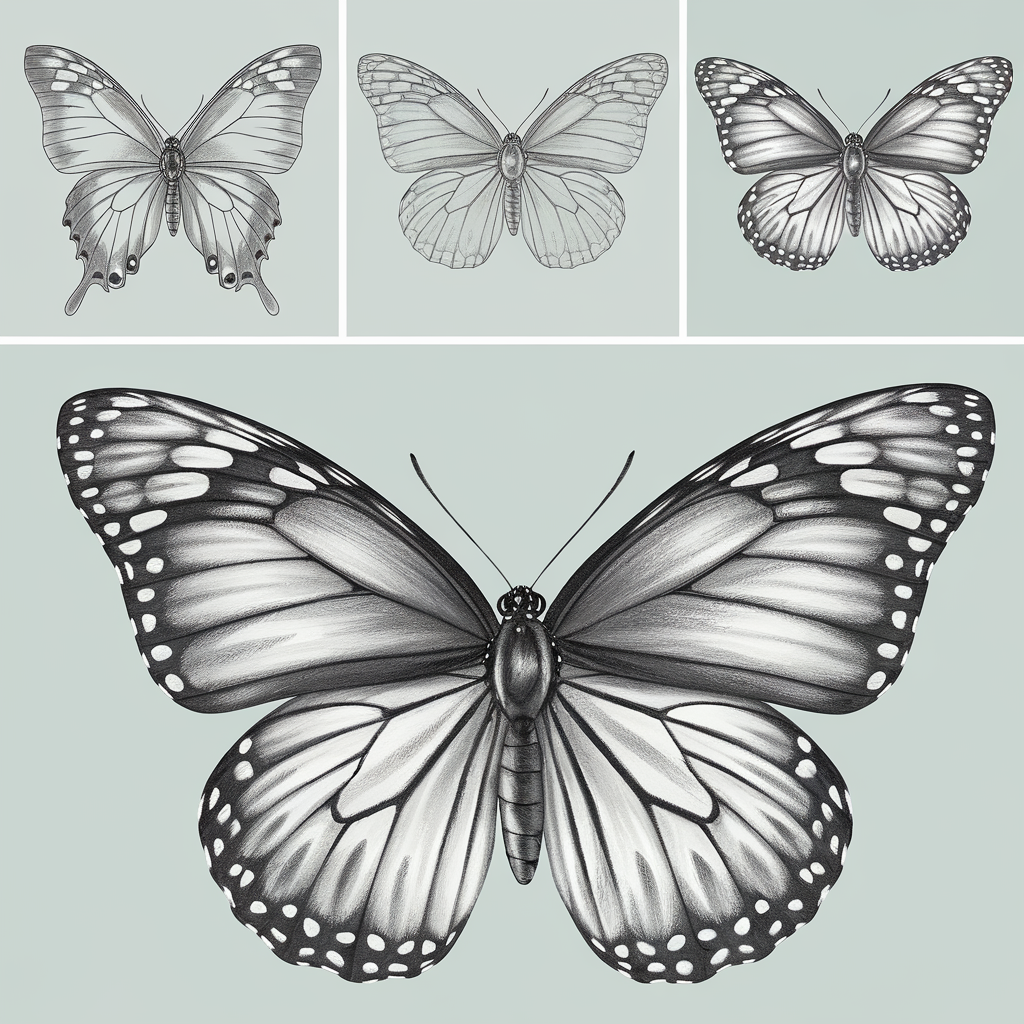
✨ Creative Variations & Advanced Techniques
Want to take your butterfly sketch to the next level? Try these:
🎭 Add Colored Pencils or Watercolors: Layer soft pastel tones for a dreamy spring aesthetic. Best Watercolor Set 🛒
🎨 Experiment with Different Butterfly Species: Monarch, Swallowtail, or Blue Morpho each have unique textures and colors. 📜 Incorporate Floral Elements: Draw butterflies fluttering around blooming flowers for a complete nature-inspired piece. Floral Sketching Guide 🛒
📸 Share Your Artwork & Stay Inspired!
Capture your finished butterfly sketch and share it on social media! Use hashtags like #SpringSketching #ButterflyArt #RealisticDrawing and tag fellow artists for feedback.
Love this tutorial? Pin it on Pinterest 📌 and save it for your next art session!
🖌️ Ready to expand your skills? Check out our recommended sketching kits and courses to enhance your artistic journey! Explore More 🛒
Embrace the elegance of spring and let your creativity take flight with delicate butterfly sketches. Happy drawing! 🎨✨