Achieving a vintage wood finish is a fantastic way to give furniture and decor pieces a timeless, well-loved aesthetic. Whether you’re restoring an old dresser or adding character to new wood, this guide will walk you through the best techniques to create that perfect aged patina.
📌 Pin this guide for later!
Why Choose a Vintage Wood Stain?
✅ Adds character and depth to furniture ✅ Enhances natural wood grain with an aged appearance ✅ Complements farmhouse, shabby chic, and rustic decor ✅ Easy to DIY with affordable supplies
Best for: Wood furniture, cabinets, doors, and DIY home decor projects.
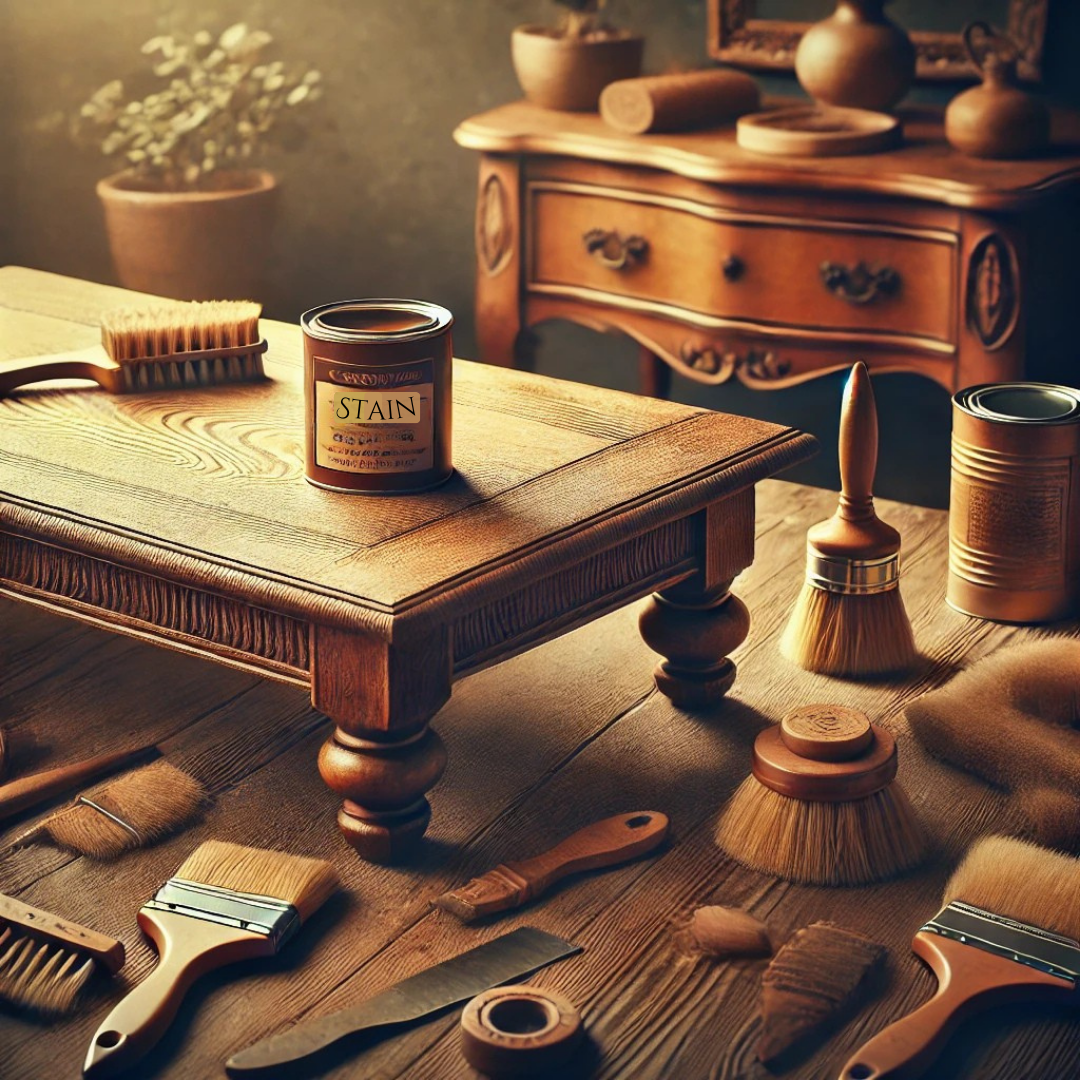
What You’ll Need: (Click to shop recommended products!)
✔️ Wood stain kit with pre-selected vintage colors
✔️ Sandpaper pack (120 & 220 grit)
✔️ Pre-stain wood conditioner (Prevents blotchy stain application!)
✔️ High-quality stain brushes
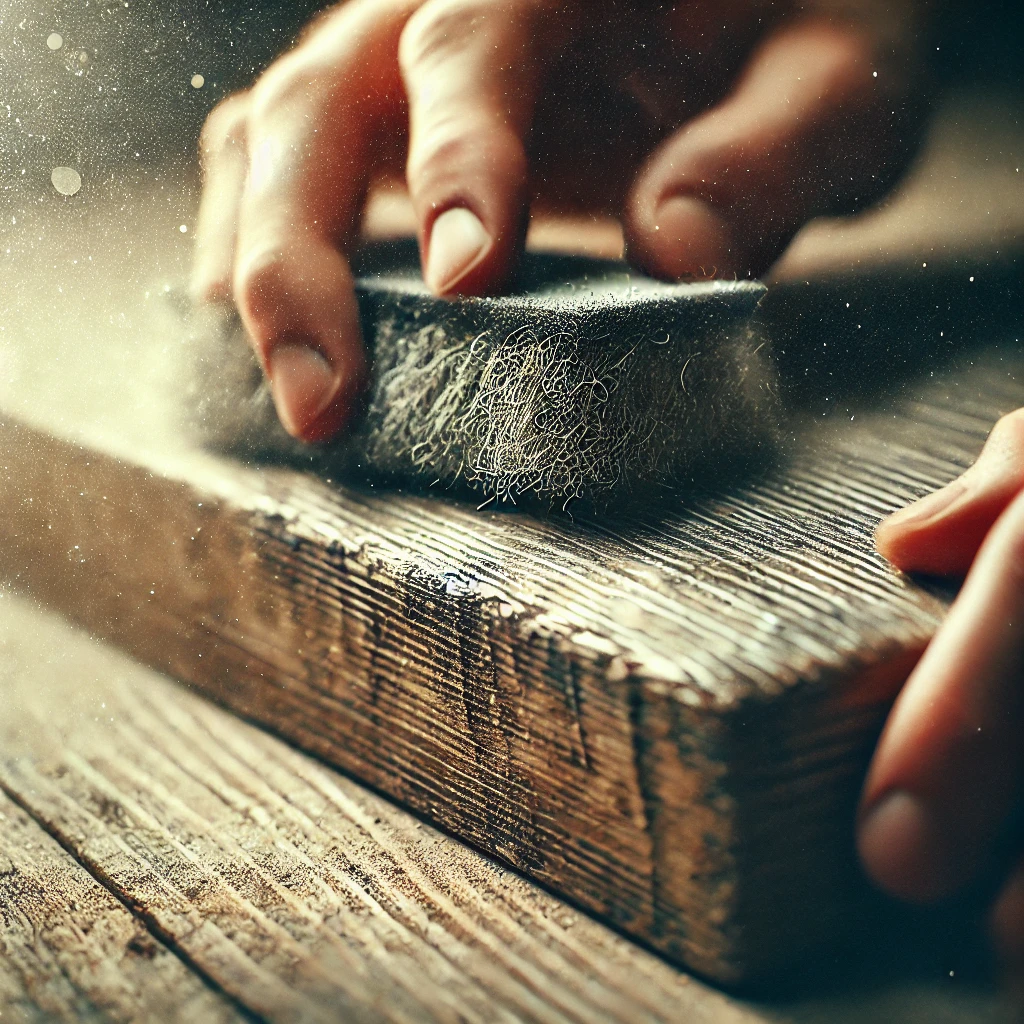
✔️ Steel wool for distressing
✔️ Lint-free cloths
✔️ Matte or satin polyurethane sealant (For a soft, natural finish!)
Step-by-Step Guide to Achieving a Vintage Stain Look
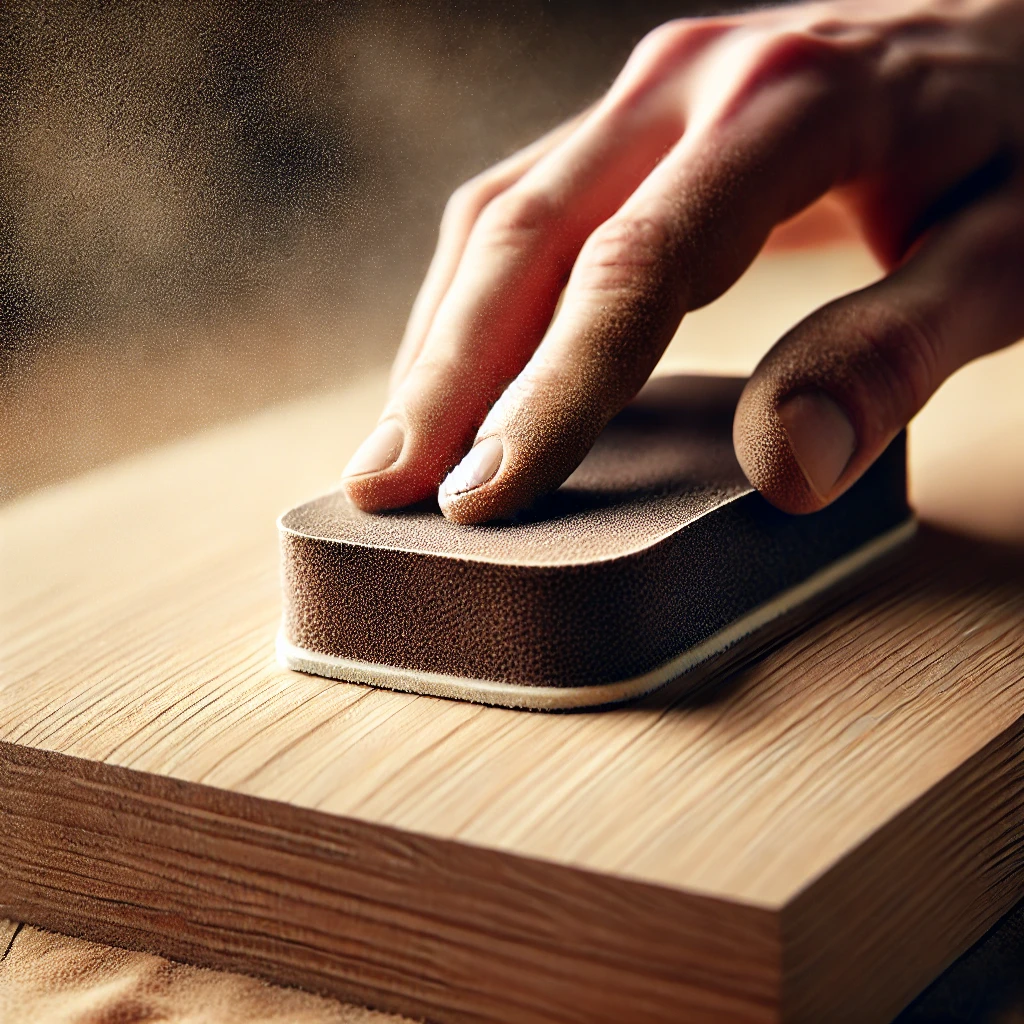
1. Prepare the Wood
- Sand the surface with 120-grit sandpaper to remove any existing finish.
- Smooth it further using 220-grit sandpaper.
- Wipe away all dust with a damp cloth.
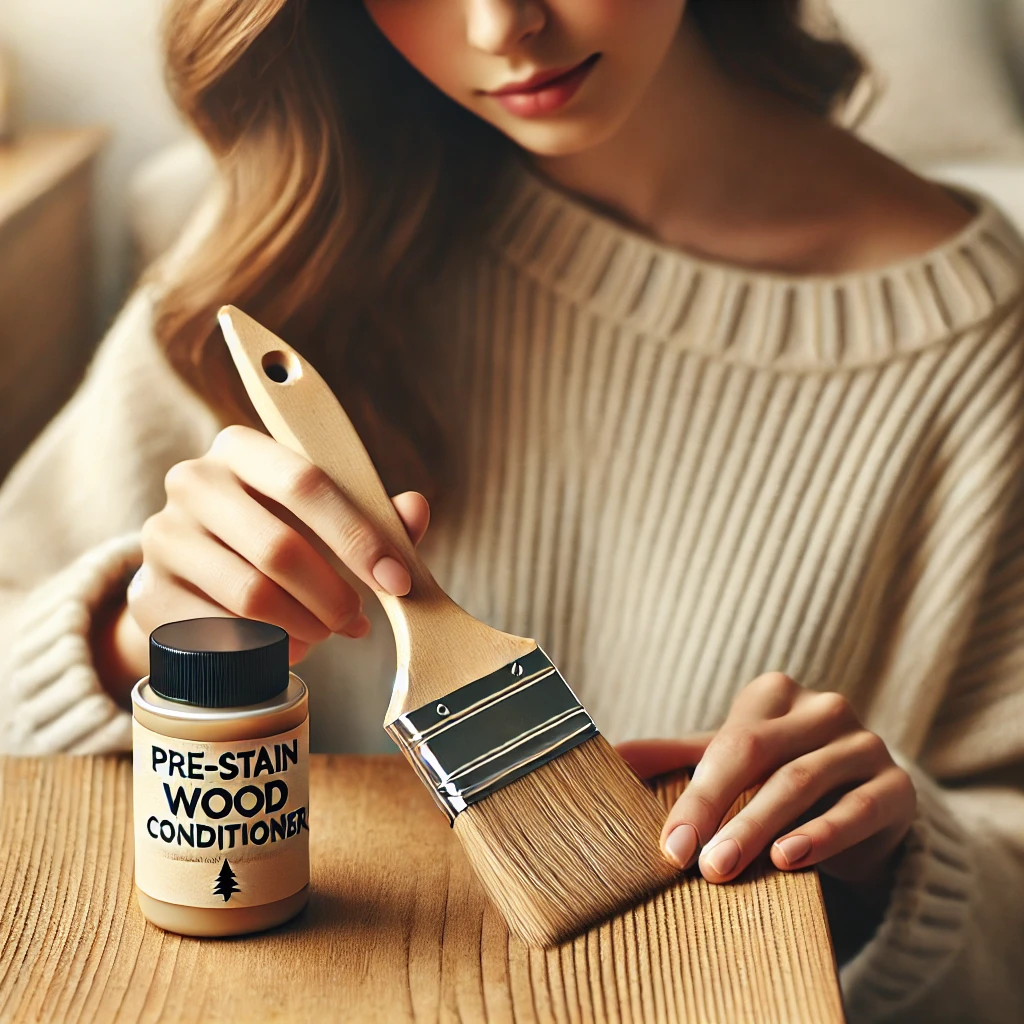
2. Apply a Wood Conditioner (Optional but Recommended!)
- Why? Helps stain absorb evenly, preventing blotchy areas.
- Brush on a thin, even layer and let it sit for 10-15 minutes.
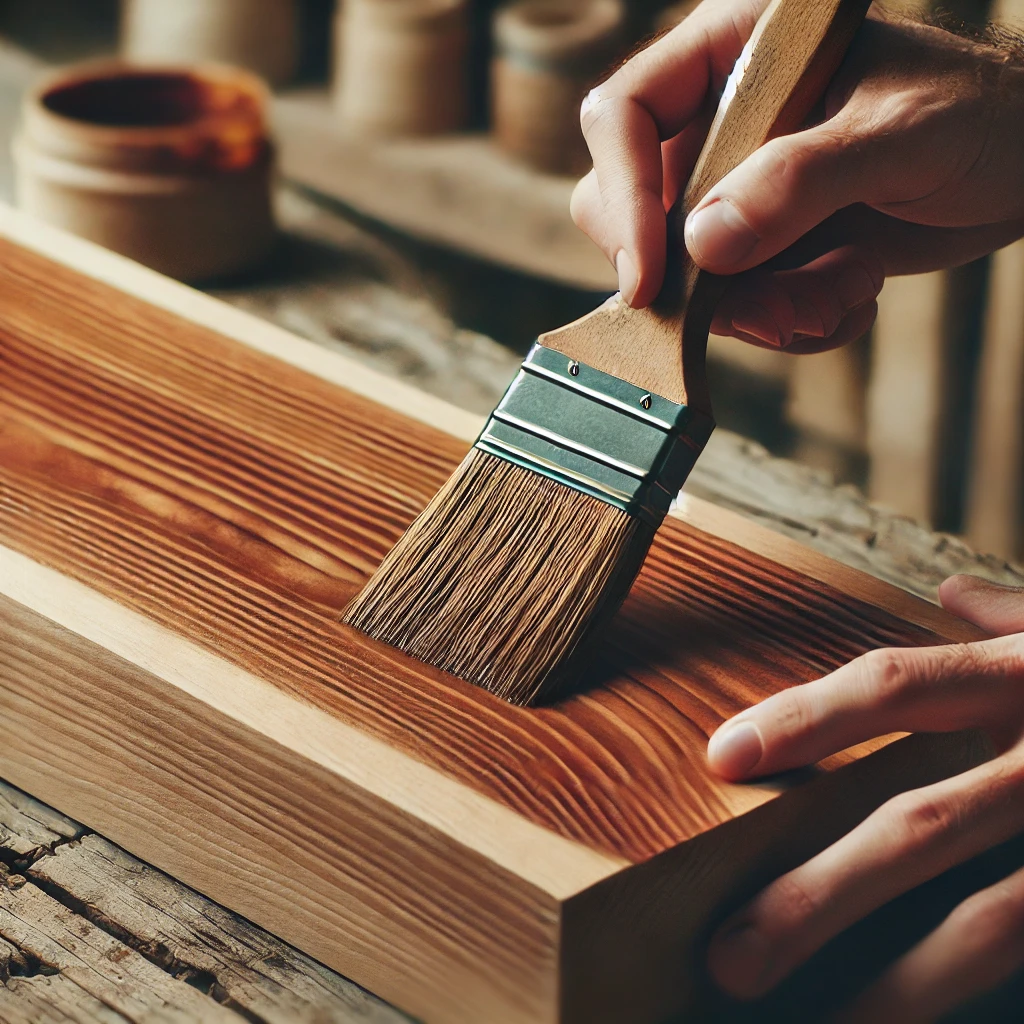
3. Choose Your Stain & Apply
🖌 Best stain colors for a vintage look:
- Classic Walnut – Rich and warm with a deep, timeless tone.
- Weathered Oak – Light, faded brown with a touch of gray.
- Provincial – Medium brown with subtle golden undertones.
✔️ Apply the stain with a cloth or brush, following the wood grain.
✔️ Let it sit for 5-10 minutes, then wipe off excess.
✔️ For a deeper tone, apply a second coat after drying.
4. Add a Distressed Effect (Optional for Extra Character!)
- Use steel wool to lightly rub edges and high-wear areas.
- Try the dry-brush technique with diluted white or gray paint for a weathered finish.
- For a tea-stained effect, wipe the wood with brewed tea before applying stain.
5. Seal for Protection
- Use a matte or satin polyurethane for a soft, authentic look.
- Apply with a brush or soft cloth and let it cure completely.
🔹 Pro Tip: For extra depth, try layering two different stain colors—start with a lighter base and add a darker shade on top.
Common Questions About Vintage Wood Staining
❓ Can I stain wood without sanding it first?
✔️ If the wood has a previous finish, sanding ensures even stain absorption.
❓ How do I make wood look older naturally?
✔️ Use vinegar and steel wool to create an instant aged effect.
❓ Which topcoat is best for a vintage finish?
✔️ Matte polyurethane preserves the aged look without a glossy shine.
Final Thoughts: Try It & Share!
With the right stain and distressing techniques, you can transform wood into a gorgeous vintage masterpiece! Which technique will you try first? Pin this guide for later! 📌✨
🚀 Shop Recommended Staining Kits & Tools Below:
🛍️ Best-Selling Vintage Stain Kit
🛍️ Premium Sandpaper & Prep Kit
🛍️ Top-Rated Matte Polyurethane Sealer
🎨 Want More Inspiration? Check out our related posts:
How to Stain Wood for a Rustic Farmhouse Look: A DIY Guide
[…] 🎨 Want More Inspiration? Check out our related posts:How to Stain Wood for a Vintage Look: A DIY Guide to Timeless Charm […]