This post contains affiliate links. If you buy through them, I may earn a small commission at no extra cost to you.
That plain pine shelf could pass for a flea market treasure by Sunday night. The trick is in how you layer the color, and most people skip the one step that makes it work.
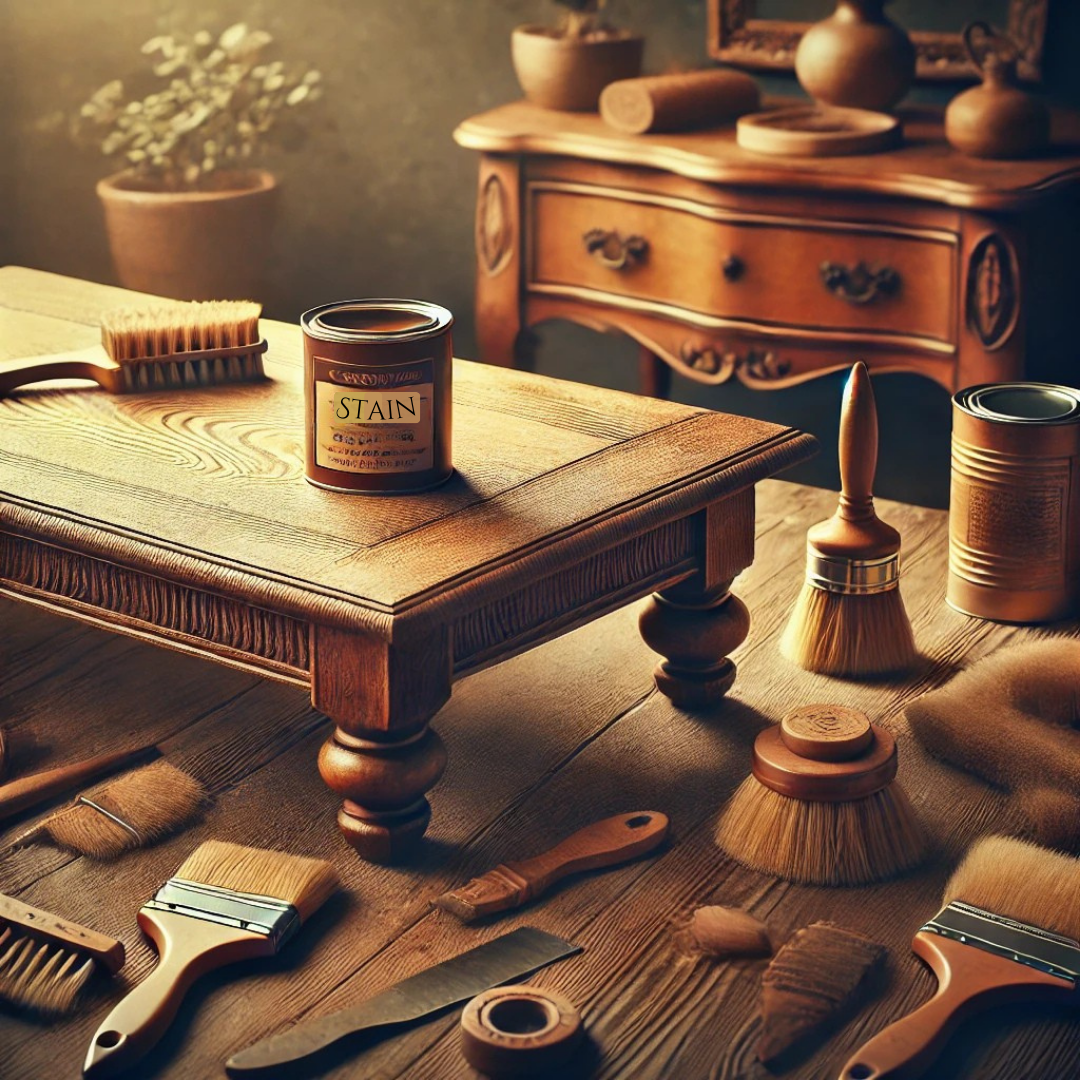
Here’s my take: a vintage finish is built in thin layers, and the step most people skip is the test board. Five minutes on a scrap of the same wood tells you exactly how the stain will look before it touches your real piece. Skip it and you’re guessing. Do it and you’re painting with wood.
I love this project for studio pieces: picture frames, a wooden paint box, a drafting stool, a small easel, a set of plain shelves. It’s art you can use every day.
Quick answer: if you only do one thing
Make a test board. Sand a scrap of the same wood the same way, apply conditioner and stain exactly as you plan to, and let it dry fully. If you like it, repeat on your piece. If you don’t, you just saved a whole project.
What you’ll need
- Stain in vintage tones: a wood stain kit in vintage tones or a vintage stain kit. Look for warm browns like Classic Walnut, soft grays like Weathered Oak, or a deep brown like Provincial.
- Sandpaper, 120 and 220 grit: sandpaper assortment, or a sandpaper and prep kit if you’re starting from zero.
- Pre-stain wood conditioner: pre-stain conditioner, a must for pine and maple.
- Brushes: stain brushes.
- Lint-free cloths: lint-free cloths for wiping off excess stain.
- Steel wool: steel wool for distressing and for the aging solution.
- Topcoat: matte or satin polyurethane. Gloss looks brand new, so skip it for vintage.
- Extras: a scrap board for testing, gloves, white vinegar, black tea, and a little white or gray craft paint.
Which wood takes stain how
Different woods drink stain very differently. Know your wood before you open the can.
| Wood | How it stains | What to do |
|---|---|---|
| Pine | Blotchy, soft spots soak up more | Always use conditioner |
| Oak | Even, grain shows nicely | Conditioner optional |
| Maple | Blotchy, resists dark stain | Condition, or use gel stain |
| Birch | Can blotch like maple | Condition and test first |
| Old, already finished wood | Stain won’t soak in | Strip or sand to bare wood |
New lumber from the hardware store is usually pine, which is why so many first stain projects come out splotchy. Conditioner fixes most of that.
Step 1: Prep the surface
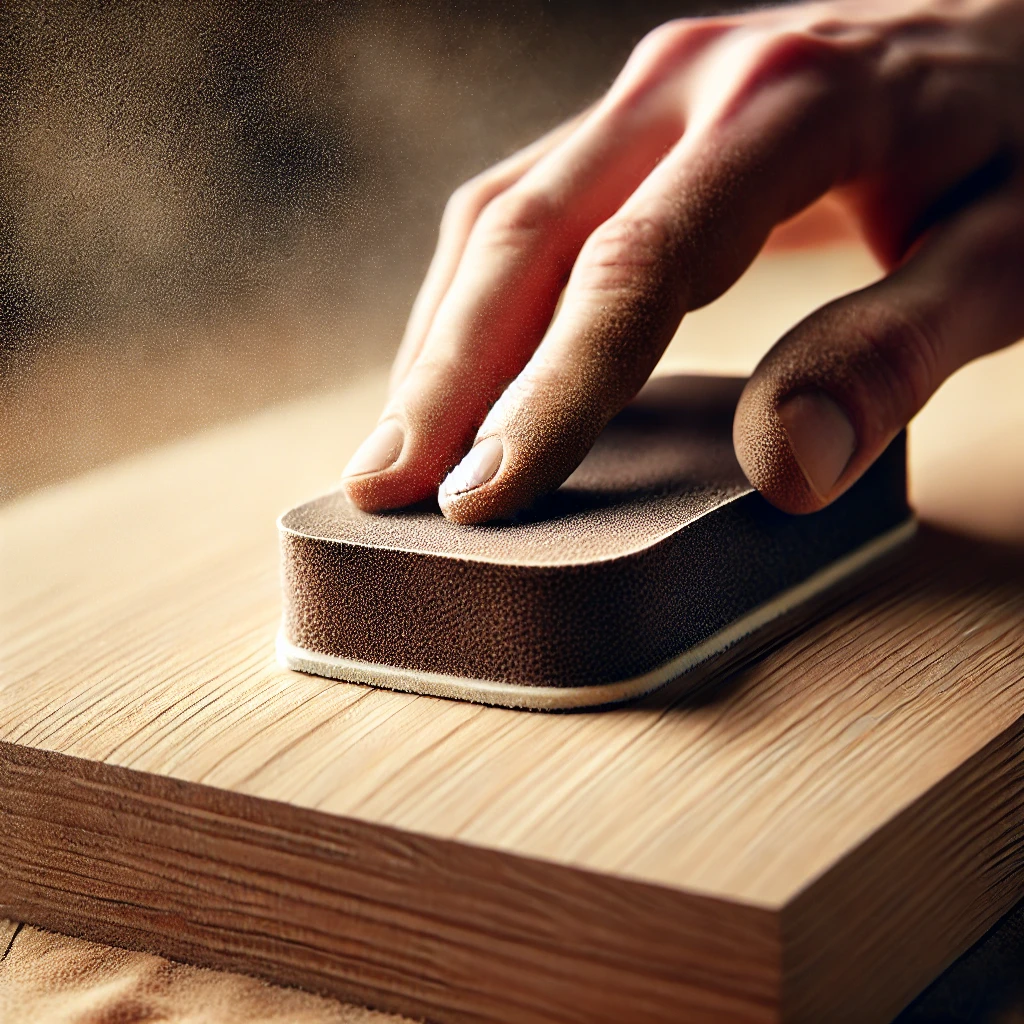
Sand with 120 grit to remove marks and old finish, then switch to 220 grit to smooth it. Always sand with the grain, never in circles or across it, or the stain will highlight every scratch.
Wipe away all the dust with a barely damp lint-free cloth and let it dry. Dust trapped under stain looks like grit forever.
Step 2: Apply pre-stain conditioner
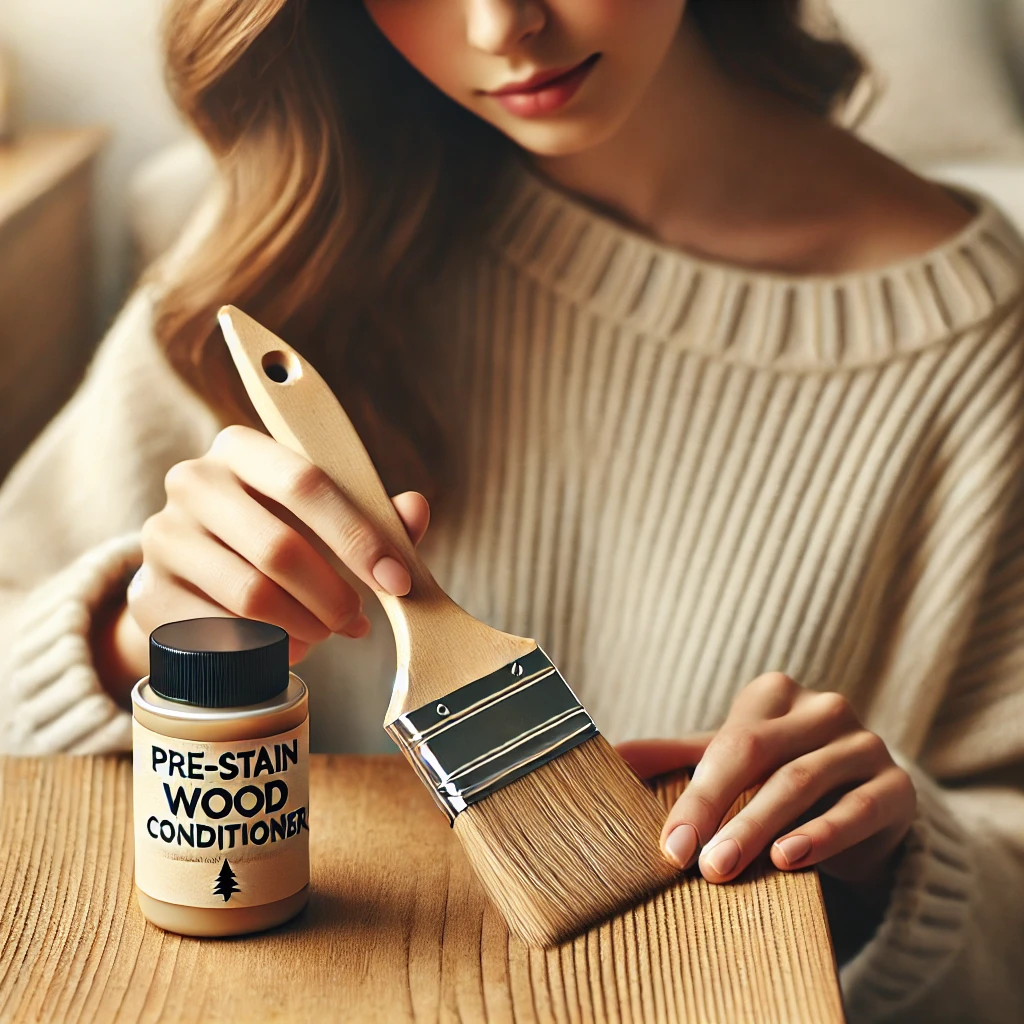
Brush or wipe on a generous coat, let it soak in, then wipe off the excess. Check your can; typical is waiting about 5 to 15 minutes before wiping, then staining within about 2 hours for oil-based conditioner. If you wait too long, the conditioner stops helping.
This is the step that keeps pine from looking like a leopard print.
Step 3: Choose and apply your stain
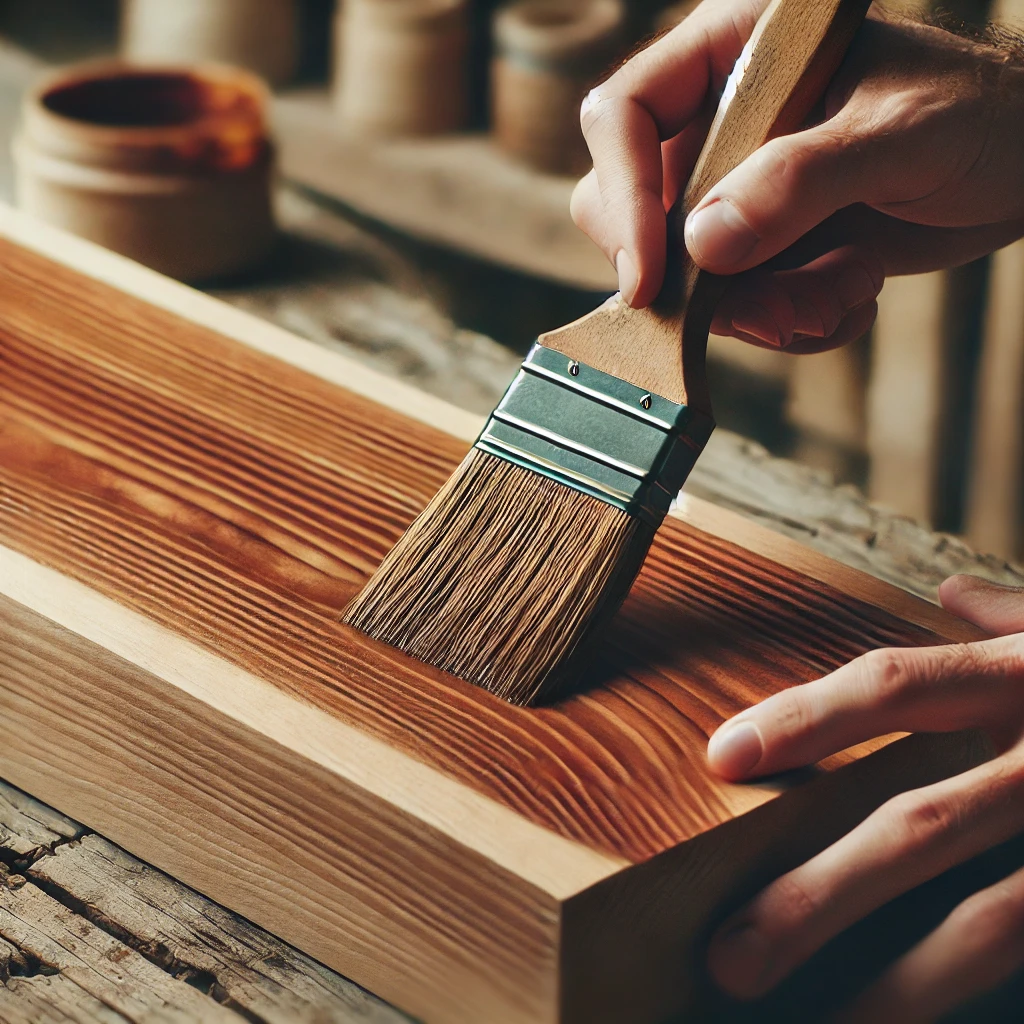
Stir the stain (don’t shake it), then brush it on in the direction of the grain. Let it sit about 5 to 10 minutes, then wipe off the excess with a clean cloth, also with the grain. The longer it sits before wiping, the deeper the color.
Want it darker? Let the first coat dry fully, then apply a second.
The layering trick for real vintage depth
Old furniture rarely has one flat color. Years of wax, sunlight and handling build up layers. You can fake that in an afternoon:
- Apply a lighter base stain, like Weathered Oak, and let it dry.
- Apply a darker stain, like Classic Walnut, and wipe most of it off right away.
- Let a little more of the dark tone stay in corners, edges and grain lines.
The light base glows through, and the dark settles where age would naturally collect. This is my favorite part of the whole project, because it feels like painting.
Step 4: Distress it (gently)
A little wear goes a long way. Too much and it looks beat up instead of loved.
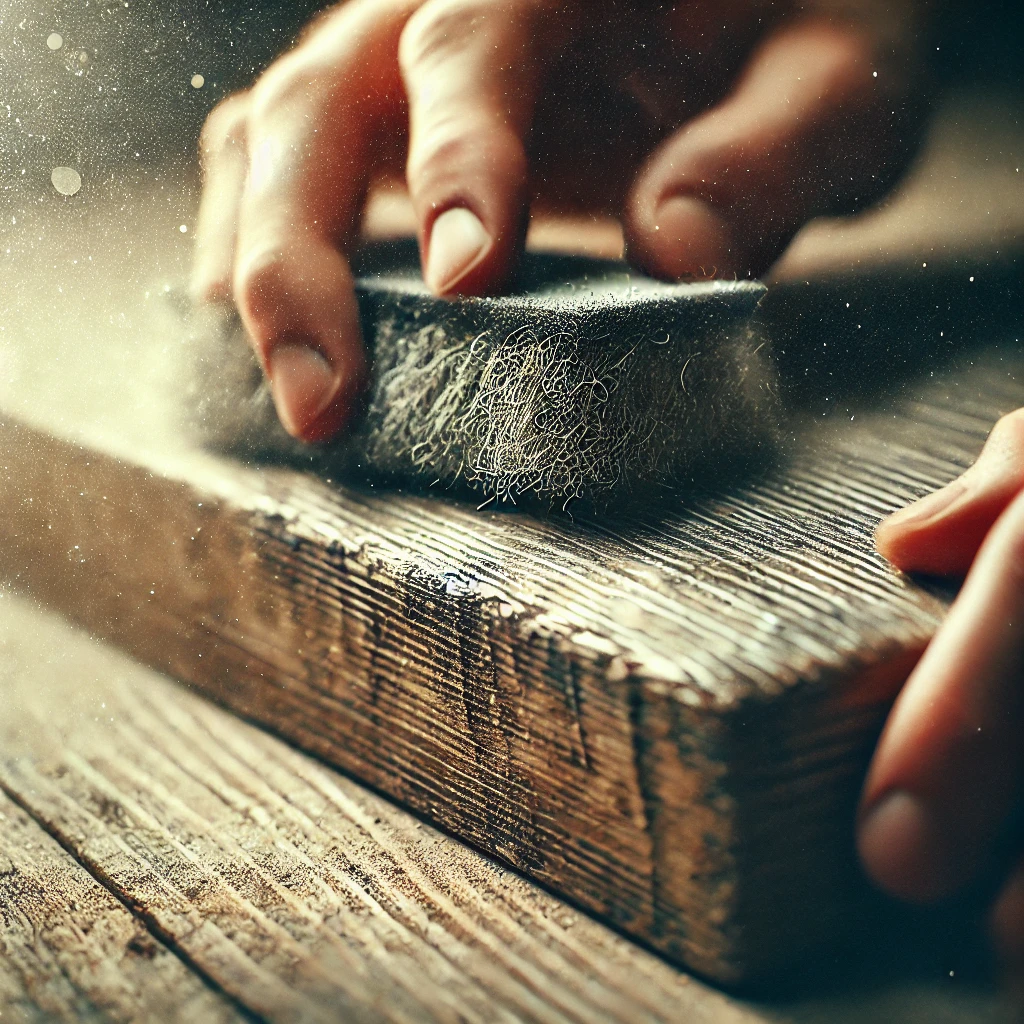
- Steel wool on the edges: rub corners, edges and anywhere a hand would naturally touch for decades.
- Dry brushing: dip a dry brush in diluted white or gray craft paint, wipe almost all of it off, then drag it lightly over the surface for a soft, sun-faded look.
- Brewed tea under the stain: brushing strong black tea on bare wood before staining adds warm, aged undertones.
The vinegar and steel wool aging solution
This old trick makes new wood look gray and weathered with no stain at all.
- Put a pad of steel wool in a jar of white vinegar. Use plain steel wool, not the soapy kind.
- Leave the lid loose and let it sit about 24 hours.
- On low-tannin woods like pine, brush on strong black tea first and let it dry. The solution reacts with tannins, and tea adds them.
- Brush the solution on your test board and watch it change color over the next hour or so.
- Happy with it? Apply to your piece, let it dry, then seal.
Every batch and every board reacts a little differently, so the test board is non-negotiable here.
Step 5: Seal it
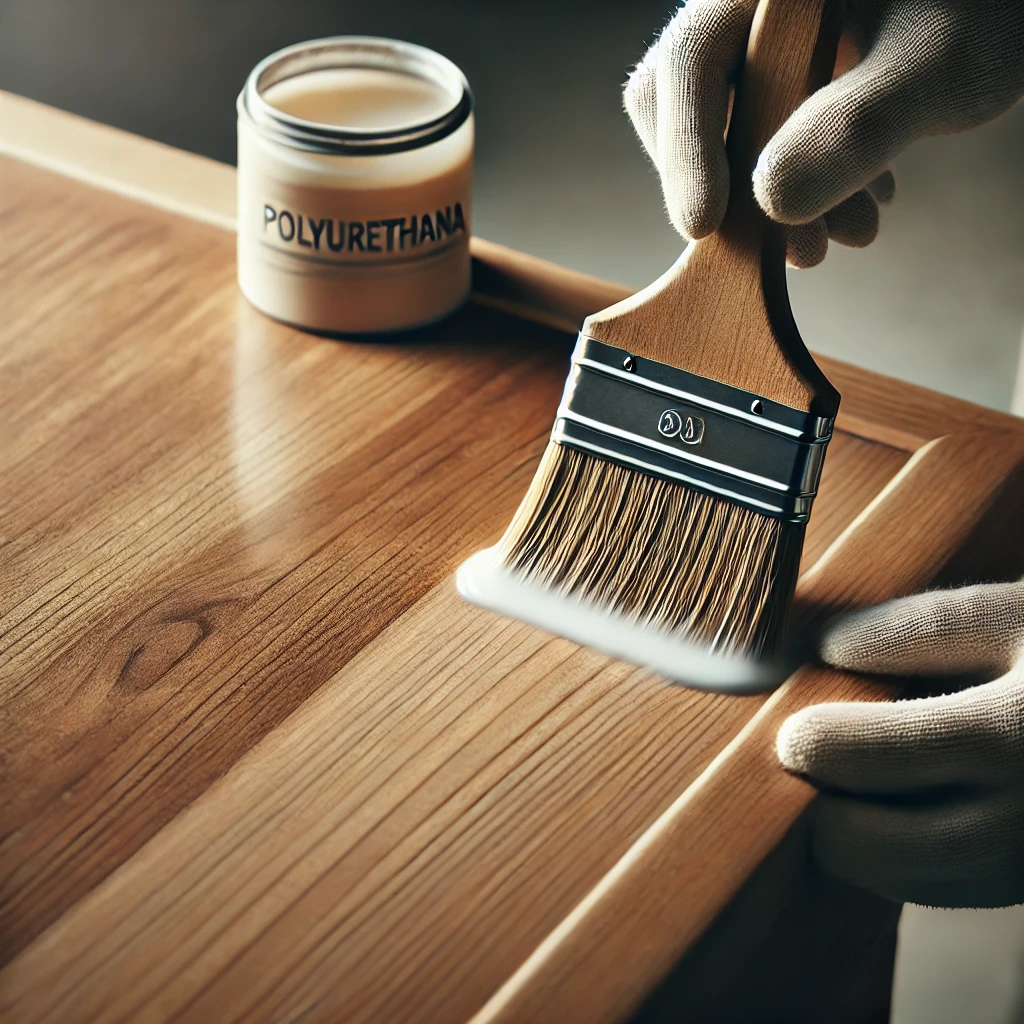
Once the stain is completely dry, brush on a thin coat of matte or satin polyurethane. Let it dry, sand very lightly with 220 grit or fine steel wool, wipe off the dust, and add a second coat. Two thin coats look better and wear better than one thick one.
Dry time cheat sheet
Brands vary a lot, and humidity and temperature change everything. Check your can; these are typical ranges for common products.
| Stage | Typical wait | Before you |
|---|---|---|
| Pre-stain conditioner | About 5-15 min, stain within ~2 hours | Apply stain |
| Oil-based stain | About 4-6 hours | Add a second coat |
| Oil-based stain | About 8 hours or more | Apply topcoat |
| Water-based polyurethane | About 2 hours | Recoat |
| Oil-based polyurethane | About 4-6 hours (some say 24) | Recoat |
| Any topcoat | Several days | Put heavy items on it |
When in doubt, wait longer. A finish that feels dry on the surface can still be soft underneath.
Do this, not that
| Do this | Not that |
|---|---|
| Sand with the grain | Sand in circles |
| Test on scrap first | Test on the front of the piece |
| Wipe off excess stain | Let it puddle and get sticky |
| Thin coats of matte poly | One thick coat of gloss |
| Lay oily rags flat outdoors | Toss them in a pile or the trash |
Safety notes that matter
- Ventilation: work outdoors or with windows open and a fan pulling air out. Oil-based stains and poly have strong fumes.
- Gloves: stain doesn’t wash off skin easily, and the vinegar solution stains hands gray.
- Oily rags can catch fire on their own. As they dry, rags soaked in oil-based stain or finish can heat up and ignite. Lay them flat outdoors to dry fully, or put them in a sealed metal container filled with water, then follow your local disposal rules. Check your can for the manufacturer’s instructions.
Worth buying vs not
You don’t need much to do this well. Here’s where I’d spend and where I’d save.
| Item | Worth it? | Why |
|---|---|---|
| Pre-stain conditioner | Yes | Prevents blotchy pine |
| Lint-free cloths | Yes | Lint gets sealed in forever |
| Good brushes | Yes | Cheap ones shed bristles |
| Big stain kit | Maybe | Great if you love testing colors |
| Gloss topcoat | No | Looks too new for vintage |
Rather buy it already vintage?
Not everyone wants to spend a weekend with sandpaper, and that’s fine. If what you’re really after is a vintage-style drawing surface, these come with the warm wood look built in.
- Studio Designs Vintage Drafting Table, solid wood, about $270 at the time of writing.
- Williston Forge Hackett reclaimed teak wood drafting table, a premium piece in real reclaimed wood.
Worth it for: artists who draw several times a week and want a tilting table with character today. Skip it if: you enjoy DIY and already have a sturdy table. Staining a plain one with this method costs a fraction of the price.
FAQ
Can I stain without sanding? Stain needs bare wood to soak in, so a sealed or painted surface won’t take it. For raw wood that’s already smooth, a light pass with 220 grit is still a good idea. Short on time? Try the vinegar and steel wool solution on raw wood, then a matte topcoat.
Can I stain over old stain? You can go darker over an old stain once the old finish is sanded or stripped. Going lighter almost never works without stripping first.
Why did my stain stay sticky? Usually too much was left on the surface. Wipe excess within the time on the can, and give it more drying time in a warm, dry room.
The takeaway
A vintage finish comes from thin layers: sand with the grain, condition soft woods, layer a light stain under a dark one, distress lightly, and seal in matte. Make a test board first and you’ll love the result on the first try.
What would you give a vintage finish first, a frame, a shelf or your easel? Tell me in the comments.
Save this pin for your next weekend project.
[…] 🎨 Want More Inspiration? Check out our related posts:How to Stain Wood for a Vintage Look: A DIY Guide to Timeless Charm […]