This post contains affiliate links. If you buy through them, I may earn a small commission at no extra cost to you.
Brand-new pine from the hardware store is smooth, pale and a little boring. Give me one afternoon and a wire brush, and it’ll look like it spent fifty years in a barn.

Here’s my take: a rustic farmhouse finish is about texture first and color second. Most people reach for a darker stain when their piece looks too new. The real fix is roughing up the grain so the stain has somewhere to settle. Texture gives you those deep lines and warm highlights that make old wood look old.
I love this look on studio pieces: a rustic easel, chunky picture frames, a supply shelf, a hand-lettered sign for the studio door.
If you only do one thing: wire-brush the wood along the grain before you stain. The soft wood between the grain lines wears away, the hard lines stand up, and the stain turns that ridged surface into real barn-board character.
Want a softer, more refined antique finish instead? My stain wood for a vintage look guide covers the test board, a which-wood chart and a full dry-time cheat sheet.
Rustic vs Vintage: Know Which Look You Want
These two finishes get mixed up all the time. Here’s the difference in one glance.
- rough raised grain
- warm layered browns
- heavy edge wear
- sun-bleached whitewash
- matte and dry
- smooth sanded surface
- soft even tones
- light edge wear
- gentle gray aging
- satin glow
If you want to feel the grain under your fingers, you’re in the right place.
What You’ll Need
- Stain: a wood stain in warm tones, or a rustic stain kit if you want several colors to layer.
- Sandpaper, 80 and 220 grit: sandpaper assortment.
- Wire brush and steel wool: a wire brush and steel wool set, or a wire brush and sandpaper set.
- Pre-stain conditioner: wood conditioner, a must on pine.
- Brushes: stain brushes, plus one cheap dry brush for whitewash.
- Cloths: lint-free cloths for wiping off stain.
- Topcoat: matte polyurethane or a matte sealer. Matte keeps the dry, weathered look.
- Extras: white craft paint, a jar of water, gloves, a few nails or a screwdriver for distressing.
Your Tools and When to Use Them
| Tool | What it does | Use it on |
|---|---|---|
| 80-grit sandpaper | Scuffs and softens edges | New lumber |
| 220-grit sandpaper | Light smoothing only | Reclaimed wood |
| Wire brush | Raises the grain | Pine, fir, cedar |
| Steel wool | Wears edges, cuts sheen | Corners, between coats |
| Dry brush | Adds sun-bleached streaks | Final color layer |
The Rustic Process at a Glance
Step 1: Sand Rough on Purpose

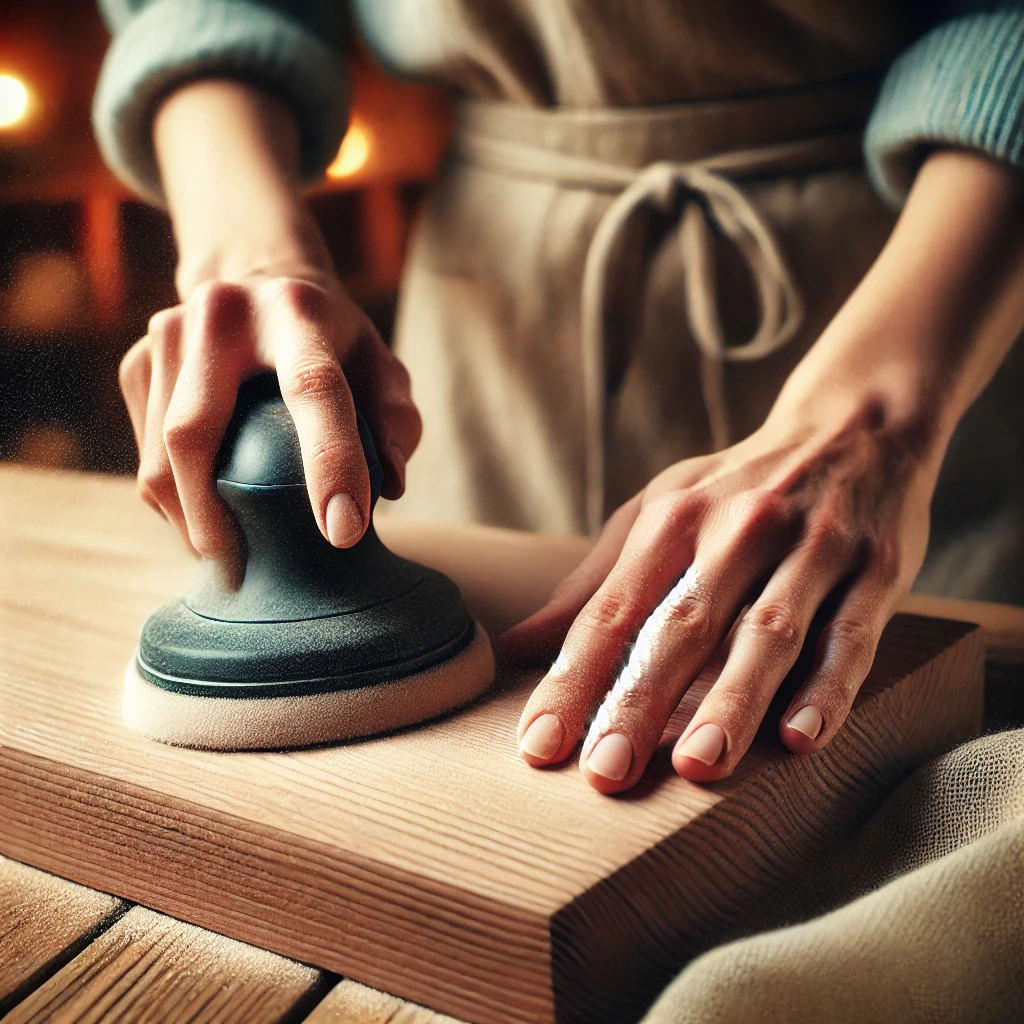
On new lumber, sand with 80 grit along the grain. You’re trying to knock the factory-crisp edges round and scuff the surface so it looks handled. Rub hardest on corners and front edges, where hands and boots would wear old wood.
Working with real reclaimed wood? Go gentle. A light pass with 220 grit cleans off loose splinters and dirt while keeping the patina you paid for. Heavy sanding erases exactly the character you want.
Step 2: Wire-Brush the Grain
This is the step that makes rustic look rustic. Drag a wire brush along the grain only, with firm pressure, for a few minutes per board. The soft, pale wood between the growth rings wears down. The harder rings stay raised.
You’ll feel ridges when you run your hand across it. Brush off the loose fibers, then wipe the whole piece with a barely damp cloth and let it dry.
Brushing across the grain leaves scratches that stain turns into dark stripes. Always go with the grain, from one end of the board to the other.
Step 3: Condition the Pine

Pine soaks up stain unevenly and can go blotchy. Brush on pre-stain conditioner, let it sit about 10 to 15 minutes, then wipe off the excess. Check your can; typical is staining within about 2 hours for oil-based conditioner, so plan to move on soon after.
Oak, hickory and most reclaimed hardwoods can skip this step.
Step 4: Pick and Layer Your Stain Colors
Here’s where the warmth comes in. These three classic tones work beautifully for farmhouse pieces, from lightest to darkest:
My favorite move: layer Weathered Oak under Special Walnut.
- Brush on Weathered Oak, let it sit about 5 to 10 minutes, then wipe it off along the grain.
- Let it dry fully. Check your can; typical is about 4 to 6 hours for oil-based stain before a second coat.
- Brush on Special Walnut, then wipe most of it off right away.
- Leave a little more of the dark tone in the raised grain grooves, corners and edges.
The gray base peeks through on the ridges, and the warm walnut settles into the grooves you brushed out. It looks like years of dust and wax built up on its own.
Want one color only? Early American alone gives a warm, honest middle brown that suits frames and signs.
Step 5: Distress, Tastefully
A few marks tell a story. Too many look like the piece fell off a truck.
- Edges first. Rub steel wool or 80-grit paper on corners and edges until a little raw wood shows through the stain.
- Dents. Tap the flat side of a screwdriver or a bundle of keys lightly on the surface. Three or four groups of marks on a shelf are plenty.
- Wormholes. Press a small nail in about 1/8 inch, in loose clusters of 3 to 5, never in neat rows. Real wormholes wander.
- Stain the damage. Dab a touch of the dark stain into new dents and holes so they look old, not fresh.
Distress where wear would happen naturally: the front edge of a shelf, the corners of a frame, the legs of an easel near the floor. Random marks in the middle of a board look staged.
Step 6: Dry-Brush a Sun-Bleached Whitewash
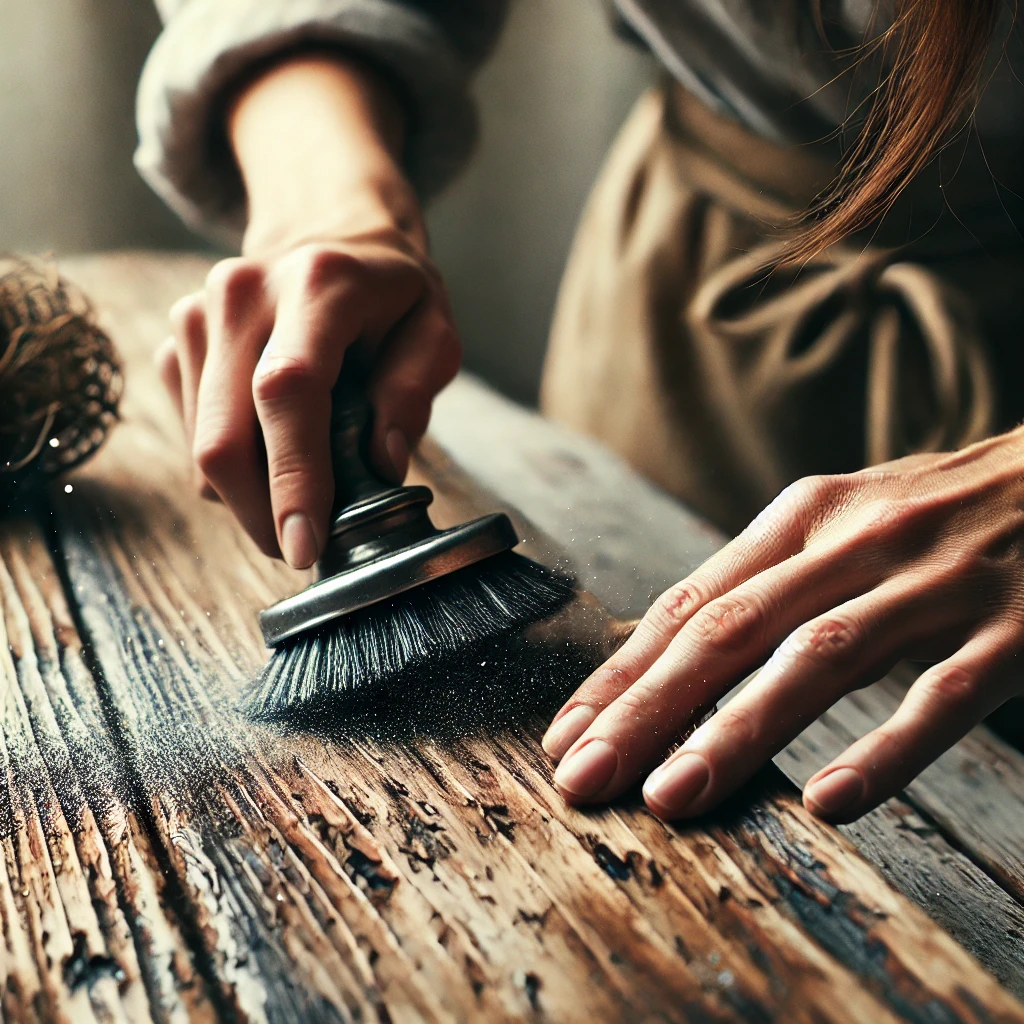
This is the farmhouse finishing touch. Mix white craft paint with water, about 1 part paint to 2 parts water. Dip a dry brush, wipe almost all of it off on a paper towel, then drag it lightly along the grain.
The paint catches on the raised ridges and skips the grooves, which looks like years of sunlight bleaching the top of the wood. Build it up slowly. You can always add another pass, and taking it off is much harder.
Want gray, aged tones instead of white? The vinegar and steel wool solution in my vintage stain guide works on rustic pieces too. Test it on a scrap first.
Step 7: Seal in Matte
Once everything is dry, brush on a thin coat of matte polyurethane. Check your can; typical is about 2 hours before recoating for water-based poly and about 4 to 6 hours for oil-based. Rub very lightly with steel wool, wipe off the dust, and add a second thin coat.
Gloss or semi-gloss makes rustic wood look plastic. Matte keeps it dry and touchable.
Three Rustic Finishes Compared
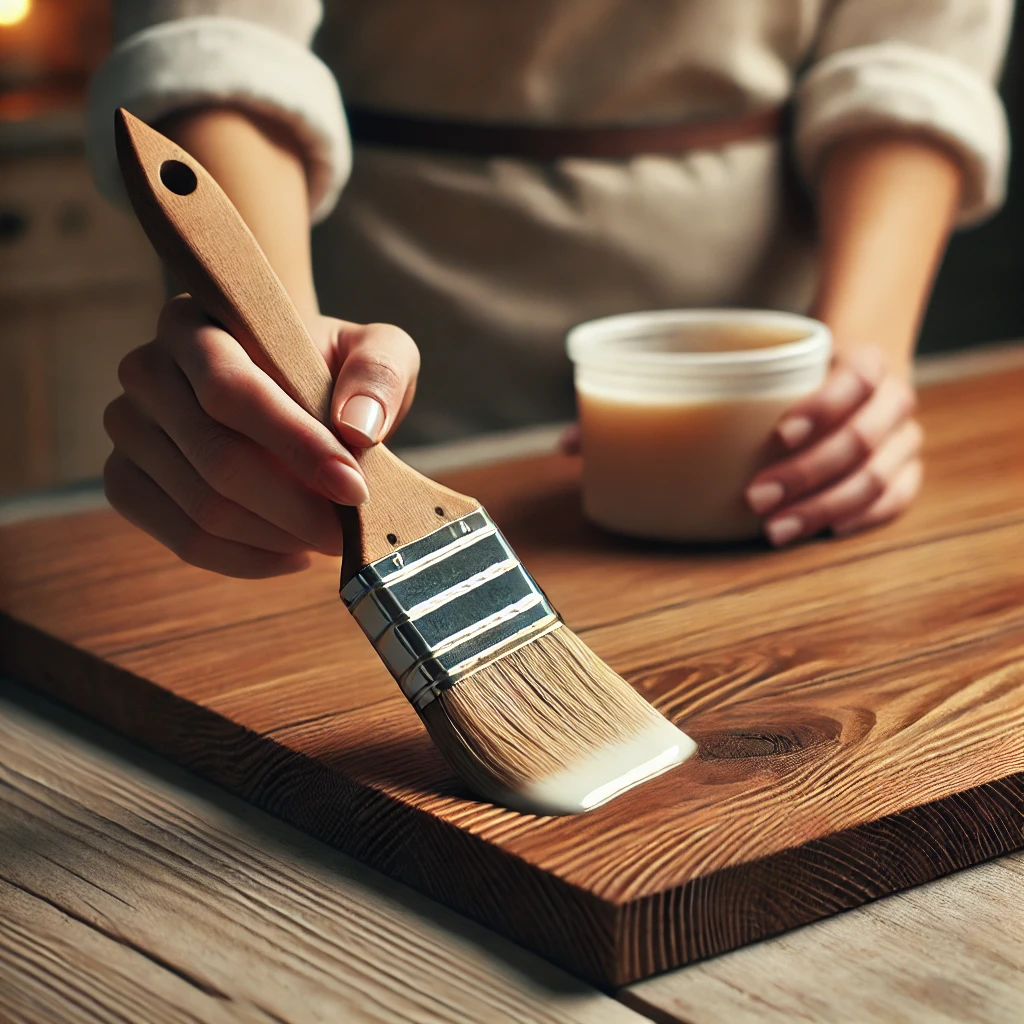
Not sure how far to take it? Pick by the piece and how much time you have.
| Finish | Look | Best for | Effort |
|---|---|---|---|
| Single warm stain | Clean, honest brown | Frames, signs | 1 afternoon |
| Layered stain + brushing | Deep barn-board texture | Shelves, easels | 1 weekend |
| Layered + whitewash | Sun-bleached farmhouse | Statement pieces | 1 weekend+ |
Safety Notes
- Air it out. Work outdoors or with windows open and a fan pulling fumes outside.
- Wear gloves and eye protection for wire-brushing. Loose bristles and splinters fly.
- Oily rags can catch fire on their own. Lay rags used with oil-based stain or poly flat outdoors to dry, or seal them in a metal can of water, and follow your can’s instructions and local disposal rules.
A Sturdy Surface for Your DIY Projects
You don’t need special furniture to stain a frame. If you plan to refinish shelves, easels and signs regularly, though, a solid bench at standing height saves your back and gives you a surface you don’t mind marking up.
Shain Wood Top Workbench. A heavy wood-top bench that stays put while you sand and wire-brush. Worth it for: anyone doing a DIY project every month or so, or artists who want a messy-work table separate from the drawing desk. Skip it if: you stain one piece a year. Two sawhorses and a plywood sheet in the driveway do the job.
The Takeaway
Rustic is texture first: sand rough, wire-brush along the grain, layer a light stain under a warm dark one, then distress and whitewash where real wear would happen. Seal it in matte and nobody will guess it came off a store shelf last week.
What’s your first rustic project going to be: an easel, a frame, a shelf or a studio sign? Tell me in the comments, and save this pin for your next weekend project.
Keep going:
[…] 🎨 Want More Inspiration? Check out our related posts:How to Stain Wood for a Rustic Farmhouse Look: A DIY Guide […]