This post contains affiliate links. If you buy through them, I may earn a small commission at no extra cost to you.
A beautiful garden is made in the details, and handmade plant markers are one of the most charming. They keep herbs, flowers, and vegetables organized while adding a personal, artistic touch to every bed and pot. Whether you love rustic wood or delicate clay, here is how to make markers that are both lovely and long-lasting.
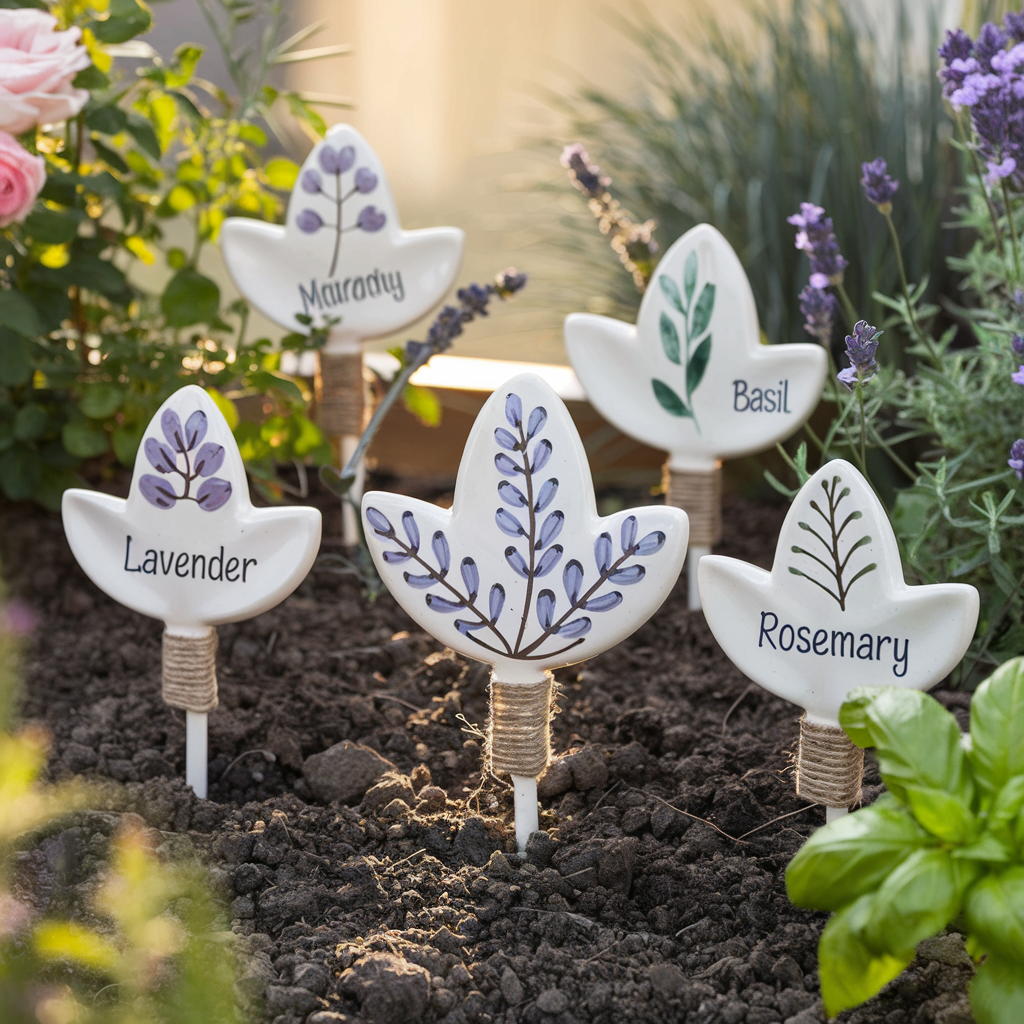
1. Choose Your Material
- Air-dry or polymer clay for delicate, hand-etched botanical designs. See an air-dry clay set.
- Wooden stakes or slices for rustic, vintage charm. See wooden herb markers.
- Metal tags for a sleek, long-lasting look. See copper garden labels.
- Chalkboard stakes for rotating crops. See mini chalkboard stakes.
- Ceramic tiles for painted, artistic labels. See ceramic tiles.
Tip: choose weatherproof materials so your markers last through the seasons.
2. Clay Garden Markers
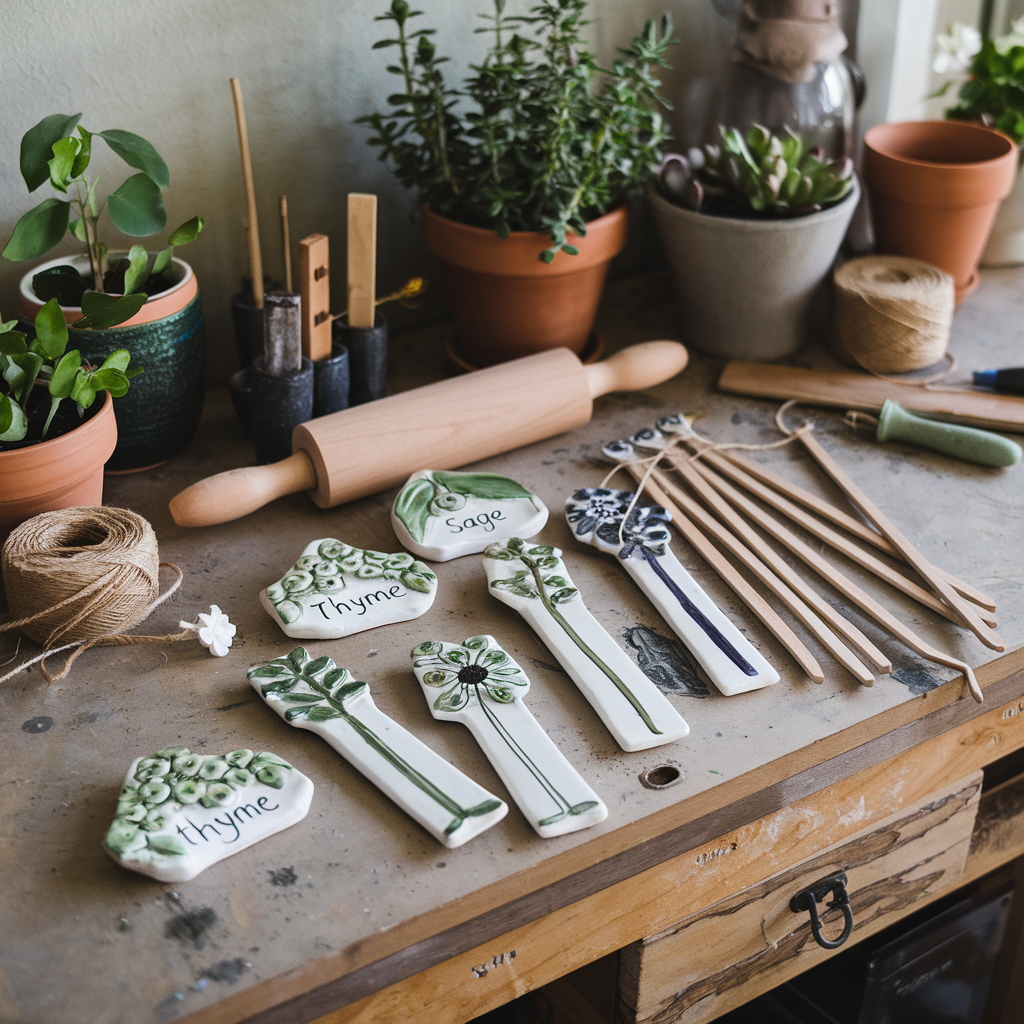
Clay markers have a timeless, handcrafted elegance.
Shape
- Roll clay to about a quarter inch thick.
- Cut long rectangles or leaf shapes with a knife or cutter.
- Smooth the edges with a damp cloth.
Personalize
- Press in letters with a stamp set or carve names with a stylus before the clay dries.
- Press a real leaf or flower into the surface for a natural imprint.
- Let air-dry clay dry for 24 to 48 hours, or bake polymer clay as directed.
Paint and Seal
- Highlight details with outdoor acrylics or metallic ink.
- Seal with a UV-resistant outdoor sealant.
- Attach to stakes or small wooden boards for extra durability.
3. Rustic Wooden Markers
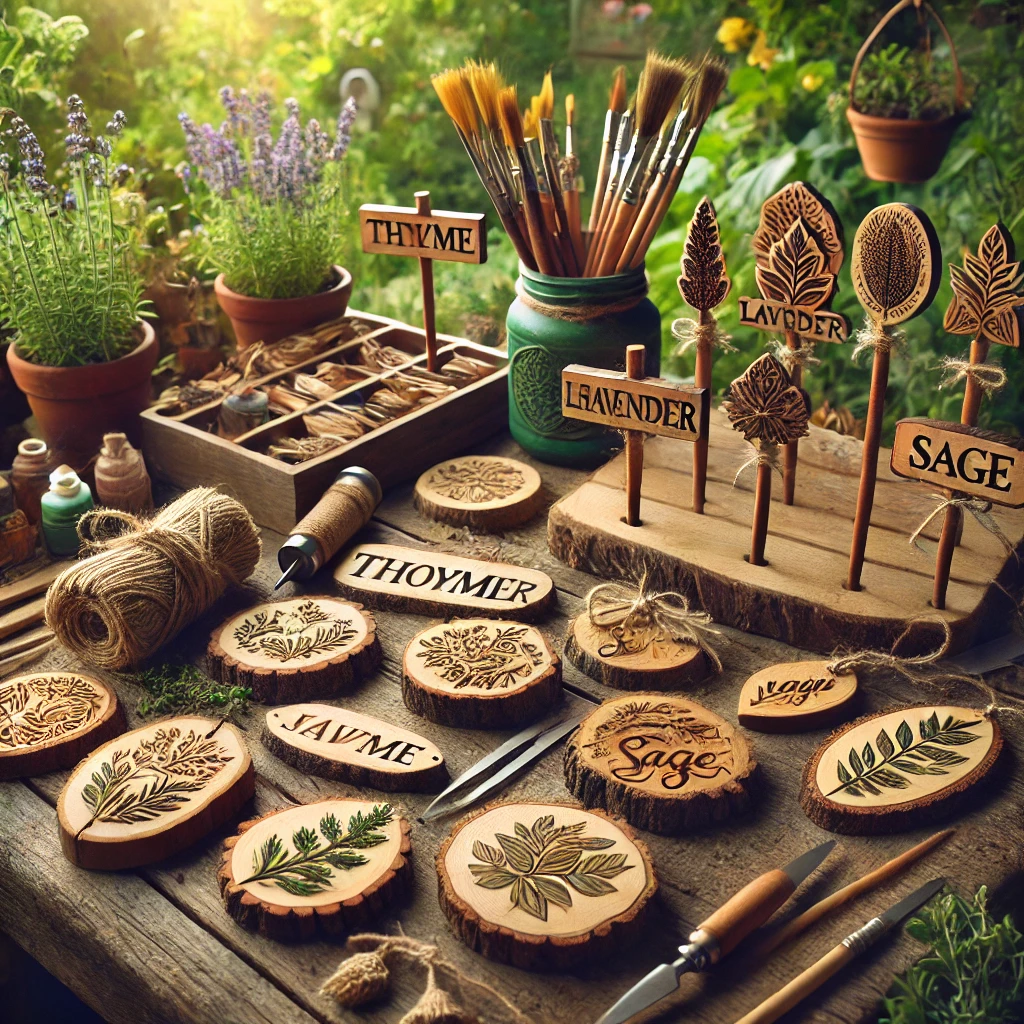
For a farmhouse feel, wood is hard to beat.
Prepare
Use craft sticks, small branches, or wood slices, and sand the edges smooth.
Letter
A wood-burning pen creates classic, lasting lettering. A fine brush or paint marker works too. Add a little floral sketch or calligraphy for elegance.
Seal
Protect with an outdoor wood sealant, then attach to bamboo stakes or small metal rods.
Tip: lightly distress the edges with sandpaper for a true vintage look.
4. Chalkboard and Ceramic Markers
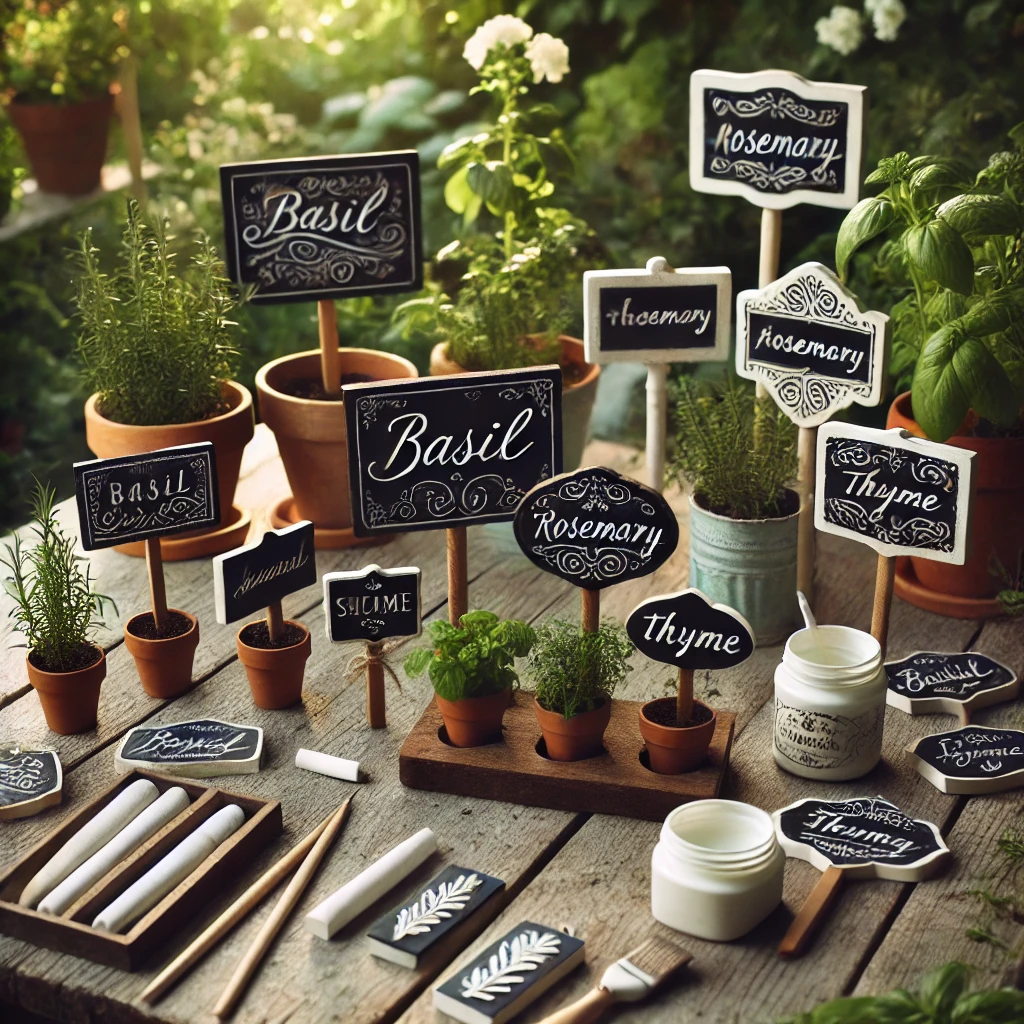
Chalkboard
Paint small boards or stakes with outdoor chalkboard paint and write names with a waterproof chalk marker that can be changed each season.
Hand-Painted Ceramic
Paint delicate florals and plant names onto tile pieces with ceramic paint pens, bake to set the paint according to the pen’s instructions, and tuck them between garden stones or attach to stakes. Sand any sharp edges first.
Tip: ceramic markers are especially lovely in herb gardens and fairy gardens.
5. Where to Use Them
- Vegetable and herb beds to track seasonal crops.
- Flower borders to name each bloom.
- Pots and greenhouses to identify seedlings.
- Garden paths as charming little signposts.
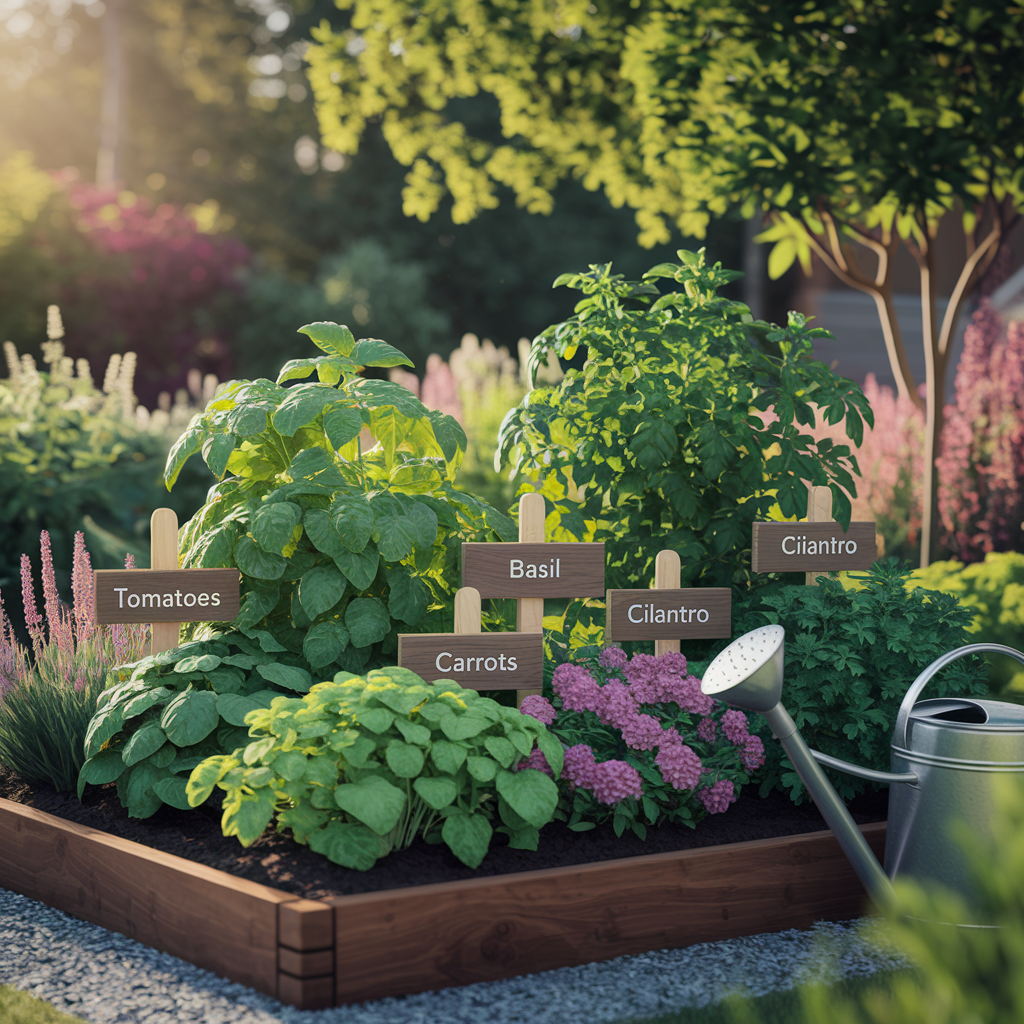
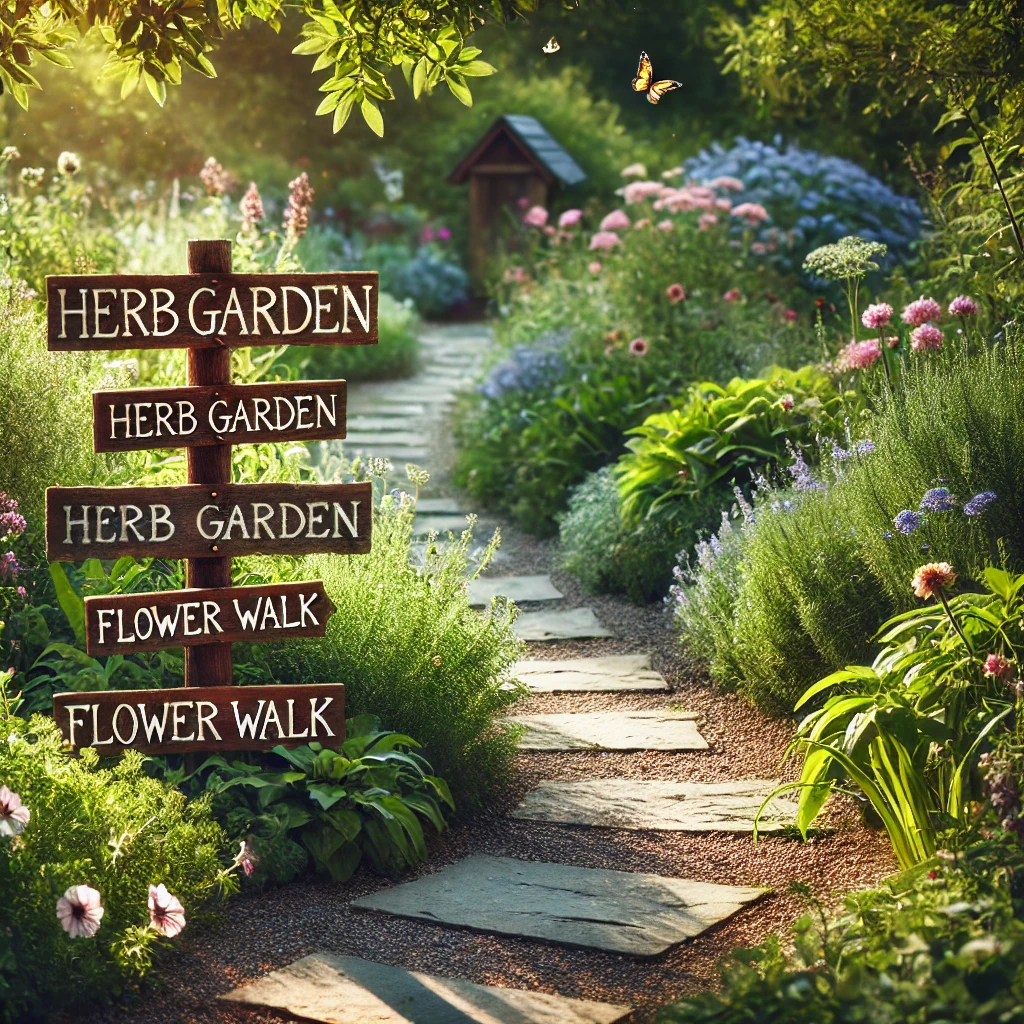
A Garden with Personality
Handmade markers are more than labels. They are small expressions of your creativity that make your garden feel uniquely yours.
Which style suits your garden? Share in the comments, and save this guide to Pinterest for spring planting.
[…] Handmade Garden Markers by Artistic Blossom […]