This post contains affiliate links. If you buy through them, I may earn a small commission at no extra cost to you.
Hand-painted garden signs bring charm, whimsy, and personality to any outdoor space. Whether you want to label your herbs, welcome guests, or share a favorite quote, this tutorial will guide you through creating watercolor-style signs that last.
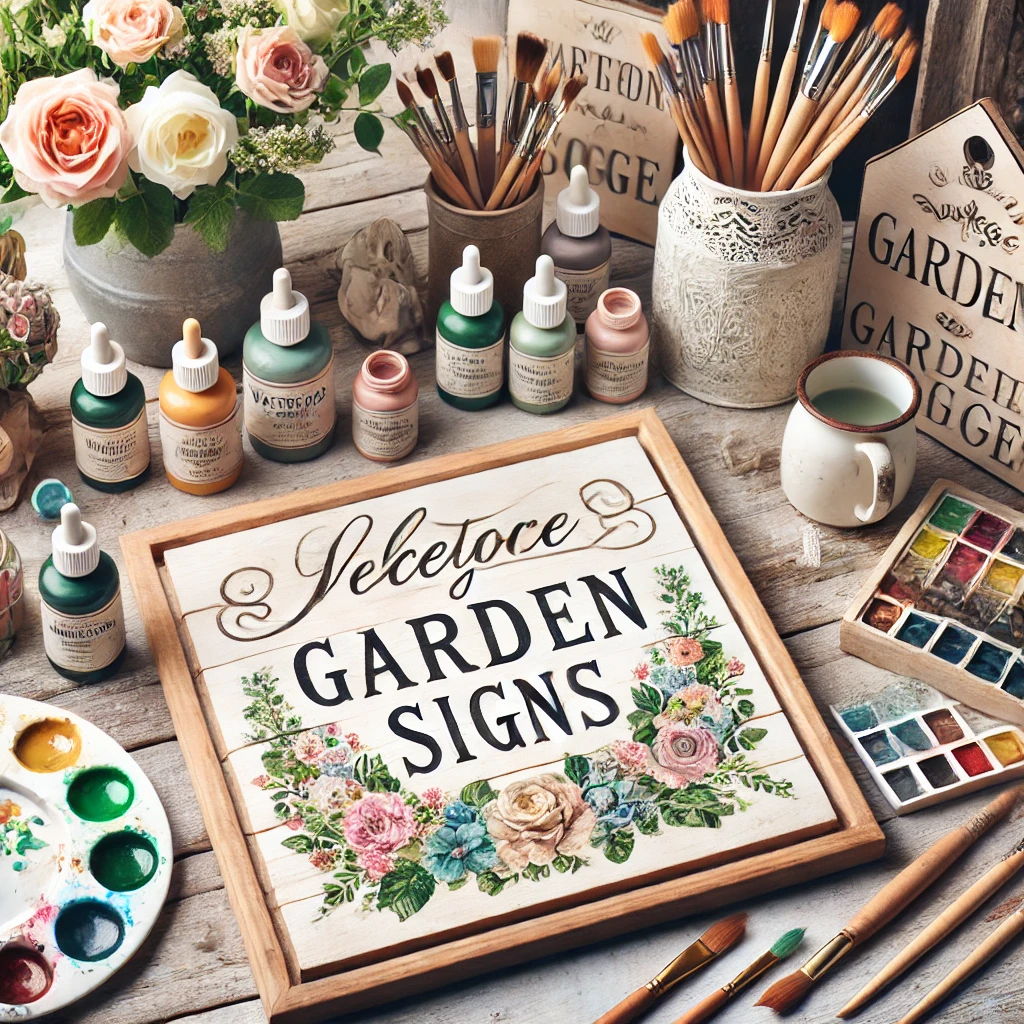
1. Gather Your Supplies
- Wood or ceramic blanks: smooth unfinished plaques or glazed tiles.
- Acrylic paints: traditional watercolor does not bond well to wood, so choose fluid acrylics thinned with water for a watercolor look.
- Fine brushes and water brush pens for soft effects.
- A chalk pencil or transfer paper for sketching.
- Waterproof paint pens for crisp lettering.
- Outdoor Mod Podge or a spray sealer for weather protection.
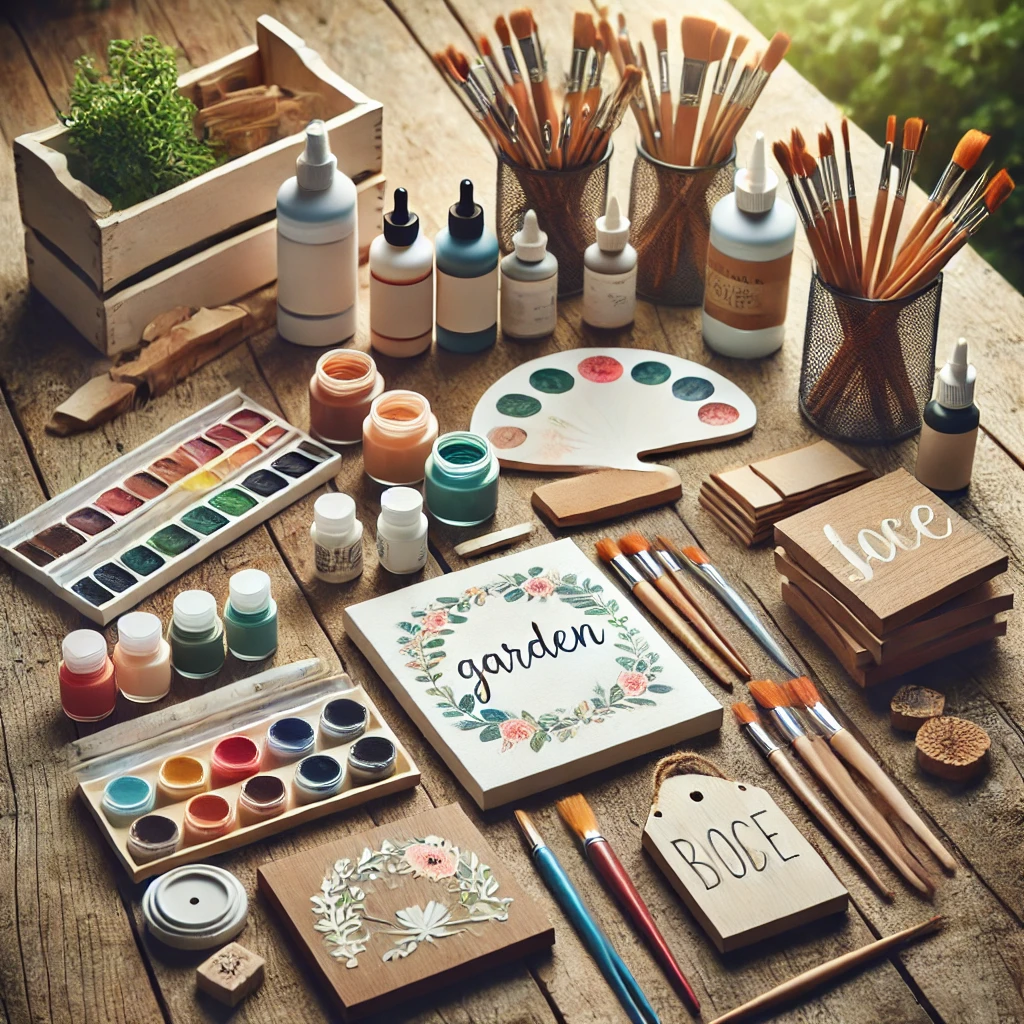
Tip: for ceramic tiles, choose paints made for ceramic and a clear outdoor finish.
Shop: DIY garden sign supplies.
2. Paint Your Signs
Step 1: Prepare the Surface

Lightly sand wood for a smooth finish, and wipe ceramic with rubbing alcohol to remove oils. On wood, a thin white base coat helps colors glow.
Step 2: Sketch Your Design
Sketch florals, butterflies, or lettering with a chalk pencil or transfer paper. Practice lettering on paper first, or use stencils for even spacing. Loose botanicals such as wildflowers, lavender, and vines suit the watercolor style beautifully.
Step 3: Paint the Watercolor Effect
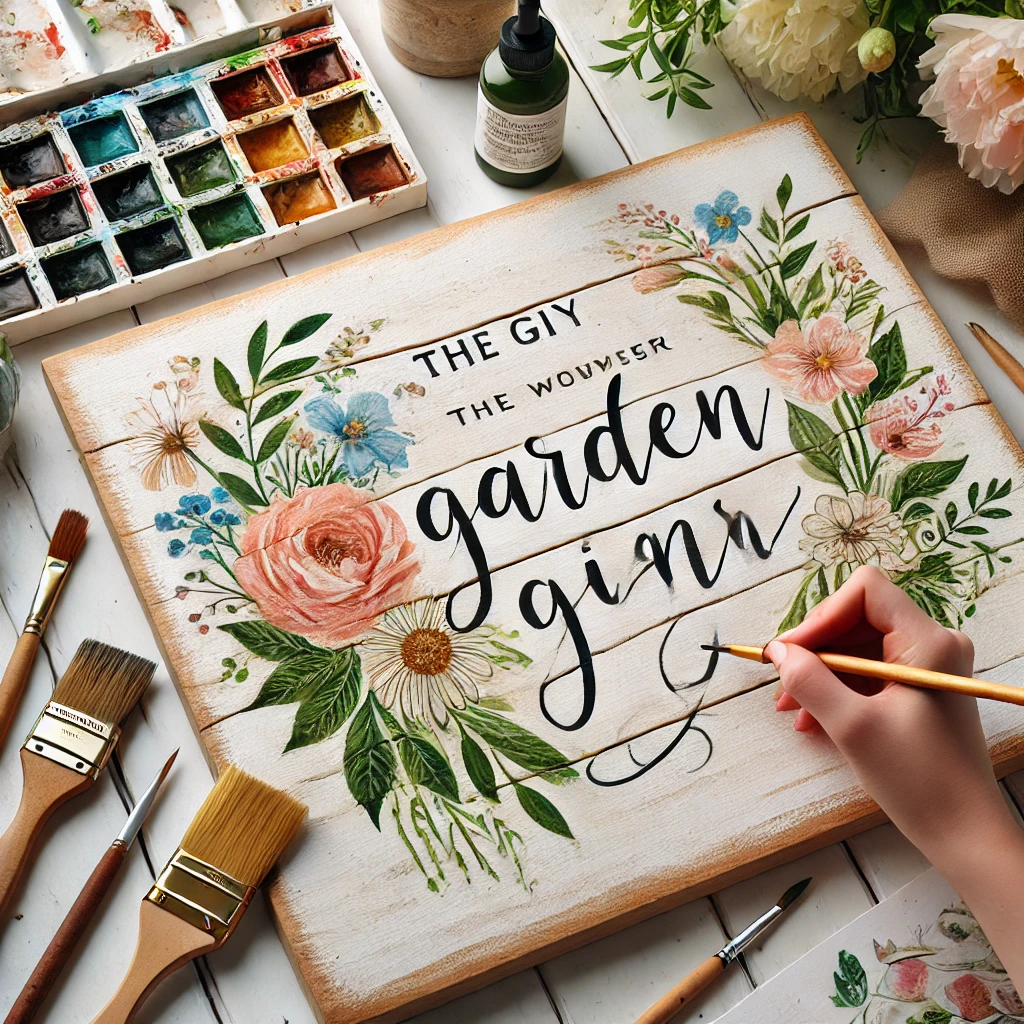
Lay down soft, thinned washes of color, letting wet edges bleed together naturally. A water brush pen creates delicate gradients. If paint spreads too far, let it dry before adding the next layer.
Step 4: Letter and Add Details
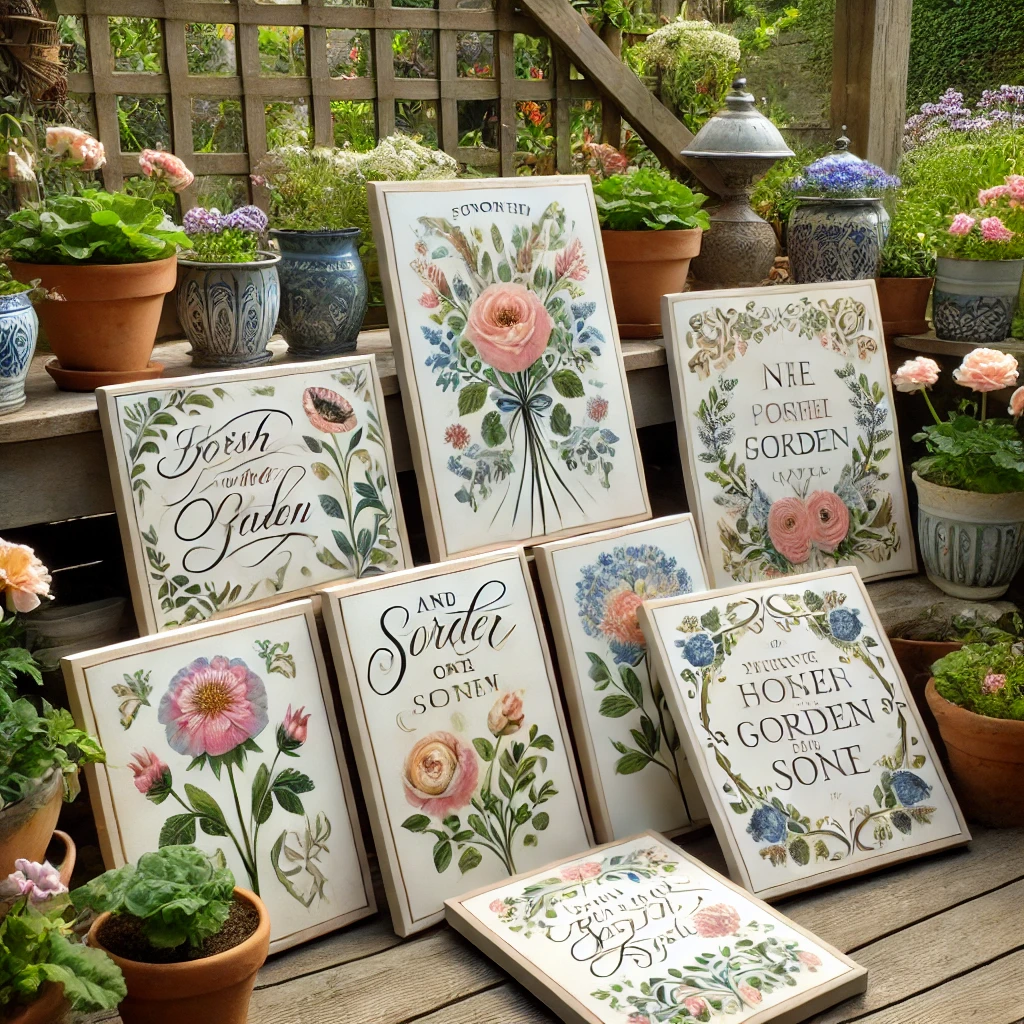
Once dry, add your words with a waterproof paint pen or fine brush. A few favorites: “Welcome to My Secret Garden,” “Grow with Love,” “Bloom Where You Are Planted,” and “Herbs and Wildflowers.”
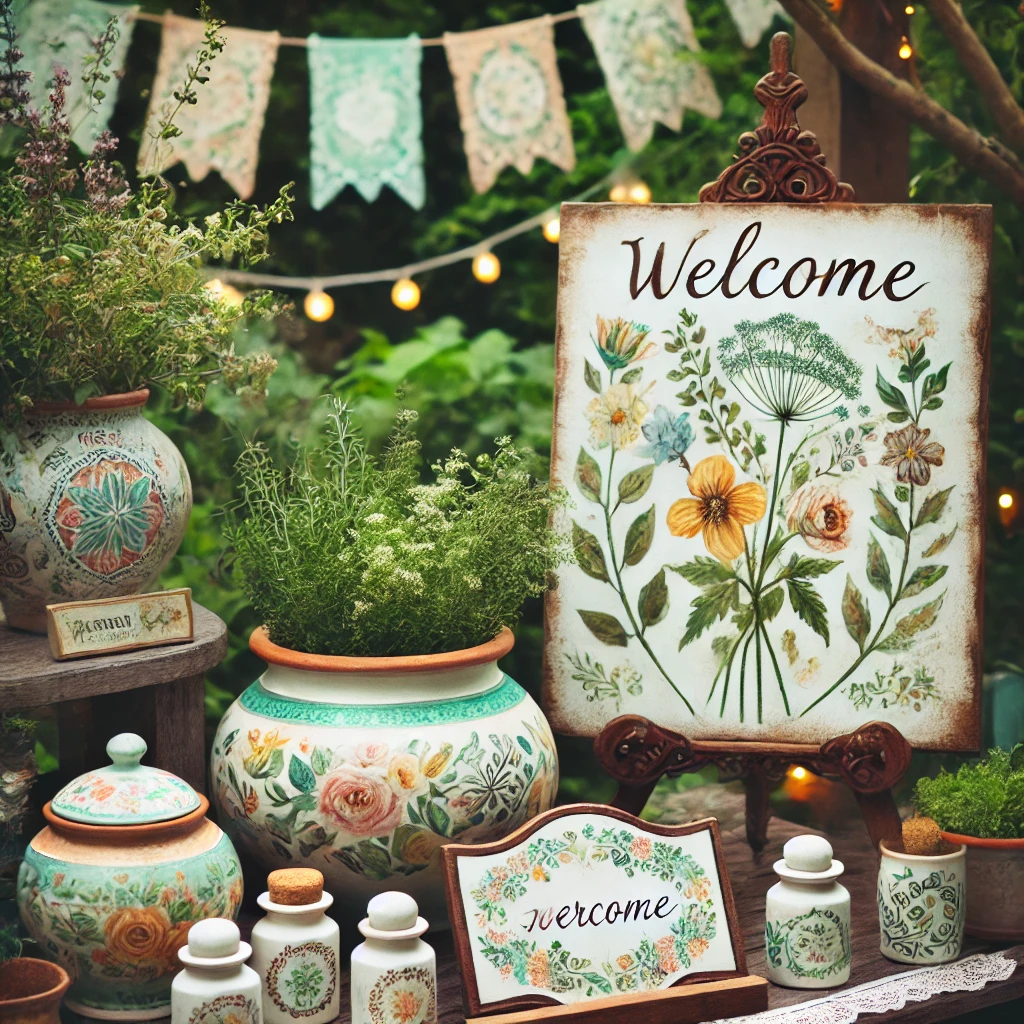
Tip: sand the edges lightly after painting for a vintage finish.
Step 5: Seal
Apply two or three coats of outdoor sealer, outside or in a well-ventilated space, and let it cure completely before placing it in the garden. See weatherproof sealers.
3. More Painted Garden Ideas
- Herb markers with tiny watercolor flowers.
- A welcome sign with a painted floral wreath.
- Painted flower pots with botanical designs.
- A birdhouse decorated with vines and birds.
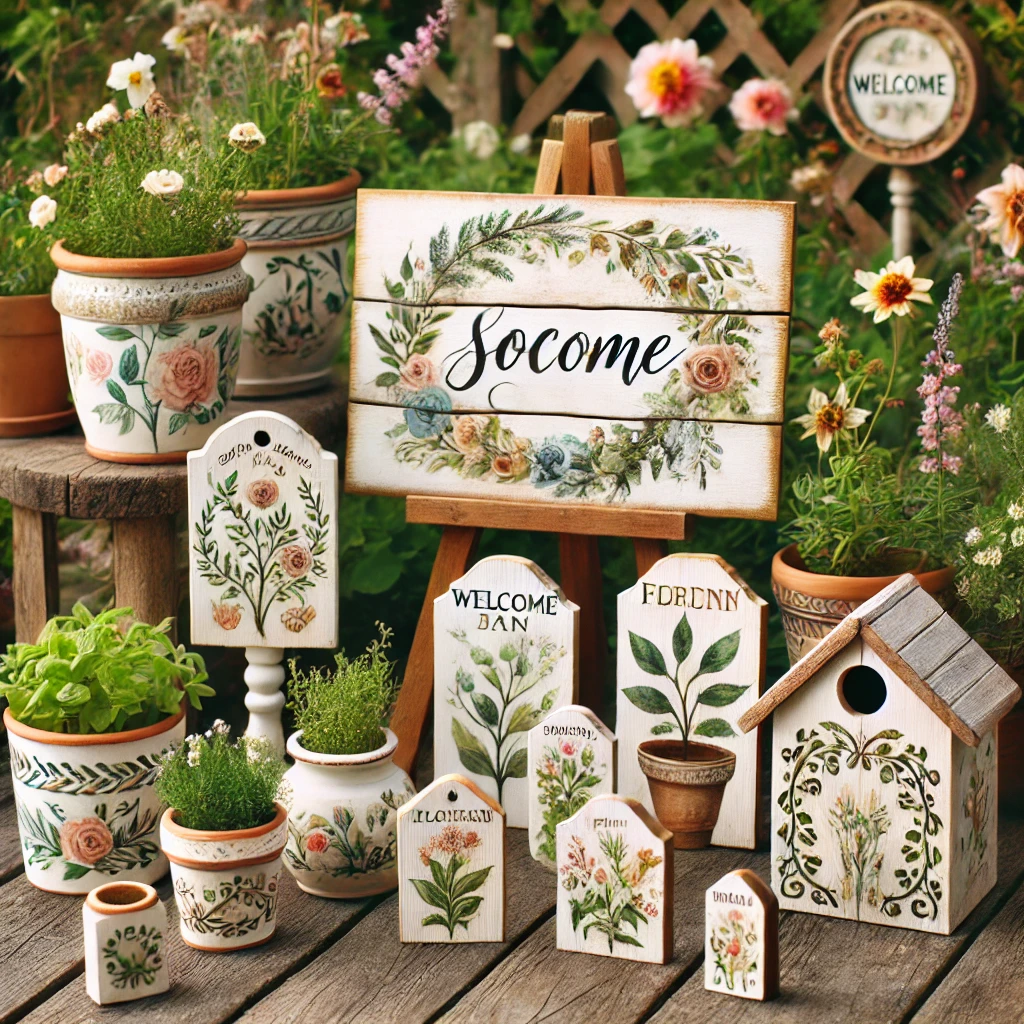
Shop: pre-cut wooden signs, ceramic tiles, and paint sets.
4. Display Your Signs
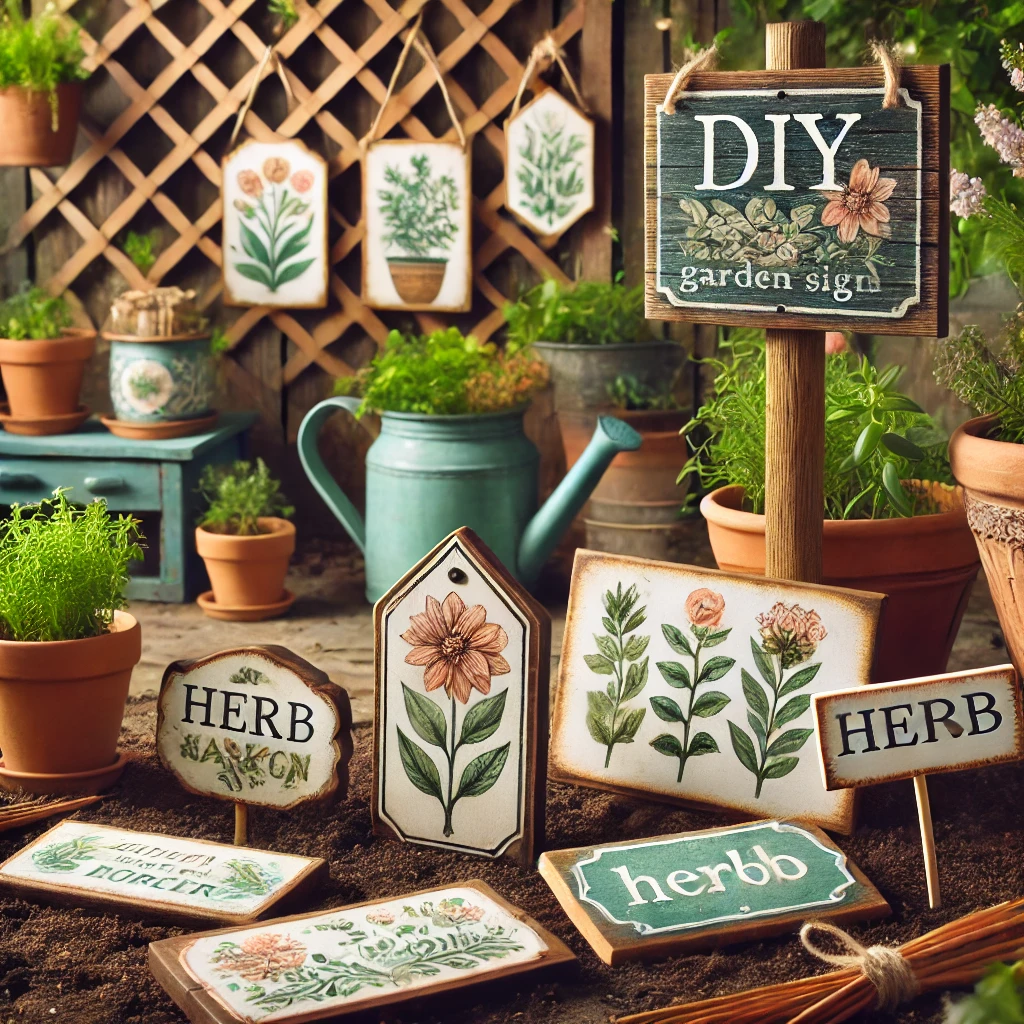
- Hang them on fences or trellises.
- Tuck them into flower beds and vegetable patches.
- Lean them against pots or the garden shed.
- Create a signpost pointing to different plants.
Tip: pair your signs with fairy lights and vintage furniture for an enchanted feel. See fairy lights, garden hooks, and display stands.
Start Painting
Hand-painted signs are a relaxing, joyful way to bring your personality into the garden. Choose a design, gather your supplies, and let your creativity bloom.
Which sign will you paint first? Share in the comments. For more, see Handmade Garden Markers.