This post contains affiliate links. If you buy through them, I may earn a small commission at no extra cost to you.
An old window frame, weathered and full of character, can become one of the most charming pieces in your home. With a little sanding, paint, and twine, it transforms into a display for photos, plants, or artwork. Here is how to make your own.
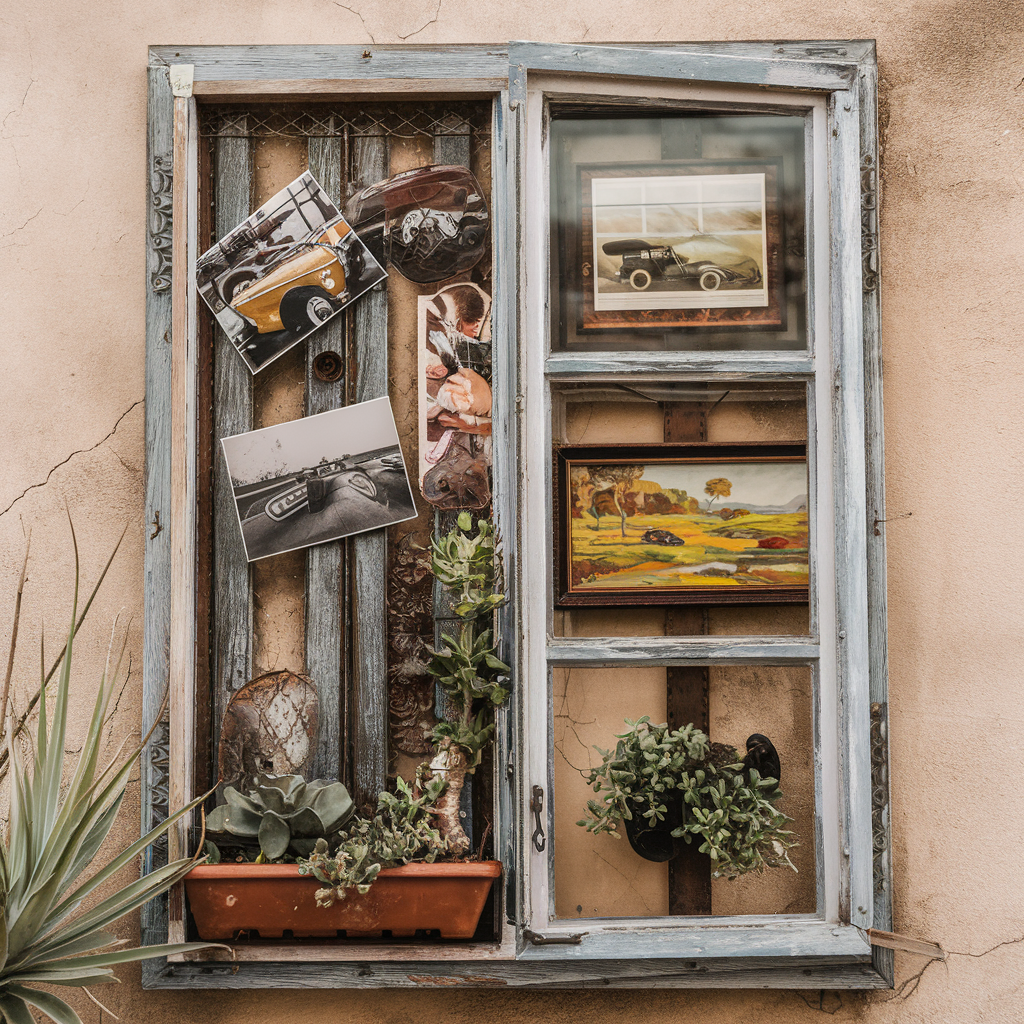
Materials and Tools
- An old wooden window frame, with or without glass
- Sandpaper in medium and fine grit
- Chalk paint or wood stain (optional)
- Twine or thin wire
- Mini clothespins or small hooks
- A staple gun or small nails
- Heavy-duty picture hanging hardware
- A screwdriver, measuring tape, paintbrush, and level
- Your display items: photos, plants, art, or string lights
Step 1: Find Your Frame
Look in thrift stores, antique shops, salvage yards, or renovation projects. Check its condition: if the glass is cracked, carefully remove it wearing gloves, replace it, or leave the panes open.
Step 2: Sand and Prep
A note on old paint: windows made before 1978 often have lead paint. Test with an inexpensive lead test kit before sanding or scraping, and if it tests positive, seal the old paint under a fresh coat rather than sanding it.
Once you know the paint is safe, smooth rough spots and lightly distress the surface for an aged look, using medium grit on flat areas and fine grit on the edges. Wear a dust mask, then wipe away dust with a damp cloth.
Step 3: Paint or Stain (Optional)
Apply one or two coats of chalk paint or wood stain. For a distressed finish, let it dry and lightly sand where natural wear would occur. Let everything dry fully before continuing.
Step 4: Add Twine or Wire
Cut twine or wire to span the frame and staple or nail it firmly to each side. Add several rows for a multi-level display, or skip the twine and screw small hooks directly into the frame.
Step 5: Add Clips or Hooks

Clip clothespins or small binder clips onto the twine to hold photos, postcards, and small art. Decorative hooks on the frame itself can hold lightweight plants or small framed pieces.
Step 6: Arrange Your Display
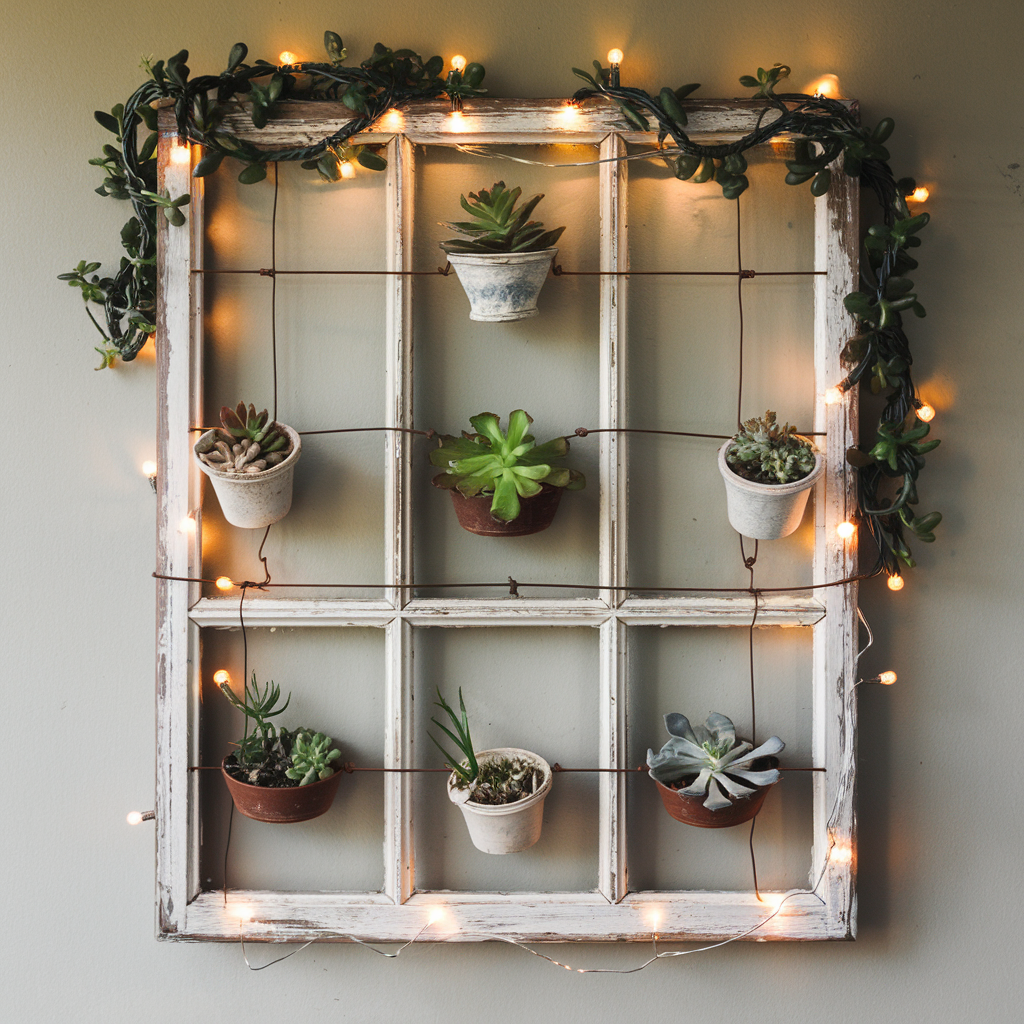
Mix family photos, vintage postcards, and small artworks. Add tiny potted succulents for life, or weave warm LED string lights through the frame for a cozy glow.
Step 7: Hang It
Old windows are heavier than they look. Attach sturdy D-rings to the back, mark your spot, check it with a level, and screw into a wall stud or use anchors rated for the weight.
Finishing Touches

Add a backing board for stability if you plan to display heavier items. Layer in small vintage mirrors, twigs, or shells, or hang a seasonal wreath in the center.
For styling ideas, see 10 Must-Try Ideas for Decorating Your Vintage Window Frame, and follow Artistic Blossom Studio on Pinterest.
[…] For a Step-by-Step Guide to Creating a Vintage Window Frame, View-Here–> […]