This post contains affiliate links. If you buy through them, I may earn a small commission at no extra cost to you.
That drawing in your sketchbook drawer deserves a wall. The frame doesn’t have to cost more than the paper it’s drawn on.
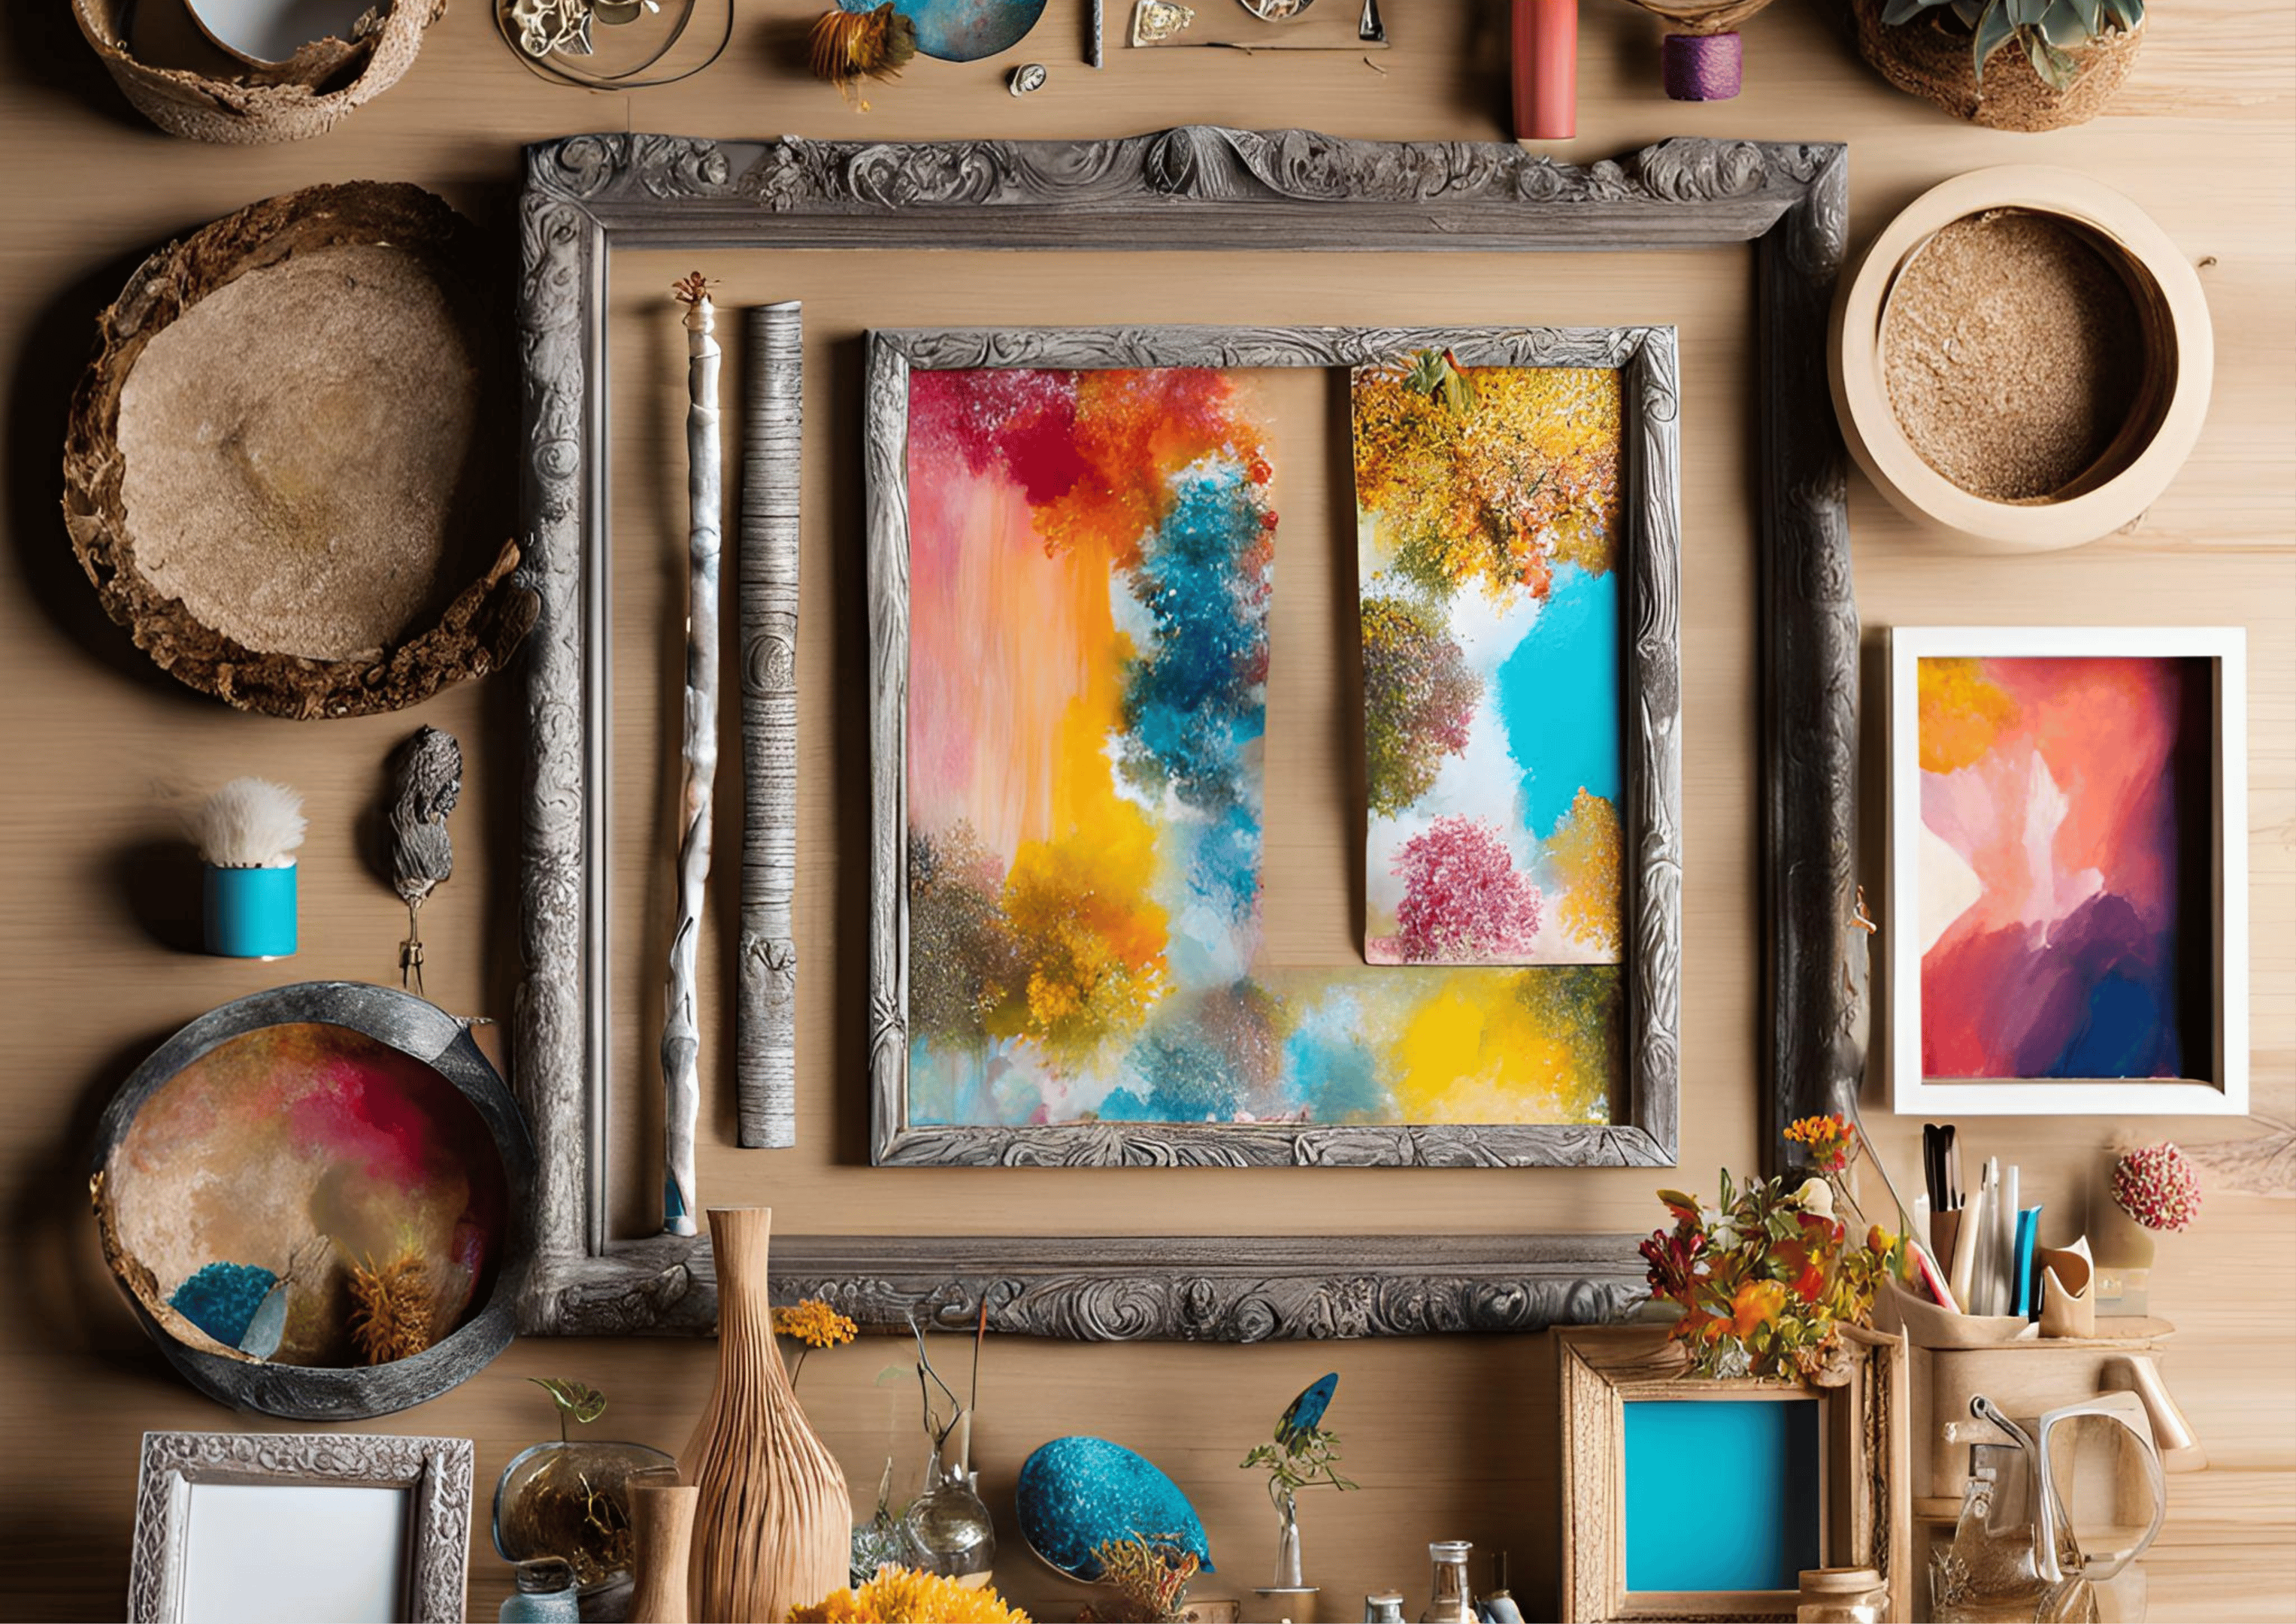
My take: the frame matters less than the mat. A plain frame with a wide, clean mat makes almost any piece look gallery-ready, while a fancy frame squeezed tight around the art makes it look like a refrigerator drawing. So get the sizing right first, then have fun with the frame itself.
Below are seven DIY frame ideas, a size chart, a few safety rules for old wood, and a quick guide to what’s worth buying.
Quick answer

If you only do one thing: frame your art one size up and add a mat. A 5×7 drawing in an 8×10 frame with a mat, or an 8×10 in an 11×14, instantly looks finished. Use an acid-free mat so it doesn’t yellow your paper over the years.
The 7 frame ideas at a glance
| Idea | Difficulty | Cost | Time |
|---|---|---|---|
| Pallet wood | Medium | $ | 2 to 3 hrs |
| Washi tape | Easy | $ | 15 min |
| Shadow box | Easy | $$ | 1 hr |
| Twig frame | Easy | $ | 1 hr plus drying |
| Floating glass | Easy | $$ | 20 min |
| Vintage window | Medium | $$ | Half a day |
| Thrift flip | Easy | $ | 1 to 2 hrs |
Get the size right first
This is the part most DIY posts skip, and it’s the reason so many homemade frames look a little off.
| Art size | Frame size | Mat opening |
|---|---|---|
| 5×7 | 8×10 | about 4.5×6.5 |
| 8×10 | 11×14 | about 7.5×9.5 |
| 11×14 | 16×20 | about 10.5×13.5 |
| 16×20 | 20×24 | about 15.5×19.5 |
The mat opening is a little smaller than the art because a mat overlaps the art by about 1/4 inch on each side. That overlap is what holds the paper flat and hides the edge. If you want the whole sheet to show, deckled edges and all, “float” the art on top of a backing board instead and skip the overlap.
Hinge your art with tape across the top edge only. Paper expands and shrinks with humidity, and taping all four sides is how you get wavy, buckled drawings.
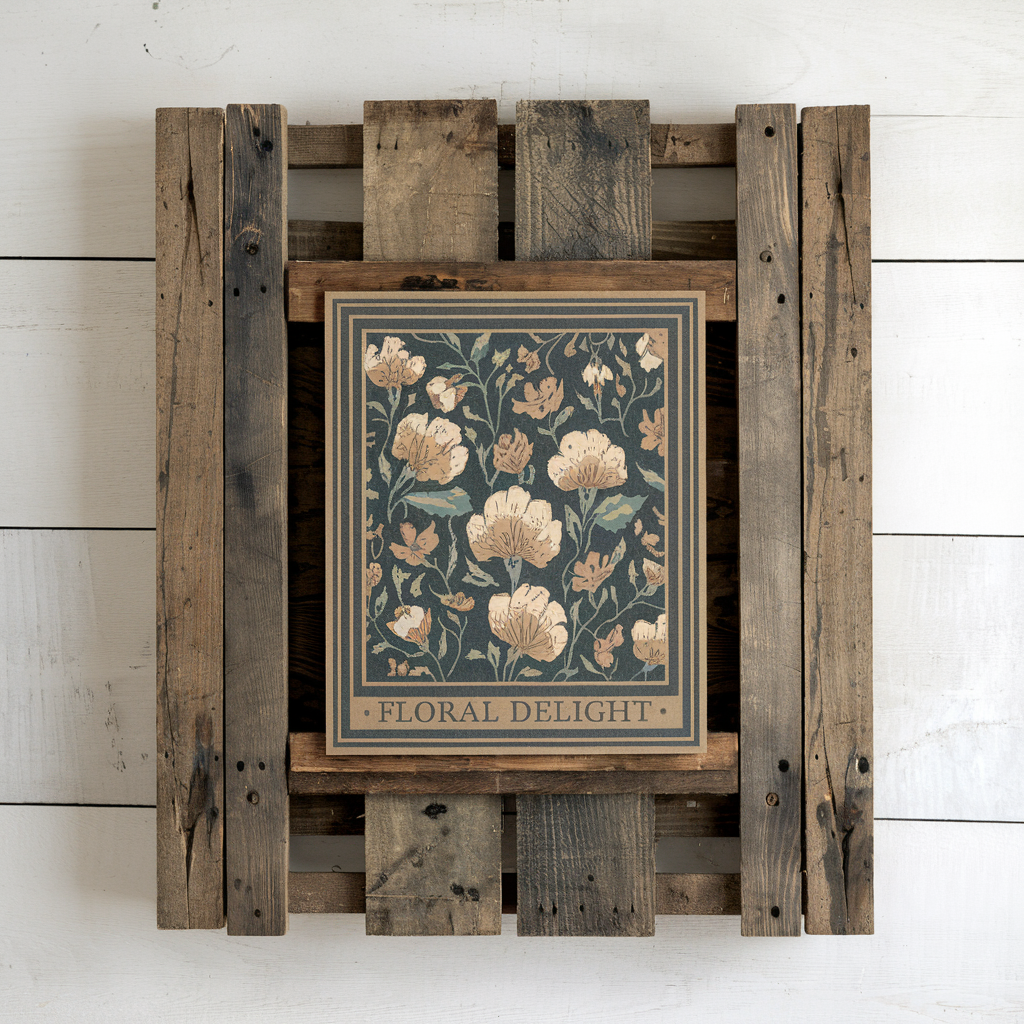
1. Pallet wood frames
Rustic, chunky and practically free. Pallet wood gives you that farmhouse look for a gallery wall, a long clothesline display with twine and mini clips, or a deep shadow box.
Safety first. Look for the stamp on the side of the pallet:
- HT means heat treated. That’s the one you want.
- MB means methyl bromide, a fumigant. Leave it behind.
- No stamp, stains or a chemical smell? Skip it too.
Sand outside with a dust mask on, and wear gloves while you pull nails. A finish sander with 80 grit, then 120, gets most boards smooth in about ten minutes a side.
To build: cut four pieces with 45 degree corners (or simply overlap butt joints for an extra rustic look), glue and brad nail the corners, then add a rabbet with a router or glue a thin strip behind the opening to hold the glass. For a softer, aged look, follow my guide on how to stain wood for a vintage look.
2. Washi tape frames

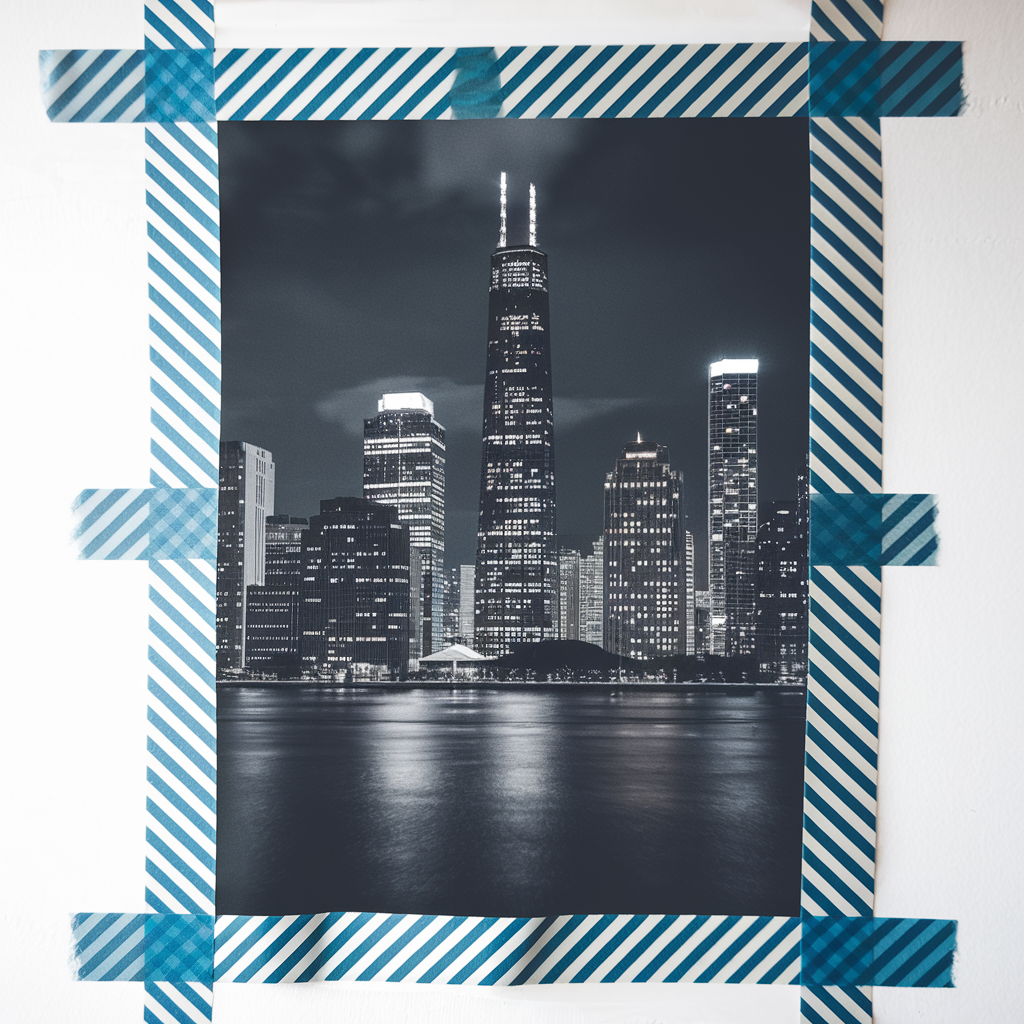
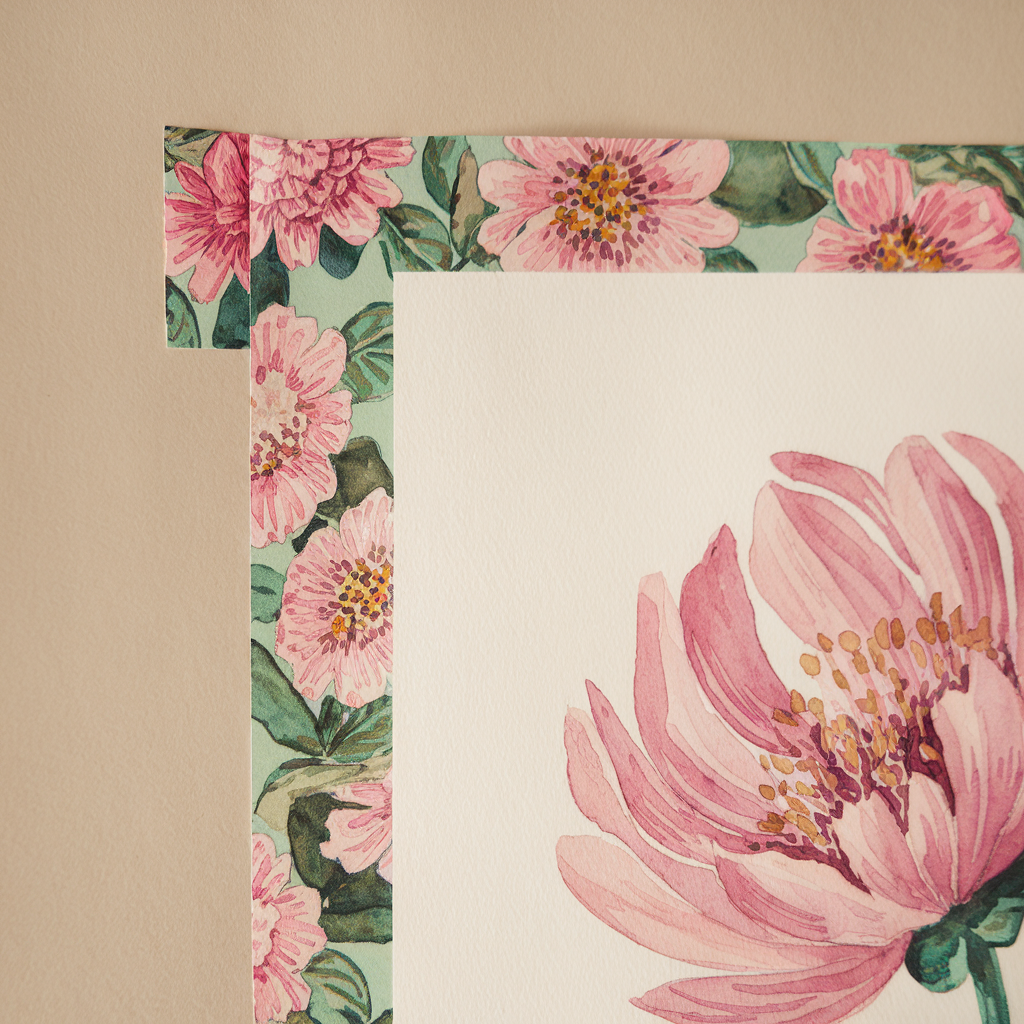
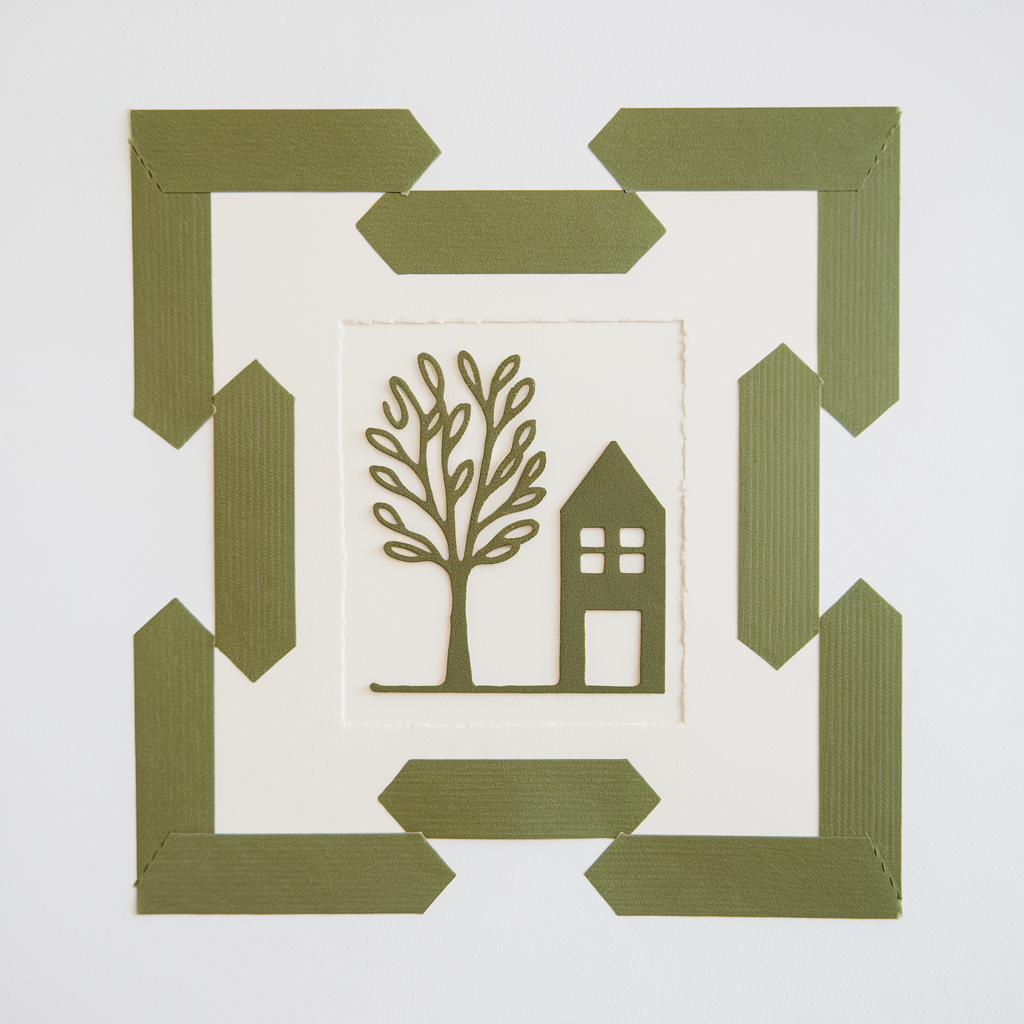
The fastest frame in this post, and the only one that leaves zero holes. Run washi tape straight onto the wall around a drawing, or tape a border onto a mat for a pop of pattern.
- Use a ruler and a pencil tick at each corner so the lines stay square.
- Fold the tape corners at 45 degrees for a mitered look.
- Pick one color family per wall so it reads as a collection.
A washi tape set gives you enough patterns to change the look every season. It’s perfect for kids’ art, sketchbook pages and anyone renting.
3. Shadow box frames
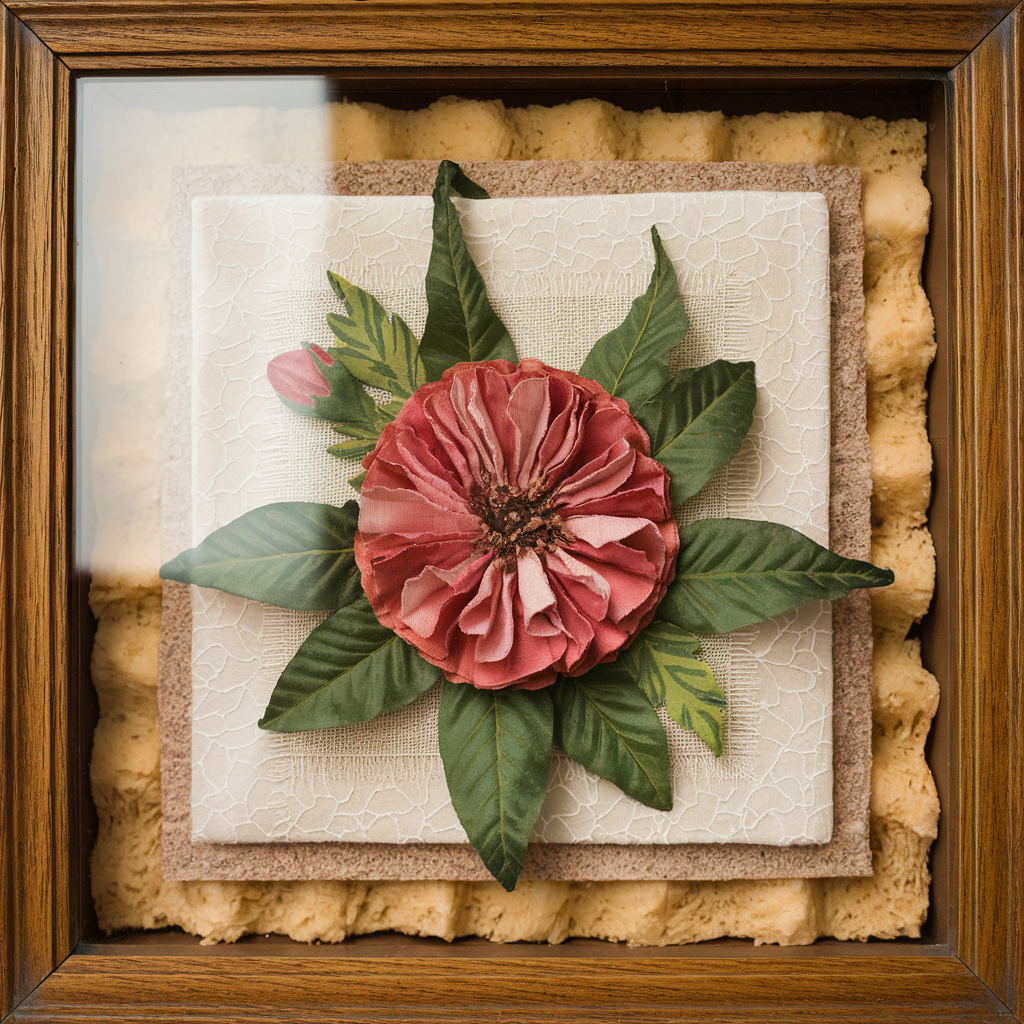
A shadow box gives your art depth, so it’s ideal for anything with dimension: a sculpted paper flower, a palette knife and a tiny painting, a pressed botanical with its sketch.
- Back it with linen, kraft paper or a page of your own pattern work.
- Stack small foam board squares behind objects to lift them toward the glass. Two layers of 3/16 inch foam board gives a nice floating shadow.
- Swap the contents with the seasons: leaves in fall, a winter sketch in December, spring florals in March.
These shadow box frames open from the front, so changing the display takes a minute instead of a screwdriver.
4. Twig and branch frames
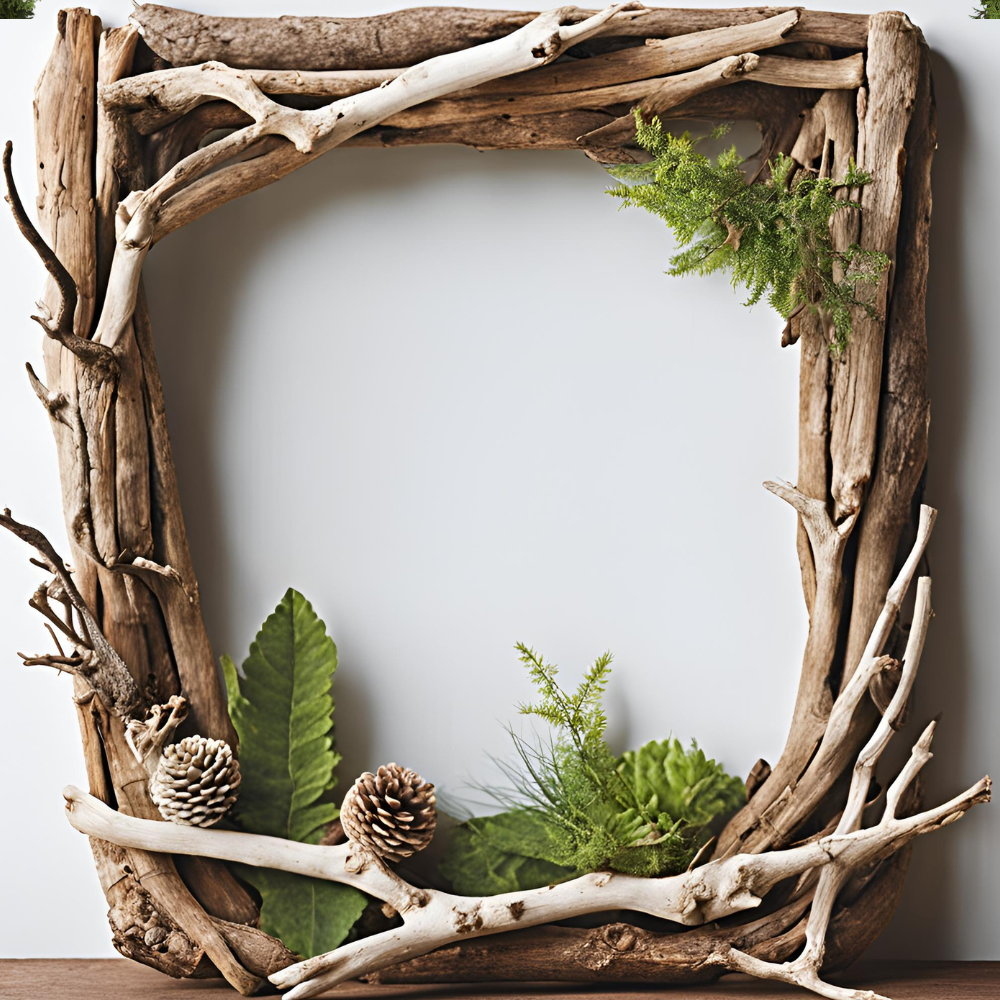
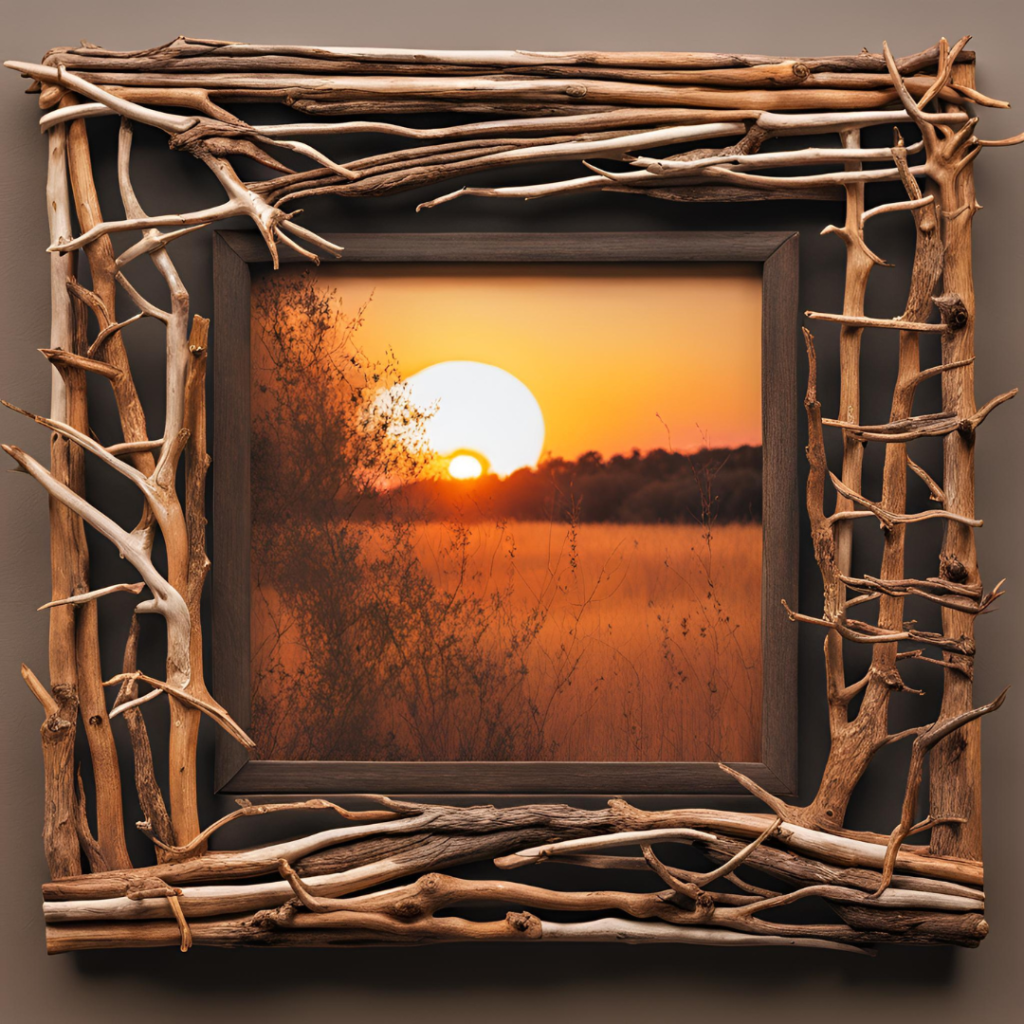
Bring the outdoors right onto the wall. Four matching branches, some wood glue and jute twine are all it takes, and it looks wonderful around a botanical drawing.
The full tutorial, with bug-proofing and a branch length chart, lives in How to Make a DIY Branch Picture Frame. Pair it with how to draw botanical illustrations for art that matches the frame.
5. Floating glass frames
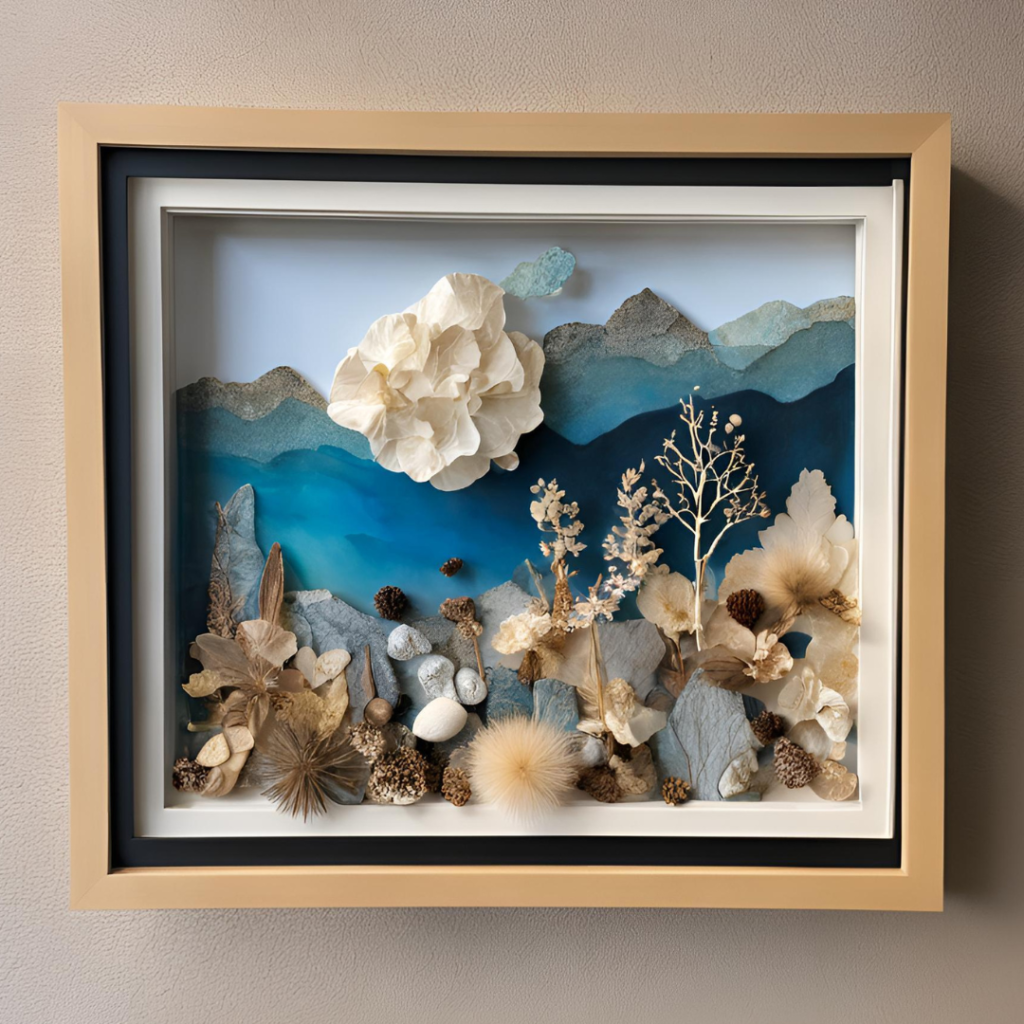
Two panes of glass with your art sandwiched in the middle. The wall color shows through around the edges, so the piece seems to hover.
This style is lovely for pressed flowers, leaves, a small watercolor or a cut paper piece. A floating glass frame is the easiest way to get the look.
- Press flowers for 2 to 3 weeks in a heavy book between sheets of parchment before framing.
- Center the piece with a ruler, then hold it with a tiny dot of acid-free glue so it doesn’t slide.
- Keep it out of direct sun. Pressed petals and watercolor fade fast in a sunny window.
6. Vintage window frames
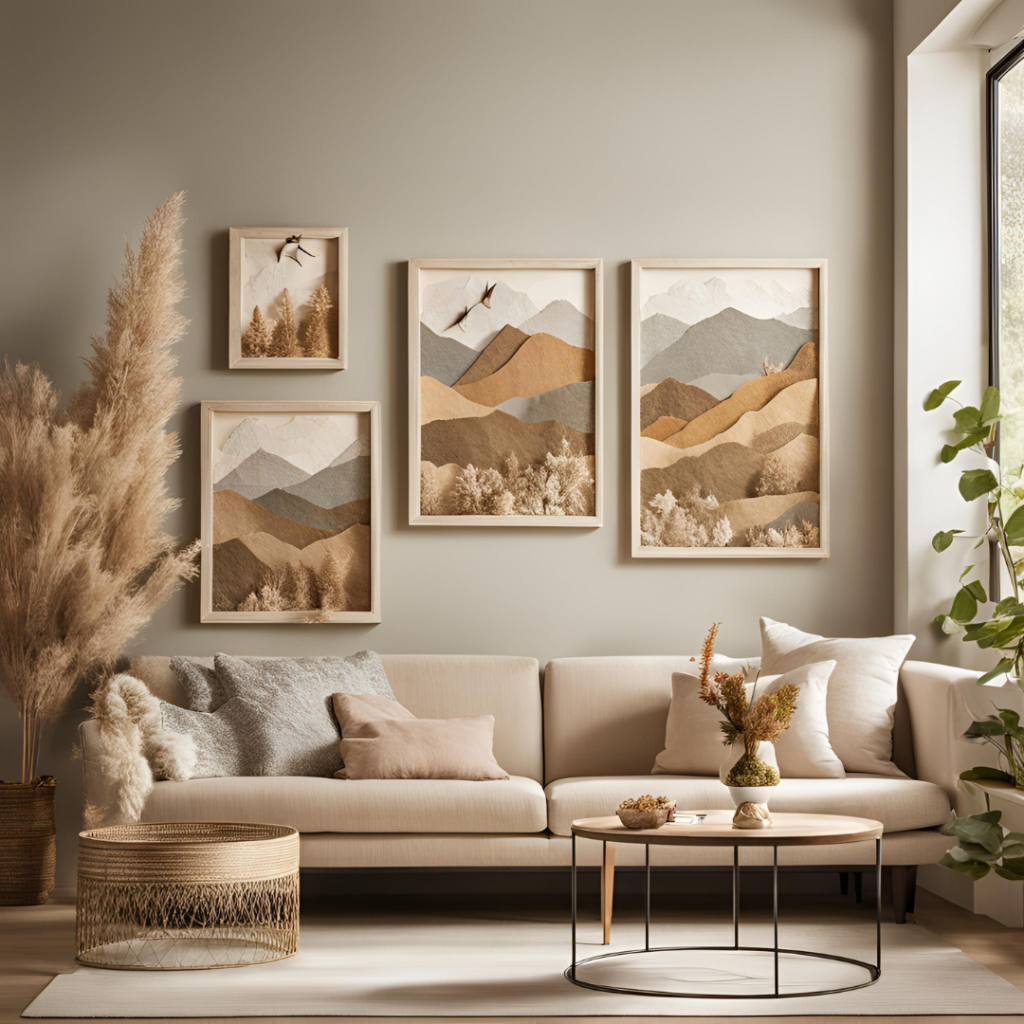
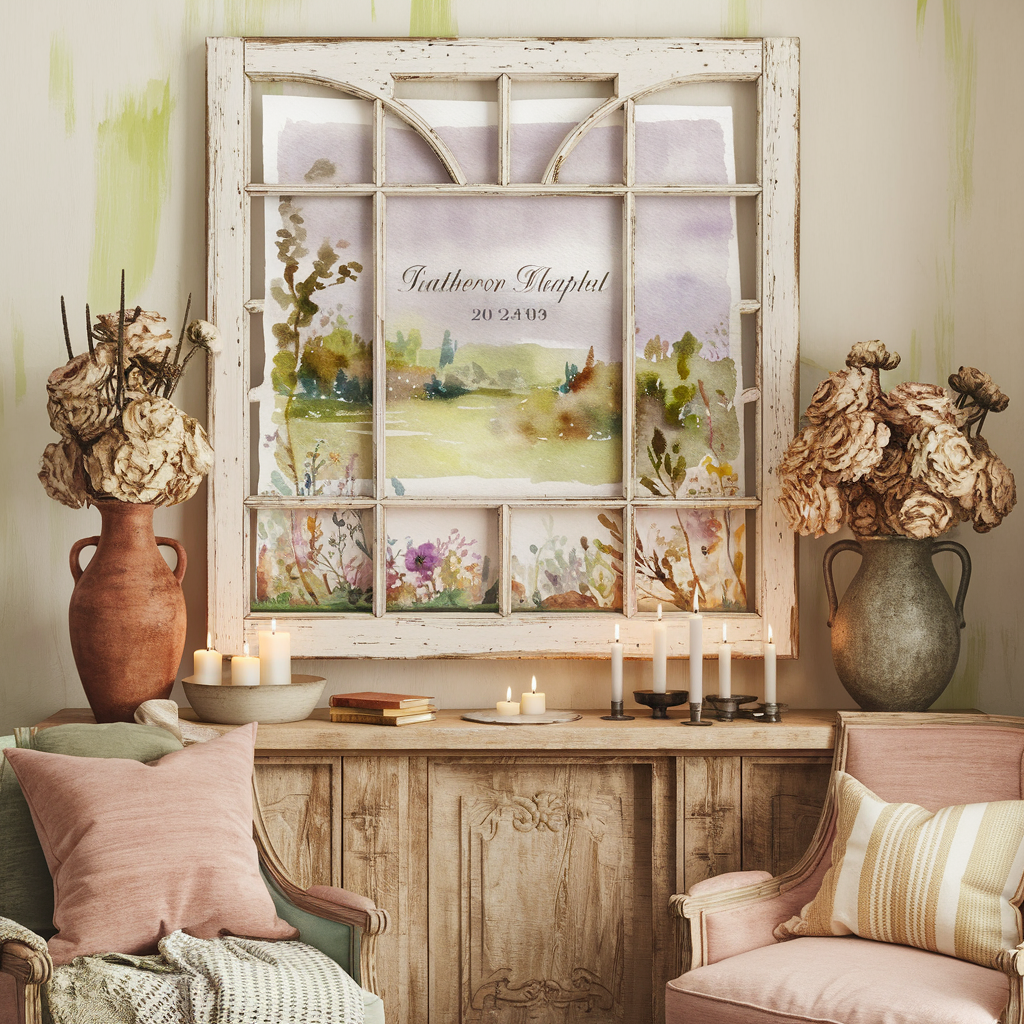
An old window is a ready-made multi-panel frame. Put a print behind each pane, use it as a photo display, or turn the glass into a little chalkboard.
Test for lead before you sand. Paint made before 1978 often contains lead. Grab an EPA-recognized lead test kit from the hardware store; it takes about a minute per spot. If it tests positive, don’t sand or scrape it. Seal the old paint with a clear coat instead, or choose a different window.
Ready to build one? Start with my DIY vintage window frame tutorial, then browse ideas for decorating your vintage window frame.
Old windows are heavy, often 15 to 30 pounds. Hang them from wall studs with two D rings and picture wire rated for at least double the weight, or lean them on a sturdy mantel.
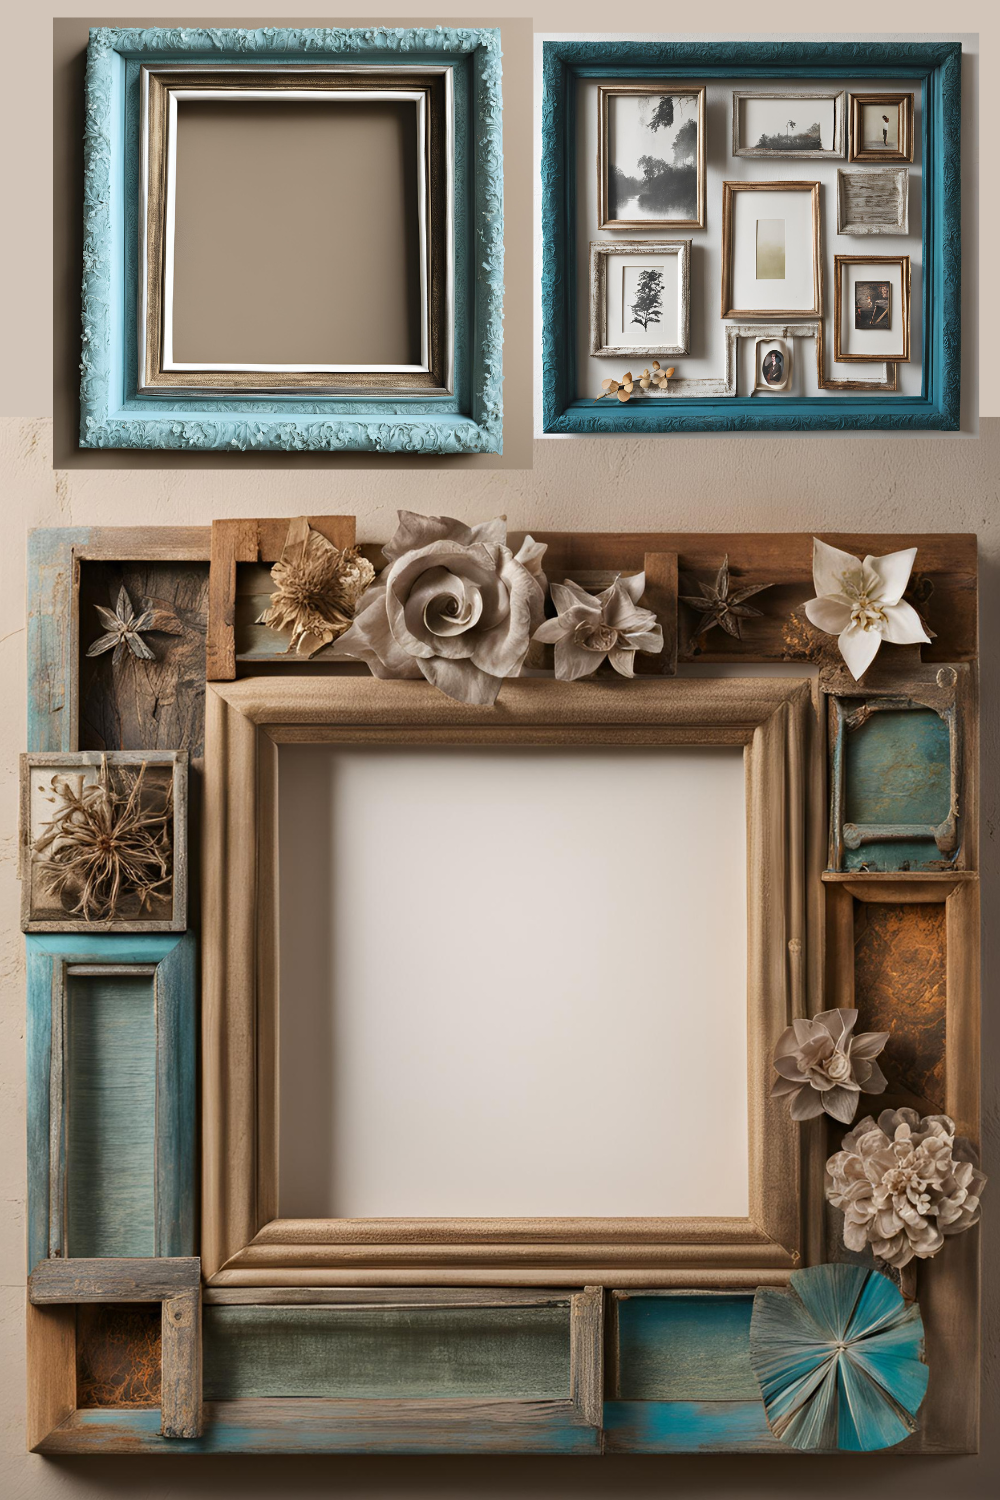
7. Upcycled thrift store frames

Thrift stores are full of solid wood frames for a few dollars each. Ignore the art inside and look at the bones: a sturdy frame, square corners and glass with no cracks.
Ways to flip them:
- Paint and distress. Chalk paint, then sand the edges lightly so the wood peeks through.
- Cork memo board. Swap the glass for cork sheet and pin up sketches and swatches.
- Chalkboard. Paint the glass or backing board with chalkboard paint.
- Jewelry or clip display. Staple metal mesh across the back and hang earrings or tiny drawings with clips.
- Nested frames. Paint three frames in one color and hang them inside each other for a playful layered look.
Glass or acrylic?
- crisp and clear
- scratch resistant
- cheaper at small sizes
- heavy and breakable
- about half the weight
- shatter resistant
- UV versions protect art
- scratches more easily
For anything that gets sunlight, choose UV-filtering acrylic. For big frames over 16×20, acrylic is also lighter on your wall and safer if it falls. For a small framed sketch in a hallway, regular glass is fine.
What’s worth buying and what to DIY

| Item | DIY it? | Why |
|---|---|---|
| Frame | Yes | Pallet, twig and thrift work great |
| Mat | Buy precut | Clean bevels are hard by hand |
| Glazing | Buy | UV acrylic protects color |
| Backing | Buy acid free | Cheap boards yellow paper |
| Hanging hardware | Buy | Rated wire and D rings |
Precut mats are the best few dollars you’ll spend on framing. A beveled edge is what makes a frame look professional, and cutting one cleanly takes a mat cutter and a lot of practice.
Keep your art safe for the long haul
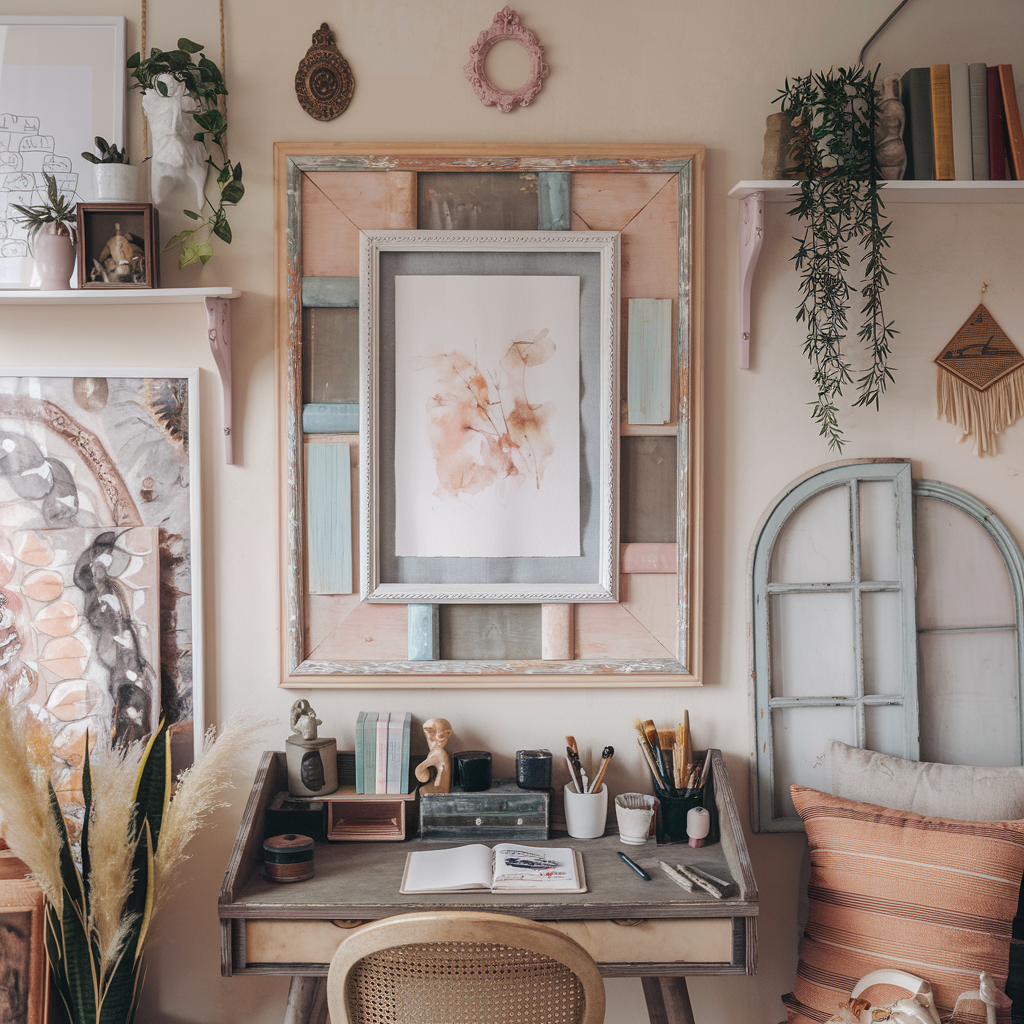
- Acid free everything that touches the art: mat, backing and hinging tape.
- UV acrylic for any spot that gets sun during the day.
- Leave a little air. Art pressed against glass can stick to it in humid weather. A mat or spacer prevents that.
- Hang heavy frames on studs. Anything over about 20 pounds belongs on a stud, not a drywall anchor.
Not ready to frame it all? Learn how to store canvas, paper and sketchbooks so your unframed work stays flat and clean.
The takeaway
Size your frame one step up, add an acid-free mat, and almost any DIY frame will look like it came from a gallery. Then pick the style that fits your art: rustic pallet wood, playful washi tape, or a thrifted frame with a fresh coat of paint.
Which frame are you trying first? Tell me in the comments, and save this pin for your next gallery wall weekend.
Keep going: