This post contains affiliate links. If you buy through them, I may earn a small commission at no extra cost to you.
Ever drawn a figure where every proportion was right and it still looked like a mannequin waiting for a bus? The anatomy was fine. The pose had no story.

My point of view: an expressive figure starts with one curved line, long before any anatomy. If you can find the line of action in the first 30 seconds, the hands, the face, and the fabric all have something to follow. Skip it, and no amount of shading will save the drawing.
This guide walks through five classic poses artists have loved for centuries, what emotion each one carries, and the exact mistake that makes each one go stiff.
Quick answer: if you only do one thing, draw ten 30-second gestures before any longer pose. Use one sweeping line for the spine first, then add the head, hips, and limbs as simple shapes. Speed forces you to see movement instead of details.
Three basics that make every pose easier
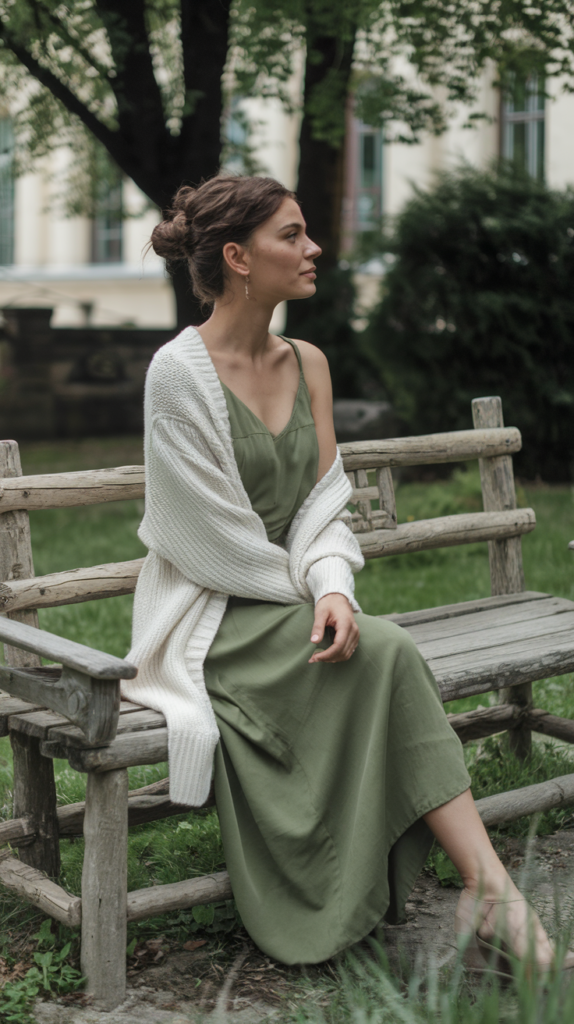
You don’t need to memorize every muscle. These three ideas carry most of the weight.
1. Proportion: the head as your ruler
Artists commonly measure an adult figure as about 7.5 to 8 heads tall. Halfway down an 8-head figure lands around the hip joint. The elbows sit near the waistline, and the fingertips reach mid-thigh with arms relaxed.
Illustration figures are often drawn longer, around 9 heads, mostly by stretching the legs. That’s an art convention, so choose it on purpose. For realistic figure drawing, stay with 7.5 to 8.
2. Line of action
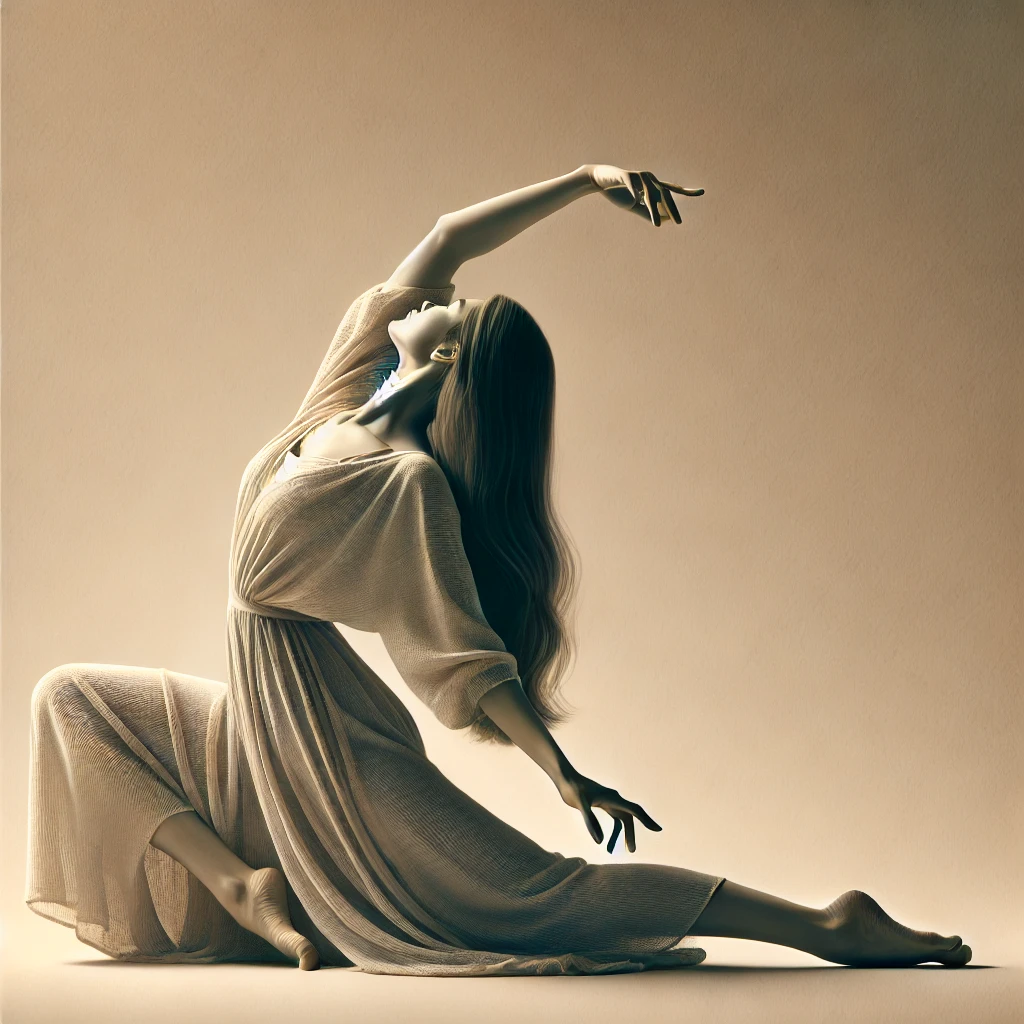
The line of action is one imaginary curve running through the body, usually from the head down the spine and into the weight-bearing leg. A C-curve feels restful. An S-curve feels graceful and alive. A straight vertical line feels stiff, which is why so many first figure drawings look frozen.
3. Contrapposto: weight on one leg
When someone stands with weight on one leg, the hip on that side rises and the shoulder on that side drops. Hips and shoulders tilt in opposite directions. That small zigzag is what makes a standing figure look relaxed instead of posed.
- straight spine
- level shoulders
- even weight
- hands flat
- face straight on
- curved line of action
- shoulders and hips tilted
- weight on one leg
- hands relaxed
- head slightly turned
Pose 1: The Reflective Gaze

A head tilt and a hand resting near the chin. This pose says quiet thought, daydreaming, or a little melancholy.
- Try three angles: profile, three-quarter, and front. The three-quarter view is the most forgiving and the most flattering for beginners.
- Keep the hand loose. Fingers should curl a little, not fan out. A hand pressing into the cheek looks tense. A hand barely touching it looks thoughtful.
- Light sets the mood. Soft, even light keeps it gentle. Strong side light (chiaroscuro) makes it dramatic.
Start loose and resist the urge to detail the eyes early. Overworked faces lose the softness that makes this pose work.
Pose 2: The Stretching Figure
Think of Degas’s dancers or the twisting figures of Michelangelo. A stretch shows the body at its longest, so it’s a perfect lesson in how joints and weight work.
Variations to draw:
- Seated forward stretch over one leg
- Standing arched back with arms overhead
- One arm reaching up while the hip pushes out
- Leg extension from a standing or seated base
Find the line of action first, then mark the joints (shoulder, elbow, hip, knee) as small circles. The stretched side lengthens and the opposite side compresses. Draw that squeeze with tighter, overlapping lines.
Dance and yoga videos are wonderful practice. Pause every 30 seconds and draw what you see.
Pose 3: The Twirl
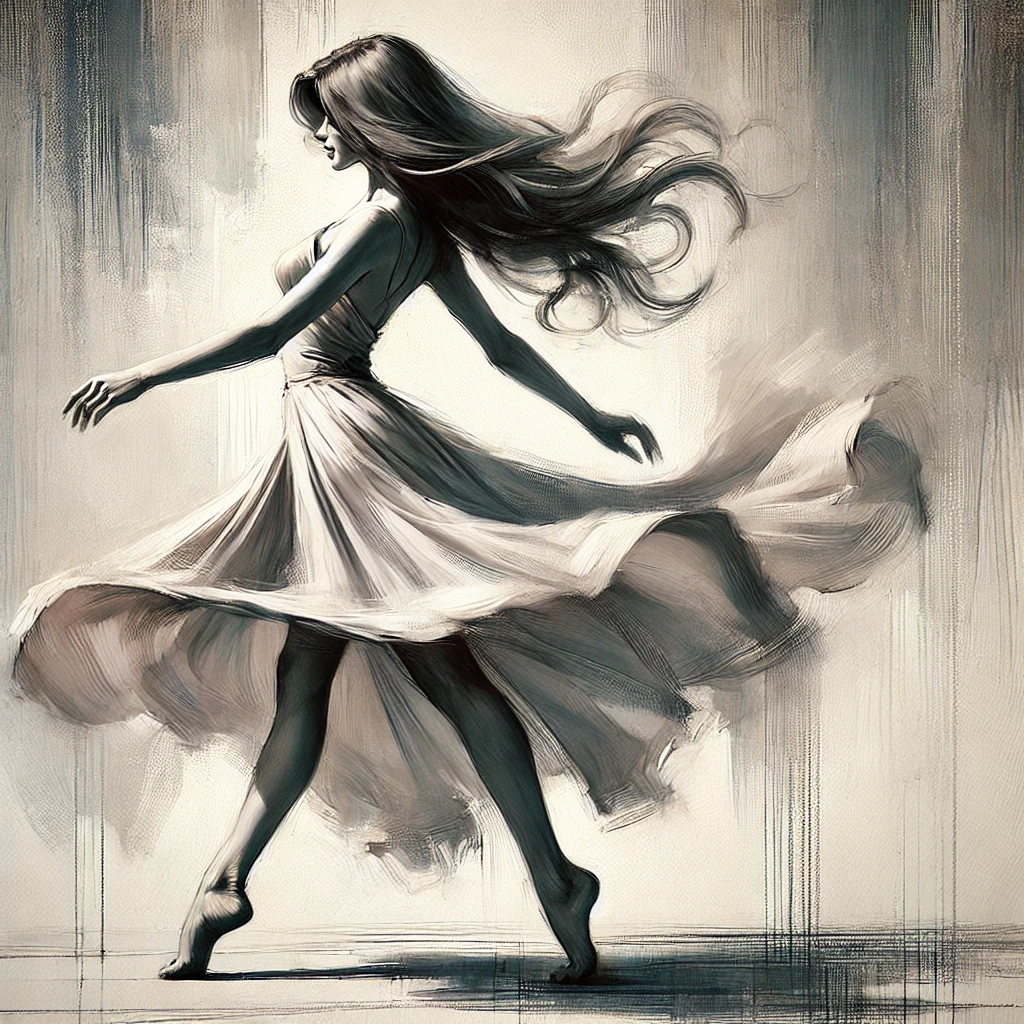
A spin is all about momentum. The body leans into the turn, and the hair and skirt follow the arc a beat behind.
- Use an S-curve or strong diagonal. A vertical twirl looks like it already stopped.
- Bend everything slightly. Knees, elbows, and wrists all soften.
- Draw the silhouette first. If the shape reads as movement in solid black, the drawing will too.
Slow-motion dance clips are the best reference here, because you can freeze the exact moment the fabric swings out.
Pose 4: The Thinker’s Rest
Rodin’s The Thinker is the famous one, but this pose has endless versions: an elbow on a knee, a chin on a fist, a body folded over a table.
Upright posture reads as focus. A slumped spine reads as tired or troubled. Small changes in the face matter a lot here, so keep expressions subtle: a slightly lowered brow, a soft mouth.
Props help tell the story. A book, a mug, or a chair back gives the hands something to do and makes the scene believable.
Pose 5: The Elegant Recline
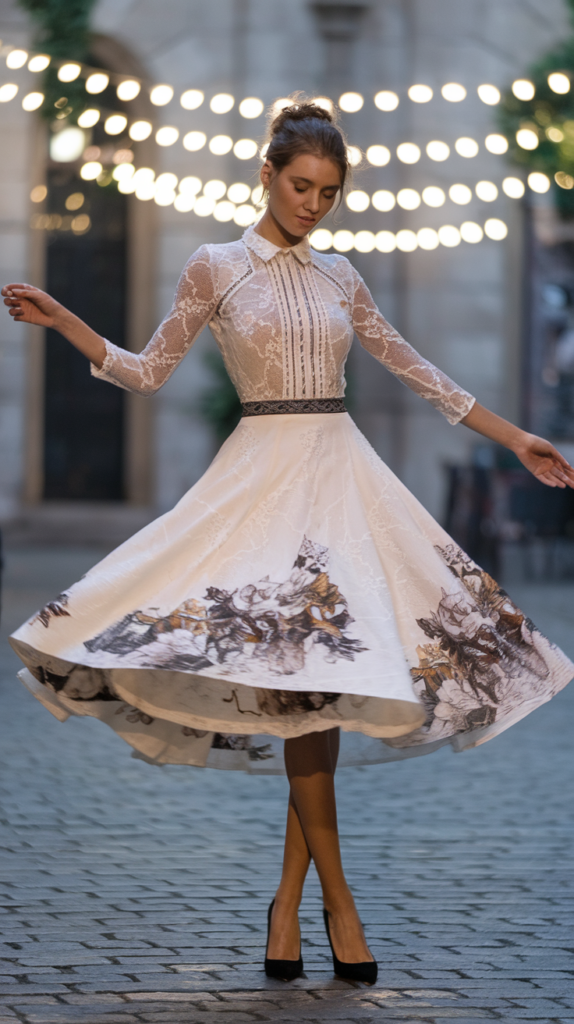
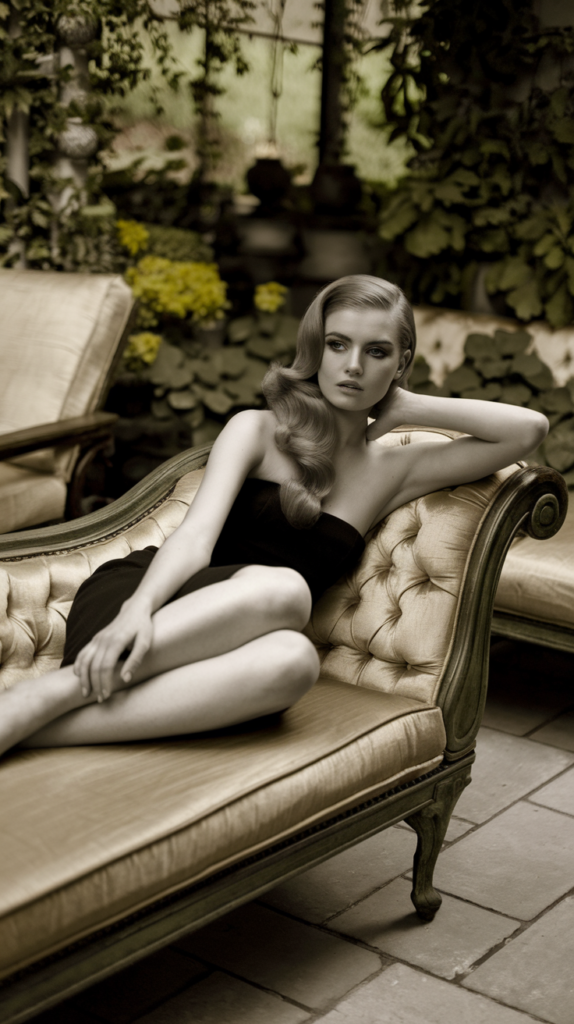
From Greek statues to Ingres and Bouguereau, the reclining figure has been a studio standard for centuries. It’s a calm pose, and a sneaky-hard one, because of foreshortening.
- Avoid symmetry. Bend one knee, raise one arm, turn the head away from the hips.
- Look for the long S-curve from head to feet.
- Foreshortening tip: parts closer to you look larger and overlap what’s behind them. Draw the overlaps clearly and the depth appears on its own.
The five poses at a glance
| Pose | Emotion | Line of action | Common mistake |
|---|---|---|---|
| Reflective Gaze | Thoughtful, wistful | Gentle C-curve | Stiff, spread fingers |
| Stretching Figure | Energy, release | Long arc | Both sides drawn equal |
| The Twirl | Joy, freedom | S-curve or diagonal | Vertical, frozen spin |
| Thinker’s Rest | Focus or worry | Bent C-curve | Flat expression |
| Elegant Recline | Calm, ease | Long horizontal S | Symmetrical limbs |
Save this table to your drawing board. When a pose feels off, check the line of action column first. It’s the culprit more often than anatomy.
How to draw any pose in 4 passes

This is the order I recommend for every figure, from a 1-minute sketch to a long study.
Keep pass one fast. If you spend more than a minute on it, you’re already drawing details.
The gesture timing ladder
Short poses train your eye for movement. Longer poses train your eye for structure. You need both, in that order.
Here’s a simple 15-minute session you can repeat three or four times a week:
| Round | Poses | Time each | Focus |
|---|---|---|---|
| Warm-up | 10 | 30 sec | Line of action |
| Build | 4 | 1 min | Head, ribcage, pelvis |
| Balance | 2 | 2 min | Weight and contrapposto |
| Finish | 1 | 5 min | Contour and shading |
After two weeks of this, look back at your first page. The difference is usually obvious, and it’s a lovely motivation boost.
Where to find good pose references

- Photograph yourself or a willing friend. Your phone’s timer and burst mode catch movement beautifully.
- Pose reference apps and websites let you set timers and rotate a 3D model to any angle.
- Classical art. Museum collections online are full of figures by Degas, Ingres, and Rodin.
- Dance and yoga videos. Pause, sketch, repeat.
For seasonal ideas (coats, sun hats, holding an umbrella), see these seasonal pose ideas for artists.
The tools that matter for figure drawing
Figure drawing needs very little. A good sketchbook, a few pencils, and one solid anatomy book will carry you a long way.
- Sketchbook: a professional sketchbook with paper that takes erasing without pilling.
- Pencils: the Faber-Castell 9000 pencil set covers hard leads for light gesture lines and soft leads for shadows. Use an HB or 2H for gestures so you can draw over them.
- Anatomy reference: an anatomy reference book for artists answers the “what does that shoulder do?” questions as they come up.
- Matte graphite: the Faber-Castell Pitt Graphite Matte set, around $20, gives you dark darks without the shiny glare regular graphite gets.
New to drawing? Start with the beginner’s guide to sketching, then come back to figures.
Investment pieces worth it

You can draw beautiful figures with a $10 sketchbook. These upgrades make sense once you’re practicing regularly.
For daily gesture practice, a tablet and stylus remove the paper cost and add an undo button.
iPad Air + Apple Pencil Pro
The Apple iPad Air 13-inch (M4) is around $929, and the Apple Pencil Pro adds about $99. You can pull up a reference on one half of the screen and draw on the other, flip the canvas to check proportions, and do 30-second gestures without burning through paper.
The math: about $1,030 over three years of four sessions a week is roughly $1.65 a session.
Worth it if you practice most days or want to work digitally. Skip it if you love the feel of graphite on paper. Stay traditional and spend on reference books instead.
A tilting drafting table
The Studio Designs Vintage Drafting Table, solid wood, is around $270. Drawing on a flat table distorts proportions, because the top of your page is farther from your eyes than the bottom. A tilt of about 30 to 45 degrees keeps your figure from getting long legs by accident, and your neck will thank you.
Worth it if you draw at a desk for longer than 30 minutes at a time. Skip it if you mostly sketch on your lap or at an easel.
A sketchbook you’re happy to fill
The Moleskine Art sketchbook costs more than a basic pad, but the paper is smooth, the binding lies fairly flat, and it’s portable enough for a café sketch session. One full sketchbook of gestures teaches more than any single polished drawing.
Worth it if a nicer book motivates you to draw daily. Skip it if you’re doing hundreds of quick gestures. Use cheap newsprint for volume.
The takeaway
Find the line of action first, tilt the hips and shoulders in opposite directions, and save the details for last. Practice in short timed rounds, and your figures will start to look like people in the middle of a moment.
Which of these five poses do you find hardest to draw? Tell me in the comments, and save this guide to your figure drawing board for your next practice session.