This post contains affiliate links. If you buy through them, I may earn a small commission at no extra cost to you.
You don’t need talent to start sketching. You need about $30 of supplies, five simple skills, and ten minutes a day. Here’s exactly how to put those together.
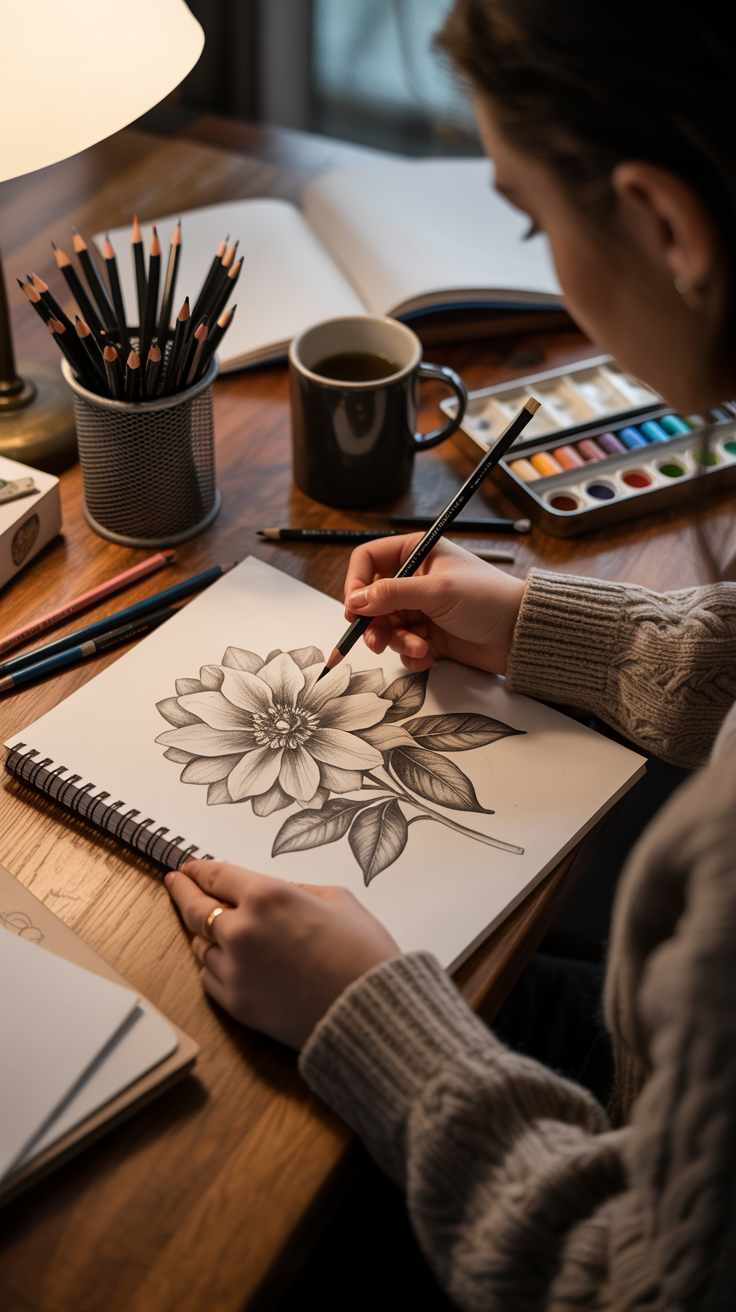
Most people who “can’t draw” have never been taught how to look, how to hold a pencil loosely, or how to measure. Those are skills, and skills can be practiced.
Here’s my take, and everything below hangs on it: ten minutes every day beats two hours once a week. Your hand and eye improve through repetition, and short daily sessions give you far more repetitions than one long weekend push. They’re also easier to keep doing.
So this guide keeps the kit small, the drills short, and the habit realistic.
Quick answer: how to start sketching this week
- Buy one sketchbook, a 2H, HB, 2B, and 6B pencil, a kneaded eraser, and a sharpener.
- Hold the pencil farther back than you write, and sketch from your elbow and shoulder.
- Practice five skills: line control, shading, proportion, gesture, and contour drawing.
- Sketch for 10 minutes every day, drawing whatever is in front of you.
- Keep one sketchbook and never tear out a page.
If you only do one thing today, draw a 5-step value scale (instructions below). It takes five minutes and teaches you more about shading than most tutorials.
The beginner sketching kit (about $30 to $50)
You can sketch with a ballpoint pen on printer paper. That’s a fine way to start. But a few inexpensive tools make practice more enjoyable, and enjoyable practice is practice you’ll keep doing.
Sketchbook
Look for paper around 60 to 80 lb (90 to 130 gsm). Lighter paper tears when you erase; heavier paper costs more than a beginner needs.
- The Canson Universal sketchbook is an inexpensive everyday option.
- The Strathmore 300 Series sketch pad has 100 sheets of a slightly toothy paper that handles graphite well.

A 9 by 12 inch size gives your arm room to move. Pick up a small 5 by 8 inch book later for sketching on the go.
Pencils
Graphite pencils run from hard (H) to soft (B). Hard pencils make light, crisp lines. Soft pencils make dark, smudgy ones.
- 2H: light construction lines you’ll erase later
- HB: general sketching
- 2B: mid-tone shading
- 6B: your darkest darks
That range (2H to 6B) covers almost everything. The Faber-Castell 9000 set is a reliable classic, and the Prismacolor graphite set gives you a full range with erasers and a sharpener included.

Curious about the difference between graphite and “lead”? See graphite vs. lead pencils.
Erasers
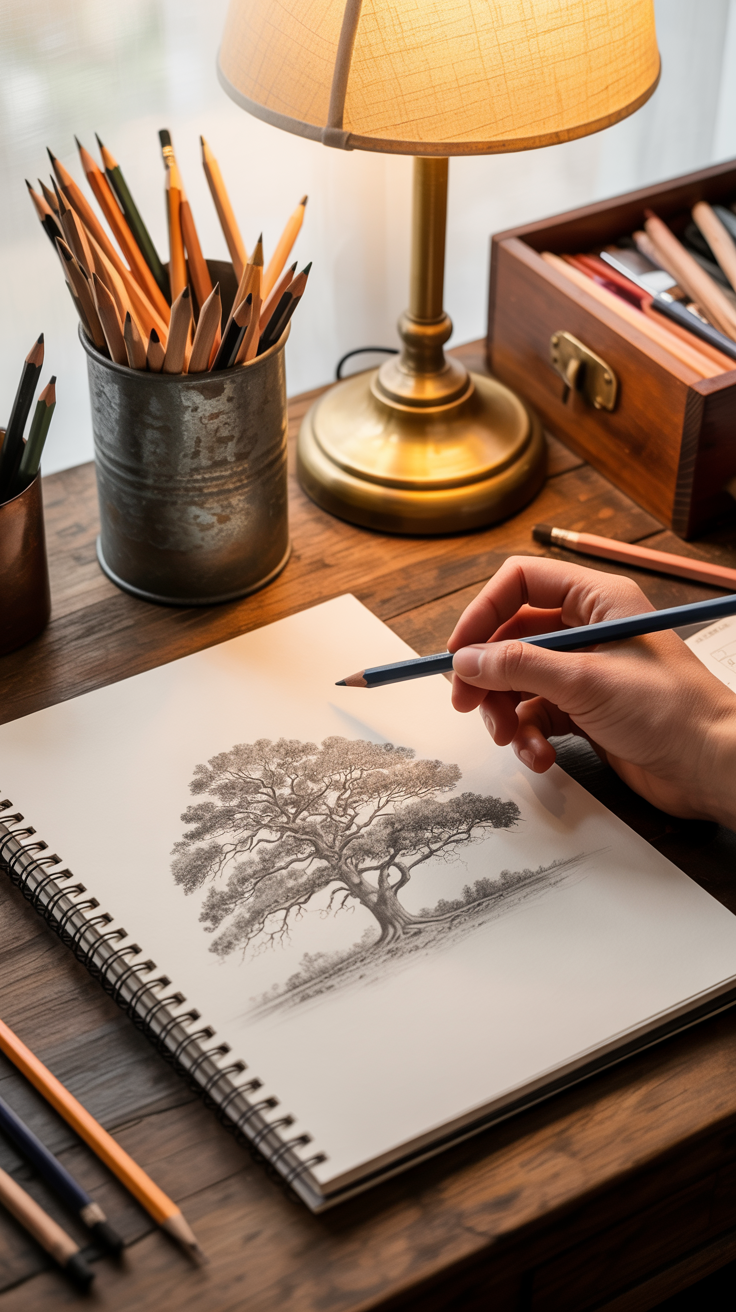
You want two kinds:
- A kneaded eraser lifts graphite by pressing, not rubbing. Shape it into a point to pull out small highlights. This one is inexpensive.
- A plastic vinyl eraser cleans up hard edges and removes lines completely.

Sharpener
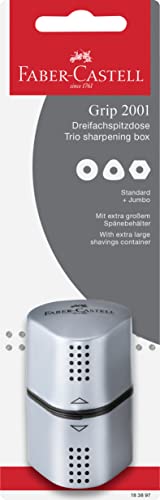
A dull pencil makes fuzzy lines and a frustrated artist. A double-hole Staedtler sharpener handles standard pencils. If you have chunky colored or jumbo pencils too, a three-in-one sharpener covers them all.
Blending tools
Paper stumps (tortillons) smooth graphite into soft gradients. A blender pencil does the same for colored pencil.
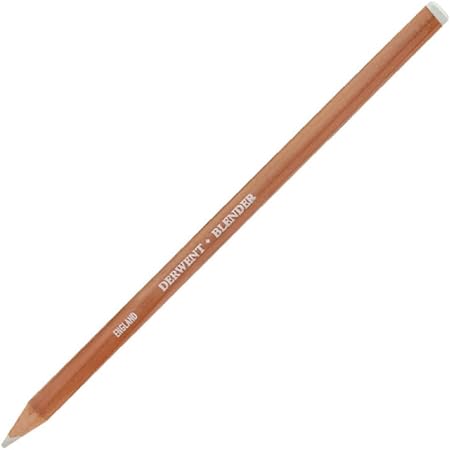
Use blending tools sparingly. Most beginners over-blend and lose the texture that makes a sketch feel alive.
First, how to hold your pencil
This small change makes the biggest early difference.
The tripod grip is how you write: fingers close to the tip. It gives fine control for details, but it locks your movement into tiny wrist motions.
The overhand grip holds the pencil under your palm, about halfway up its length, with the side of the lead touching paper. It’s ideal for long lines, loose sketching, and broad shading.
Use overhand for the first 80 percent of a sketch and tripod for the last 20 percent.
Sketch from your shoulder. For lines longer than 2 inches, move your whole arm instead of your wrist. Your lines get smoother and more confident almost immediately. Working on an angled surface helps too, since it keeps the paper square to your eyes and your neck will thank you.
The 5 core skills (with daily drills)
Each skill below comes with a short drill and a free video teacher I recommend.
1. Line control
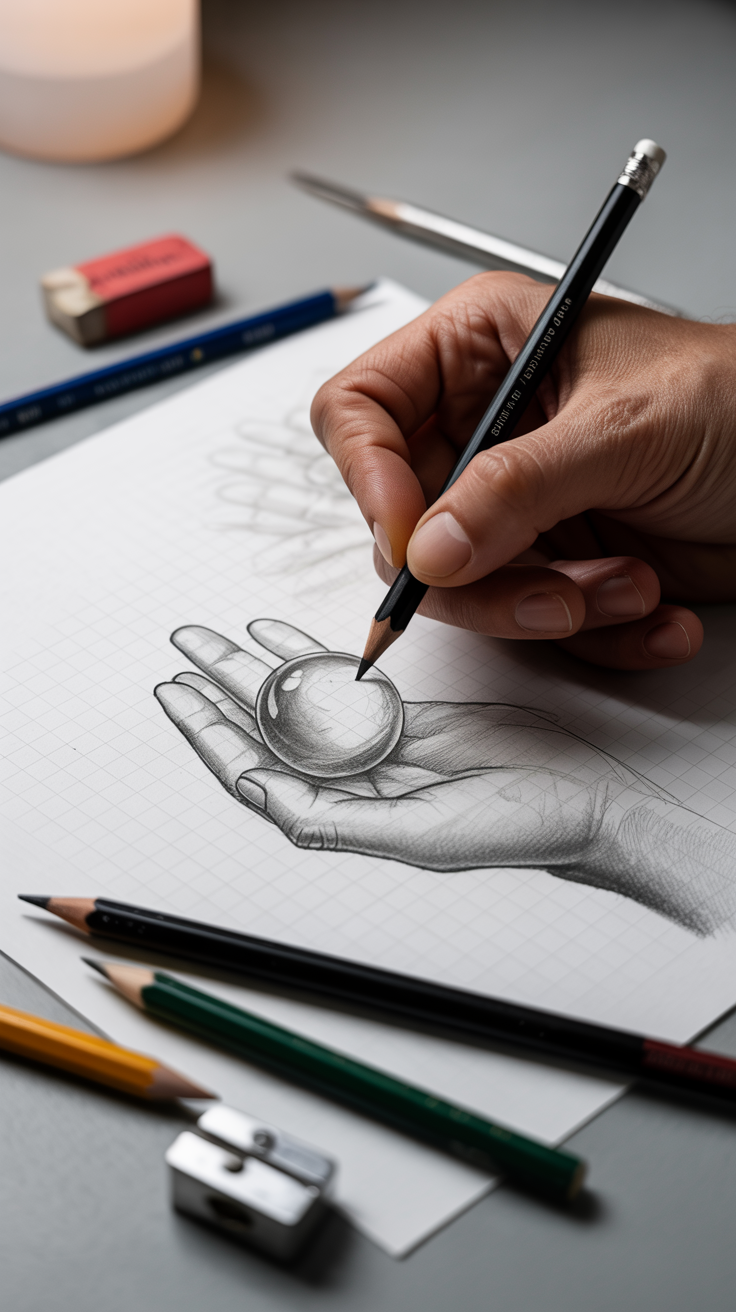
Confident lines are the foundation of every sketch.
Drill (3 minutes): fill half a page with straight lines, then circles, then S-curves. Make each line in one stroke. Don’t go back over it.
Try to place two dots and connect them in a single motion. Ghost the motion in the air above the paper two or three times before you touch down.
Learn more: The Virtual Instructor has clear, calm lessons on line and basic drawing.
2. Shading and value
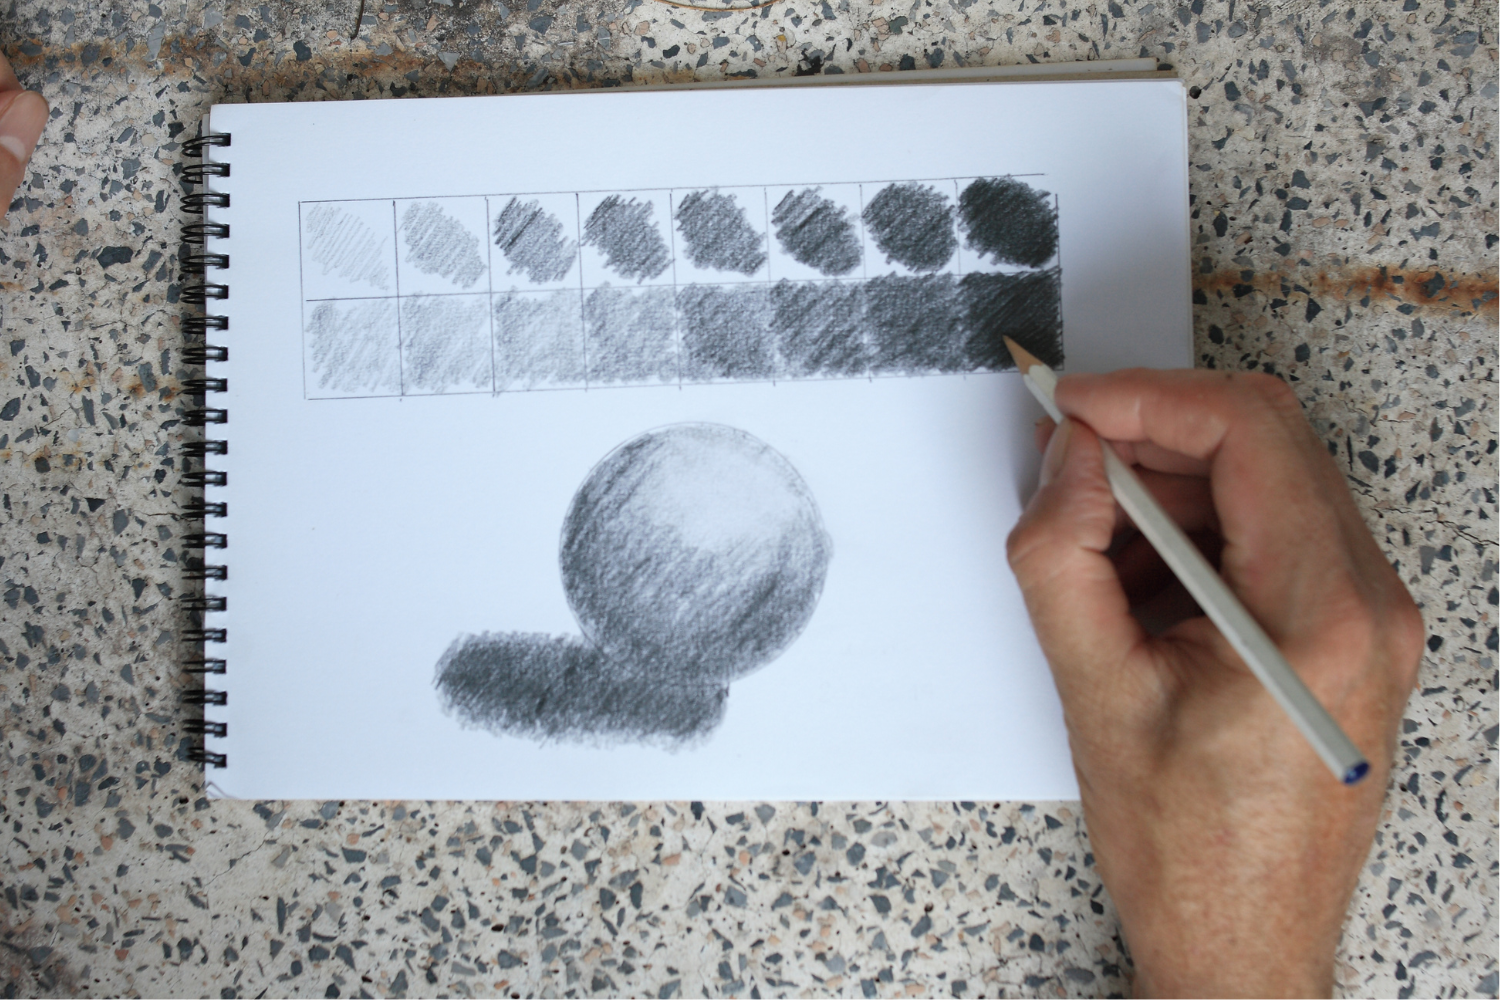
Value means how light or dark something is. It’s what makes a flat circle look like a ball.
Drill (5 minutes): draw a 5-step value scale.
- Draw a row of five 1-inch boxes.
- Leave the first box white.
- Fill the last box as dark as your 6B allows.
- Fill the middle box exactly halfway between.
- Fill boxes 2 and 4 halfway between their neighbors.
Then shade a simple sphere using all five values: highlight, light, midtone, core shadow, and cast shadow.
Learn more: RapidFireArt has beginner-friendly shading tutorials.
3. Proportion and sighting
Proportion is how big things are compared to each other. Here’s the oldest trick in the book:
- Hold your pencil at arm’s length, elbow locked, one eye closed.
- Line the tip up with the top of your subject and slide your thumb down to mark the bottom.
- That length is your unit. Now see how many units wide the subject is.
A mug might be 1 unit tall and 1.5 units wide. Draw it that way, and it will look right.
Lock your elbow every time. If your arm bends, your measurements change.
Learn more: Proko explains proportion and measuring especially well.
4. Gesture drawing
Gesture captures movement and energy rather than detail. It loosens up stiff drawing faster than anything else.
Drill (6 minutes): set a timer and draw people or pets for 30 seconds each, then 1 minute, then 2 minutes. Use free reference photo sites, or sketch people at a coffee shop. Focus on the main line of action, the curve running through the spine.
Learn more: Proko has excellent gesture lessons too.
5. Contour and blind contour
Contour drawing means slowly tracing the edges of an object with your eyes while your pencil follows along on paper.
Blind contour is the same, except you don’t look at your paper at all. The results look wonderfully strange. That’s the point. It trains your hand to follow your eye.
Drill (5 minutes): blind contour your own non-drawing hand for 2 minutes, then do a regular contour of it for 3 minutes. Compare the two. You’ll be surprised how much the blind version improves the second.
Ready to go further? Try advanced sketching techniques once these five feel comfortable.
Habits that make it stick
Supplies and skills only work if you keep showing up. These habits help.
- Sketch 10 minutes a day. Set a timer, stop when it rings. Short sessions feel easy to start, and starting is the hardest part.
- Draw what’s around you. Your coffee mug, your shoes, a houseplant, your dog asleep on the couch. Ordinary objects are perfect practice.
- Keep one sketchbook. One book for everything. Messy pages are fine. Tearing out pages is not.
- Date every page. In three months, flip back to page one. Seeing your progress is the best motivation there is.
- Welcome the bad sketches. Every awkward page is a repetition your hand needed. Keep going.
Want structure? The 30-day sketching challenge gives you a prompt for every day of the month, so you never have to decide what to draw. It pairs perfectly with this guide.
Investment pieces worth it
None of these are necessary to start. They’re for after you’ve sketched most days for a month and know you want to keep going.
These are bigger purchases. Each one fits a specific kind of sketcher. If that isn’t you yet, keep your money and keep sketching.
A sketchbook you’ll love opening
The Moleskine Art sketchbook costs more than a basic pad, but the heavy paper, lay-flat binding, and hard cover make it feel special. Pair it with the Faber-Castell Pitt Graphite Matte set, around $20, which gives you dark tones without the shiny glare regular graphite can have.
Worth it if a nicer book makes you want to sketch more often. Skip it if a pretty book makes you afraid to “ruin” it. Some people sketch more freely in cheap paper.
A tilting drafting table
Drawing on a flat table distorts proportions because you’re seeing the paper at an angle. A tilting surface fixes that. The Studio Designs Vintage Rustic Oak drafting table runs around $200, and the Stand Up Desk Store adjustable drafting table adjusts height and angle for around $300.
Worth it if you sketch at home most days and your neck aches after 30 minutes. Over 3 years of daily 10-minute sessions, $200 is about 18 cents a day. Skip it if you mostly sketch on the couch or out and about. A $15 tabletop easel will tilt your sketchbook just fine.
More options: best art desks for every budget.
A good lamp
Shading is hard to judge in dim, yellow light. The Daylight Company Lumi Task Lamp is around $195 and gives bright, accurate light. For a budget option, look for any lamp with a 5000K bulb and a 90+ CRI rating.
Worth it if you sketch at night. Skip it if you draw by a window during the day.
An iPad for digital sketching
The Apple iPad Air 13-inch (M4) runs around $929, and the Apple Pencil Pro adds about $99. Undo, layers, and endless “paper” make it a forgiving way to practice.
Worth it if you already know you want to draw digitally, or you want to sketch anywhere without carrying supplies. Skip it if you’re still finding out whether you enjoy sketching. Prove the habit on paper for a month first. Everything you learn transfers.
The takeaway
Sketching is a skill built from small, repeatable drills. Get a simple kit, hold your pencil loosely, practice line, value, proportion, gesture, and contour, and draw for 10 minutes every day. In a month you’ll see the difference in your own sketchbook.
What’s the first thing you’re going to sketch today? Tell me in the comments, and save this guide so you can come back to the drills.
[…] Beginner’s Guide to Sketching […]