This post contains affiliate links. If you buy through them, I may earn a small commission at no extra cost to you.
You have the art supplies. You have the ideas. What you don’t have is a spare room, and every session starts with ten minutes of clearing the kitchen table.

Here’s my take: a small studio works when you pick ideas by how much floor they give back, and most people start with the ones that give back the least. A cute desk organizer is lovely. A wall that holds forty tools is life-changing. So I’ve sorted these ten ideas from biggest space win to smallest, and matched them to the four kinds of tiny studios I see most.
If your setup is more about which furniture fits (with exact footprints), my art furniture essentials for small spaces guide has the measurements. This post is the idea board.
If you only do one thing: get everything off the desktop and onto the wall above it. A 4-foot pegboard holds what would otherwise eat half your work surface, and it costs less than a nice set of brushes.
First, Which Tiny Studio Are You?

Your space type decides which ideas matter most. Find yours, then jump to the ideas that fit.
- The corner: ideas 1, 2, 3 and 5 do the heavy lifting.
- The closet: ideas 1, 4 and 6. Depth is your friend here.
- The shared room: ideas 2, 3, 7 and 9, because everything has to pack away.
- The rental: ideas 3, 5, 7 and 9, plus freestanding versions of the wall ideas.
The 10 Ideas at a Glance
| Idea | Space freed | Cost | Renter-friendly? |
|---|---|---|---|
| 1. Go vertical | Huge | $ to $$ | With care |
| 2. Fold-down desk | Huge | $$ | Needs studs |
| 3. Rolling cart | Big | $ | Yes |
| 4. Hide it behind doors | Big | $$$ | Yes |
| 5. Use the under-desk zone | Medium | $ | Yes |
| 6. Skinny easel | Medium | $ | Yes |
| 7. Seating that stores | Medium | $ to $$ | Yes |
| 8. Light, bright palette | Feels bigger | $ | Mostly |
| 9. A grab-and-go kit | Small | $ | Yes |
| 10. A tiny gallery | Joy | $ | Yes |
1. Go Vertical (The Biggest Win)

Walls are the floor space nobody uses. A metal pegboard above your desk holds scissors, rulers, tape, brush cups and small baskets, and you can rearrange it in seconds as your projects change.
Keep the most-used tools between elbow height and eye level. Anything you grab every session should be reachable without standing up.

Here’s how I’d map the wall above a desk:
Hang the lowest shelf about 15 to 18 inches above the desktop so it clears your lamp and your elbows.
2. A Wall-Mounted or Fold-Down Desk

When your studio shares a wall with a sofa or a bed, a desk that folds flat is magic. Open it for a session, close it after, and the room is a room again. Many fold-down desks hide shelves and hooks inside, so your daily supplies fold away with the desk.

Prefer something sleeker? A two-piece floating desk gives you a slim work surface plus a shelf, and nothing touches the floor.

3. Put Your Supplies on Wheels
A rolling cart is the most flexible piece in any small studio. It parks beside you while you paint, then rolls into a closet when company comes. Top tier for today’s project, middle for backups, bottom for paper towels and rags.
A slim cart, about 7 inches wide, slides into the gap between a fridge and a wall or a dresser and a door.

Comparing carts? See Best Rolling Art Carts.
4. Hide the Whole Studio Behind Doors

This is the closet and shared-room favorite. A cabinet with doors and drawers holds everything from paint tubes to sketchbooks, and closing it takes your visual clutter to zero. A calm room helps a small space feel twice its size.

Working in an actual closet? Take out the rod, mount a desk surface at about 29 to 30 inches high and stack shelves above it. The standard 24-inch closet depth fits a desk with room for your lamp.
5. Claim the Under-Desk Zone
The space under your desk is free real estate. A narrow set of drawers, a file box for paper pads or two lidded bins can live there without touching your legroom. Leave at least 20 inches of knee space in the middle and fill the sides.
6. Choose a Skinny Easel

A full studio easel needs about 3 feet of floor plus room for you to step back. A tabletop easel needs none. It sits on your desk while you paint, then folds flat and slides into its carry bag.

For larger work, a wall-mounted easel rail holds a canvas at any height and takes up only a few inches of depth. If you’re torn between styles, my guide to H-frame vs A-frame easels breaks it down.
7. Rethink Your Seating

A big desk chair eats about 2 by 2 feet of floor even when you’re not in it. A height-adjustable stool tucks under the desk and lets you switch from sketching height to painting height.

A storage bench works double duty: a seat for you or a friend, plus a lid that hides paper, canvases or yarn.
8. Paint It Light and Bright
White or pale walls, light wood and one mirror across from a window can make a small room feel noticeably bigger. Light finishes reflect daylight onto your work too, so colors read truer.
Keep matching containers on open shelves. Six identical jars look calm. Six different ones look busy, even if they hold the same things.
Need decor that won’t crowd a tiny room? Try Small Studio Decor on a Budget.
9. Pack a Grab-and-Go Kit
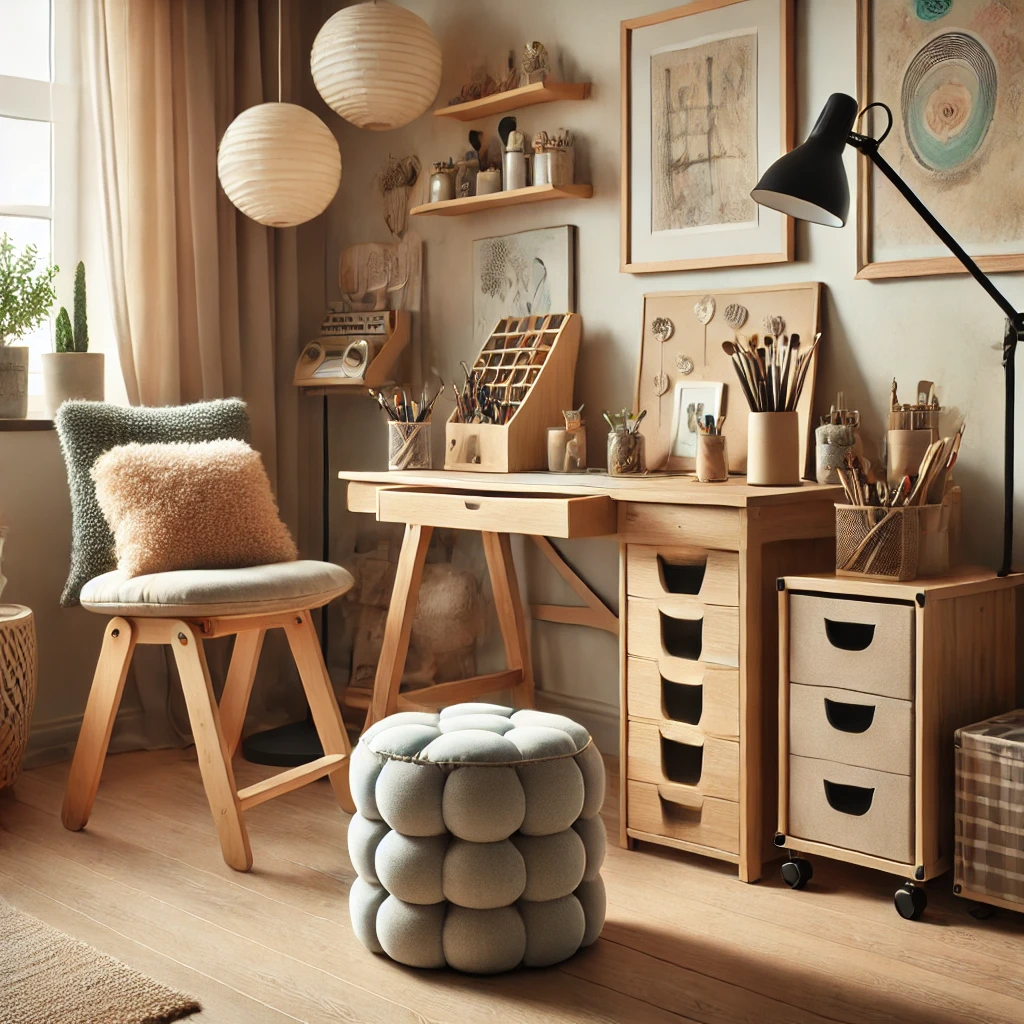
If you share a room, a portable kit means your studio goes wherever there’s a free table. A large portfolio case holds paper, finished pieces and a pencil roll in one bag. Slide it under the bed or behind a door.

10. Add a Tiny Gallery

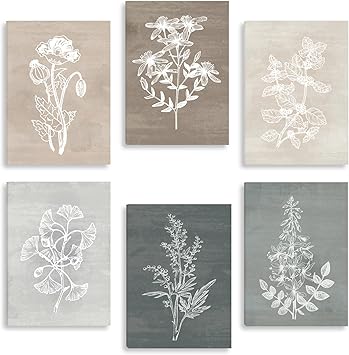
This one frees zero inches, and I’d never skip it. A small space you love working in gets used more. Hang two or three pieces you’re proud of, add a plant, and swap things out each season.
Double-glass floating frames are perfect for sketches and pressed leaves, and they hang flat against the wall.

Small Studio Do This, Not That
| Do this | Not that |
|---|---|
| Store up the wall | Stack bins on the desk |
| One cart you roll away | Three carts that stay out |
| Matching jars | A mix of random containers |
| A stool that tucks under | A big chair that never moves |
| Desk beside the window | Desk facing a dark wall |
Your Weekend Studio Plan

You can set all of this up in two days. Here’s the order that saves the most frustration.
Decorate last. Once you’ve painted in the space for a week, you’ll know exactly where that little gallery wants to go.
Investment Pieces Worth It
Most of these ideas cost very little. If your small studio is here to stay, though, these three pieces earn their price in space and in calm.
Sauder Craft & Sewing Armoire, Glacier White (around $420 at the time of writing). A full studio behind two doors, with a fold-out work surface, shelves and door storage. Used three times a week for three years, that’s under $1 a session. Worth it for: the shared room and the rental, where the studio has to disappear. Skip it if: you have a dedicated studio room or a closet you can convert for free.
Wall Control metal pegboard (the kit above, around $120). Steel holds its shape, the hooks lock in place and it won’t sag under heavy tools the way some thin boards can. Worth it for: the corner and the closet, where the wall is your biggest asset. Skip it if: you rent and can’t make holes, then go with a freestanding shelf instead.
MEEDEN Rolling Art Supply Cart, solid beech (around $158). A taboret-style wooden cart that looks like furniture, so it can stay out in a living room without looking like a garage. Worth it for: anyone whose cart lives beside the sofa. Skip it if: you need a cart slim enough to slide into a 7-inch gap.
The Takeaway
Start with the ideas that give back the most floor: the wall, the fold-down desk and the cart. Match them to your studio type, then add the cozy touches last. A small studio you can set up in thirty seconds will see far more art than a big one you have to dig out.
Which tiny studio are you: the corner, the closet, the shared room or the rental? Tell me in the comments, and save this pin for the weekend you finally claim your spot.
Keep going: