This post contains affiliate links. If you buy through them, I may earn a small commission at no extra cost to you.
Your desk is covered, your drawers are full, and there’s a blank wall staring at you. That wall is the biggest storage space in your studio.

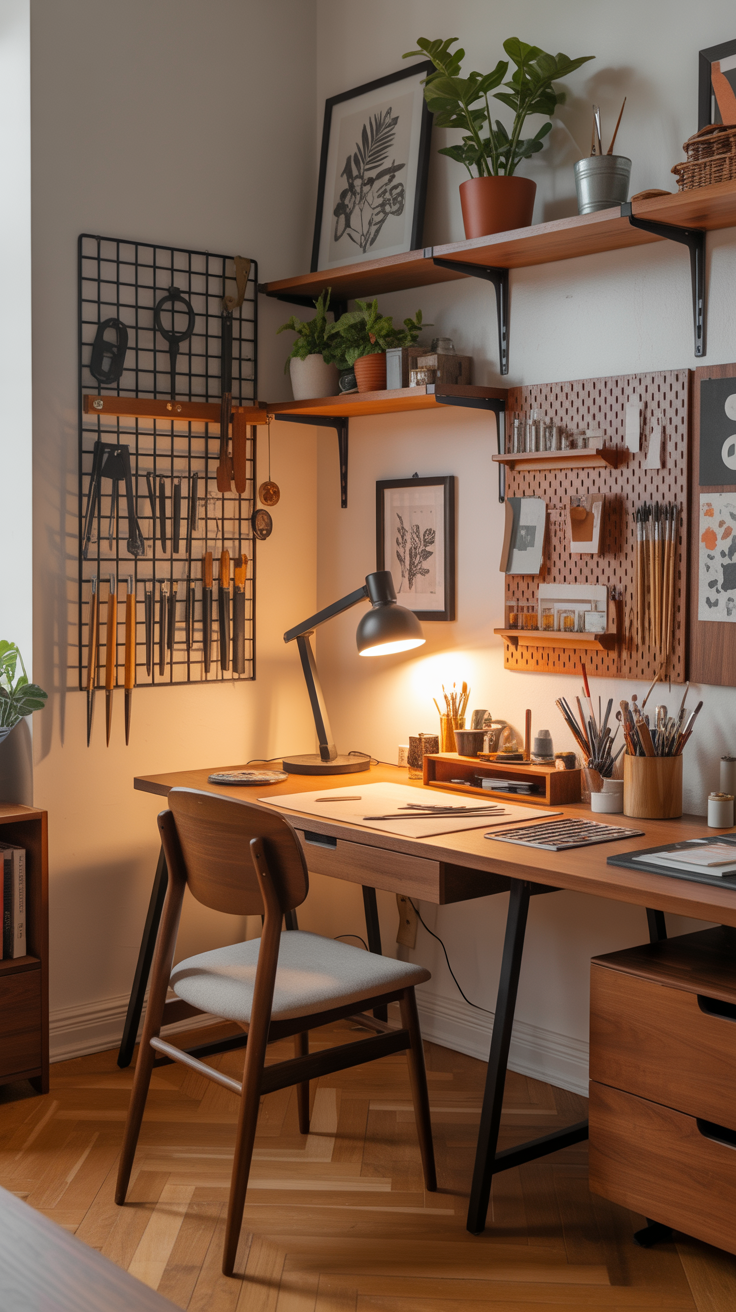
My take: a good studio wall is planned by height and weight, never by what looks cute in the store. The tools you grab every day go where your hands already are. Heavy things go on studs. Pretty things go up high where you can see them but don’t need to reach. Get that order right, and almost any organizer you buy will earn its spot.
Quick answer
If you only do one thing: hang a pegboard between 40 and 60 inches off the floor, right beside or above your work surface, and screw it into studs. That one panel will hold the 15 to 20 tools you use most, and your desk will finally clear.
Map your wall by height
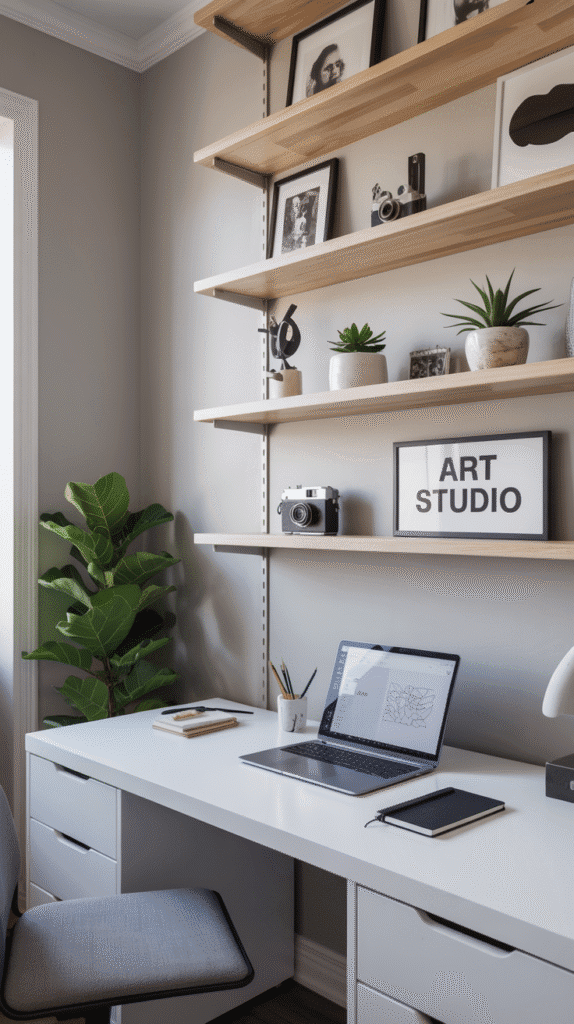
Before you buy a thing, stand at your desk or easel and reach. Where your hand lands without stretching is prime real estate.
A few numbers worth knowing:
- Daily tools: 40 to 60 inches from the floor. No stretching, no step stool.
- Over a desk: start shelves about 15 to 18 inches above the desktop so they clear lamps and tall jars.
- Heavy things low. Gallon jars of gesso and stacks of paper never belong above shoulder height.
For exact shelf depths and spacing for jars, books and canvases, see my Best Shelves for Art Studios cheat sheet.
Studs vs drywall anchors: the safety part
A loaded wall organizer is heavier than you think. Ten jars of paint on a shelf can easily top 15 pounds.
| Load | What it is | Mount with |
|---|---|---|
| Under 10 lb | Washi, pens, a corkboard | Adhesive strips or small anchors |
| 10 to 25 lb | Pegboard, light shelves | Screw-in drywall anchors |
| 25 to 50 lb | Loaded shelves, paper rolls | Studs, 2 screws minimum |
| Over 50 lb | Books, big pegboard runs | Studs plus heavy brackets |
- Find studs first. They usually sit 16 inches apart. A stud finder costs less than one replacement drywall patch.
- Read the rating on the anchor package, then plan to use about half of it. Ratings are for perfect conditions.
- Plaster and brick walls need masonry bits and the right anchors. When in doubt, ask at the hardware store counter.
- Check for wires and pipes before you drill, especially straight above or below an outlet or light switch.
Renter-friendly or drill in?
- adhesive hooks and strips
- over the door racks
- freestanding pegboard
- leaning ladder shelf
- tension rod rails
- pegboard on studs
- floating shelves
- paper roll holders
- magnetic tool bars
- grid panels
Renting? A freestanding pegboard or a tall ladder shelf gives you most of the benefit with zero holes. Adhesive strips work for anything under a few pounds; follow the weight rating on the package and press each strip for a full 30 seconds.
1. Floating shelves: for display and daily jars
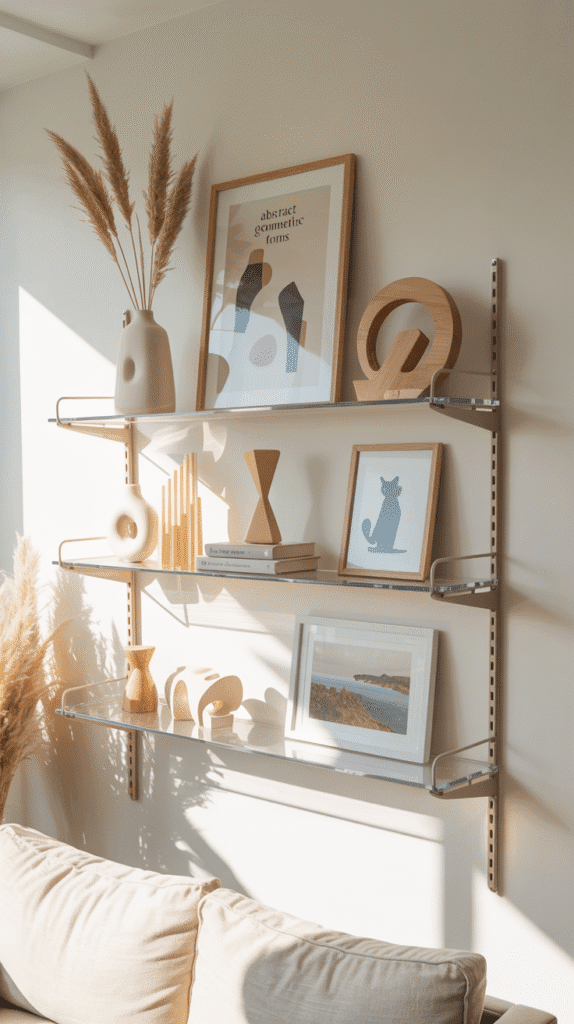
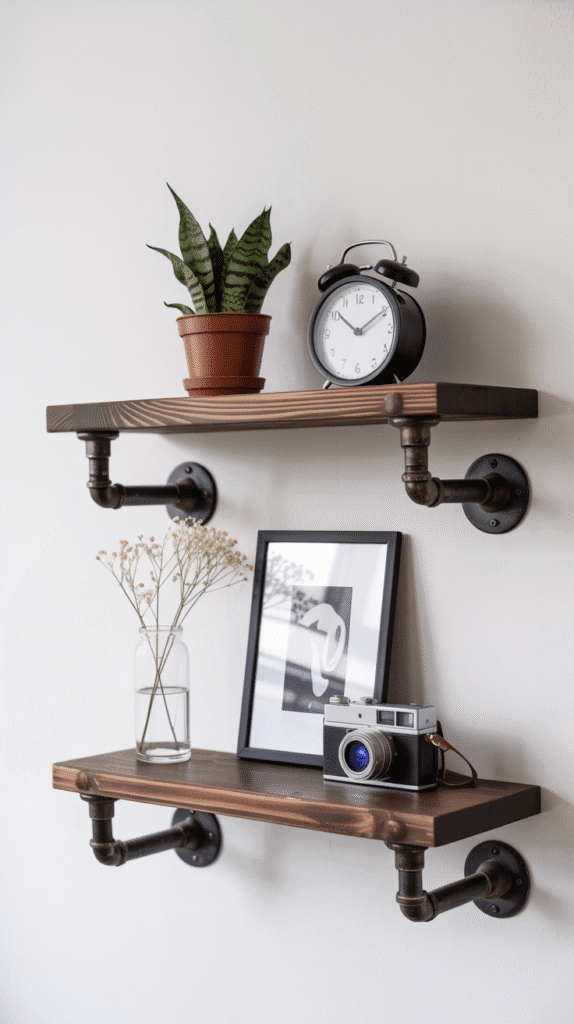
Floating shelves keep the floor clear and give your favorite supplies a place to be seen. Keep them shallow, 4 to 8 inches, so jars sit one row deep and nothing hides behind anything else.

Rustic wood shelves suit cozy or vintage studios. Clear acrylic shelves almost disappear, which is perfect for a small room or for showing off colorful ink bottles and paint tubes.

2. Tool racks and pegboard: for the tools you grab all day
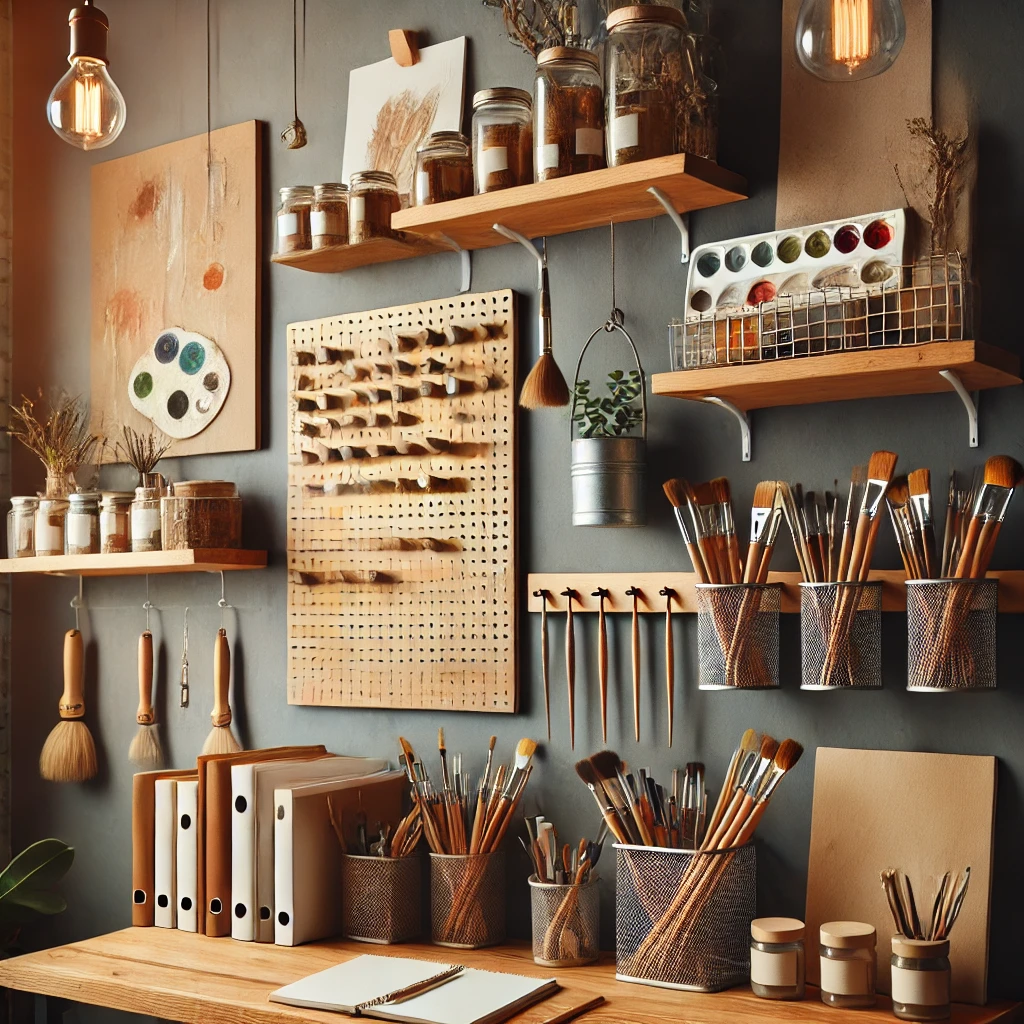
Pegboard is the hardest working thing you can hang. Brushes, scissors, rulers, tape, palette knives, spray bottles: they all get their own hook, and you can see at a glance what’s missing.

- Mount it on 1/2 inch spacers or furring strips so the hooks have room to slip in behind.
- Outline each tool with a paint marker so everything goes back in the same spot.
- Leave about 20 percent of the board empty for new tools.

A heavy-duty magnetic tool holder is great for metal tools you use constantly. A small acrylic holder corrals brushes and pens without taking a single inch of desk.

More ways to sort the little stuff: How to Organize Your Brushes, Pens and Tools.
3. Magnetic storage: for metal tools and tiny jars
Magnets are the fastest way to grab and return a tool. A magnetic knife strip holds palette knives, scissors and metal rulers in a neat row.

A magnetic spice rack with small jars is a sweet hack for pigments, beads, sequins, or dry media you want to see by color.

One warning: keep strong magnets away from laptops, drawing tablets, phones and cards with magnetic stripes. Mount them at least a foot from where you charge or set down devices.
A whiteboard and cork combo turns part of the wall into a planning board for project lists, color swatches and reference photos.

Building a planning wall? See Mood Boards for Artists for layout ideas.
4. Hanging baskets and files: for loose and soft supplies
Some supplies refuse to sit still on a hook: yarn, fabric scraps, sponges, pastel boxes, loose paper. Baskets on a wall grid catch all of it.
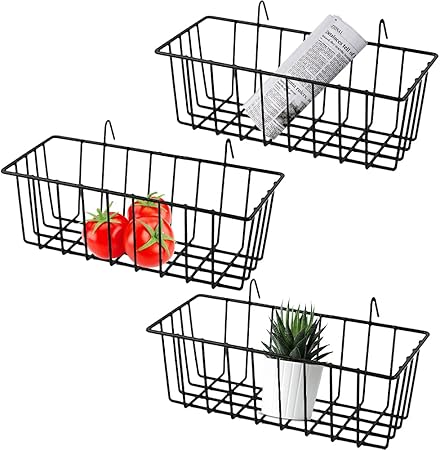
A mesh wall file organizer keeps paper pads, reference prints and works in progress upright and in view. Give each pocket one job: “to finish,” “reference,” “good paper.”

5. Paper roll holders: for kraft paper and newsprint
If you sketch big, cover tables, or wrap finished pieces, a wall roll holder is a quiet luxury. Mount it 30 to 40 inches high so the paper feeds right onto your table.
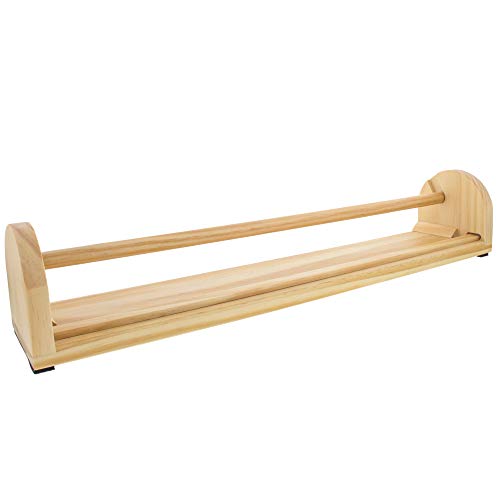
A dispenser with a built-in cutter gives you a clean edge every time, no scissors needed.

Which organizer for which supply?
| Supply | Best organizer | Height |
|---|---|---|
| Brushes, pens | Acrylic holder or pegboard cup | 40 to 60 in |
| Palette knives, scissors | Magnetic strip | 40 to 60 in |
| Paint tubes, ink | Shallow floating shelf | 45 to 60 in |
| Loose paper, pads | Mesh wall file | 40 to 60 in |
| Kraft paper roll | Roll holder | 30 to 40 in |
| Finished art, plants | Display shelf | 60 to 72 in |
Plan a wall in 20 minutes
Painter’s tape outlines are the secret. Live with them for a day. If you keep bumping your elbow on a taped shelf, move it before you drill.
Investment pieces worth it
These cost more, and they hold up for years. Here’s who each one suits and who should skip it.
Wall Control Metal Pegboard (around $40 to $60 per panel). Steel pegboard doesn’t sag, swell or tear out like hardboard, and the hooks lock in so they don’t fall out every time you grab a tool. Used most days for five years, a $120 two-panel setup works out to well under 10 cents a session. Worth it if you reach for tools all day. Skip it if you only need a handful of hooks.
Homeforia 60″ Solid Oak Floating Shelf (around $230). One long slab of real oak with a hidden bracket, so it reads like custom carpentry across a whole desk wall. Worth it if you want one anchor shelf for books, jars and a few favorite pieces. Skip it if you can’t hit at least two studs on that wall.
Art Storage Rack with Handle and Casters (around $155). Not wall-mounted, and that’s the point. Canvases and boards are the one thing that should never hang from a shelf, and this rolling rack keeps them upright and separated below your wall organizers. Worth it if you paint on canvas and have stacks leaning on the wall. Skip it if you mostly work in sketchbooks.
The takeaway
Plan your wall by reach and weight first: daily tools between 40 and 60 inches, display up high, heavy things low and on studs. Then pick organizers that match each supply, and your desk will finally have room to work.
Which part of your wall are you tackling first: pegboard, shelves, or a paper roll? Tell me in the comments, and save this pin for your next studio refresh.
Keep going: