This post contains affiliate links. If you buy through them, I may earn a small commission at no extra cost to you.
Picture a room with worn wood, a gold-framed mirror, glass jars of brushes in the window light, and an easel waiting by the curtains. Now picture actually painting in it without squinting or knocking over a candle.
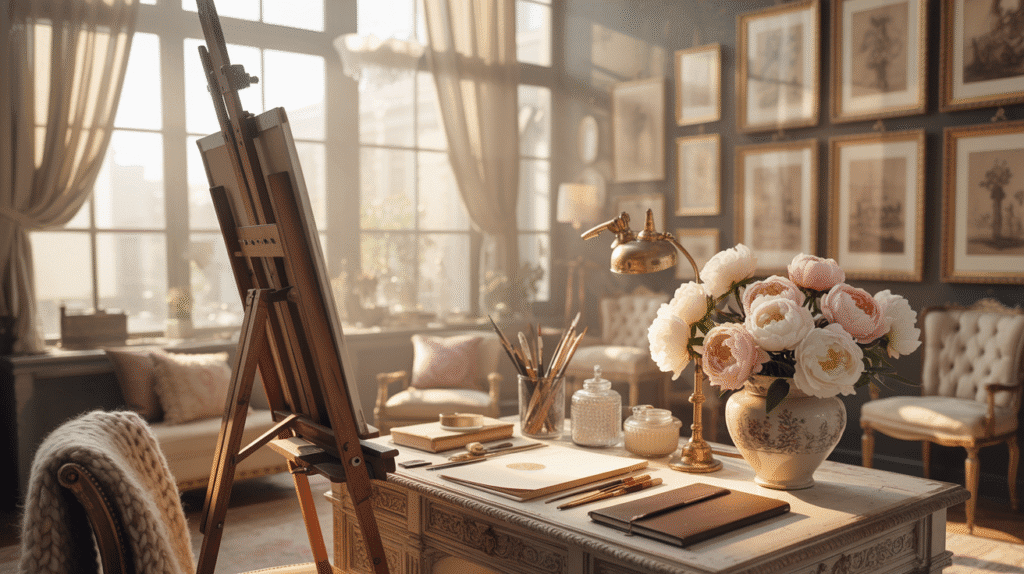
My point of view: a vintage studio works when it’s old on the outside and modern where it counts. Let the furniture, frames, and jars carry the romance. Keep your task light, your storage, and your work surface thoroughly practical. That one rule keeps a pretty room from turning into a frustrating one.
Here are eight steps to build it, with palettes, a thrift-vs-new guide, and a weekend plan.
Quick answer: if you only do one thing, pick ONE vintage era and stick to its palette. Then add a warm-looking room light for mood and a 5000K, 90+ CRI task lamp over your work surface for true color. Mixing eras and lighting carelessly is what makes vintage rooms look cluttered instead of dreamy.
Step 1: Choose your vintage aesthetic
“Vintage” covers a lot of ground. Choosing one direction makes every later decision easier.
- Victorian elegance: dark wood, velvet, ornate frames, deep jewel accents.
- Rustic French atelier: linen, raw wood, ochre and sage, paint-splattered floors.
- 1920s Art Deco: black, gold, geometric lines, glossy finishes.
- Bohemian nook: layered textiles, plants, rattan, warm terracotta.
| Aesthetic | Key pieces | Budget swap |
|---|---|---|
| Victorian | Velvet chair, carved bookcase | Thrift frames, spray-paint gold |
| French atelier | Wood easel, linen drapes | Drop cloth as curtains |
| Art Deco | Black cabinet, brass lamp | Brass contact paper trim |
| Bohemian | Rattan, woven baskets | Thrifted rugs and baskets |
Step 2: Pick a color palette
Your walls and big furniture should stay quiet so your own paintings can be the loudest thing in the room. Here’s a starting palette for each aesthetic.
Neutral walls (warm white, linen, or soft greige) photograph well and keep color judgment honest. For full schemes with paint ideas, see this vintage art room color scheme guide.
Step 3: Bring in vintage furniture
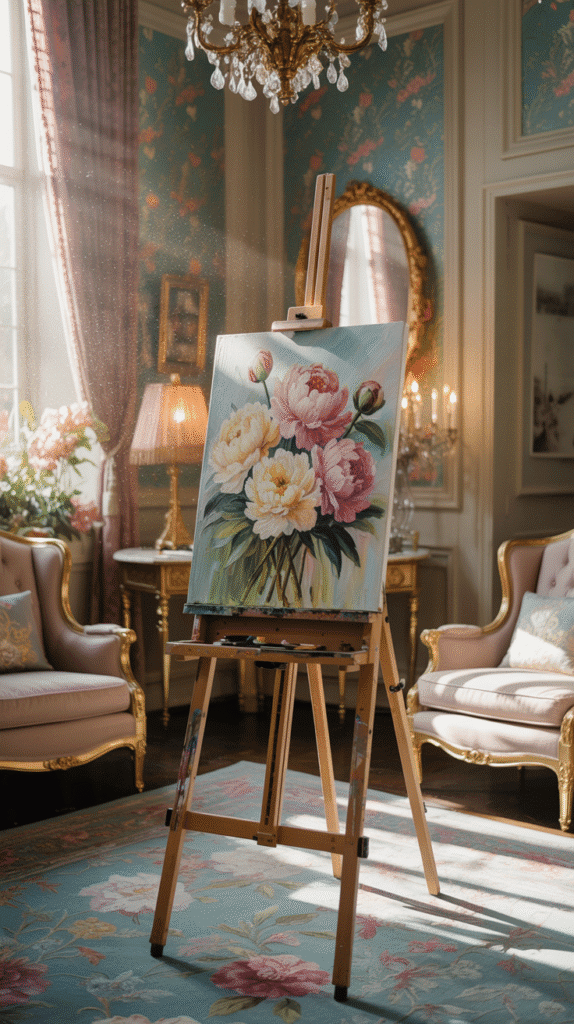
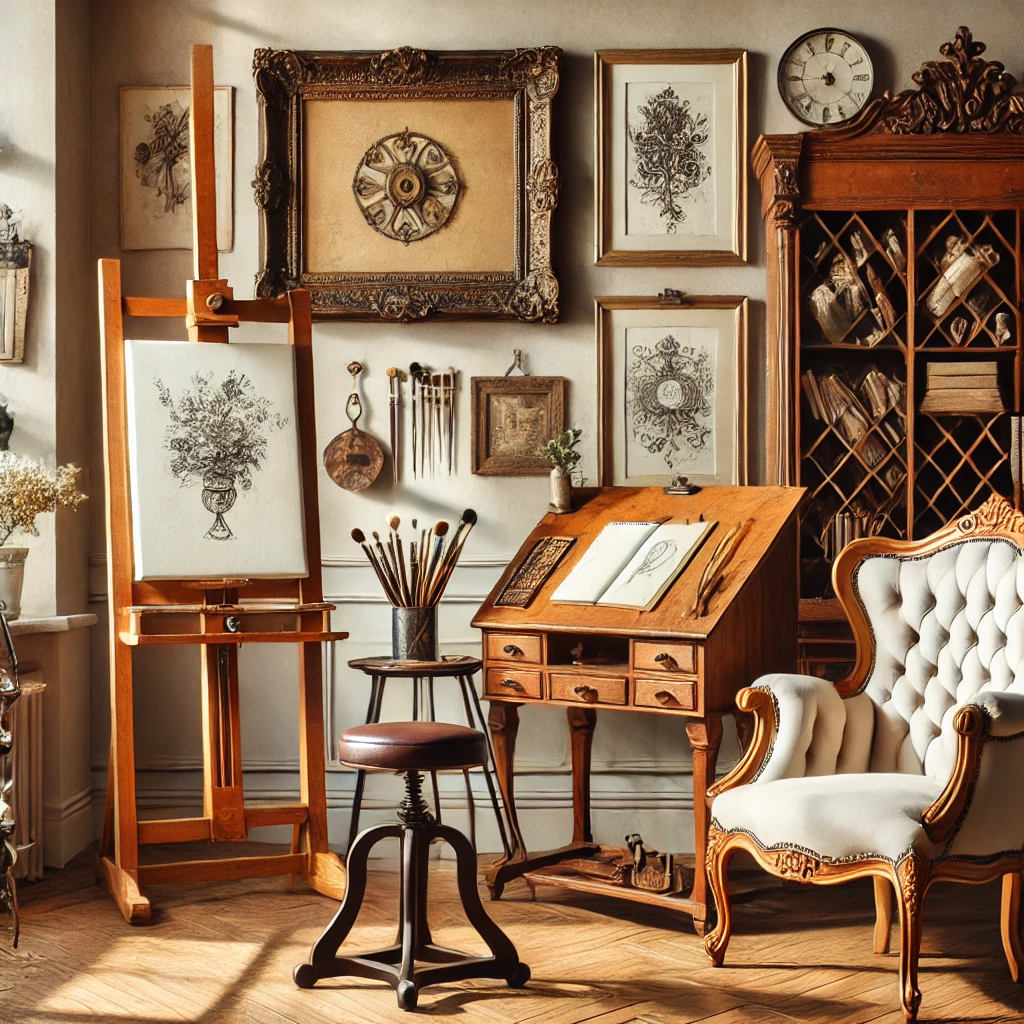
Three pieces set the whole mood: an easel, a work surface, and a chair.
A wooden easel. An adjustable wood easel instantly says “atelier.” The U.S. Art Supply Coronado walnut easel has the warm, classic look and adjusts for large canvases.

A drafting table. A tilting top is kinder to your neck than a flat desk, and a wooden one looks like it came out of an old architect’s office.
Solid Wood Drafting Table with Built-In Pencil Groove and Pencil Ledge Angle Adjustable Work Surface

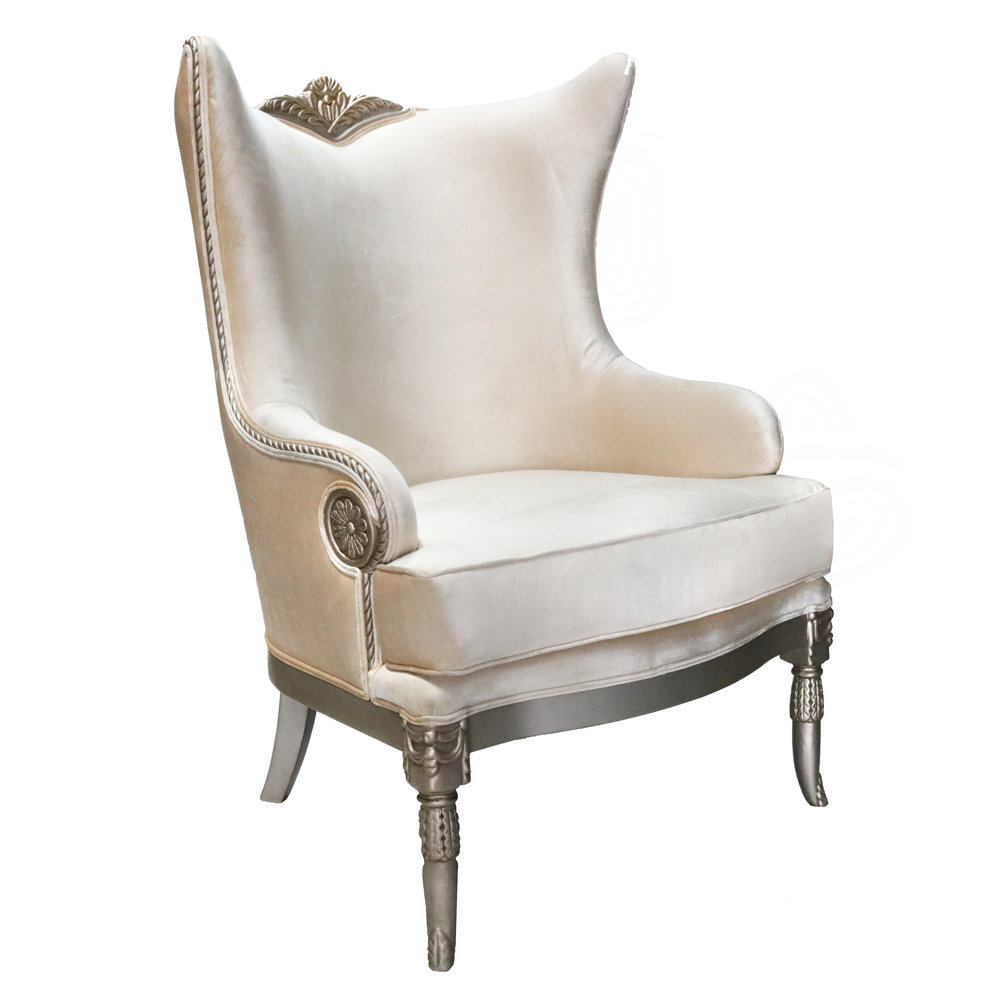
A velvet chair. A reading chair in velvet makes a corner feel finished, and gives you a spot to step back and look at your work.
An ornate bookcase is the fourth piece if you have room. Thrift shops and estate sales are the best places for carved wood, and a little wood stain for a vintage look can rescue a tired finish.
Step 4: Add retro art supplies
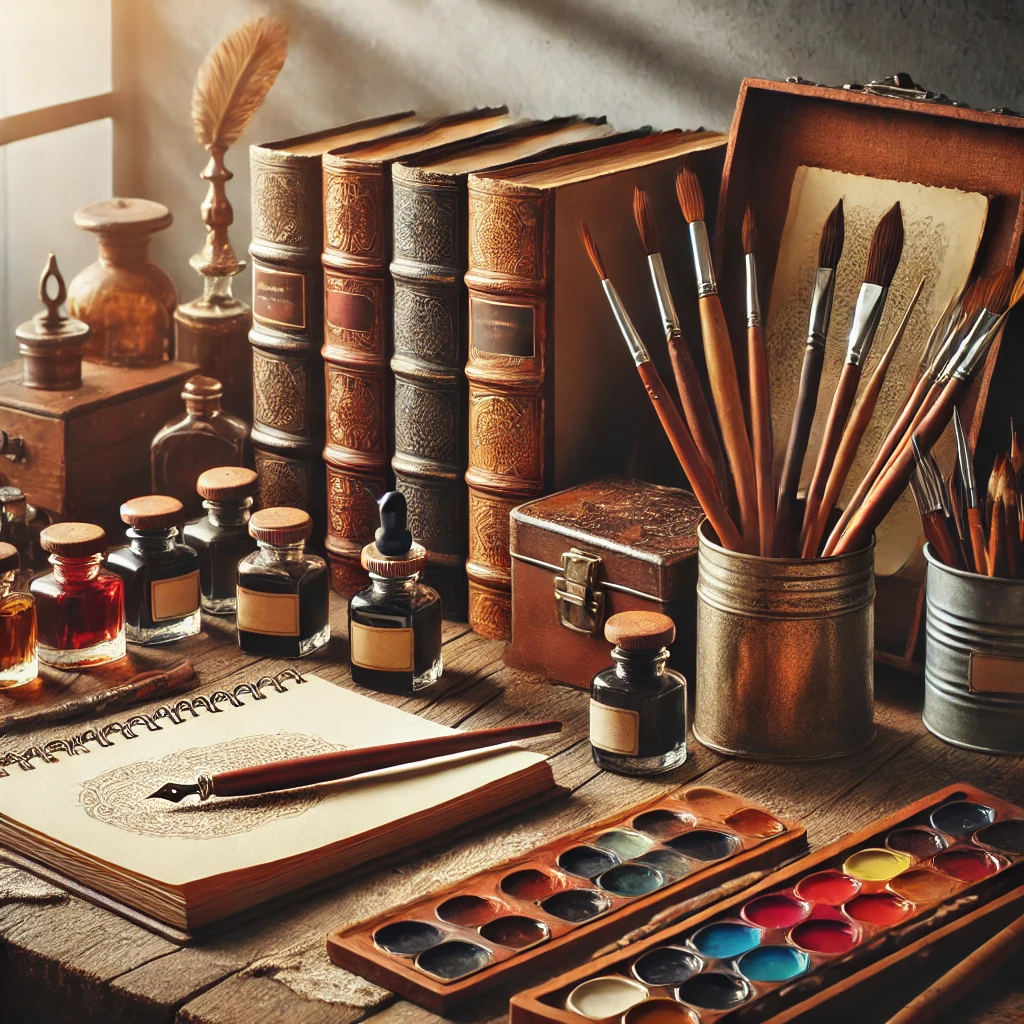
These are the supplies that look as good sitting out as they do in use.
- Dip pens and glass ink bottles for lettering and line work.

- A handmade leather sketchbook you’ll want to leave on the table.

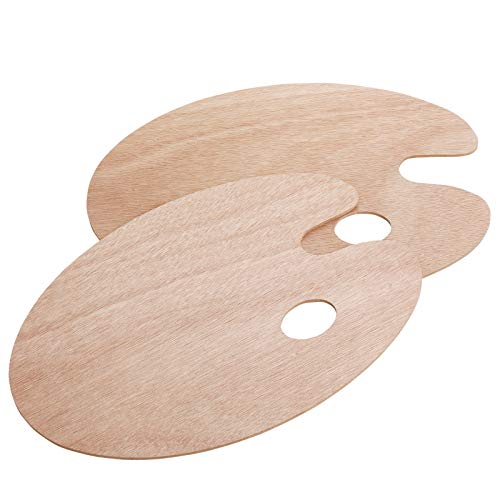
- Wooden palettes that look better the more paint they collect.
- Decorative tins for pencils, charcoal, and pastels.
Step 5: Layer in nostalgic accents
Accents are where the dreamy feeling comes from. Keep them grouped so they read as a collection, not clutter.
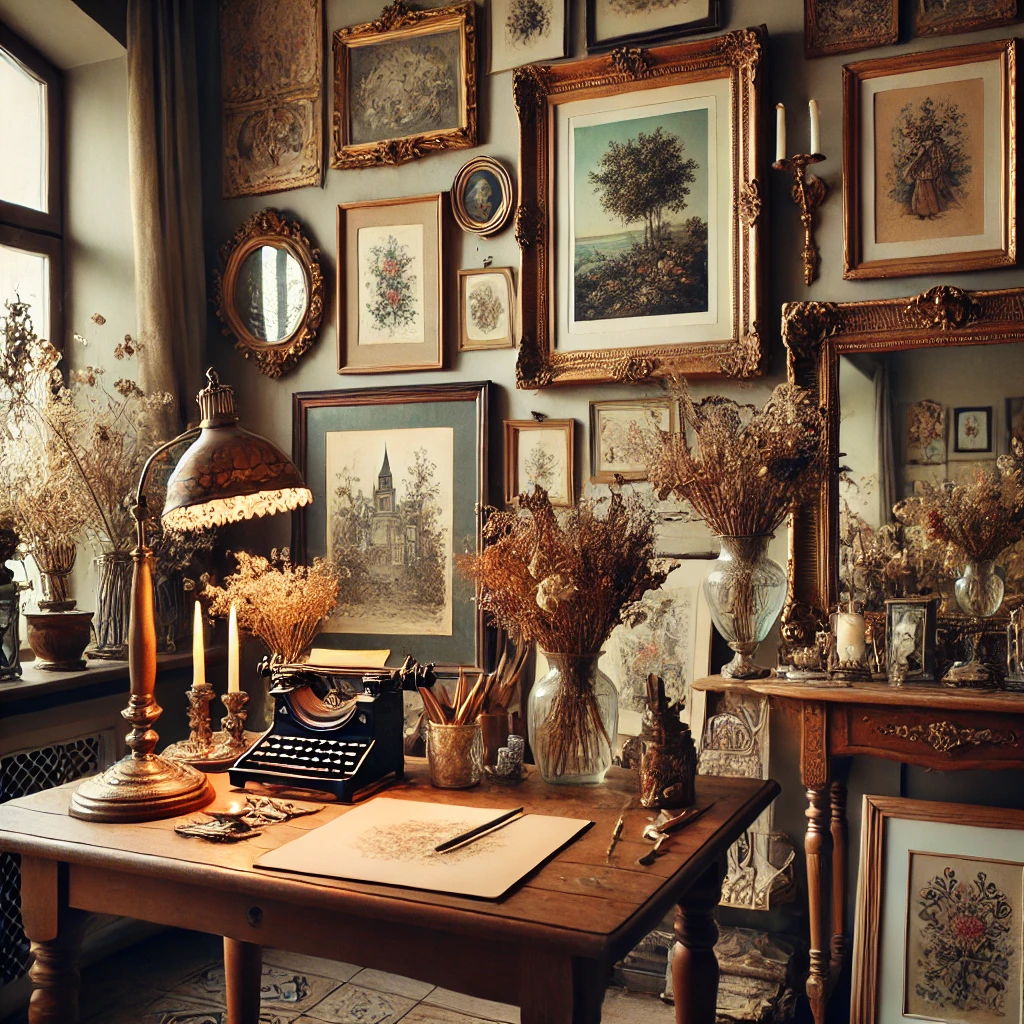
A gold-framed gallery wall. Mix vintage prints with your own sketches. A ready-made frame set takes the guesswork out of the layout.
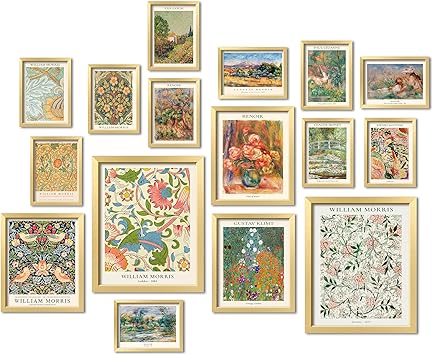
Botanical prints and dried flowers. Pressed ferns and pampas grass bring texture and double as drawing reference. Pair them with botanical sketching for a lovely theme.
Hurricane holders and classic lamps. A mercury-glass hurricane gives soft candlelight. Use an LED candle inside if it sits anywhere near paper.

An ornate mirror. A large gold mirror bounces window light deeper into the room, and it’s handy for checking your painting in reverse. Flipping your view reveals lopsided drawings instantly.
Step 6: Organize in style
Vintage storage hides the clutter while still looking like part of the decor.
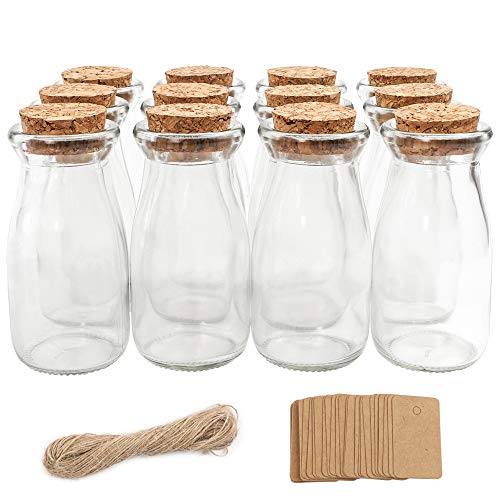
- Glass jars for brushes, pens, and washi tape. Clear glass keeps everything visible.
- Woven baskets for rolled paper, fabric scraps, and yarn.

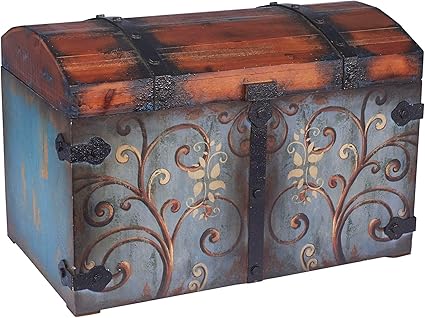
- A vintage trunk at the foot of a daybed or under a window stores canvases, sketchbooks, and seasonal supplies.
Store paper and sketchbooks flat or spine-down like books, and away from exterior walls. Paper is happiest around 40 to 50% humidity. More tips in how to store canvas, paper, and sketchbooks.
Step 7: Light it in layers
Vintage rooms love warm light, and paintings need neutral light. The answer is layers, each with its own job.
A rustic task lamp gives you the vintage look on your desk. Put a 5000K, 90+ CRI bulb in it so your colors stay accurate even while the rest of the room glows warm.

For bulb specs and placement, see the best lighting for art studios.
Step 8: Make it personal
The last layer is you.
- An inspiration board for postcards, swatches, and sketches. A cork board in an oak frame fits every vintage style.

- A record player for painting soundtracks. A retro-style turntable doubles as decor.
- A tea corner with a small tray, a kettle, and your favorite cup. Keep it at least an arm’s length from your palette so brush water and tea never trade places.
Collecting ideas first? A mood board for artists is a great way to test a look before you buy anything.
Keep it safe and keep it working
Pretty rooms still need a few rules.
| Item | Rule | Why |
|---|---|---|
| Real candles | 3+ feet from paper and wet paint | Solvents and paper burn fast |
| Task light | 5000K, 90+ CRI | Warm bulbs shift your colors |
| Paper storage | Flat, 40 to 50% humidity | Prevents curling and mold |
| Thrifted wood | Clean, then seal | Old finishes can be sticky or dusty |
| Easel spot | Side-lit by window | Avoids glare on wet paint |
Build it in a weekend
You don’t need months. Here’s a realistic two-day plan.
Investment pieces worth it
Once the basics are in place, these are the pieces that make a vintage studio feel permanent.
Spend on the things you touch every session: your work surface, your easel, and where your paper lives. Save on decor.
A solid wood drafting table
The Studio Designs Vintage Drafting Table above runs around $200 to $270 depending on finish. For a true heirloom piece, the Williston Forge Hackett reclaimed teak drafting table has rich, weathered wood that looks like it has a history.
Worth it if you draw or paint at a table several times a week. Skip it if you mostly work at an easel.
A heavy-duty H-frame easel
The MEEDEN Extra Large Heavy-Duty H-Frame Studio Easel in solid beech is around $220. H-frames are steadier than A-frames for big canvases and heavy brushwork. At weekly sessions over five years, that’s under $1 a session.
Worth it if you paint larger than 24 inches. Skip it if you work small. A tabletop easel will do. Compare styles in H-frame vs A-frame easels.
A wooden flat file
The Diversified Spaces Large Format File Cabinet in light hardwood is around $1,340. It keeps large paper, prints, and finished drawings perfectly flat, and it looks like a piece of library furniture.
Worth it if you work on large paper and your finished pieces are piling up. Skip it if your paper is mostly sketchbook size. A vintage trunk or a few portfolios will do.
The takeaway
Choose one era, pick its palette, and let the furniture and accents carry the vintage feeling. Keep your task light, storage, and work surface practical, and you’ll have a room that’s as useful as it is dreamy.
Which vintage aesthetic would you choose: Victorian, French atelier, Art Deco, or bohemian? Tell me in the comments, and save this to your studio inspiration board for your weekend plan.
[…] How to Set Up a Dreamy Vintage Art Studio📖 Luxury Artist Lofts: Create an Inspiring […]