This post contains affiliate links. If you buy through them, I may earn a small commission at no extra cost to you.
You’ve seen those creamy, sculpted canvases in decor shops with price tags that make you blink. Here’s the good news: most of them are spackle, a knife, and an afternoon.
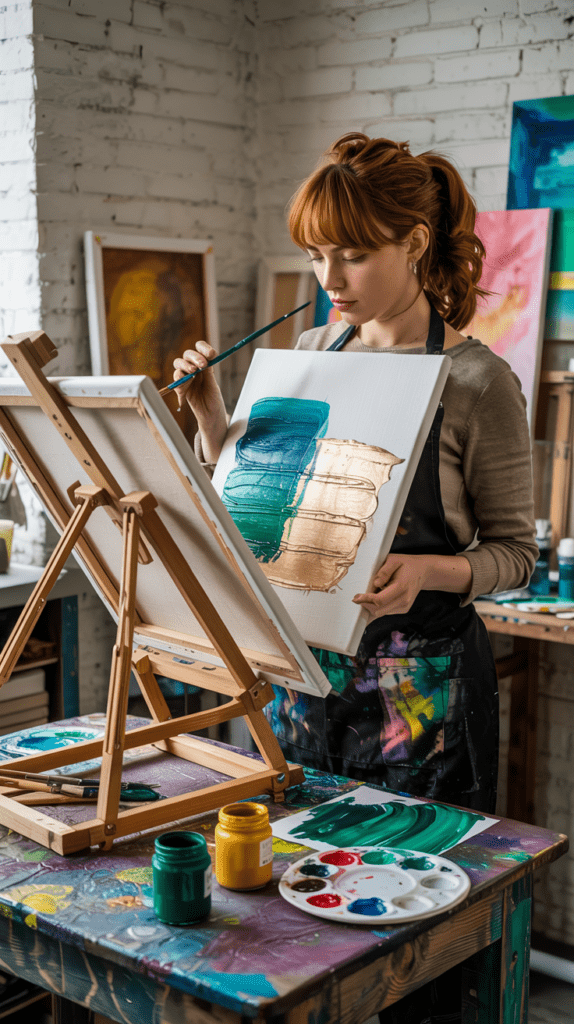
My point of view: textured art cracks when it’s rushed, and lasts when it’s built in thin layers on the right surface. The technique itself is easy. Choosing the right paste for your surface and giving each layer time to dry is what separates a piece that hangs for years from one that flakes off in a month.
Quick answer: if you only do one thing, keep each layer of texture under 1/4 inch thick and let it dry overnight before adding more. Thin layers dry evenly. Thick globs dry on the outside, stay soft inside, and crack.
What you’ll need
| Supply | What it does | Link |
|---|---|---|
| Canvas set | Your base, several sizes | Canvas set in various sizes |
| Lightweight spackling | Budget texture paste | Lightweight spackling |
| Palette knives | Spread and sculpt | Palette knife set |
| Neutral acrylics | Color over the texture | Neutral acrylic paints |
| Matte sealant | Protects the finish | Matte sealant spray |
Also handy: a drop cloth or old sheet, a small sponge, a dry flat brush, and a bit of metallic gold paint for highlights.
Spackle or modeling paste?
This is the most important choice you’ll make, so let’s get it out of the way first.
- very inexpensive
- easy to find
- dries fast
- can crack if canvas flexes
- best for light texture
- costs more
- artist grade
- flexible when dry
- holds heavy relief
- best for thick texture
Lightweight spackle works well on canvas for light to medium texture. The catch is that canvas flexes. If the piece gets bumped or leaned against something, rigid spackle can crack.
Three ways to make it last:
- Go thin. Light sweeps and swirls flex fine with the canvas.
- Prime first. A coat of gesso or diluted PVA glue on the canvas gives the spackle something to grip.
- Switch the surface. For bold, heavy texture, use a wood panel. It doesn’t flex, so nothing cracks.
Modeling paste is the artist-grade option. It’s acrylic-based, so it stays slightly flexible and bonds with your paint. If you want to explore it further, plus gel mediums and impasto, the abstract paintings with layered techniques guide goes deep on both.
How to make textured canvas art
Step 1: Prep your space and canvas
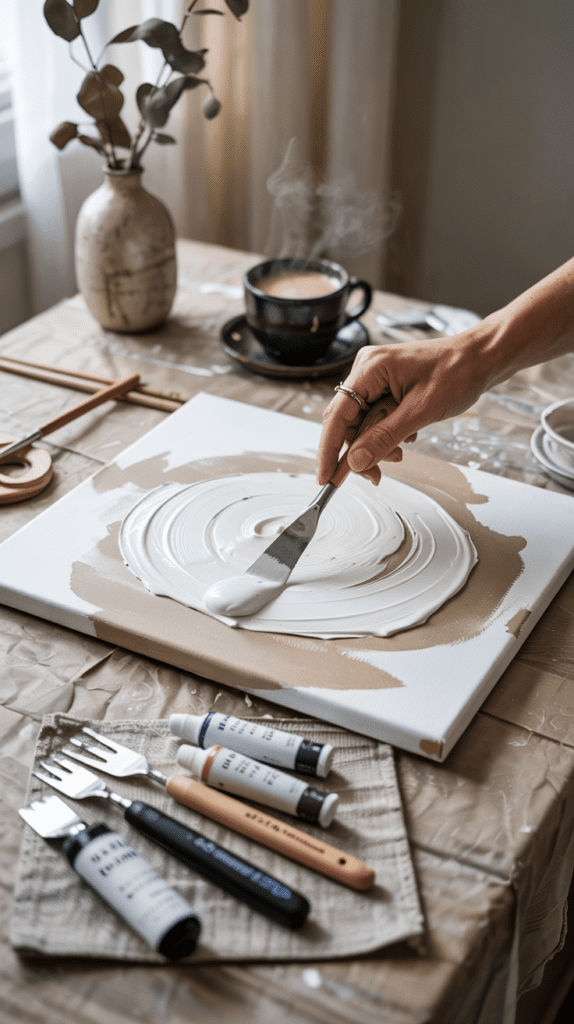
Spackle gets everywhere, so lay down a drop cloth and keep a damp rag nearby. Work on a flat table, not an easel; paste can slide on a vertical surface.
If you’re using thick texture on canvas, brush on a coat of gesso or PVA glue thinned about 1:1 with water and let it dry for about an hour.
Step 2: Sculpt your texture
Scoop a tablespoon or so of spackle onto the canvas and spread it with the flat of your palette knife. Then decide on your style:
- Minimal: a thin, smooth coat with a few gentle sweeps. Elegant and very forgiving.
- Bold: deeper swirls, ridges, and peaks. More dramatic, more shadow, more drying time.
Leave some areas smoother than others. Contrast between flat and textured spots is what makes the eye travel.
Step 3: Let it dry completely
This is where most textured pieces go wrong. Spackle that looks dry on top can still be soft underneath, and painting too early traps that moisture.
| Canvas size | Texture amount | Approx dry time |
|---|---|---|
| 8×10 | Light sweeps | 2 to 4 hours |
| 11×14 | Medium swirls | 6 to 8 hours |
| 16×20 | Medium to bold | Overnight |
| 24×36 | Bold, thick ridges | 24 hours or more |
Drying times are approximate. Humidity, temperature, and the brand all change them, so check your spackle’s label. If you want texture thicker than 1/4 inch, build it in two layers with a full dry in between.
Press a fingernail gently into the thickest spot. If it leaves a dent, give it more time.
Step 4: Paint it
Pick a base tone (warm white, greige, soft taupe) and decide how you’ll apply it:
- Brush: gets into every crevice for full, even coverage.
- Sponge: dabs color onto the raised areas and leaves the valleys lighter, which exaggerates the texture.
Once the base is dry, try a second tone. Brush on a slightly darker shade, then wipe the high points with a damp rag so the darker color stays only in the recesses. It instantly looks more expensive.
Step 5: Add highlights
Load a dry flat brush with a tiny bit of metallic gold, wipe most of it off on a paper towel, and skim it lightly across the peaks. Less is more. You want a glint when light hits it, not a gold canvas.
Step 6: Seal and style
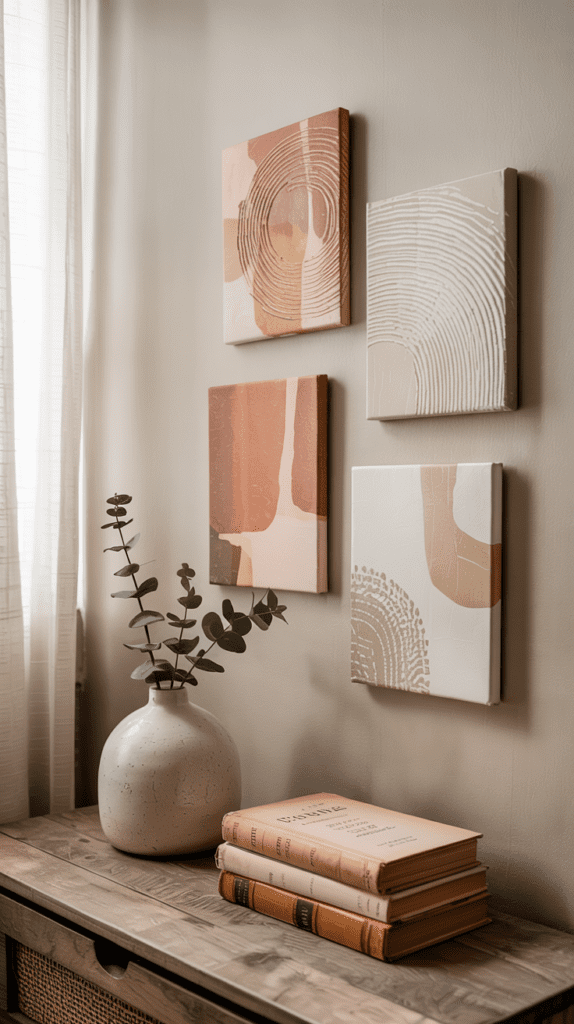
In a ventilated spot (outdoors is best), mist on a light coat of matte sealant spray from about 10 to 12 inches away. Two light coats beat one heavy one.
Hang it where light comes from the side. Side light, or raking light, casts small shadows across every ridge and makes the texture come alive. A piece hung under a ceiling light straight above will look flatter.
5 texture patterns to try
Each of these comes from the same knife and paste. The difference is only in how you move your hand.
Practice each pattern on a scrap of cardboard first. Five minutes of testing tells you which one you like before you commit to a canvas.
Make it yours: variations
- Stenciled raised word or symbol. Tape a stencil to the canvas and spread spackle over it with the knife, then lift the stencil straight up while wet. A single letter, a moon, or a leaf looks lovely.
- All white with chalk pastel. Paint everything white, then lightly rub soft chalk pastel over the peaks for a whisper of color. Seal well, since pastel smudges.
- Round canvas or wood panel. A round canvas reads as instant modern decor. A wood panel lets you go as thick and bold as you want.
- A matching pair. Make two canvases with the same palette and mirrored swirls. Pairs look intentional over a bed or sofa.
Frame it if you like a finished edge; DIY art frames shows a few easy ways.
Troubleshooting
| Problem | Likely cause | Fix |
|---|---|---|
| Cracks while drying | Layer too thick | Fill cracks, build in thinner layers |
| Cracks later | Canvas flexed | Use a panel or modeling paste |
| Paint looks flat | Even color everywhere | Add a darker wash in recesses |
| Chunks falling off | No primer, weak grip | Prime with gesso or PVA first |
Investment pieces worth it
You can make a stunning piece with the five supplies above. If textured art becomes a regular thing, especially in larger sizes, these make it easier.
An adjustable drying rack. The Extra-Large wooden adjustable art drying and storage rack is about $160. Textured pieces need to dry flat and undisturbed, sometimes for a day or more, and a rack keeps them off your table and away from curious hands. Worth it if you make several pieces at a time. Skip it if you make one canvas a month; a clear shelf works fine.
A rolling canvas storage rack. The Art Storage Rack with handle and casters runs around $155. Stored upright in slots, finished textured canvases don’t press against each other, which is how peaks get flattened and chipped. Worth it once you have more than five or six pieces waiting to hang or gift. Skip it if your art goes straight onto the wall.
A daylight floor lamp. The Daylight Company Anita Floor Lamp is about $245 with 95+ CRI. Angled low from the side, it gives you raking light while you work, so you can see every ridge and judge your neutrals accurately at night. Worth it if you mostly create in the evening. Skip it if you have a big window with good side light.
The takeaway
Textured canvas art is mostly patience with paste: thin layers, full drying time, and the right surface for the amount of texture you want. Get those three right and a simple tub of spackle can look like gallery decor.
Which pattern are you trying first, the calm sweep or the bold ridges? Tell me in the comments, and save this pin for your next weekend project.
Keep going: