This post contains affiliate links. If you buy through them, I may earn a small commission at no extra cost to you.
Ever bought a blank canvas, set it on the table, and then just stared at it for twenty minutes? That white rectangle can feel very loud.
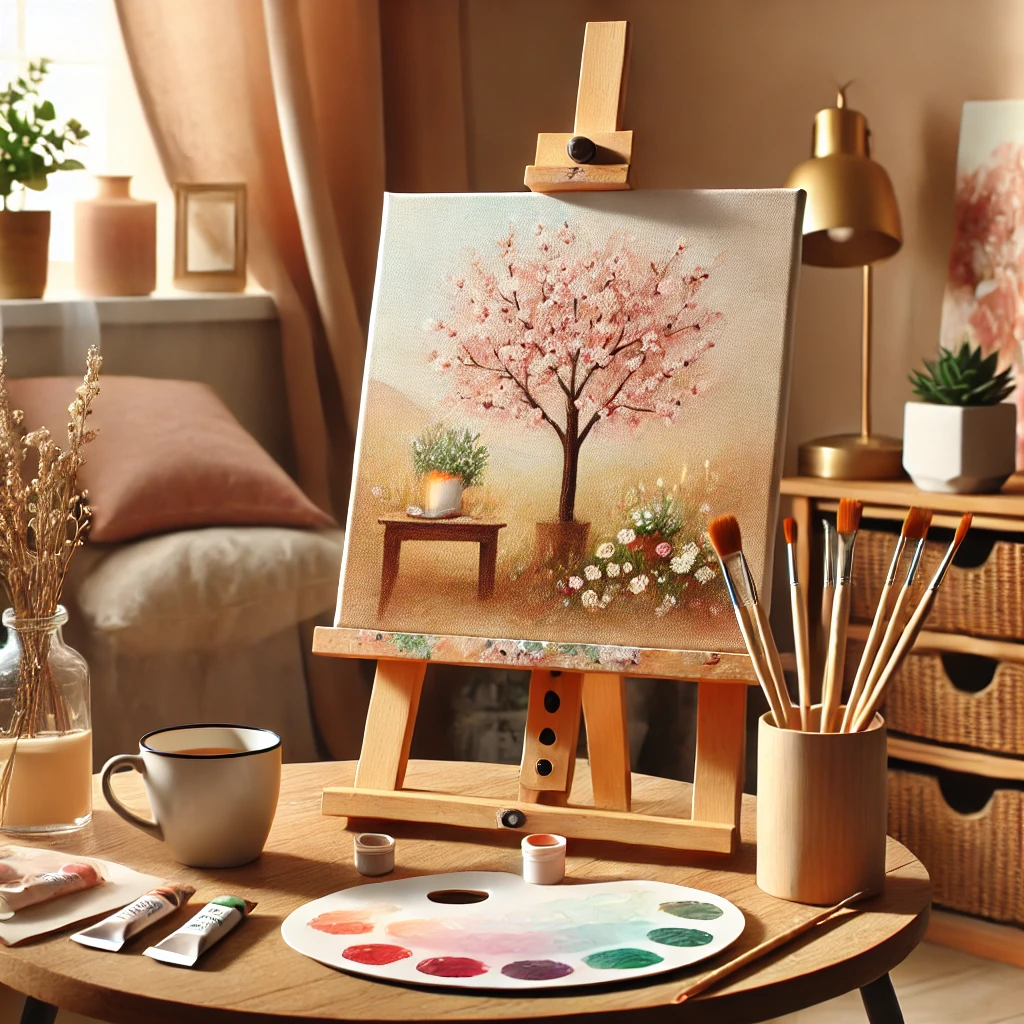
Here’s my take: the best beginner projects teach one skill at a time. When a first painting asks you to blend, draw, layer, and add detail all at once, it falls apart and you blame yourself. When it asks for one thing, you finish it and want to paint again.
So every idea below is chosen for the skill it builds. Paint them in order and by number seven you’ll have blending, edges, layering, and value under your belt.
Quick answer: if you only do one thing, start with the sunset gradient on an 8×10 canvas. It takes about an hour, needs three colors, and teaches the most important acrylic skill there is: blending before the paint dries.
The 7 ideas at a glance
| Idea | Time | Difficulty | Skill it teaches |
|---|---|---|---|
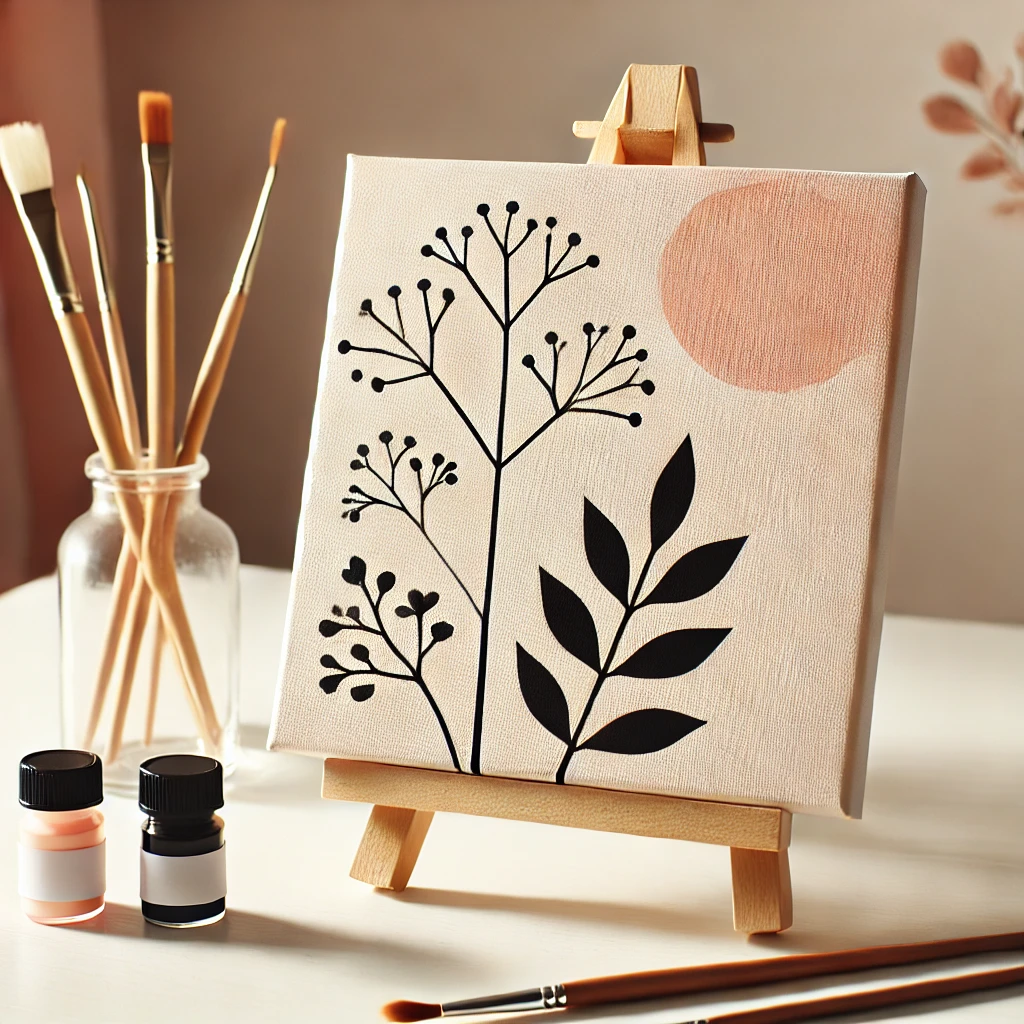
| Floral silhouettes | 1 to 1.5 hrs | Easy | Shapes over details |
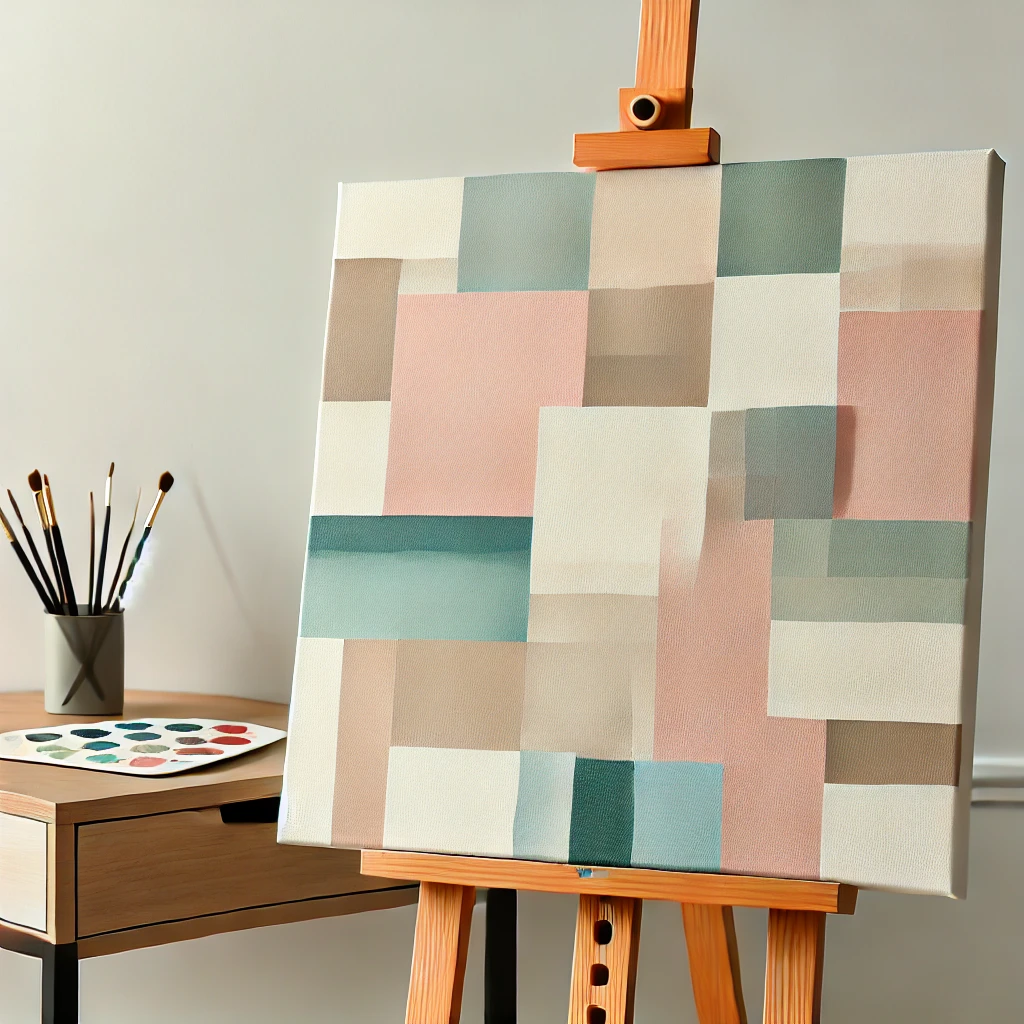
| Color blocking | 1 hr + drying | Easy | Crisp edges |
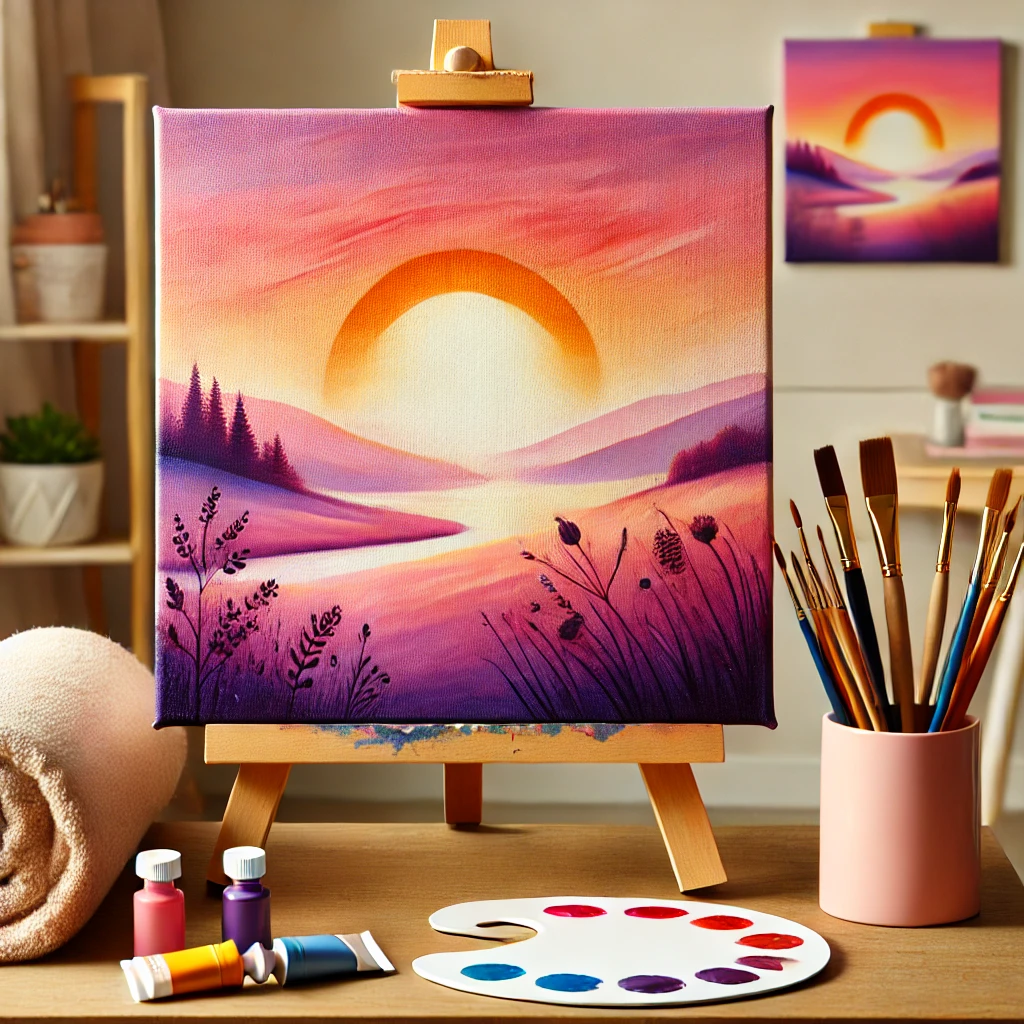
| Sunset gradient | About 1 hr | Easy | Wet blending |
| Minimalist line art | 30 to 45 min | Easy | Brush control |
| Galaxy night sky | 1.5 hrs | Medium | Sponging, splatter |
| Watercolor-style blends | 1 hr | Medium | Thinning acrylic |
| Mountain layers | 1.5 to 2 hrs | Medium | Depth and value |
Your beginner starter kit
You don’t need a cart full of supplies. Buy from the bottom of this pyramid up, and only climb when a project asks for it.
- Paint: a beginner acrylic paint set with plenty of white. You’ll use twice as much white as any other color.
- Canvas: a canvas multipack so you never feel precious about “ruining” one.
- Brushes: a blending brush set gives you soft, wide brushes for gradients.
- Tape: painter’s tape for clean edges and a neat border.
Small canvases (8×10 or 9×12) are the sweet spot. They’re big enough to move your arm, small enough to finish before the paint dries on your palette.
How every first painting session goes
Whichever idea you pick, the rhythm is the same. Knowing it ahead of time takes away most of the “what now?” moments.
Two habits make a big difference. Keep a damp paper towel under your palette paint so it stays workable longer, and step back from the canvas every ten minutes. Most “mistakes” disappear from six feet away.
1. Floral silhouettes
Silhouettes are the kindest first painting there is. You’re painting shapes, not petals, so there’s nothing to get “wrong.”
- Paint a soft background in two colors, like peach fading into lavender. Let it dry.
- With black or deep navy and a small round brush, paint stems first, then leaves, then simple bloom shapes on top.
- Vary the heights. Three tall stems, two medium, one short looks natural. All the same height looks like a fence.
Skill it teaches: seeing the outline of an object instead of its details. That’s the foundation of all drawing and painting.
2. Abstract color blocking
Color blocking is pure satisfaction: tape, paint, peel, done.
- Tape off geometric sections with painter’s tape. Press the edges down with a fingernail or a credit card so paint can’t creep under.
- Fill each section with a flat color from a bold acrylic paint set. Two thin coats beat one thick one.
- Peel the tape when the paint is dry to the touch, usually 15 to 30 minutes. Pull slowly at a low angle, folding the tape back over itself.
If you wait until the paint is fully cured, it can form a skin that tears with the tape. Too wet, and it smears. Touch-dry is the safe middle.
Skill it teaches: clean edges and choosing colors that work side by side. The color palette inspiration guide has combinations ready to borrow.
3. Sunset gradient
This is the one I’d paint first. A gradient teaches you how fast acrylic dries and how to work with that clock instead of against it.
- Squeeze out yellow, orange, and a pink or red. A set of warm sunset acrylics makes this easy.
- Paint horizontal bands with no gaps: yellow at the bottom, orange in the middle, pink at the top.
- While everything is wet, sweep a clean, slightly damp wide brush back and forth across each seam. Wipe the brush often.
- Once dry, add a dark silhouette at the bottom: a palm, a hill line, or a row of rooftops.
Work in sections about the width of your hand. If the paint starts to drag, mist it lightly with water instead of adding more paint.
Skill it teaches: wet blending, the core skill behind skies, backgrounds, and soft shadows.
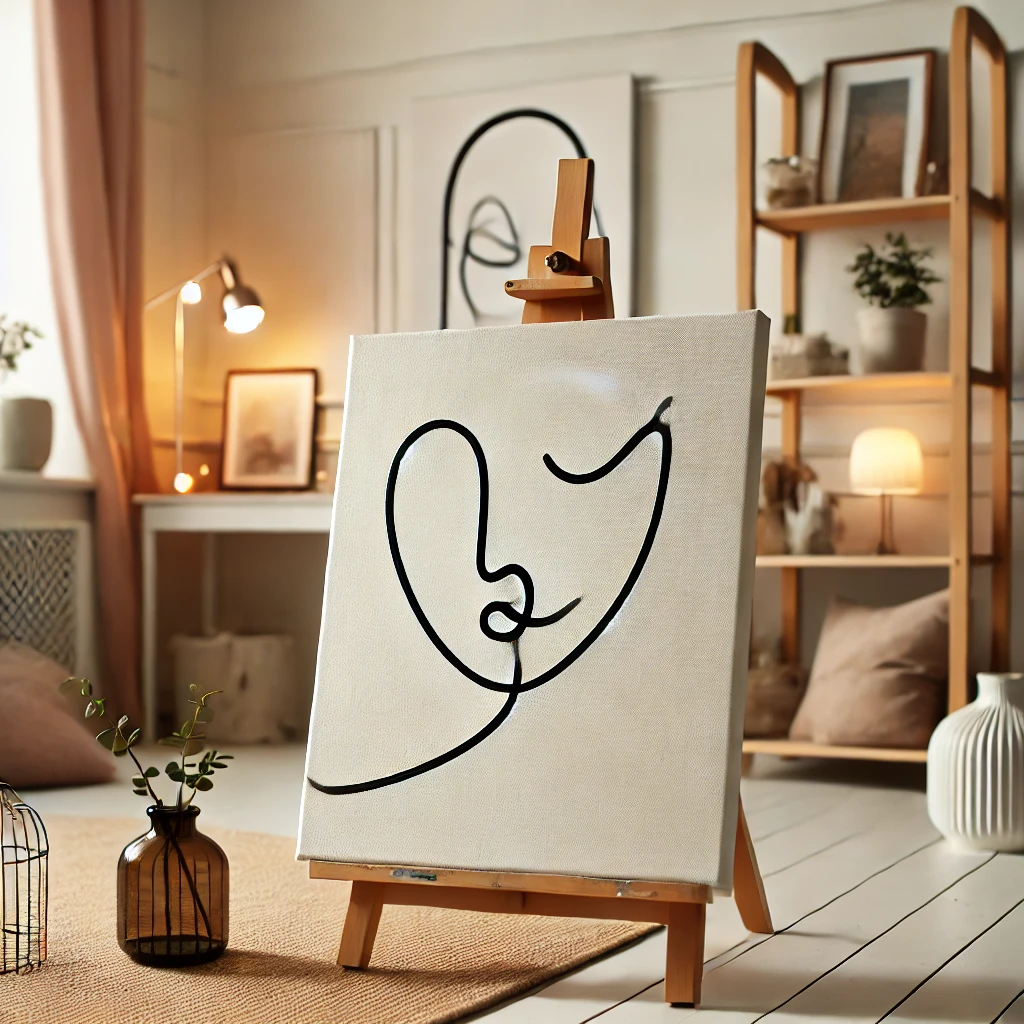
4. Minimalist line art
One continuous line, a face, a hand, a leaf, on a plain or softly tinted background. It looks very gallery and takes under an hour.
- Paint the background a warm cream or blush and let it dry fully.
- Lightly sketch your line with a pencil first. Single-line faces are a great starting point.
- Trace it with a fine-tip paint pen or a liner brush loaded with slightly thinned paint.
Keep your wrist loose and move from your elbow. Shaky lines usually come from gripping too tight and moving only your fingers.
Skill it teaches: brush and pen control, and the confidence of committing to a line.
5. Galaxy night sky
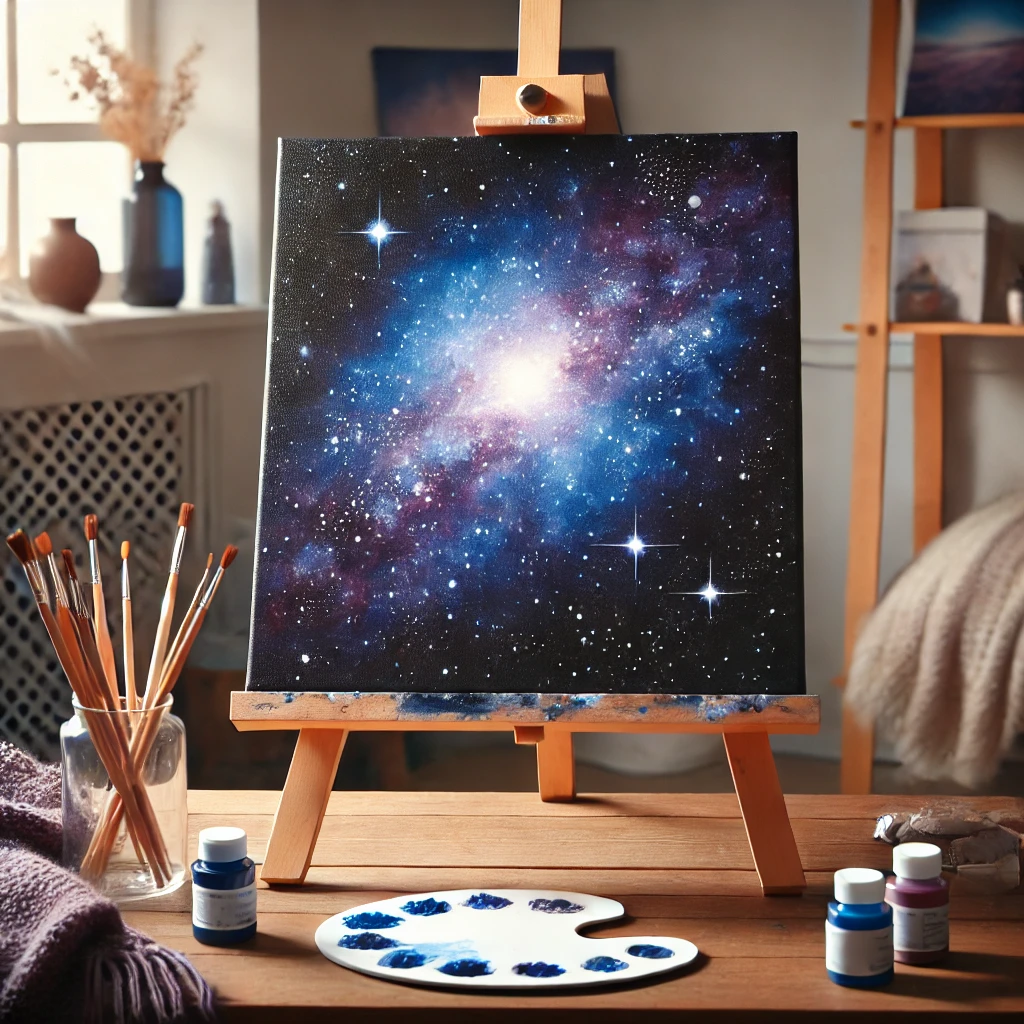
Messy, forgiving, and a lot of fun. Nobody can tell you your nebula is the wrong shape.
- Cover the canvas in black or deep navy. Let it dry.
- Dab on purple, magenta, and teal with a sponge blending set, keeping the clouds soft and uneven. Overlap colors while wet.
- Sponge a little white into the brightest parts of the clouds.
- For stars, dip an old toothbrush in thinned white paint and flick the bristles with your thumb. Add a few larger stars with the tip of a brush handle.
Want a party trick? A few touches of glow-in-the-dark paint on the stars make it light up when the lamp goes off.
Skill it teaches: sponging and splatter, two texture tools you’ll use for snow, foliage, and stone later.
6. Watercolor-style blends
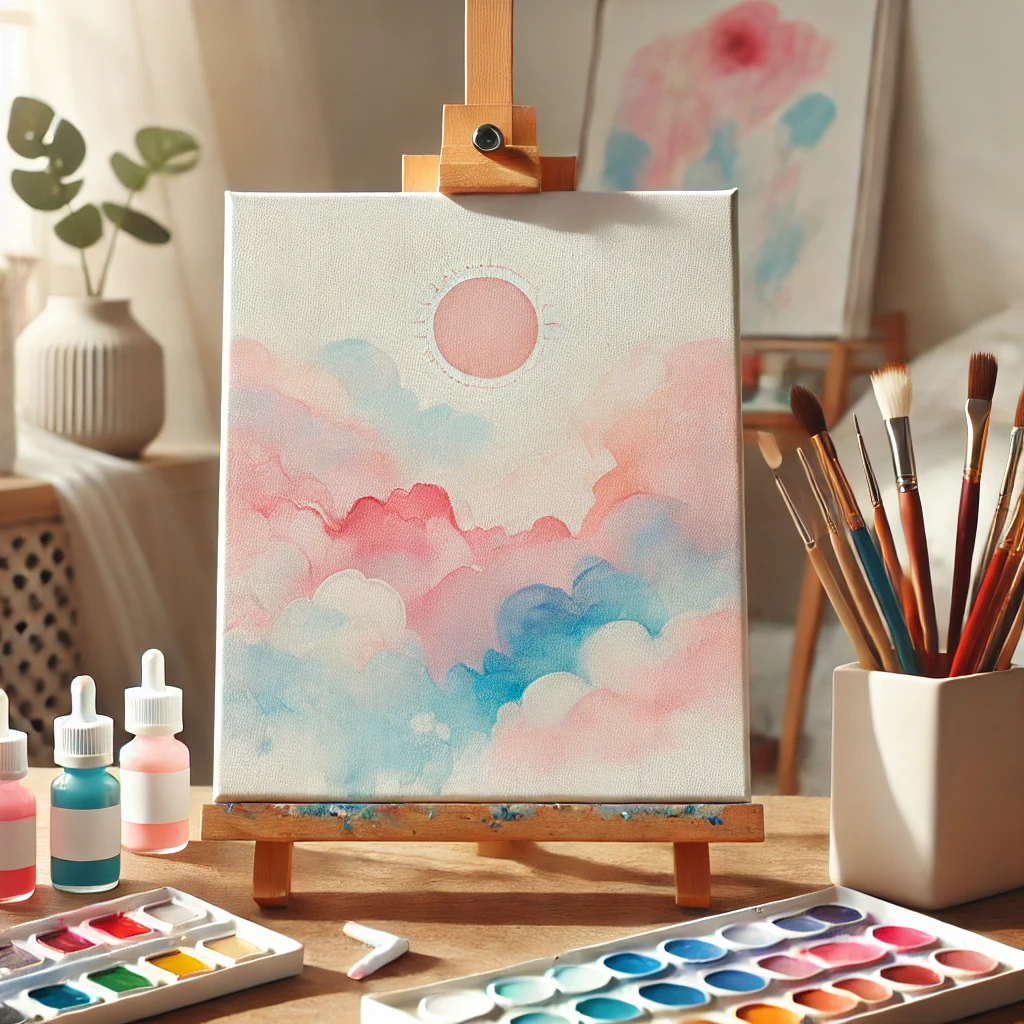
Acrylic can mimic watercolor when you thin it way down. It’s a lovely bridge if you’re curious about watercolor but not ready for the paper and brushes.
- Dilute paint with water until it looks like milk. Fluid acrylics are already thin and blend more easily.
- Wet an area of the canvas lightly, then drop in color and tilt the canvas so the colors drift into each other.
- Once dry, add a few accents of gold foil along the edges of the color pools.
Because canvas doesn’t absorb like paper, color sits on top and stays movable longer. Blot with a paper towel to lift soft highlights.
Skill it teaches: controlling water and letting color do some of the work. If you fall for the look, watercolor techniques for ethereal paintings is the next step.
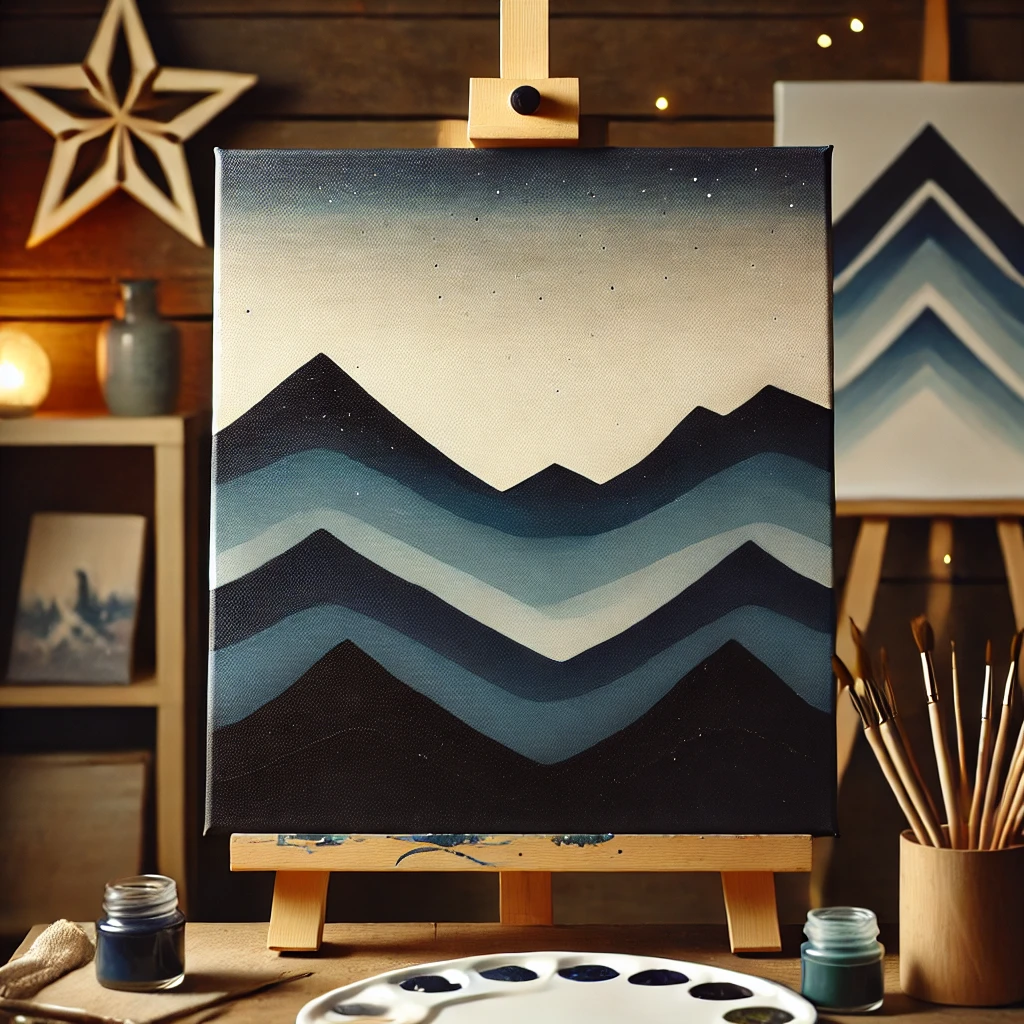
7. Mountain layers
Save this one for last, because it pulls together everything above: blending, edges, and value. It’s also the most impressive on a wall.
The secret is atmospheric perspective. Air softens and cools what’s far away. So distant mountains are lighter and bluer, and each range gets darker and warmer as it comes toward you.
- Paint a soft sky gradient and let it dry.
- Mix your darkest mountain color first (blue + a touch of black or brown). Set some aside.
- Lighten a portion with lots of white and a little blue for the farthest range. Paint it with a soft, low edge.
- Add each nearer range a step darker, overlapping the one behind it. Give the closest ridge a crisp edge and a few tree shapes.
Layering acrylics with good coverage help here, since each range has to fully cover the one behind it.
Skill it teaches: value, the single biggest reason paintings look flat or deep. Once you see it here, you’ll see it everywhere.
Quick fixes for common beginner problems
| Problem | Why it happens | Do this instead |
|---|---|---|
| Streaky color | Paint too thin, one coat | Two thin coats, dry between |
| Muddy colors | Overmixing on canvas | Mix on the palette, fewer strokes |
| Canvas showing through | Dry brush on white canvas | Tone the canvas first |
| Hard seams in gradients | Paint dried mid-blend | Smaller sections, mist with water |
| Smudged details | Painting on wet layers | Wait 10 to 20 minutes |
Investment pieces worth it
Everything above works on a kitchen table. If painting sticks and you start doing it every week, these three upgrades change the experience most.
A real studio easel. The MEEDEN Versatile Studio H-Frame Easel runs around $165. Painting upright means you see the whole canvas without distortion and your neck stays happier. Worth it if you paint weekly or want to go bigger than 16×20. Skip it if you’re still painting 8x10s at the table; a tabletop easel does that job for much less. More options in choosing the right easel.
A true daylight lamp. The Daylight Company Lumi Task Lamp is about $195 with 95+ CRI, so your colors look the same at night as they do by a window. Worth it if you mostly paint after dark. Skip it if you have a bright north-facing window and paint in the daytime. At two evening sessions a week, it works out to under $1 a session in the first year.
A rolling supply cart. The MEEDEN Rolling Art Supply Cart in solid beech is around $158. It keeps paint, brushes, and water within arm’s reach and rolls away when the dining table needs to be a dining table again. Skip it if you already have a dedicated studio desk with drawers.
The takeaway
Pick ideas that teach one skill at a time and painting stops feeling like a test. Start with the sunset gradient, end with the mountains, and you’ll have seven finished canvases and a real set of skills.
Which of these seven are you painting first? Tell me in the comments. And save this to your painting board so the list is ready next time the blank canvas starts staring back.
Keep going: