This post contains affiliate links. If you buy through them, I may earn a small commission at no extra cost to you.
Ever finished an abstract painting that looked great from across the room and flat up close? The colors were fine. The surface had nothing to say.
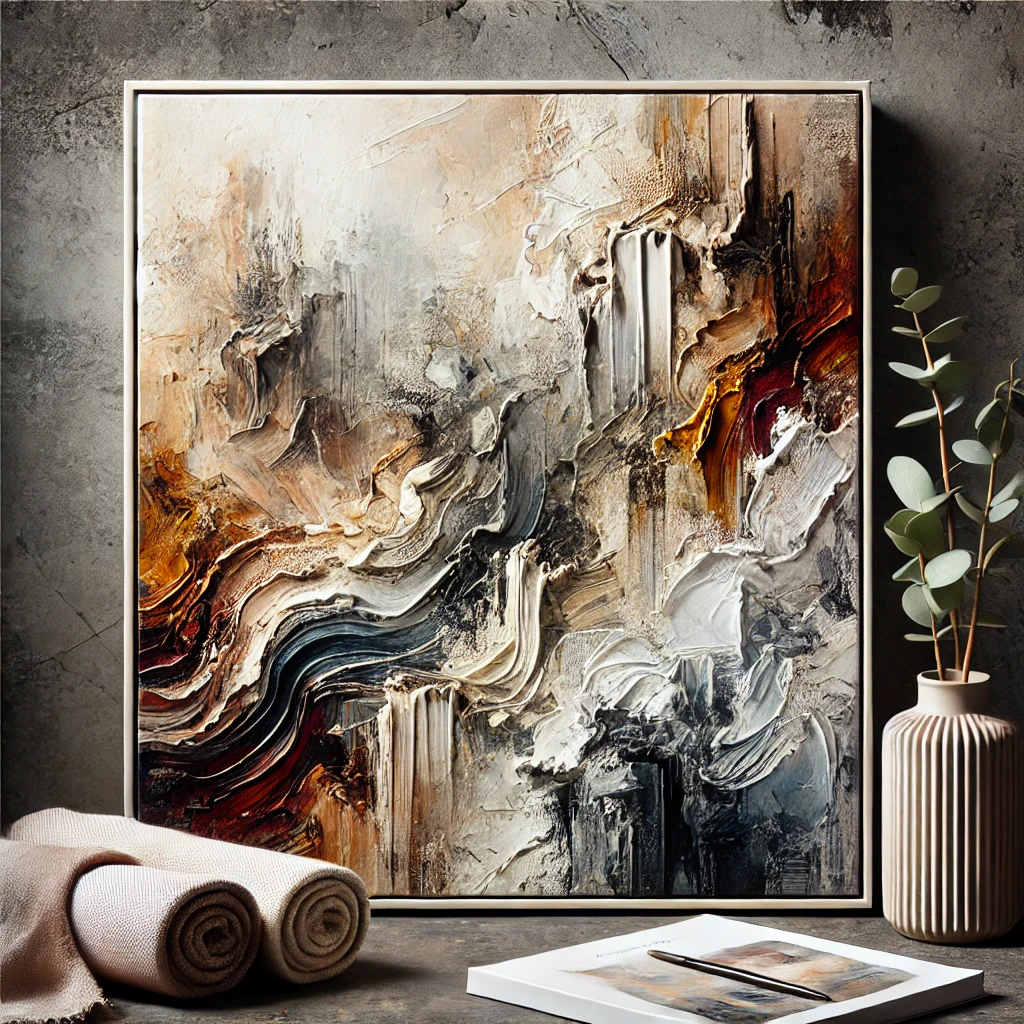
My point of view: texture is planned in layers, from the bottom up. The most interesting abstract surfaces aren’t made in one lucky session. They’re built in three or four deliberate passes, each one drying before the next goes on, so the early layers peek through the later ones.
That one habit (plan, layer, wait) is what gives a painting that rich, “how did she do that?” depth. Here’s how to build it.
Quick answer: if you only do one thing, put your thickest texture down first, on a rigid panel, and let it dry completely before you paint over it. Texture first, color second, details last.
Why texture changes an abstract painting
In abstract work there’s no subject to hold the viewer’s attention, so the surface has to. Texture does three jobs at once:
- It catches light. Raised ridges throw small shadows that shift as you walk past, so the painting changes through the day.
- It creates layers of history. Scratches and thin glazes reveal earlier colors underneath.
- It invites a closer look. A viewer who steps in to study a ridge of paste spends more time with your work.
Materials for layered texture
You don’t need everything on this list. Start with heavy-body acrylics, one texture medium, and a palette knife, then add as you go.
| Material | What it does | Best for |
|---|---|---|
| Heavy-body acrylics | Holds knife and brush marks | Impasto and knife work |
| Gesso | Primes and adds tooth | Every first layer |
| Gel medium | Adds body, stays translucent-ish | Glossy ridges, collage glue |
| Modeling paste | Builds opaque, carvable texture | High relief, sanding, carving |
| Palette knives | Spread, scrape, and sculpt | Ridges and smooth planes |
| Sandpaper, sponges, rags | Distress and soften layers | Revealing color underneath |
| Metallic leaf and powders | Reflective accents | Final highlights |
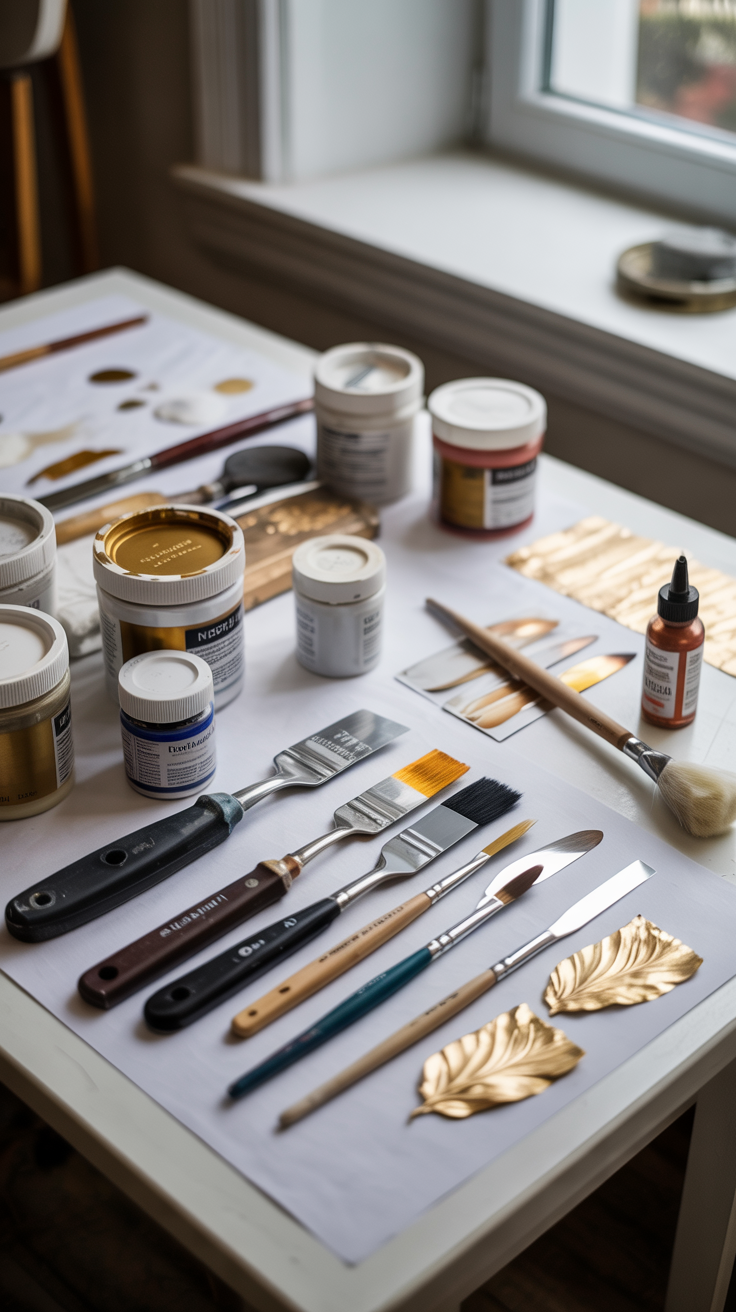
For the shiny stuff, a metallic gold leaf and powder supply set covers leaf, flakes, and pigment for experimenting.
Pick a surface that can hold the weight
Thin texture is fine on stretched canvas. Thick paste is a different story. Canvas flexes, and heavy, rigid paste can crack when it bends. For anything thicker than about 1/8 inch, use a wood panel or a cradled board.
6 texture techniques for abstract paintings
1. Palette knife painting
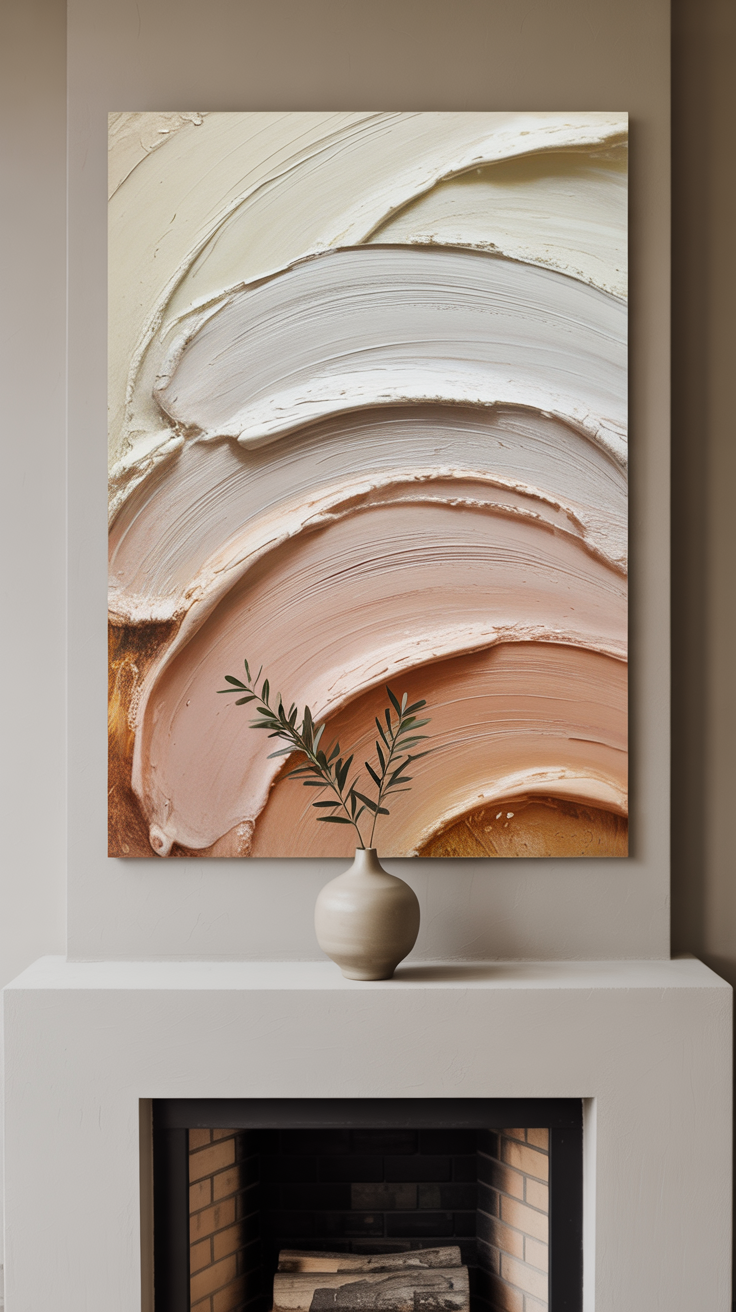
Load the underside of the knife, then drag it across the surface at a low angle. Press harder for thin, scraped passes and ease off to leave a ridge along the edge.
Try three marks: a long pull, a short dab, and a twisting flick. Those three alone can fill a whole painting with variety.
2. Impasto
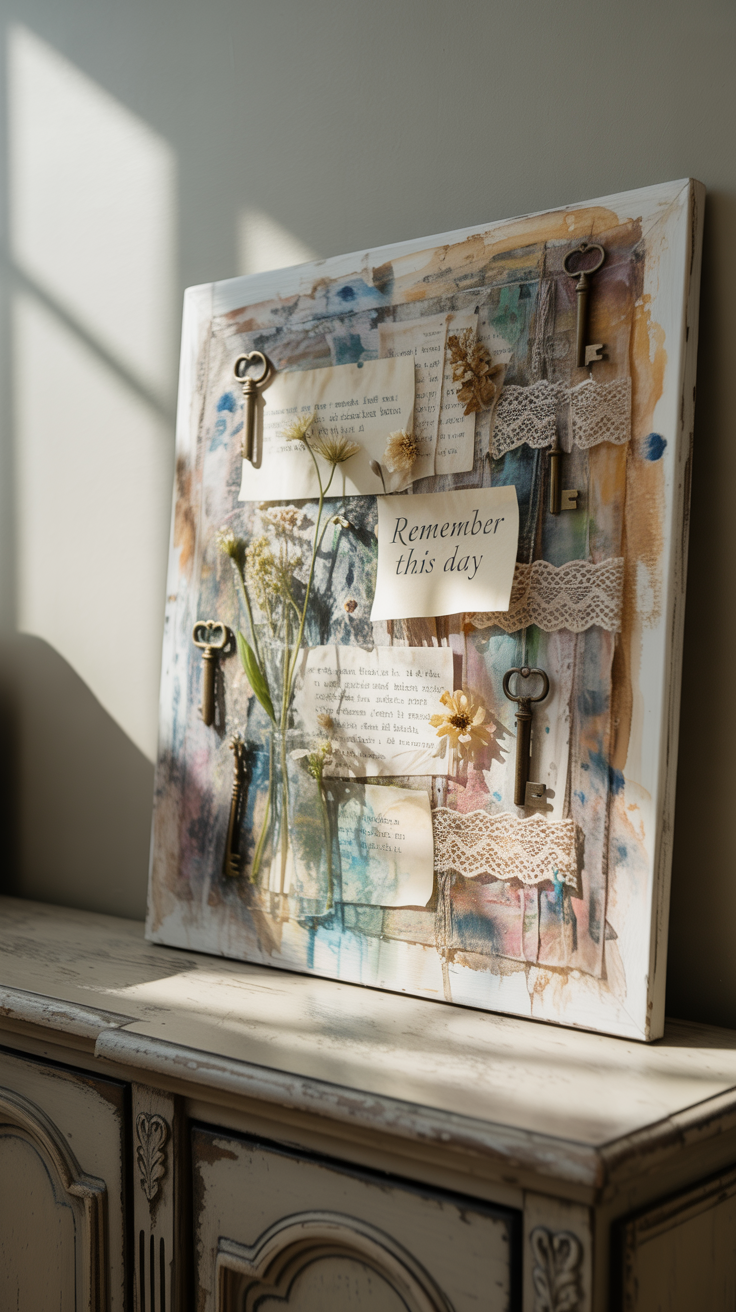
Impasto means paint applied thick enough to stand up on its own. Use heavy-body acrylic straight from the tube, or stretch it by mixing in gel medium so you’re not spending a fortune on paint.
Keep impasto for focal areas. A painting that’s thick everywhere loses contrast, and the eye has nowhere to rest.
3. Mixed media and found objects
Press lace, mesh, string, or bubble wrap into wet paste and lift it away for an imprint. Or glue flat objects like paper, fabric, or sand directly onto the surface with gel medium, then paint over them.
Seal anything porous, like paper or fabric, with a coat of gel medium first so it doesn’t soak up color unevenly.
4. Sgraffito
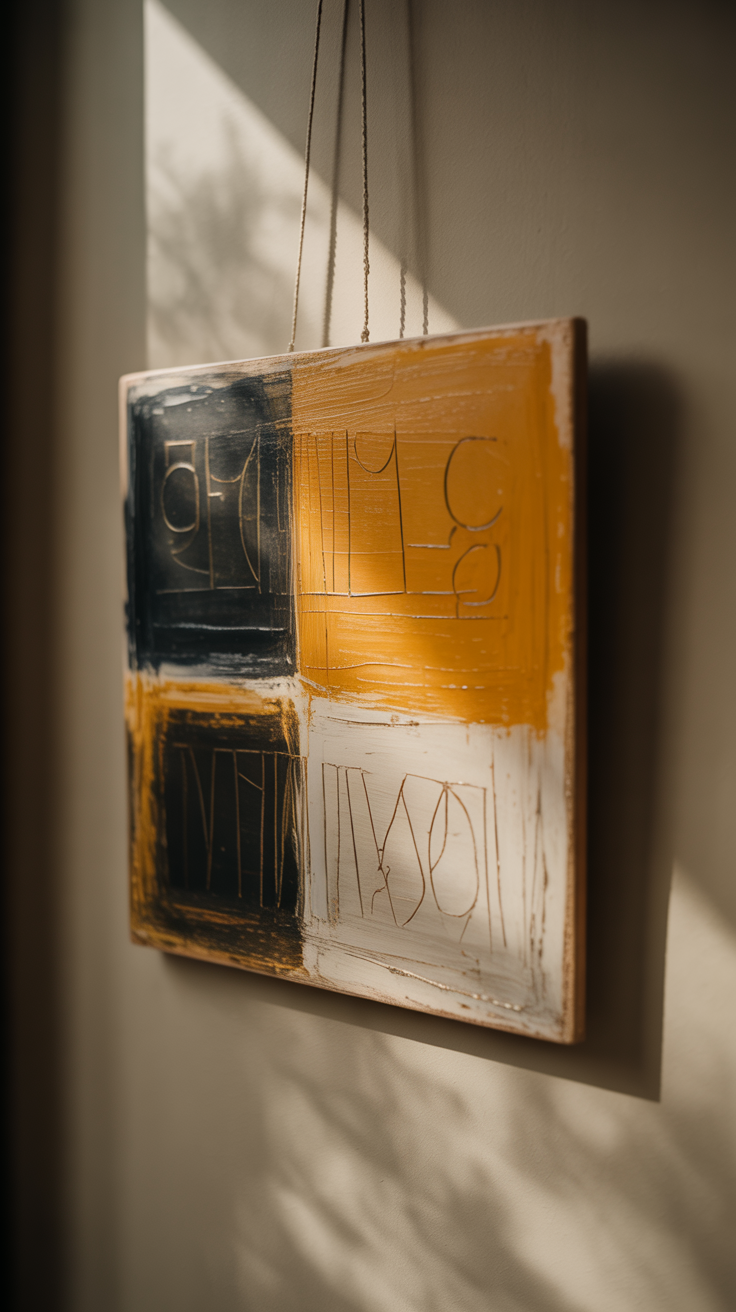
Paint a contrasting top layer over a dry bottom layer, then scratch through the wet top coat with the end of a brush, a skewer, or a palette knife tip. The color underneath shows through every line.
The timing is the whole trick. Scratch while the top layer is still wet, which with acrylic often means working small sections at a time.
5. Gel medium and modeling paste
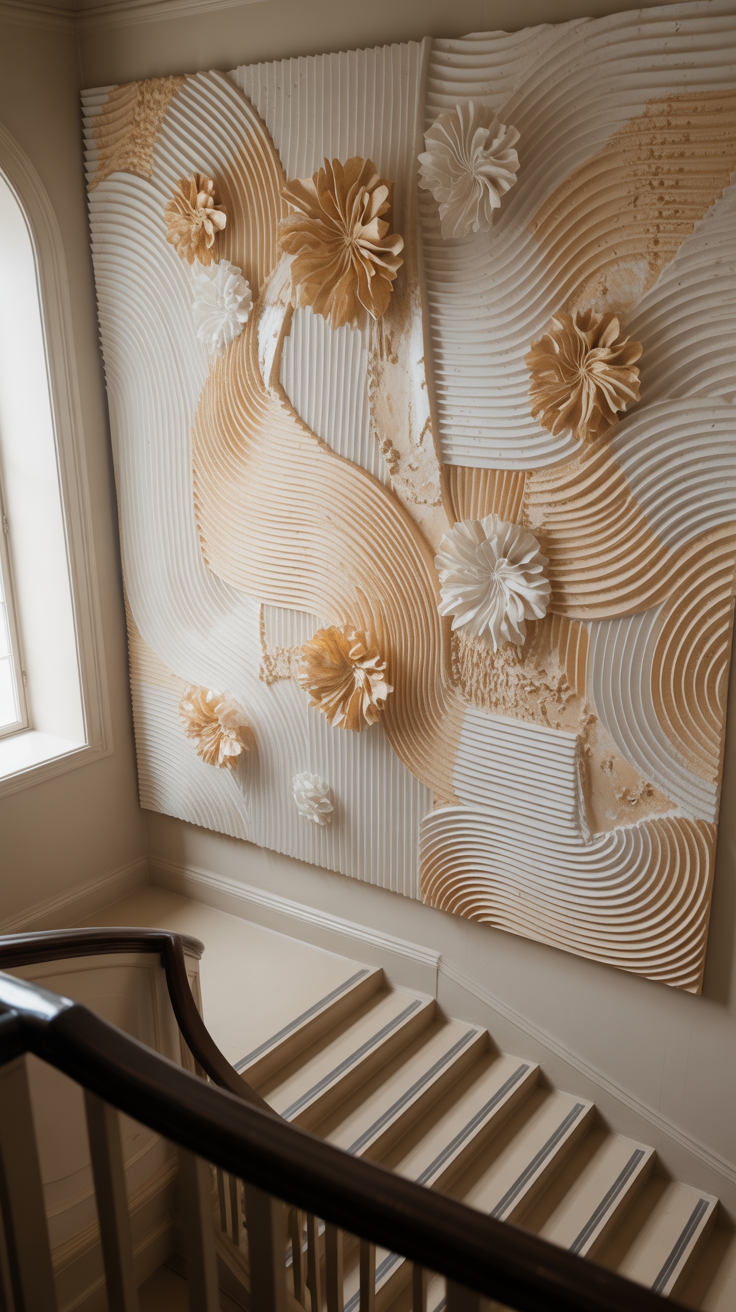
These are your sculpting materials. Spread, stamp, comb, or carve them, let them dry, then paint over.
- translucent when dry
- flexible
- glossy or matte options
- mixes with paint
- great collage glue
- opaque white
- firmer and harder
- sands and carves well
- best on rigid panels
- light versions weigh less
Light vs heavy modeling paste: light modeling paste is airy and weighs much less, so it’s easier to build high and carve, and it’s somewhat more flexible. Regular or heavy paste dries harder and denser, which is great for crisp, sanded edges but makes the surface more likely to crack if it flexes.
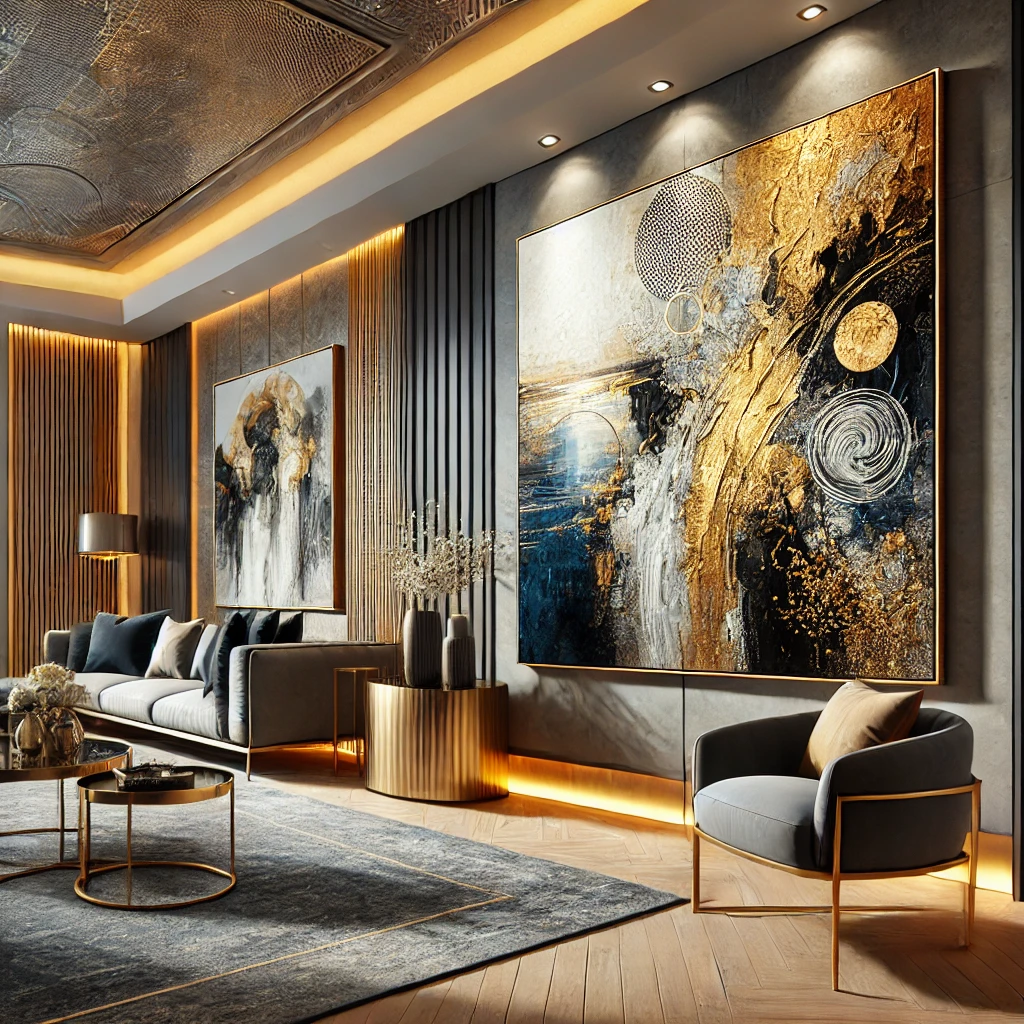
6. Gold leaf and metallics
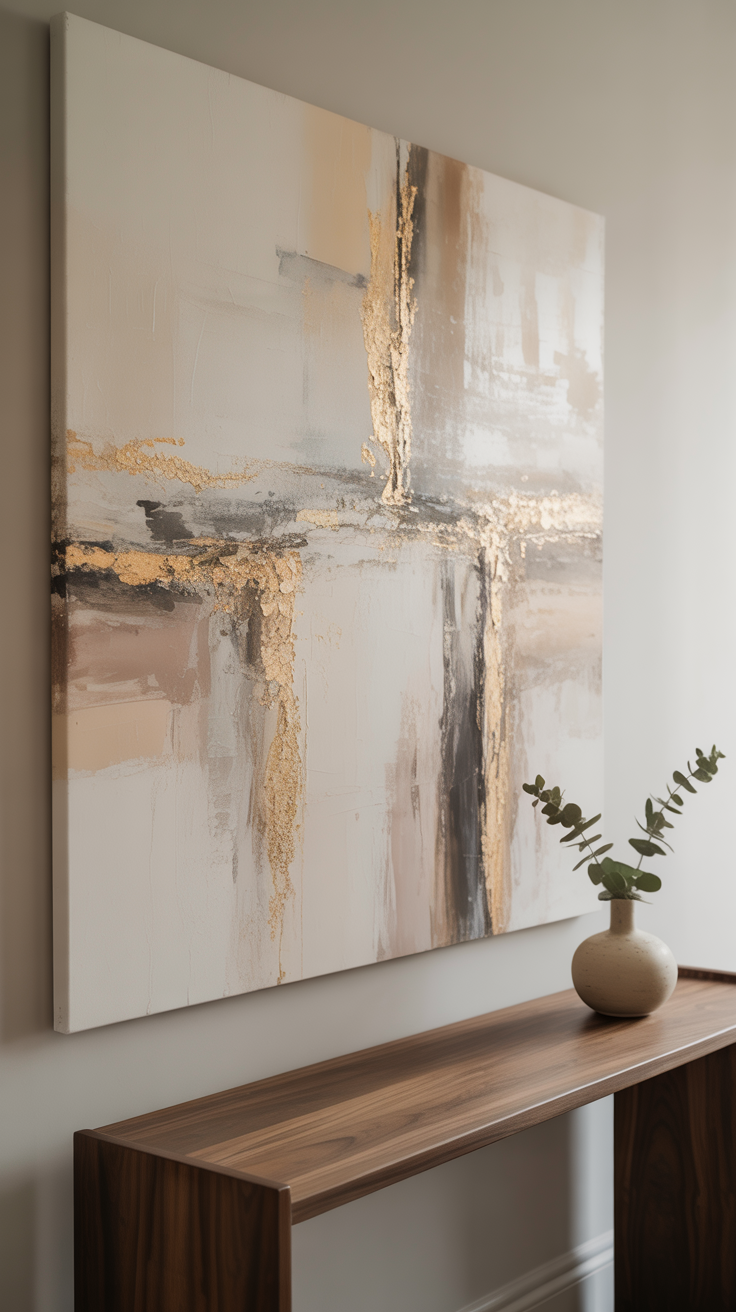
Brush adhesive size onto the area you want to gild and wait until it turns tacky (the label tells you roughly how long). Lay the leaf on gently, press with a soft brush, and burnish away the loose flakes.
Metallics work best as accents on raised texture. A thin line of gold along a ridge of paste catches light beautifully.
Drying times: plan for patience
Drying depends heavily on thickness, humidity, temperature, and airflow, so treat these as rough ranges and always check the label on your jar.
| Layer | Approximate dry time | Notes |
|---|---|---|
| Thin acrylic glaze | Minutes to an hour | Dry to the touch, not cured |
| Gesso coat | About an hour | Sand lightly between coats |
| Impasto ridges | Several hours to a day | Surface skins over first |
| Thick modeling paste | Can take a day or more | Check the jar for guidance |
| Before varnish | Often days to weeks | Follow the varnish label |
A surface can feel dry on top while it’s still soft underneath. If you’re unsure, wait. Painting over damp paste is the fastest way to get cracks.
Step by step: a 4-layer textured abstract
Layer 1: Prime
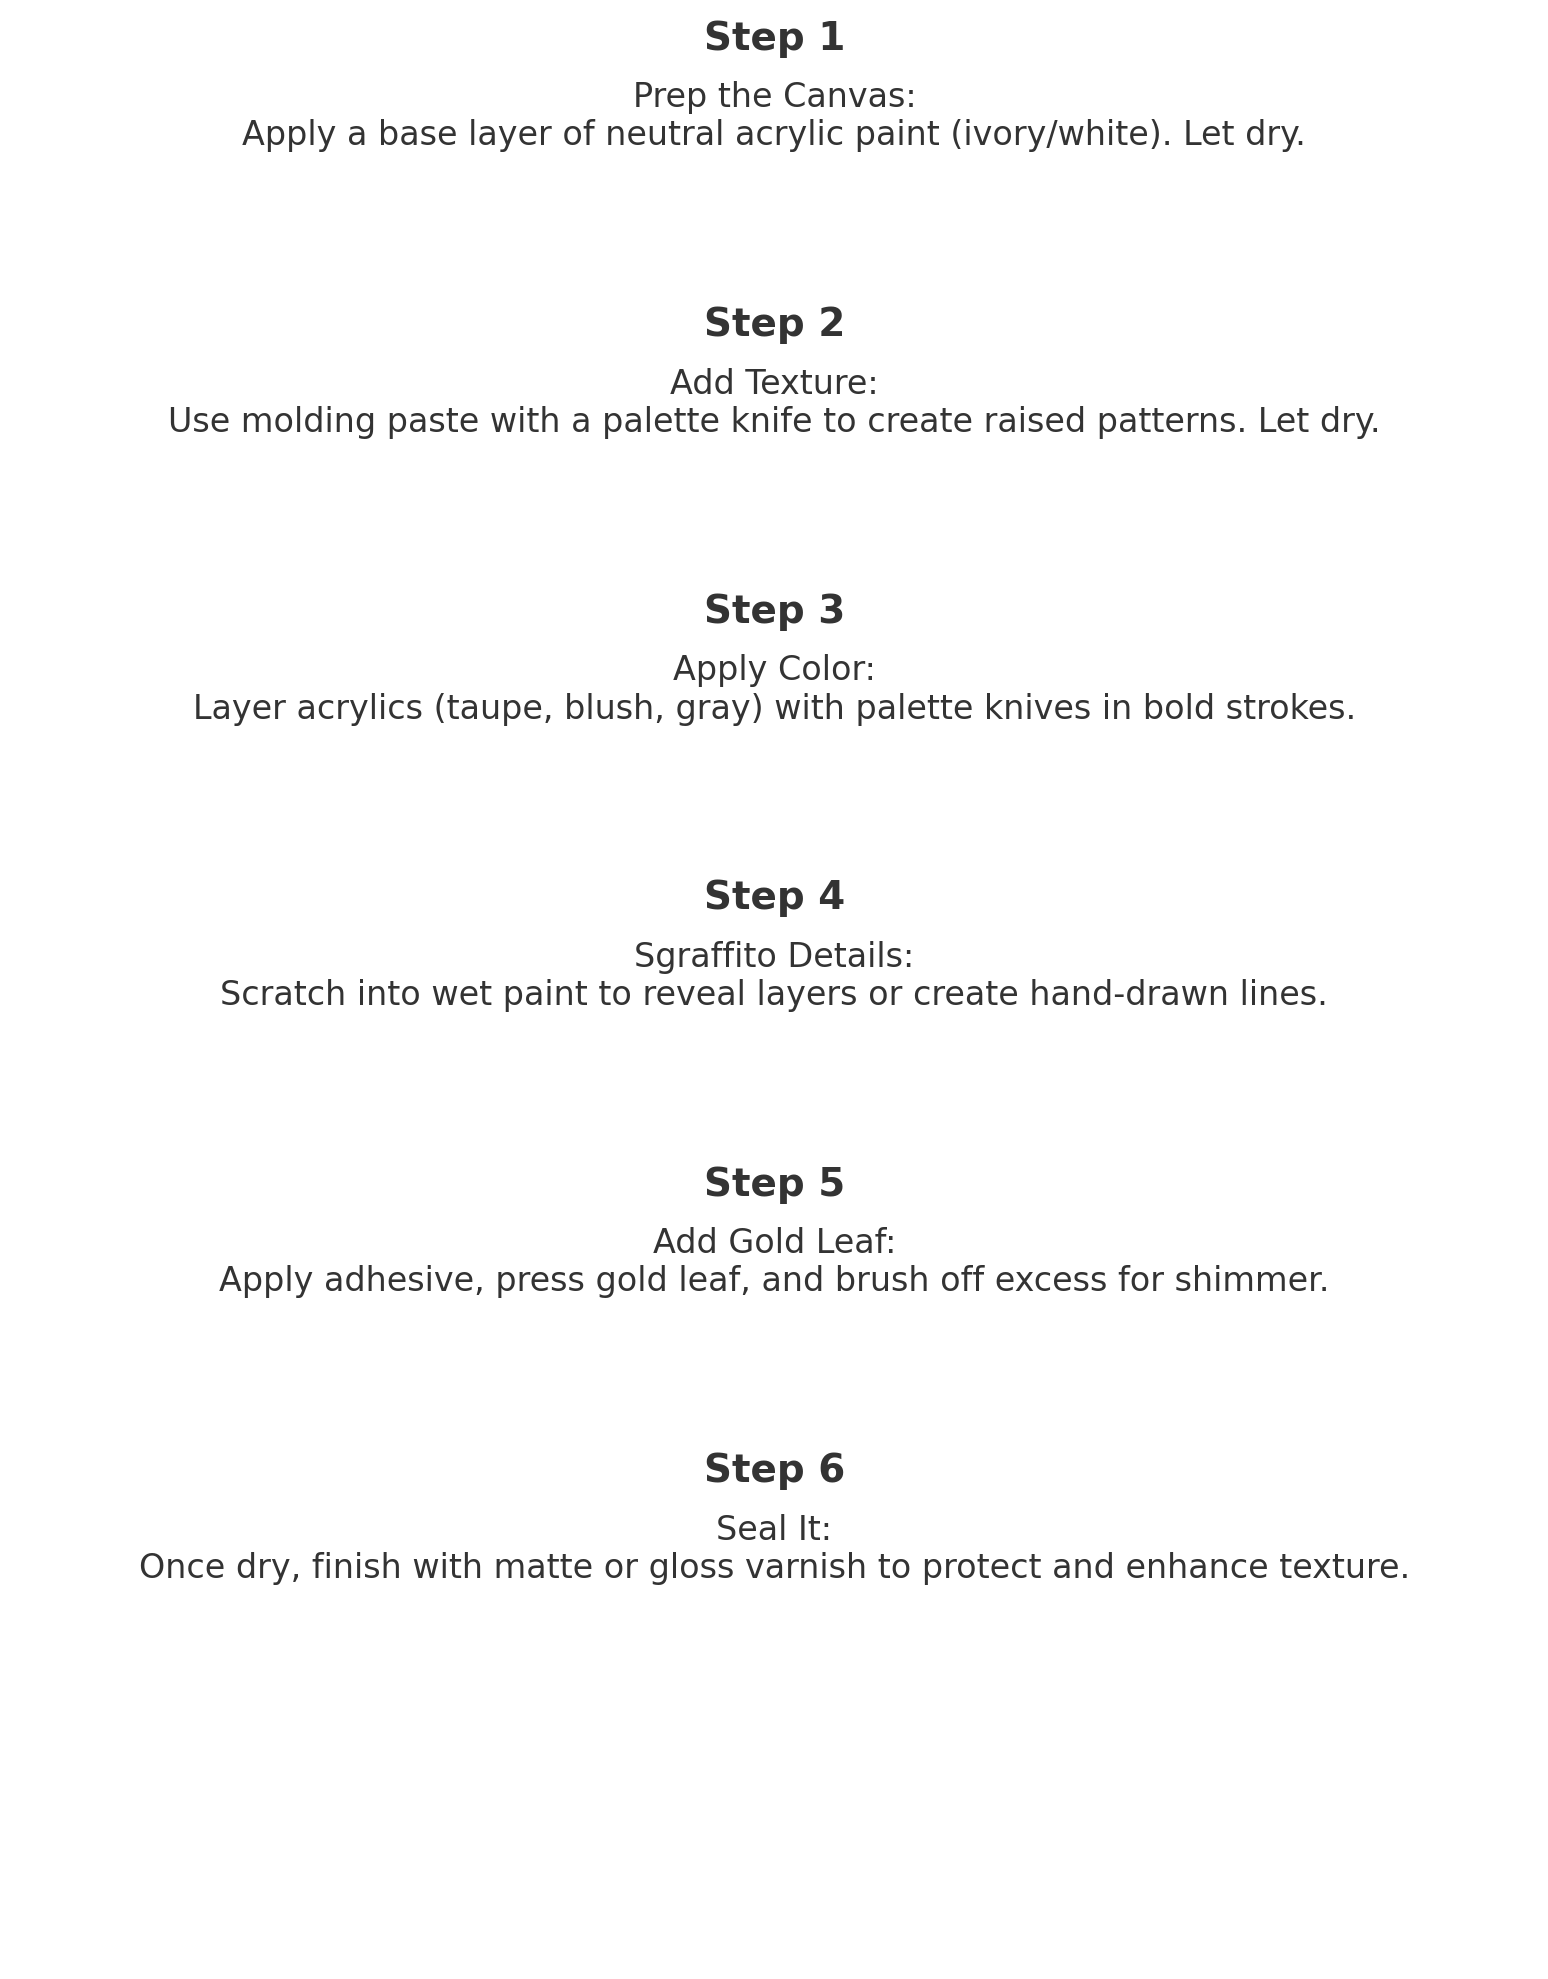
Apply two thin coats of gesso to your panel, letting each dry. A light sanding between coats gives a smoother start, or skip sanding if you like tooth.
Layer 2: Build the texture
Spread modeling paste and gel where you want structure. Comb it, stamp it, or press objects into it. Think about composition now, because these ridges will guide every color you add later.
Then walk away and let it dry fully.
Layer 3: Add color and dimension

Brush thin glazes over the texture so color pools in the low spots and stays lighter on the ridges. Follow with knife work and impasto in your focal areas. Sgraffito comes in here, too.
Layer 4: Detail and seal

Add metallic accents, deepen a few darks, and let everything cure. Before a final varnish, many painters brush on an isolation coat (a clear acrylic layer) to protect the paint and even out the sheen. Then varnish to unify the surface.
When you sand a cured paste layer to reveal color, wear a dust mask and work in a well-ventilated room. Wet sanding keeps most of the dust out of the air.
Displaying textured art at home
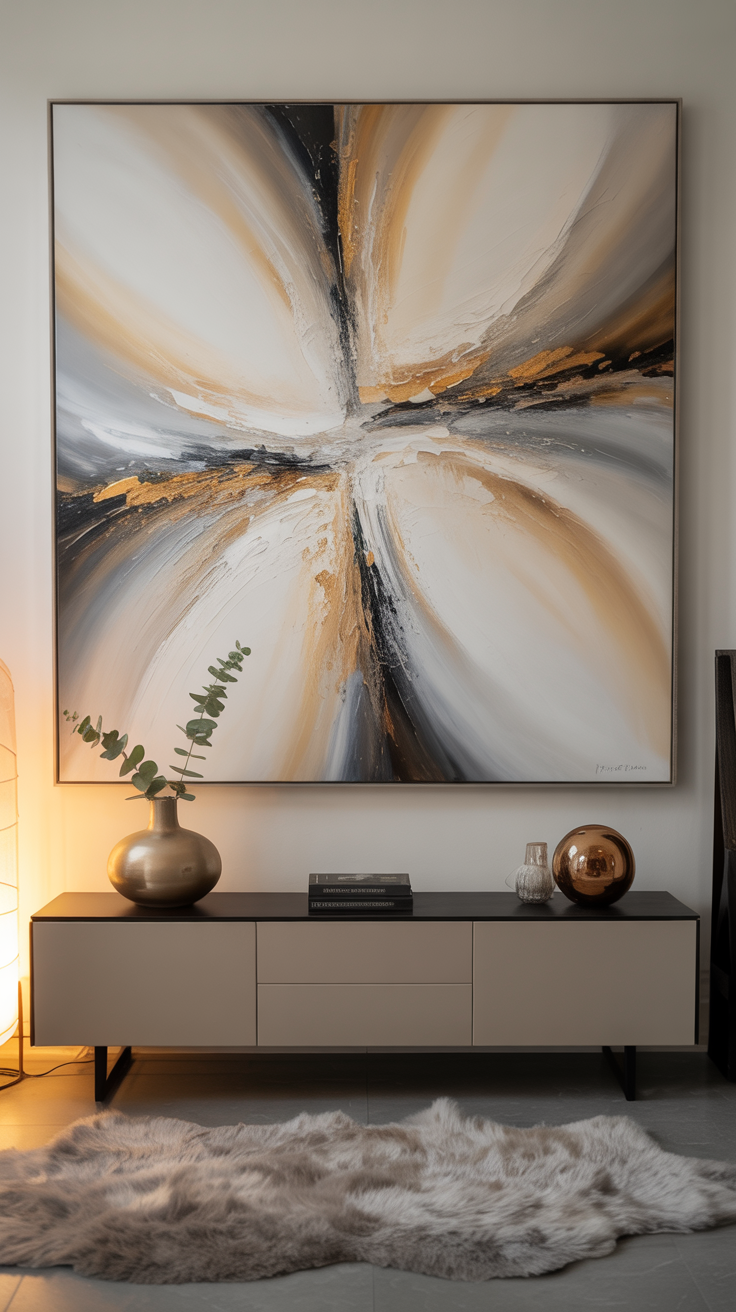
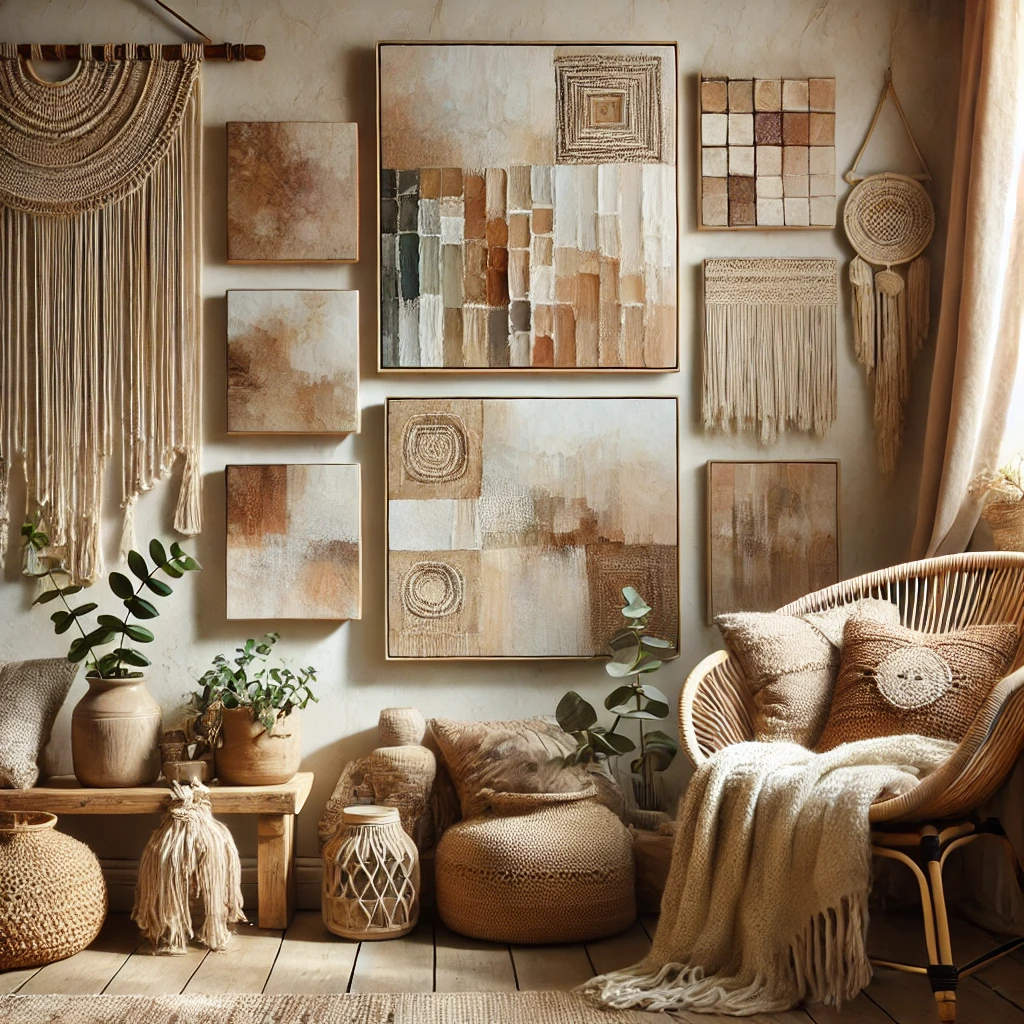
Textured paintings love light that comes from the side. A wall next to a window or a picture light angled downward shows off every ridge. Straight-on light flattens them.
Hang a large textured piece over a sofa or console with about 8 to 10 inches of space between the furniture and the frame. Smaller pieces look lovely grouped in threes with matching spacing.
Want a simpler first project? Try the textured canvas art DIY, then come back for the full layered approach.
Investment pieces worth it
Everything above works on a kitchen table. These pieces matter once you’re painting larger or more often.
Heavy paste on a big panel needs support while you work and space to dry flat. That’s where these earn their place.
A heavy-duty H-frame easel
The MEEDEN Extra Large Heavy-Duty H-Frame Studio Easel in solid beech is around $220. A textured panel gets heavy fast, and an H-frame holds it steady while you press with a knife. For very large pieces, the MEEDEN Extra-Large H-Frame holds canvases up to 79 inches for around $275.
Worth it if you work larger than 24 inches or lean into your knife work. Skip it if you paint small and flat on a table.
A large drying rack
The extra-large adjustable art drying and storage rack is around $160. Thick paste needs to dry flat and undisturbed, sometimes for a day or more. A rack keeps several pieces drying at once without taking over every table.
The math: $160 over two years of weekly painting is about $1.55 a session.
Worth it if you work on multiple paintings at a time. Skip it if you finish one painting at a time and have a spare flat surface.
Daylight studio lamp and an air purifier
The Daylight Artist Studio Lamp, around $275, has 95+ CRI for accurate color, and you can angle it to rake across the surface and check your texture. The Levoit Core 400S-P air purifier, around $190, helps clear fine dust if you sand paste layers regularly.
Worth it if you paint in the evening or sand often. Skip it if you paint by a bright window and rarely sand.
The takeaway
Build texture from the bottom up: prime, sculpt, let it dry, then layer color and details on top. Use a rigid surface for thick paste and give every layer the drying time it asks for. Patience is what makes a textured abstract look rich instead of muddy.
Which technique are you trying first: palette knife, sgraffito, or gold leaf? Tell me in the comments, and save this guide to your painting board for your next studio day.