This post contains affiliate links. If you buy through them, I may earn a small commission at no extra cost to you.
That leaf on your windowsill has been posing for you all week. Give it 15 minutes and a pencil, and you’ll have a sketch you’re proud of before your coffee gets cold.
Most people think botanical drawing means hours of careful measuring and a perfect finished plate. That kind of work is wonderful, and I have a whole guide for it. This post is about something lighter.
Here’s what I believe: a loose 15-minute plant sketch every day will teach you more than one perfect drawing a month. Small, frequent, relaxed sessions build your eye faster than big, stressful ones. Plants are the ideal subject for it because they’re everywhere, they hold still, and nobody complains if you get their nose wrong.
Quick answer: Pick one leaf or one flower, give yourself 15 minutes (3 to look, 4 to block in shapes, 5 to refine, 3 to add a light wash or shading), and stop when the timer rings. Do it 7 days in a row and compare day 1 to day 7.
What you need (it fits in a pencil case)

Keep your kit small enough that you’ll actually grab it on the way out the door.
- A smooth sketchbook. Smooth paper keeps pen lines crisp and handles a light wash. The Strathmore mixed media sketchbook is a sturdy everyday pick.
- Two pencils. HB for light shapes, 2B or 4B for darker accents. A Faber-Castell graphite set covers the whole range.
- One or two fine liners. A 0.1 and a 0.5 mm do almost everything. Sakura Pigma Microns are waterproof once dry, so you can paint over them.
- A kneaded eraser. It lifts pencil gently without roughing up the paper. Here’s why I love kneadable erasers.
- Optional color. A small travel set like the Winsor & Newton Cotman pocket set plus a water brush, or a handful of colored pencils.
That’s it. No easel, no fancy table, no special lighting. A park bench counts as a studio.
The 15-minute botanical sketch, step by step
Set a timer. The time limit is the secret ingredient, because it stops you from fussing.
| Minutes | What you do | What to focus on |
|---|---|---|
| 0 to 3 | Look, don’t draw | Overall shape, where the stem bends, light direction |
| 3 to 7 | Block in shapes | Ovals, teardrops, circles, one curved stem line |
| 7 to 12 | Refine | Edges, central vein, a few side veins |
| 12 to 15 | Shade or wash | One shadow side, one light wash of color |
Minutes 0 to 3: look first
Hold the leaf or flower at arm’s length and just study it. Where is it widest? Does the stem curve left or right? Which side is the light hitting?
Three minutes feels long. It’s the best three minutes of the session.
Minutes 3 to 7: see the shapes

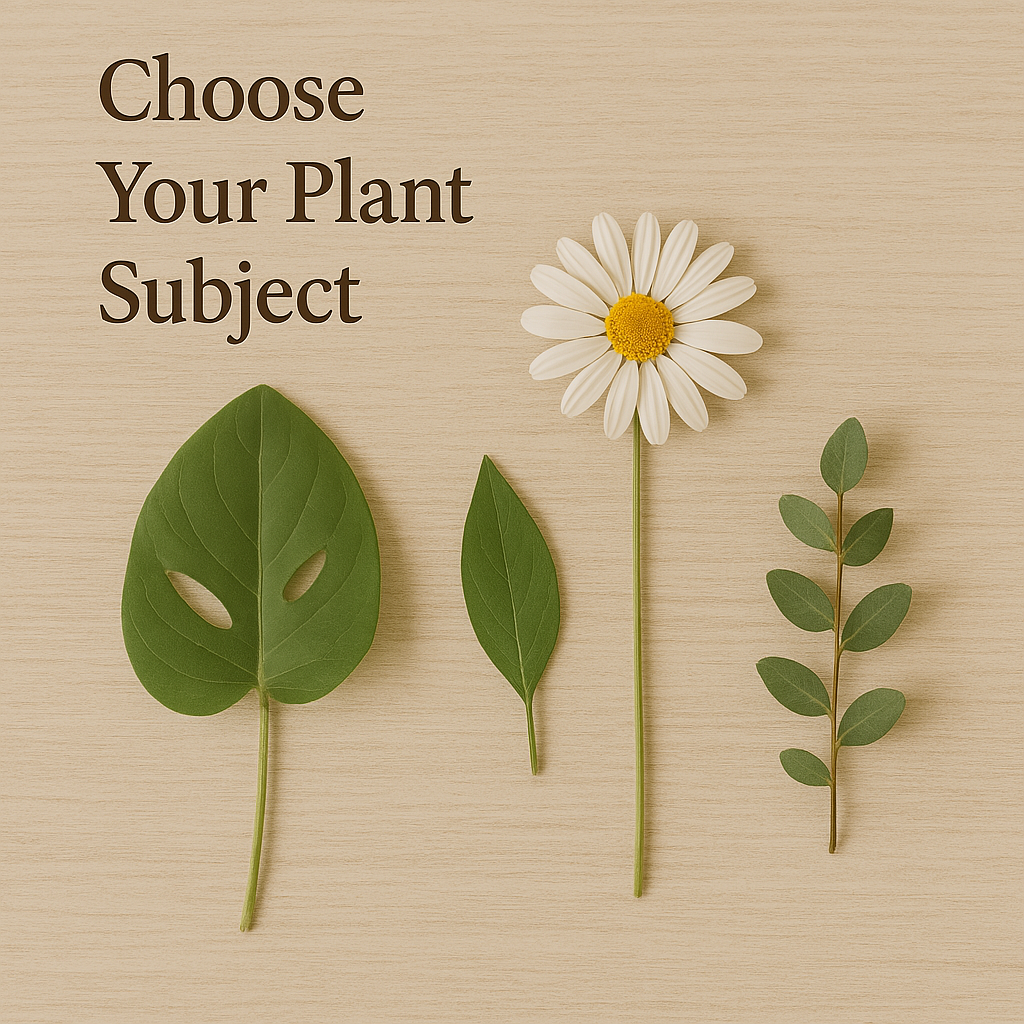
Every plant is built from simple shapes. A daisy is a circle with ovals around it. A eucalyptus leaf is a long teardrop. A tulip is an egg sitting on a curved line.
Draw these with your HB pencil, pressing so lightly you could erase them with a breath. This is scaffolding, so it doesn’t need to look pretty.
Minutes 7 to 12: refine the edges and veins

Now firm up the outline. Is the edge smooth, wavy, or toothed like a saw? Add the central vein first, then a few branching veins. You don’t need all of them. Five or six well-placed veins read as “leaf” better than thirty cramped ones.
If you want ink, trace your best lines now. Let the ink dry for a full minute before you erase the pencil underneath, or you’ll smear it.
Minutes 12 to 15: shade or add a wash
Decide where the light is coming from and darken the opposite side. Quick hatching (parallel lines) or stippling (little dots) both work.
For color, keep it to one light wash. A soft sage green on the leaf and a blush pink on a petal is plenty. Let the white paper do some of the work.
When the timer rings, put the pencil down. Seriously. Unfinished sketches are part of the charm.
Leaf shapes cheat sheet

Knowing a few shape names makes your eye sharper, and it’s fun to label them in your sketchbook.
| Shape | What it looks like | Try sketching |
|---|---|---|
| Ovate | Egg-shaped, wider near the stem | Basil, pothos, rose leaflet |
| Lanceolate | Long and narrow, pointed tip | Willow, olive, eucalyptus |
| Cordate | Heart-shaped base | Philodendron, violet, linden |
| Palmate | Lobes spread like fingers | Maple, ivy, monstera |
| Linear | Long, thin, even width | Grasses, rosemary, lily |
Start with ovate and lanceolate leaves. Their simple outlines let you practice veins and shading without wrestling with complicated lobes.
Your 7-day botanical sketching warm-up

One subject a day, 15 minutes each. By day 7 you’ll notice your shapes come faster and your lines get more confident.
| Day | Subject | Skill you’re building |
|---|---|---|
| 1 | One single leaf (basil, pothos) | Outline and central vein |
| 2 | A lanceolate leaf (eucalyptus, olive) | Long curves, smooth edges |
| 3 | A palmate leaf (maple, ivy) | Lobes and branching veins |
| 4 | A simple flower (daisy) | Circles and radiating petals |
| 5 | A rosebud or tulip | Overlapping, curved forms |
| 6 | A succulent | Shading rounded shapes |
| 7 | A small sprig with 3+ leaves | Putting it all together |
Want to stretch it into a longer habit? The 30-day sketching challenge picks up right where this leaves off.
Where to find subjects (hint: everywhere)

You don’t need a garden. Some of my favorite places to look:
- Your kitchen. Herbs, a sprig of parsley, a slice of lemon, a garlic bulb.
- Your houseplants. They sit perfectly still and never wilt mid-sketch.
- A walk around the block. Pick up a fallen leaf, or sketch on the spot with your book balanced on one knee.
- The grocery store bouquet. One stem pulled out of the bunch is a perfect day 4 or 5 subject.
- Reference photos. Rainy day? Snap a photo of a plant on a sunny one and save it for later.
Sketching on the go? Seasonal subjects keep things fresh all year. See sketching the seasons for ideas month by month.
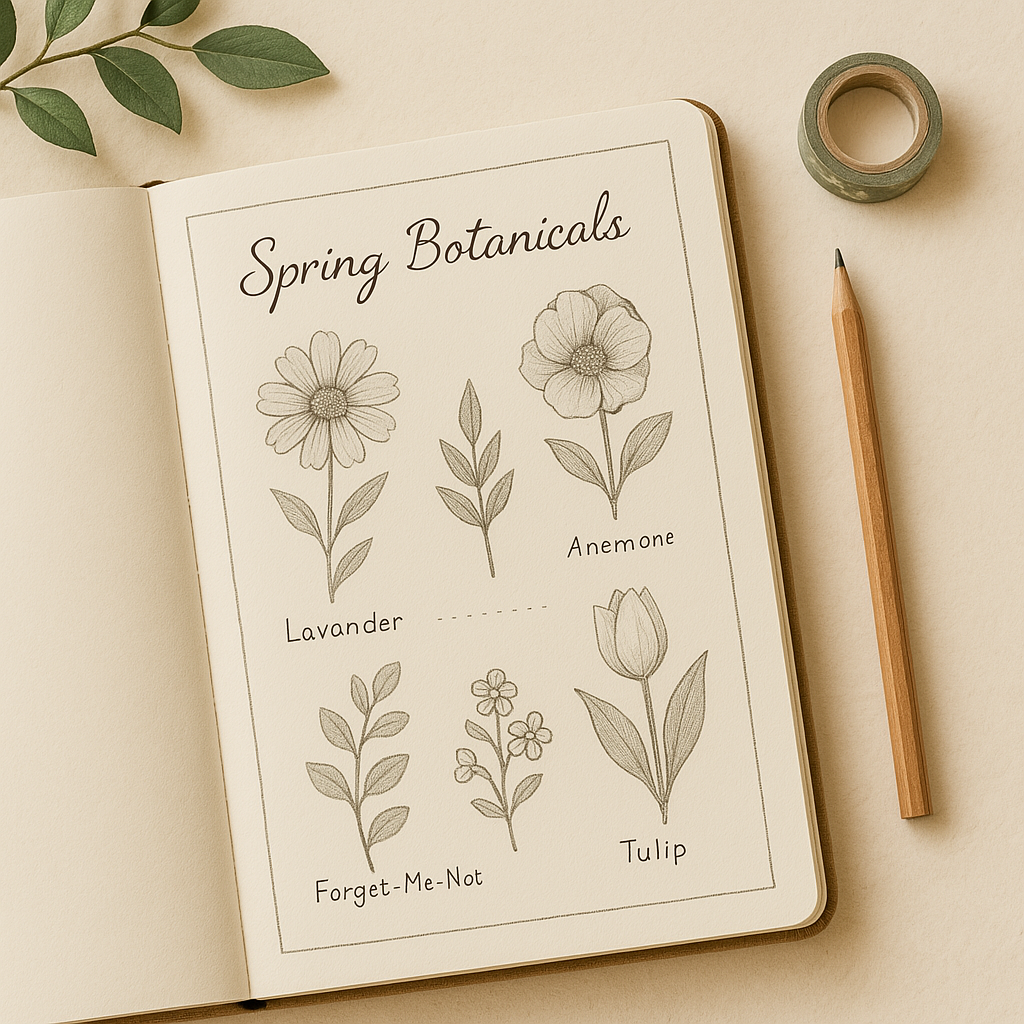
Turn your sketches into a nature journal page
Once you have a few sketches, a simple layout makes a page feel finished and lovely to flip back through.
- Add a title. The plant’s common name in your best handwriting.
- Add the Latin name in smaller letters underneath (a quick search will tell you). Bellis perennis sounds much fancier than “daisy.”
- Note where and when. “Back fence, October 3” turns a sketch into a memory.
- Add one observation. “Leaves smell like lemon when crushed” or “petals close at dusk.”
- Frame it with a thin pencil border or a strip of washi tape.
Pages like this are why people keep sketchbooks for years. You can get creative with the outside too, with these sketchbook cover ideas.
Relaxed sketching vs. formal illustration
Both are worth doing. They’re just different moods.
| Everyday sketching (this post) | Formal botanical illustration | |
|---|---|---|
| Time | 15 minutes | Several hours |
| Measuring | By eye | Ruler or dividers, life size |
| Line | Loose and lively | Clean, precise ink |
| Goal | Habit and observation | A finished, frameable plate |
When you’re ready for finished plates, my guide on how to draw botanical illustrations walks you through measuring, inking, and labeling like a vintage print.
Common beginner mistakes (and quick fixes)

| Do this | Not that |
|---|---|
| Draw what you see | Draw what you think a leaf looks like |
| Press lightly at first | Carve dark lines you can’t erase |
| Pick 5 or 6 veins | Try to draw every vein |
| Leave some white paper | Fill every inch with color |
| Stop at 15 minutes | Overwork until it looks muddy |
Investment pieces worth it
Everything above works with a starter kit. If you find yourself sketching plants most days, these upgrades make a real difference.
A professional travel watercolor tin. The Winsor & Newton Professional Complete Travel Tin is around $143, a big step up from a student set. Professional pigments give cleaner, brighter washes, and the compact tin lives happily in a bag. Worth it if you paint at least a few times a week. Skip it if you’re still on day 3 of your first warm-up; the Cotman set will serve you well for months.
A sketchbook that loves a wash. The Moleskine Art sketchbook has heavy paper that takes ink and a light wash, and it’s sturdy enough to toss in a bag for walks. Worth it if you want one book that becomes your nature journal. Skip it if you sketch mostly at home and prefer a larger, cheaper pad.
A big colored pencil set. The Faber-Castell Polychromos 120 tin runs around $295. That’s a lot, but oil-based leads hold a sharp point for fine veins and include the subtle greens plants need. Used twice a week for three years, that’s about $0.95 a session. Worth it if you prefer pencil over paint and draw often. Skip it if you’re happy with a 24-color set, which covers most leaves just fine.
A daylight lamp for evening sketching. The Daylight Company Lumi Task Lamp, around $195 with 95+ CRI, keeps your greens looking true after sunset. Worth it if your sketch time is after dark. Skip it if you mostly sketch by a window or outdoors.
The takeaway
Botanical sketching gets easier the more often you do it, and 15 minutes a day is plenty. Keep your kit tiny, let the timer decide when you’re done, and treat every leaf as practice. A week from now you’ll see the difference.
What plant are you sketching first? Tell me in the comments, and save this pin for your next nature walk.