This post contains affiliate links. If you buy through them, I may earn a small commission at no extra cost to you.
Ever drawn a leaf that looked fine on its own but somehow wrong next to the real one? It’s almost always the proportions, and there’s a five-minute fix for that.
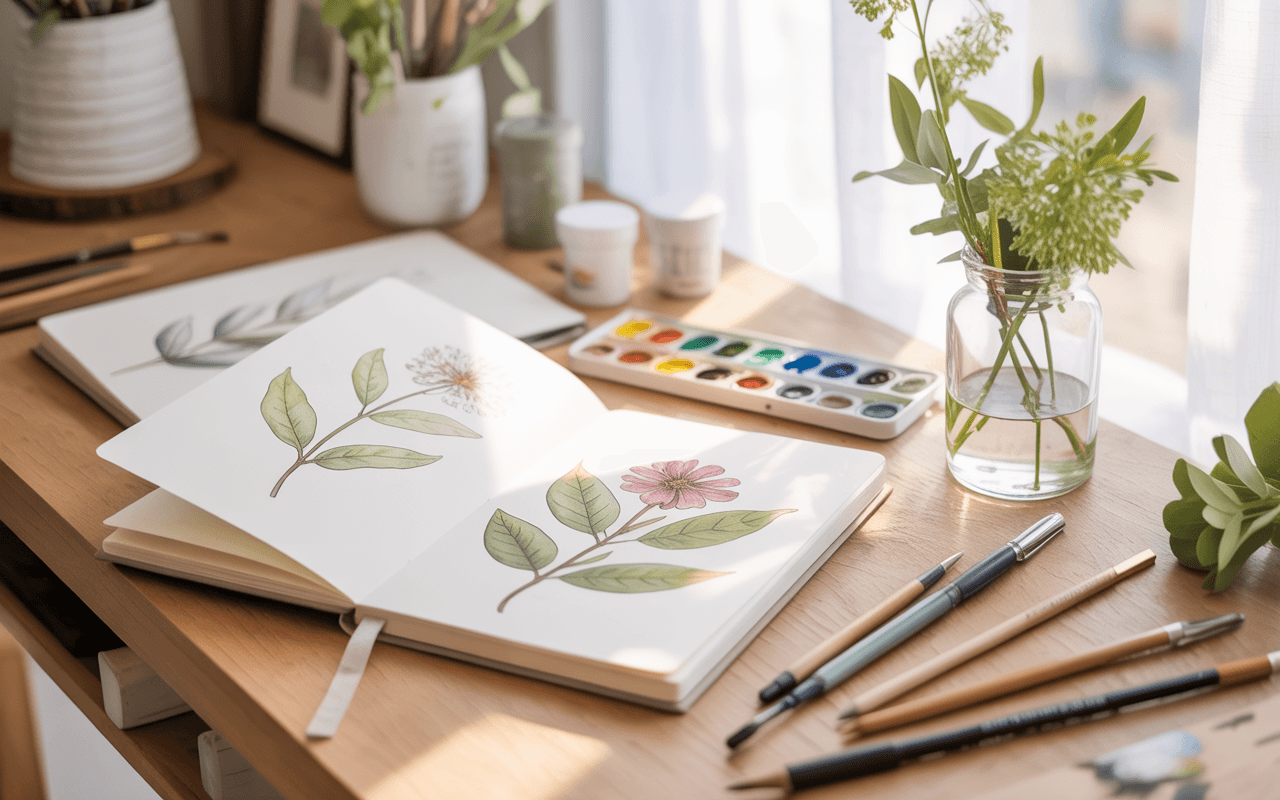
Botanical illustration has a reputation for being fussy, slow, and only for people with perfect hands. I see it the opposite way. It’s the most beginner-friendly kind of realistic drawing there is, because your subject sits perfectly still, it fits on your desk, and you can measure it.
That’s my one big belief about this whole art form: measure first, draw second. Most “my flower looks off” problems are measuring problems. Fix the measurements and your drawing starts looking botanical before you’ve shaded a single petal.
Quick answer: the 6 steps at a glance
| Step | What you do | Time for a first piece |
|---|---|---|
| 1. Choose | Pick one simple specimen and light it from the upper left | 10 min |
| 2. Measure | Record length, width, and angles with a ruler or dividers | 10 min |
| 3. Build | Block in circles, ovals, and triangles, then refine | 30 min |
| 4. Ink | Trace your best lines with 2 or 3 pen sizes | 20 min |
| 5. Shade | Add value with hatching, stippling, or watercolor glazes | 30 to 60 min |
| 6. Finish | Label, add a scale bar, scan | 15 min |
If you only do one thing differently today, draw your specimen at life size (1:1). It lets you check every measurement directly against the real plant, and it’s the convention botanical artists have used for centuries.
Why botanical drawing is worth your time
Three reasons, all practical:
- It trains your eye fast. Leaves and petals are full of repeating patterns and small asymmetries. Learning to see them carries over to everything else you draw.
- It teaches clean technique. Varied line weight, controlled shading, and slow layering all show up in a single leaf study.
- It’s lovely to keep or share. Finished pieces make beautiful framed prints, greeting cards, recipe card borders, and gift tags.
What you need (and what you can skip)
Everything on this list fits in one pencil case.
- A smooth sketchbook. Smooth paper keeps fine lines crisp. A smooth bristol sketchbook works well for pencil and ink.
- Graphite pencils in HB, 2H, and 2B. 2H for light construction lines, HB for refining, 2B for darks. A graphite and colored pencil set covers this, or try a shading pencil set.
- A kneaded eraser. It lifts graphite without scuffing paper, which matters before you ink.
- Fine liners in 2 or 3 sizes. A 0.1 mm, 0.3 mm, and 0.5 mm cover almost everything. Try these fine-tip liners or waterproof ink pens if you plan to add watercolor on top.
- A clear ruler or a pair of dividers. Dividers cost a few dollars at a hardware store and make measuring painless.
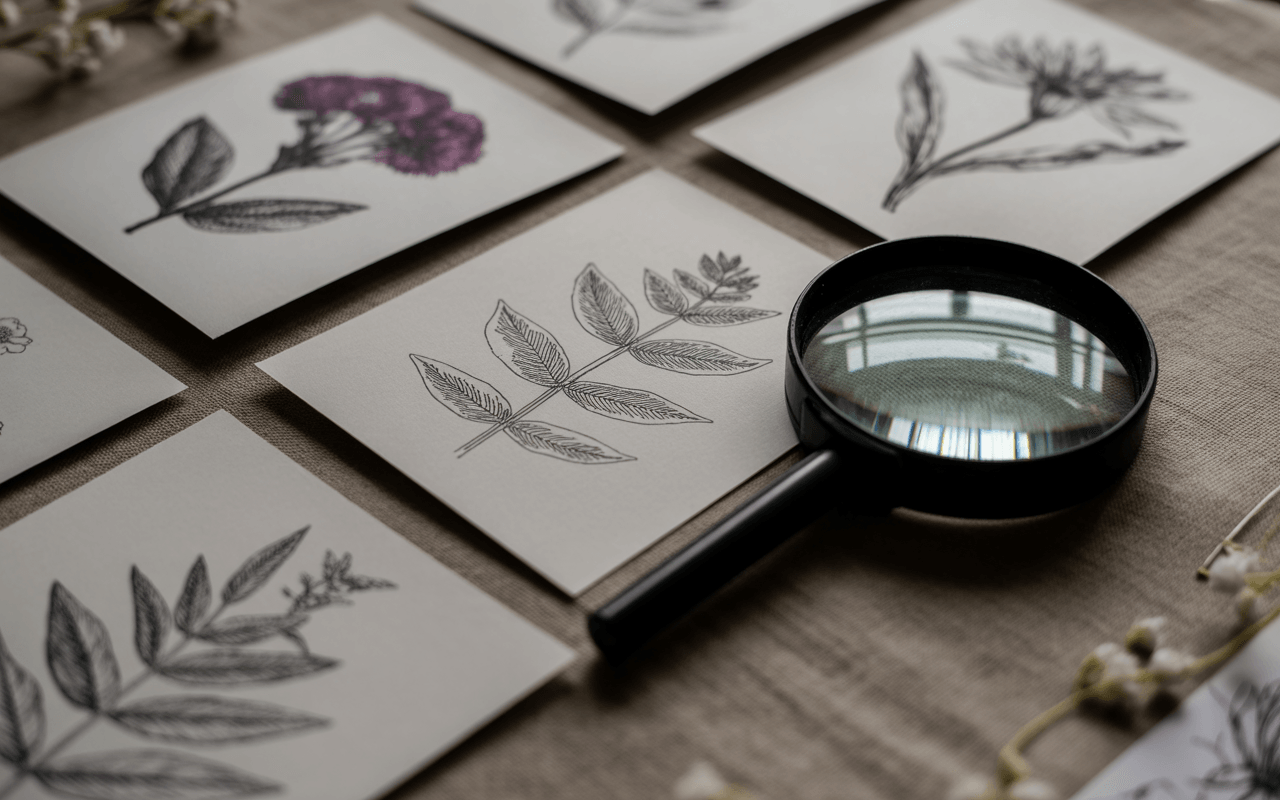
- A hand lens (optional). A 10x loupe shows you vein patterns and tiny hairs you’d otherwise miss.

If you’d like a guided reference to work from alongside this post, this book is a gentle, well-structured place to start:

Step 1: Choose a specimen (and light it right)
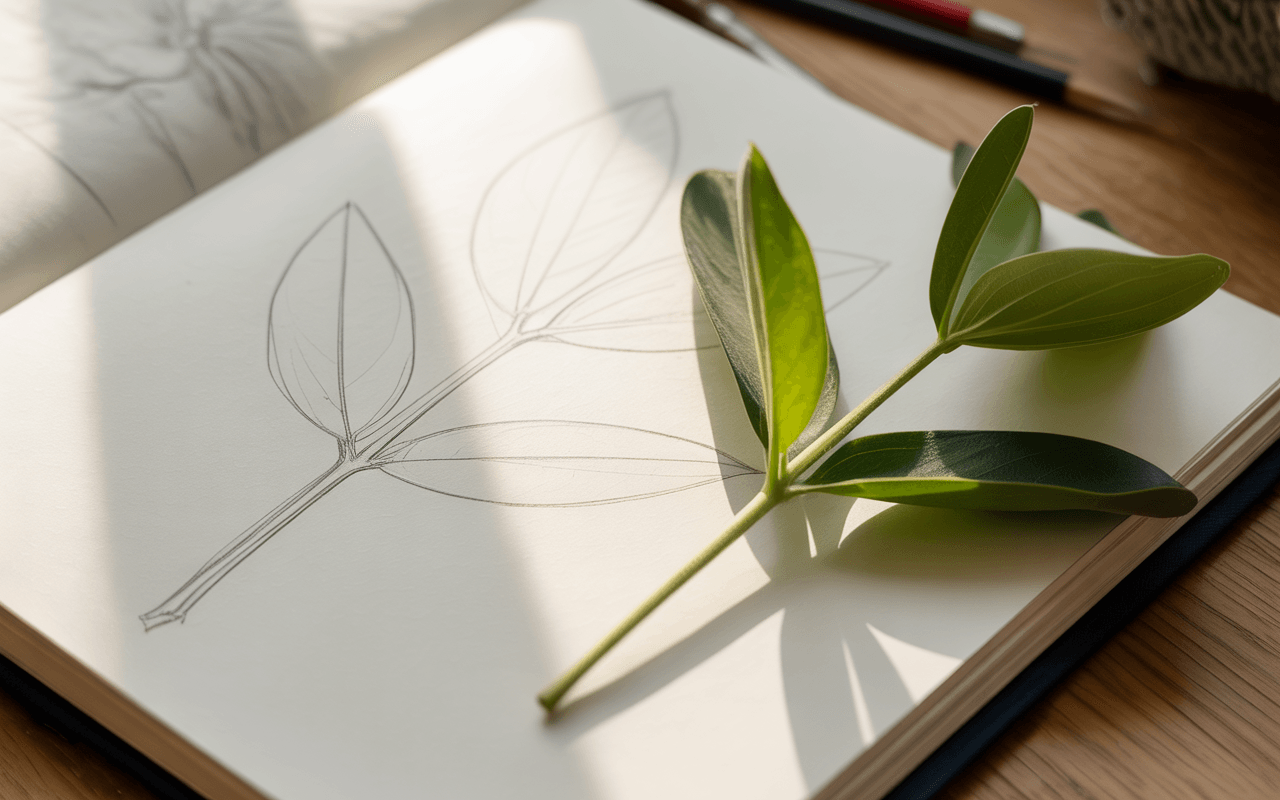
Pick something simple for your first piece. Good starters:
- A single leaf from a houseplant (pothos, fiddle leaf fig, or a maple leaf)
- A sprig of rosemary, mint, or basil
- A tulip, daisy, or single rose bud
- A sliced lemon or a pear
Save big, ruffled peonies for piece number ten.
Light it from the upper left. That’s the traditional botanical convention, and it keeps your shadows consistent. A desk lamp placed about 45 degrees above and to the left of your specimen does the job. Turn off overhead lights so you get one clear shadow instead of three faint ones.
Keep it fresh. Cut flowers wilt and turn within hours under a warm lamp. Stand stems in a small jar of water, or work on leaves, which hold their shape for a day or more.
Step 2: Measure before you draw a line
This is the step most beginners skip, and it’s the one that makes the biggest difference.
- Measure the total length from the tip of the leaf to the end of the stem. Mark both points lightly on your paper.
- Measure the widest point and note how far down from the tip it sits. On many leaves it’s about one-third of the way down, but check yours.
- Measure the angle where veins leave the midrib. Hold your pencil along a vein, freeze that angle, and transfer it to the page.
- Count things. Petals, leaflets, teeth along the edge, and pairs of veins. A rose leaf usually has five or seven leaflets. Count yours anyway.
Write the numbers in the margin as your safety net.
Dissect a spare flower if you can. Pull one apart and lay out the petals, stamens, and sepals in a row. You’ll understand how the flower is built in about two minutes, and every drawing after that gets easier.
Step 3: Build with simple shapes, then refine
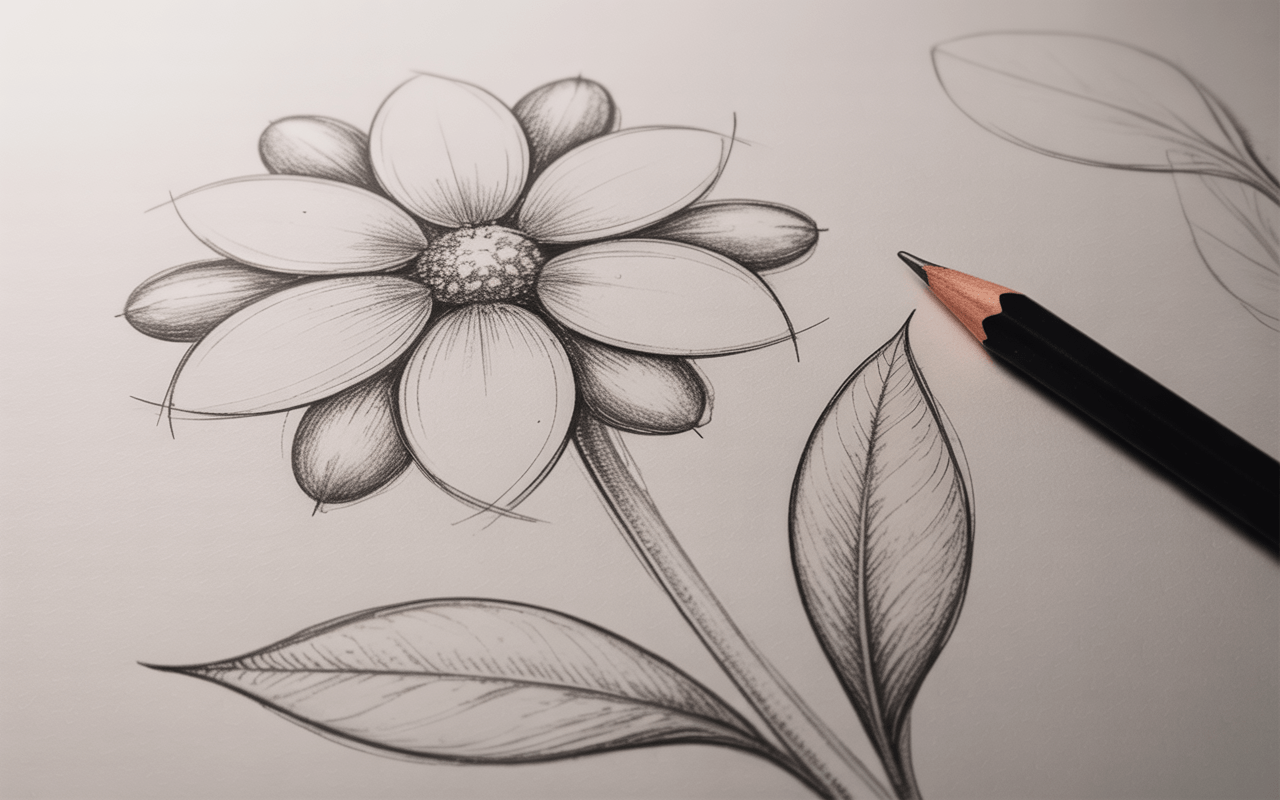
Using your 2H pencil and a very light hand, block in the big shapes:
- Ovals for flower heads and fruit
- Long teardrops or narrow triangles for leaves
- A single gently curved line for each stem (stems almost never grow perfectly straight)
- A center line down every leaf for the midrib
Once proportions match your measurements, switch to HB and refine: notch the edges, add the veins, and shape each petal. Draw veins as pairs of lines that taper toward the leaf edge, not single heavy strokes.
Show the leaf’s front and back. Botanical plates often twist one leaf to reveal its underside, which is usually paler with more visible veins. It adds depth and looks wonderfully scientific.
Lift extra construction lines with your kneaded eraser. Press and lift; don’t rub.
Step 4: Ink with varied line weight
Line weight turns a flat outline into a living drawing.
- 0.5 mm: outer edges on the shadow side (the lower right, since your light is upper left)
- 0.3 mm: outer edges on the lit side and main veins
- 0.1 mm: fine veins, petal texture, and tiny hairs
Rotate your sketchbook so you always pull the pen toward you.
Let the ink dry before you erase. Give it at least 10 minutes, longer in humid weather. Then gently lift the remaining pencil with your kneaded eraser. Erase too soon and you’ll smear gray streaks across an otherwise perfect leaf.
Step 5: Add shading and color
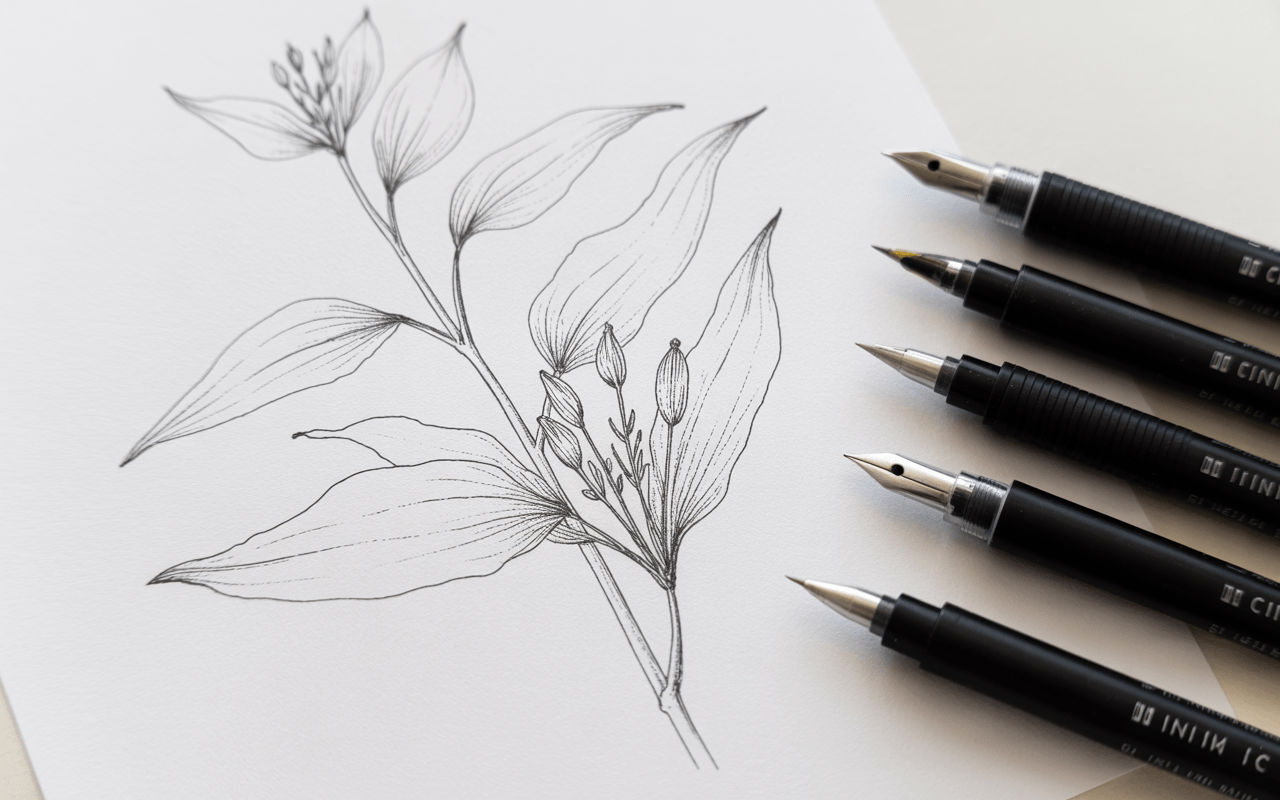
Choose one approach per piece while you’re learning.
Ink shading
- Hatching: parallel lines that follow the curve of the leaf
- Cross-hatching: a second layer at roughly 45 degrees for darker areas
- Stippling: dots, packed tightly in shadows and spaced out toward the light
Hatch lines on a curved petal should curve with it.
Colored pencil
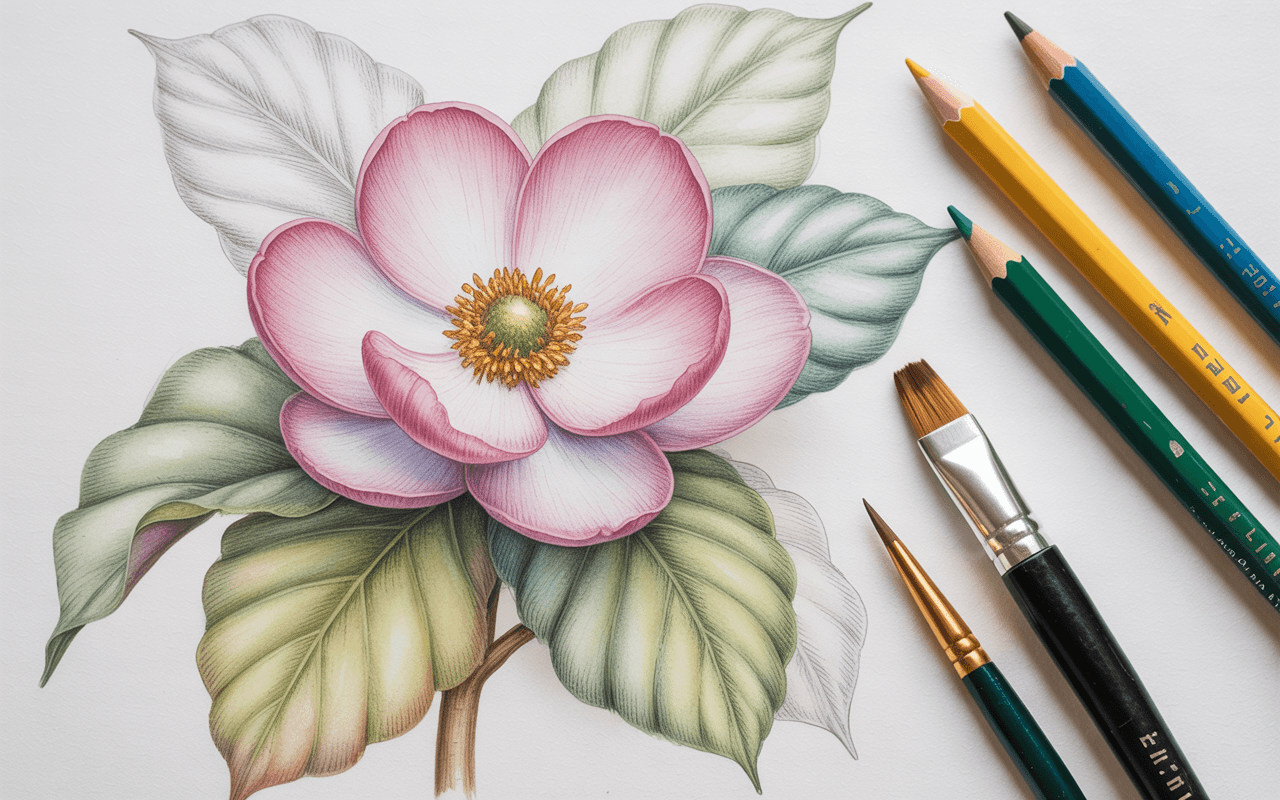
Layer lightly and build up. Three to five light layers look richer than one heavy one. A graphite and colored pencil set is enough to start.
Watercolor glazing
This is how traditional botanical artists get those luminous greens.
- Lay a pale wash of yellow-green over the whole leaf.
- Let it dry completely (it should feel room temperature, not cool, to the back of your hand).
- Glaze a slightly darker green only over the shadow side.
- Repeat 3 to 5 times, letting each layer dry.
- Lift highlights along the midrib with a damp, clean brush.
Each glaze adds depth that one dark wash never will.
Alcohol markers are a quicker, bolder option for stylized floral work:

Step 6: Finish it like a vintage plate
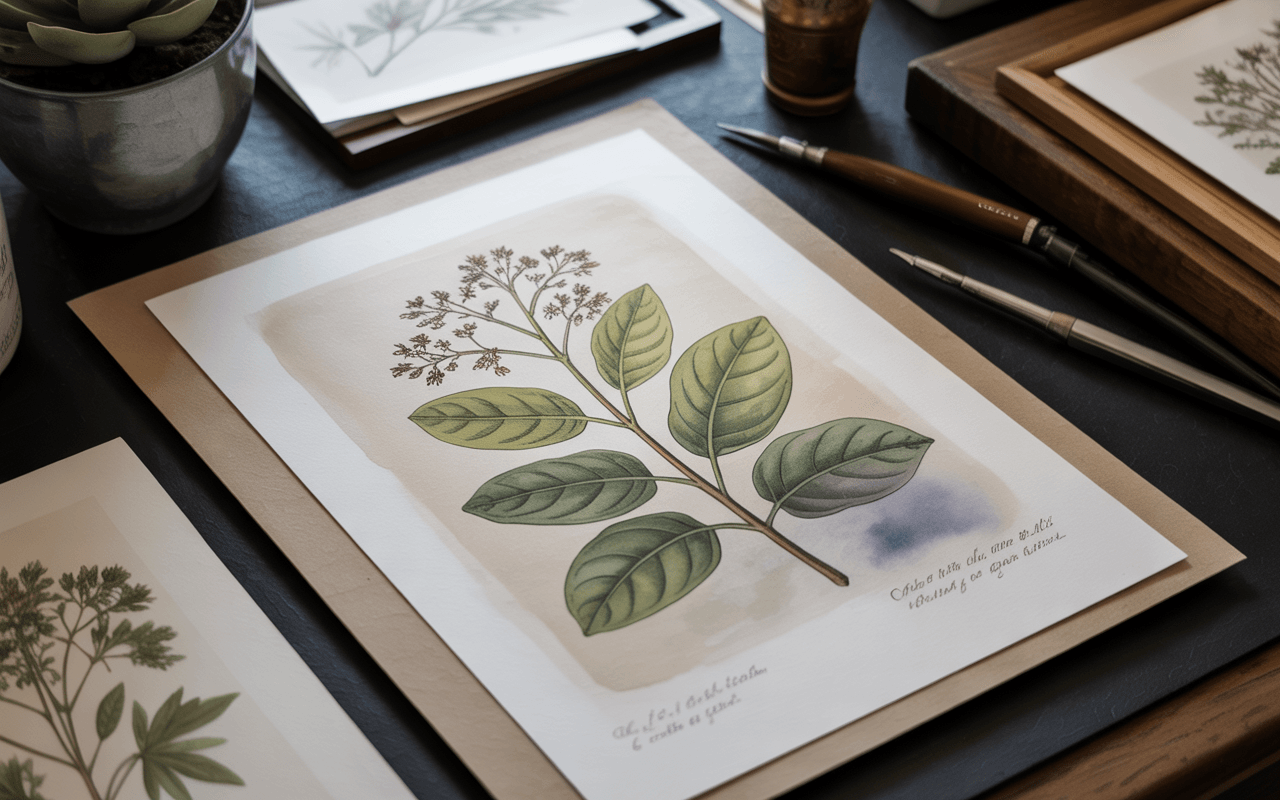
- Label it. Write the common name, the Latin name in italics, and the date in small, neat print near the bottom. Mentha spicata looks far more official than “mint.”
- Add a scale bar. A short line marked “1 cm” or “1 inch” tells viewers the drawing is life size.
- Draw a simple border. A single thin rule about 1/2 inch from the paper edge adds an instant vintage feel.
- Scan it. Scan at 600 dpi if you plan to print. That gives you enough detail for an 8×10 print and clean files for cards or stationery.
Botanical ideas to try next
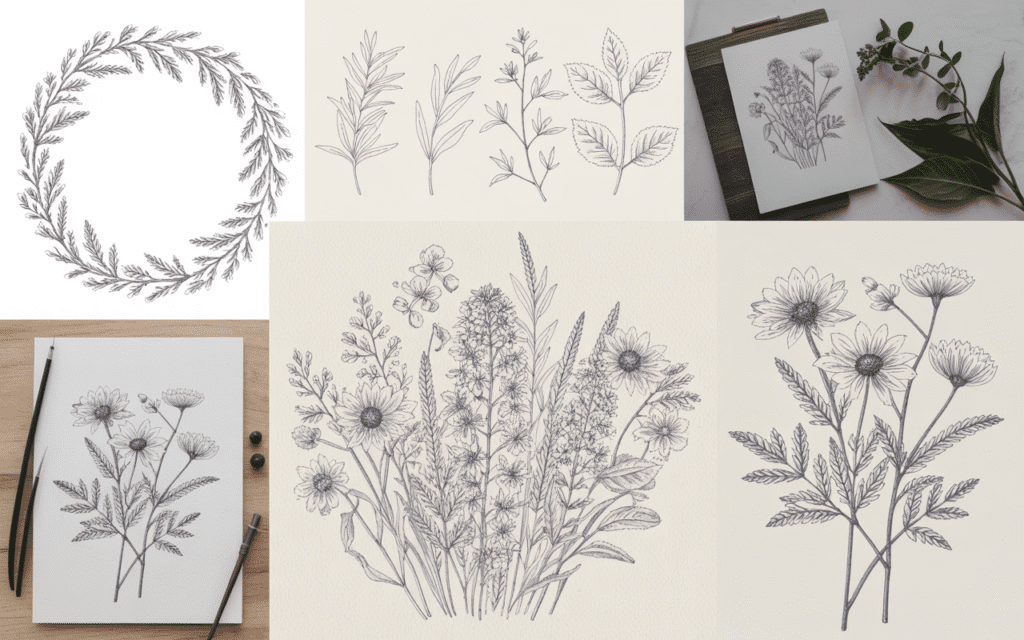
After a few single leaves, try:
- Herb and leaf studies: a row of 5 to 7 leaves from different plants, each labeled
- Floral wreaths: sketch a light circle first, then arrange leaves and blooms around it
- Wildflower bouquets: loose, layered compositions with stems crossing
- Monochrome ink studies: no color at all, just line weight and stippling
- Seasonal pages: one plant drawn in spring, summer, and fall
For more seasonal inspiration, see sketching the seasons.
Investment pieces worth it
None of these are needed to start. They’re for after a dozen finished pieces.
These are higher-ticket picks. Each one solves a specific problem; if you don’t have that problem yet, keep your money.
A professional watercolor travel tin
The Winsor & Newton Professional Watercolor Complete Travel Tin runs around $143. Professional-grade pigments glaze cleanly, which is exactly what botanical leaves need. If you’d rather, the Schmincke Horadam 24 half-pan set is about $157 and known for bright, very finely ground color.
Worth it if you’re doing watercolor glazes every week. At around $150 over two years of weekly painting, that’s about $1.45 a session, and half pans last a long time. Skip it if you mostly work in ink. A student set is plenty for testing the waters.
A big colored pencil set
The Faber-Castell Polychromos 120 tin is around $295. Oil-based leads hold a sharp point for fine veins and layer well without wax bloom.
Worth it if colored pencil is your main medium and you want subtle greens without endless mixing. Skip it if you’re still deciding between pencil and paint. Buy a 24 open-stock set first.
A daylight task lamp
Accurate color matters when you’re matching a leaf’s exact green. The Daylight Company Lumi Task Lamp is around $195 with a 95+ CRI, so colors look the same on paper as they do in daylight.
Worth it if you paint in the evening or your workspace has little natural light. Skip it if you work by a bright north-facing window most days.
A light pad for clean transfers
Watercolor paper hates erasers. Draw your sketch on cheap paper, then trace it onto good paper using the Artograph LightPad 950 LX, around $280 with a 24×17 inch surface.
Worth it if you make finished pieces for framing or prints and keep wrecking paper with erasing. Skip it if a sunny window and some tape still does the job for you.
Hot-press paper is the botanical standard for fine detail. For lighting, see the best lighting for art studios.
The takeaway
Light your specimen from the upper left, measure before you draw, ink with three line weights, and finish with a label and scale bar. Do that a dozen times and you’ll have a portfolio of plates you’ll want to frame.
What’s the first plant you’re going to draw? Tell me in the comments, and save this to your drawing board so the six steps are there when you sit down with your specimen.
[…] How to Draw Botanical Illustrations […]