This post contains affiliate links. If you buy through them, I may earn a small commission at no extra cost to you.
A plain black sketchbook is a little intimidating. A sketchbook with a cover you made yourself practically begs you to open it.
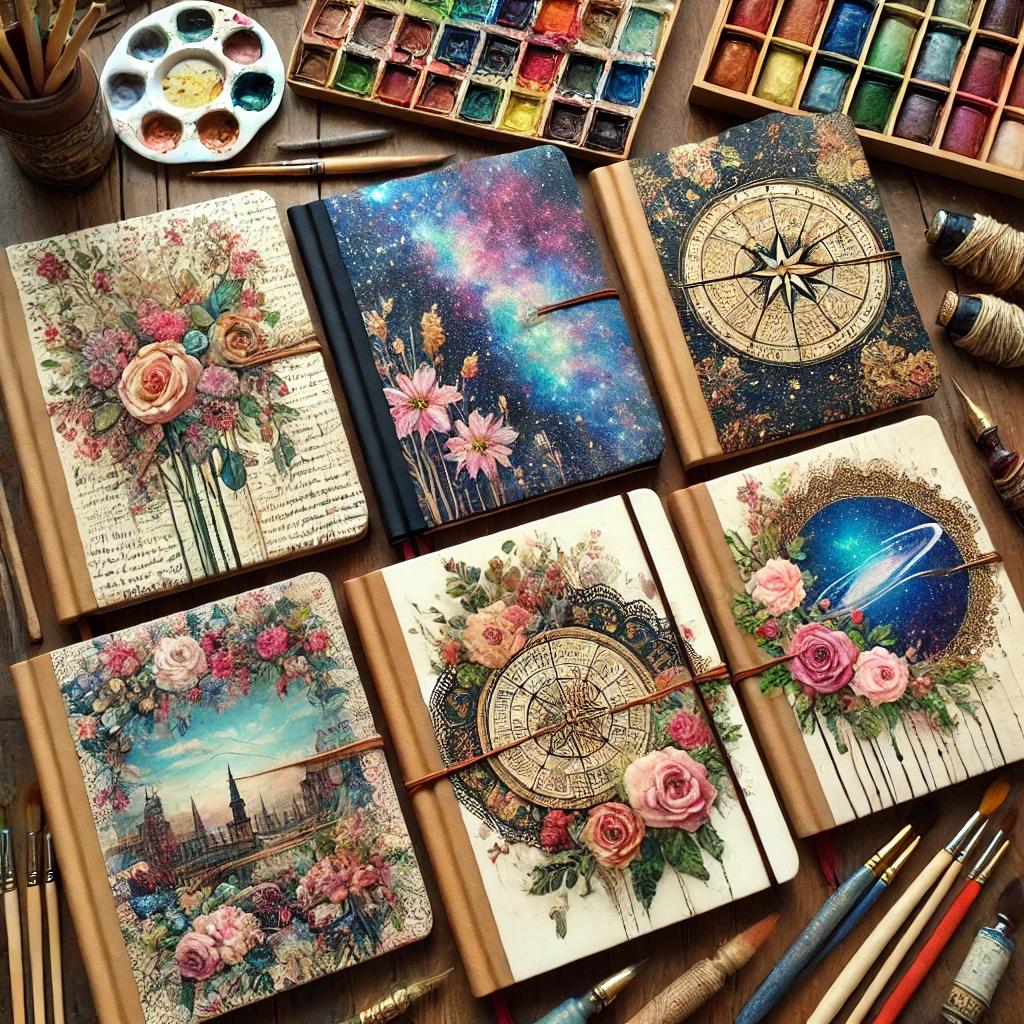
Here’s my take: a custom cover is the easiest way to sketch more often. When your sketchbook is something you love looking at, you leave it out on the table instead of buried in a drawer. And a sketchbook you can see is a sketchbook you use.
The catch is that most DIY covers fail the same way: they peel at the corners, stay tacky for weeks, or glue themselves to the next book on the shelf. So every idea below comes with the prep and sealing that make it last.
If you only do one thing: prep the cover before you decorate it. Lightly sand glossy covers with 220-grit sandpaper, wipe with rubbing alcohol, and let it dry for 10 minutes. Paint and glue grip a scuffed, clean surface far better than a slick one.
Before you start: the 3 rules for covers that last
1. Start with a hardcover. Soft covers flex every time you open them, and that flex cracks paint and lifts paper. A hardcover stays flat and gives your design a stable base.
2. Protect the pages. Slip a sheet of wax paper inside the front and back covers, then clip the book closed with binder clips. Wet glue and paint can’t seep into page one.
3. Seal with something that won’t stay sticky. Brush-on decoupage glue can stay slightly tacky even after it dries. A final coat of non-yellowing matte spray varnish fixes that, so your book doesn’t stick to the one next to it.
1. Watercolor wash cover
Soft, dreamy, and the perfect first project.
- Glue a piece of watercolor paper cut to the cover size, or brush on two coats of gesso so the cover can take water.
- Mask out a word, a moon, or leaves with masking fluid, paint your wash, then peel the mask once everything is bone dry.
- Seal with two light coats of matte spray, about 10 to 12 inches from the surface.
You’ll need: a watercolor set, masking fluid, and a matte spray fixative.
2. Vintage decoupage cover
Old maps, botanical prints, sheet music, or vintage stamps make a cover that looks like it came from an antique shop.
- Tear (don’t cut) your paper edges so the layers blend into each other.
- Brush a thin layer of Mod Podge under each piece and a thin layer over it. Wait 15 to 20 minutes between coats.
- Let it cure for 24 to 72 hours before you stack the book with others.
You’ll need: Mod Podge Matte, printed ephemera, and a soft flat brush.
Smooth out bubbles from the center toward the edges with an old gift card. Wrinkles are part of the vintage look; bubbles are not.
3. Mixed media collage cover
This is the cover for anyone with a drawer full of scraps they can’t throw away.
- Layer washi tape, ticket stubs, fabric scraps, old sketches, and magazine type.
- Build from big pieces to small, and finish with one focal point (a stamp, a word, a small drawing).
- Keep raised items under 1/8 inch thick so the book still closes flat.
You’ll need: washi tape, ephemera, and Mod Podge or a glue stick.
4. Embroidered fabric cover
Slow, cozy, and completely one of a kind.
- Embroider your design on linen or cotton first, while it’s still loose in a hoop.
- Cut the fabric 1 inch larger than the cover on all sides, wrap the edges inside, and miter the corners.
- Glue it down with fabric adhesive, then hide the raw edges with a sheet of decorative paper inside the cover.
You’ll need: an embroidery starter kit and fabric adhesive.
5. Minimalist line art cover
The fastest idea on the list, and one of the most striking.
- One continuous line drawing: a face, a hand, a leaf, or a teacup.
- Sketch it lightly in pencil first, then trace it with a fine liner in a single confident pass.
- Add a touch of gold to one detail only. Restraint is what makes it look designed.
You’ll need: fine liner pens and gold gel pens. Seal with matte spray so the ink doesn’t rub off on your hands.
Need line art ideas? The botanical sketching 101 guide is full of simple leaf and flower shapes that work on covers.
6. Pressed flower resin cover
The one everyone asks about.
- Arrange fully dried pressed flowers on the cover. Any moisture left in the petals will turn brown under resin.
- Tack each flower down with a dot of Mod Podge first so nothing floats when you pour.
- Pour a thin coat of epoxy resin, pop bubbles with a quick pass of a heat gun or lighter, and let it cure fully (usually 24 to 72 hours, check your brand).
You’ll need: a pressed flower kit and epoxy resin. Always wear nitrile gloves and work in a room with an open window.
7. Street art spray paint cover
Bold, fast, and a lot of fun.
- Work outdoors on a calm day, with the inner pages wrapped in wax paper and taped shut.
- Spray light coats from about 8 to 12 inches away. Three thin coats beat one heavy one that drips.
- Layer stencils (letters, stars, shapes) between colors for that street-art depth.
You’ll need: acrylic spray paint and stencils.
8. Faux leather and gold foil cover
The grown-up, gift-worthy option.
- Cut faux leather 1 inch larger than the cover on all sides and wrap the edges inside, like a book cover.
- Brush foil adhesive in your design (initials, a crest, a simple border) and wait until it turns clear and tacky.
- Press the gold foil on, rub firmly, and peel it back to reveal the design.
You’ll need: faux leather sheets and a gold foil kit.
9. Celestial galaxy cover
Deep navy, violet, and a sprinkle of stars.
- Paint a base of navy and black, then sponge in purple and teal while it’s still wet so the colors blend.
- Flick white paint off a stiff brush for stars, and add a few larger stars with a fine brush.
- Finish with a crescent moon or constellation in metallic paint.
You’ll need: metallic acrylic paints, a sponge, and an old toothbrush for splatter.
10. Chalkboard cover
The cover you can change every season.
- Brush on two coats of chalkboard paint, letting each dry fully.
- Wait 24 hours, then “season” it by rubbing the side of a piece of chalk over the whole surface and wiping it off.
- Write the dates, the theme, or a little doodle, and change it whenever you start a new chapter.
Chalk smudges easily. If you want to keep a design you love, use a chalk marker and a light coat of matte spray instead.
Investment pieces worth it
Most of these ideas cost a few dollars in supplies. If you want a cover (and a sketchbook) that lasts years, these are the upgrades I’d consider.
A quality sketchbook to start with. A Moleskine Art sketchbook has a sturdy hardcover and heavier paper than a basic drugstore sketchbook. That makes it a better base for paint, resin, or fabric. Worth it for: anyone planning a cover that takes real time, like embroidery or resin. Skip it if: you’re trying a quick idea for the first time. Practice on a cheap hardcover first.
A professional watercolor travel tin. If idea #1 hooks you, the Winsor & Newton Professional Watercolor Complete Travel Tin runs around $143. Professional pigments give brighter, cleaner washes than student paint, and the tin fits in a bag next to your sketchbook. Used twice a week for two years, that’s about 70 cents a session. A slightly lower-cost option is the Daniel Smith 24 hand-poured half pans at around $128. Worth it for: anyone who wants to keep painting inside the sketchbook too. Skip it if: you only plan to paint a cover or two. A student set does the job.
How to make your cover last
- Let everything cure before stacking. Glue, resin, and spray all need at least 24 hours, sometimes 72.
- Store sketchbooks upright, spine out, like books. Lying flat under a pile, decorated covers press into each other and stick.
- Keep them out of hot cars and sunny windowsills. Heat softens decoupage and resin, and direct sun fades color.
- Touch up corners once a year with a dab of Mod Podge and a fresh coat of spray.
The full system is in how to store canvas, paper, and sketchbooks.
The takeaway
A cover you love keeps your sketchbook out on the table, and that keeps you sketching. Prep the surface, protect the pages, and seal with something that won’t stay sticky, and any of these ten ideas will hold up for years.
Which cover are you making first? Tell me in the comments. And save this pin to your sketchbook board for your next rainy weekend project.