This post contains affiliate links. If you buy through them, I may earn a small commission at no extra cost to you.
Some easels look like they came from a big box store. Others look like they spent fifty years in a Paris atelier. The second kind costs about the same to build.

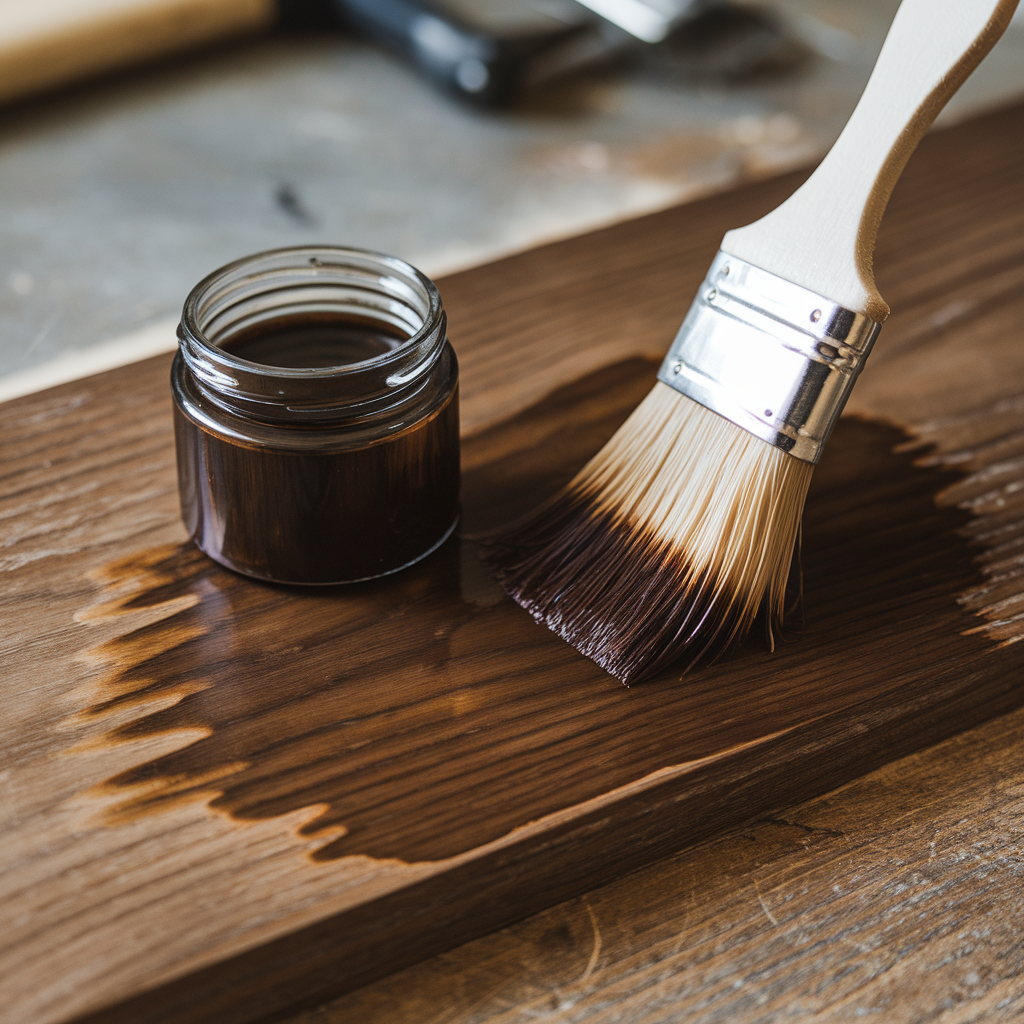

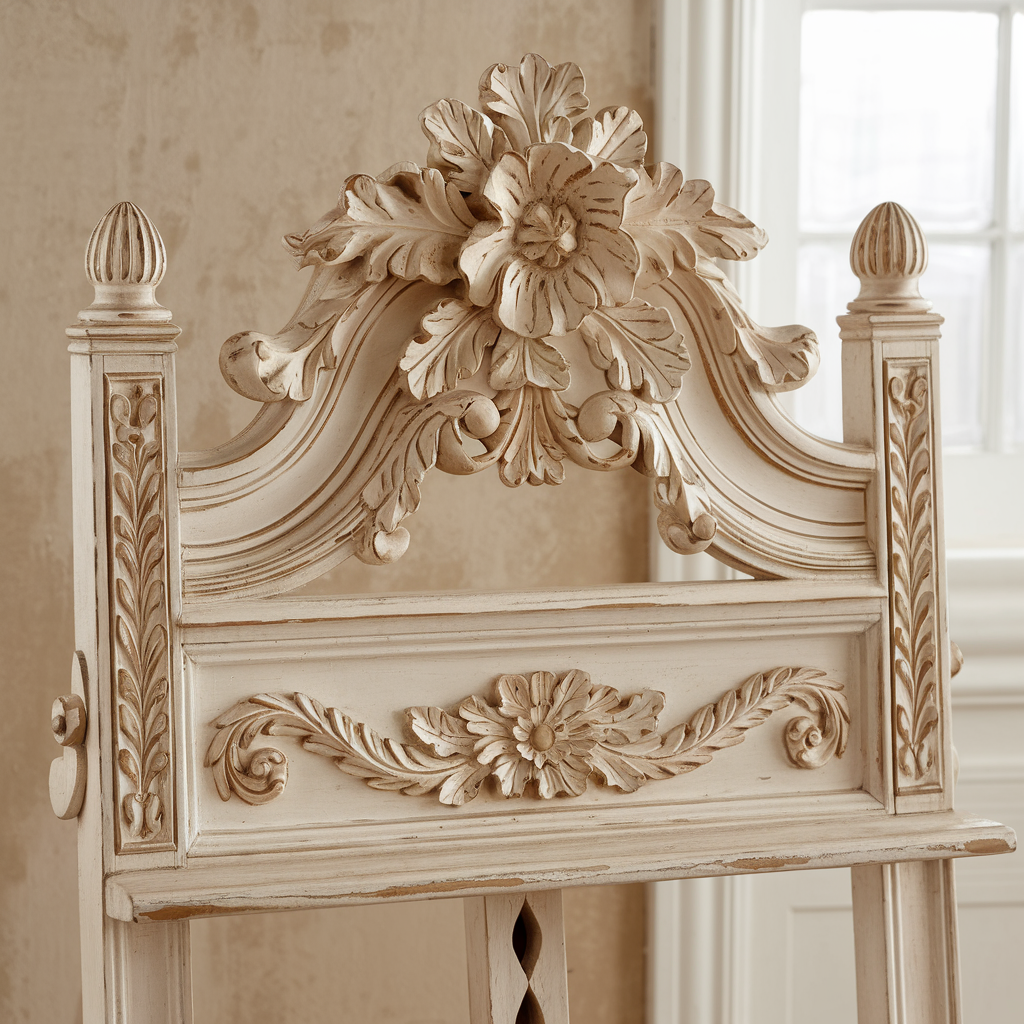
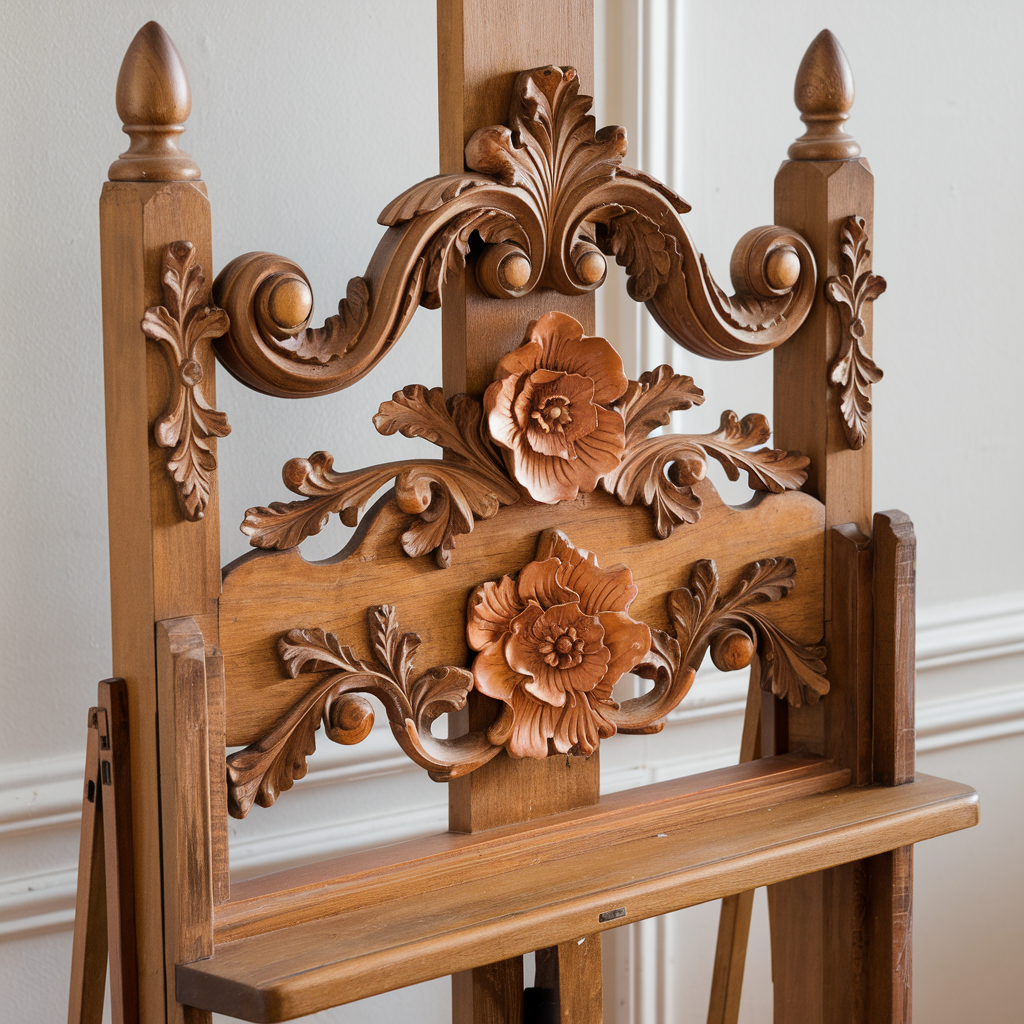
My take: the vintage look comes from the finish, not the wood. You can start with ordinary 2x4s from the hardware store, and with an hour of sanding, a little stain and some wax, they’ll look like a flea market treasure. So keep the build simple and spend your energy on the fun part.
This tutorial walks you through a basic A-frame build, an approximate cut list, how to distress and wax the wood, vintage details to add, and five ways to style the finished piece.
Quick answer

If you only do one thing: sand every edge round before you stain. Crisp lumberyard corners scream “new.” Softened edges catch stain darker and instantly read as decades of handling.
What you’ll need
Materials
- Three 8-foot 2x4s (choose the straightest boards in the pile)
- One 1×4 for the ledge lip (optional)
- 2.5-inch wood screws and wood glue
- One sturdy hinge for the back leg
- Sandpaper in medium (80 to 120 grit) and fine (180 to 220 grit)
- Stain or chalk paint, plus a wax or oil finish
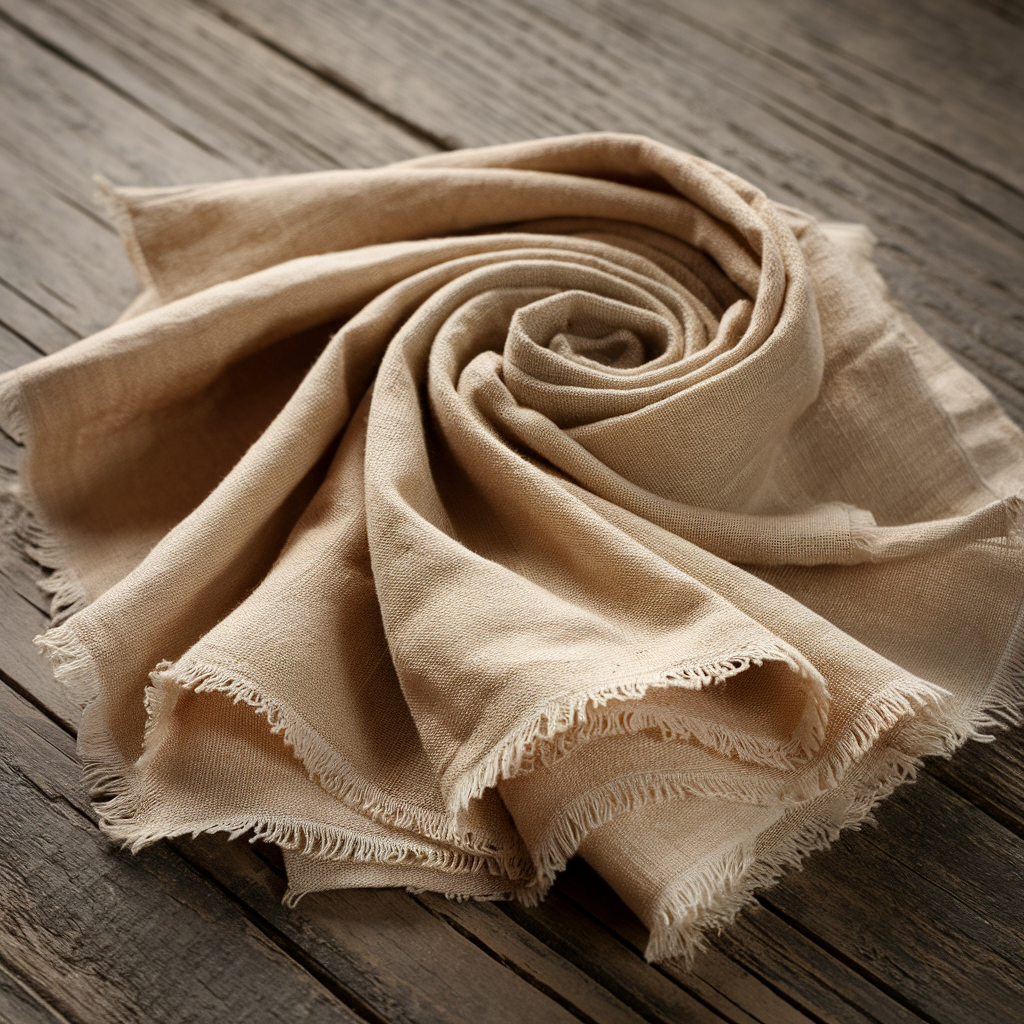
- Lint-free rags
- A short chain or cord with two eye screws (for stability)
Tools
- Saw (miter saw or circular saw)
- Drill with driver bits
- Tape measure, pencil and speed square
- Eye protection and a dust mask
The cut list


This is an approximate cut list for an easel about 5.5 feet tall. Adjust lengths to your ceiling, your canvas sizes and how you plan to use it.
| Part | Qty | Approx. length | Notes |
|---|---|---|---|
| Front legs | 2 | 66 in | 2×4, tops angled |
| Back leg | 1 | 62 in | 2×4, hinged |
| Top crossbar | 1 | 18 in | joins the legs |
| Lower crossbar | 1 | 24 in | about 24 in up |
| Ledge | 1 | 24 in x 3.5 in | holds the canvas |
Measure your largest canvas before cutting. A 24-inch ledge comfortably holds canvases up to about 24 by 36 inches. If you work bigger, add 6 inches to the ledge and crossbar.
How to build your vintage easel
Step 1: Build the frame


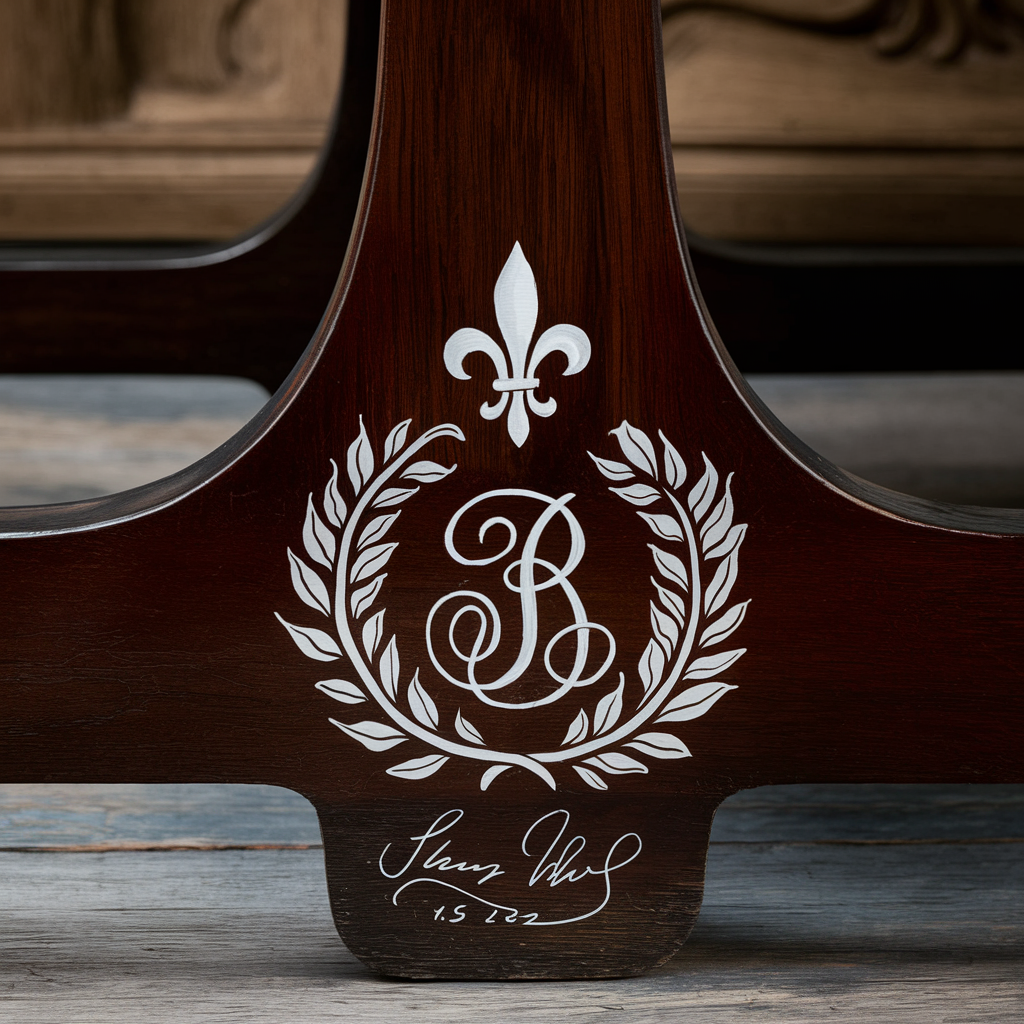
- Angle the tops. Cut the tops of the two front legs at a slight angle (about 10 degrees) so they meet neatly in an A shape.
- Join the front legs. Glue and screw the top crossbar between them a few inches below the peak. Then add the lower crossbar about 24 inches off the floor.
- Attach the ledge. Screw the ledge across the front legs at a comfortable height. For most people, the canvas center should land around eye level when standing. Add a 1×4 lip along the front edge so canvases can’t slide off.
- Hinge the back leg. Attach the back leg to the top crossbar with a sturdy hinge so it swings out to make a tripod.
- Stop the splay. Add an eye screw to the lower crossbar and one to the back leg, then connect them with a short chain. This keeps the back leg from sliding out.
Wear eye protection whenever you’re cutting or drilling. Clamp boards down instead of holding them by hand.
Display easel or working easel? As a display piece, this build is fine as is. If you’ll paint on it, keep that safety chain on, and add a canvas clamp at the top so your canvas can’t tip forward while you work.
If you learn better by watching, this tutorial walks through a rustic easel build:
Step 2: Distress and finish the wood

Now the fun part. Here’s how the finish builds up from plain lumber to vintage piece.
- Sand. Start with medium grit to soften every edge and corner, then go over the faces with fine grit. Wear a dust mask and sand outdoors if you can.
- Distress (optional). Tap the wood with a chain, a bag of screws or the back of a hammer for small dents. Less is more. Aim for “loved,” not “dropped down the stairs.”
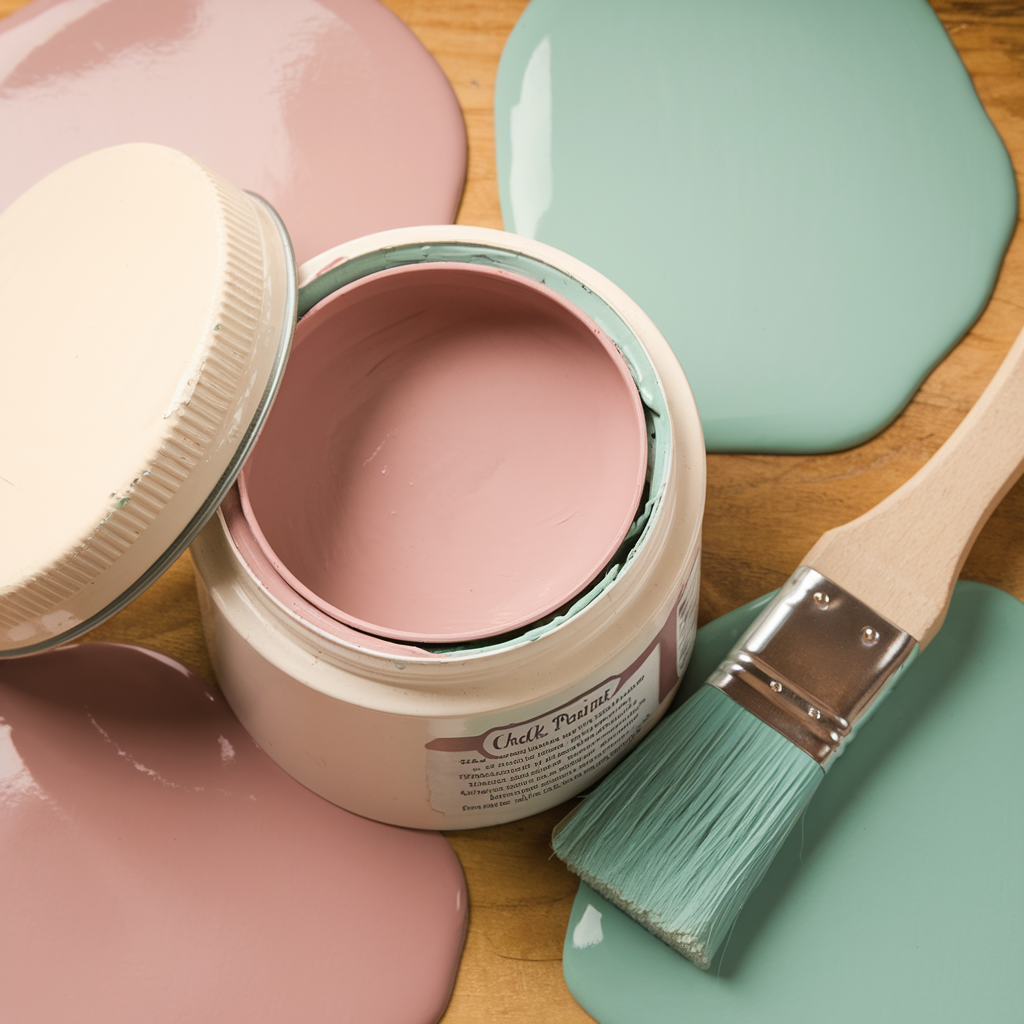
- Stain or paint. Wipe on stain with a rag and wipe off the excess after a few minutes. For a painted look, brush on chalk paint instead. Let it dry fully (stain often needs several hours, check the can).
- Sand the edges back. Lightly sand corners and raised spots so a little raw wood or base stain shows through, right where hands would have worn it over the years.
- White wash (optional). Thin white paint with water, brush it on, and wipe most of it off for a sun-bleached, coastal look.
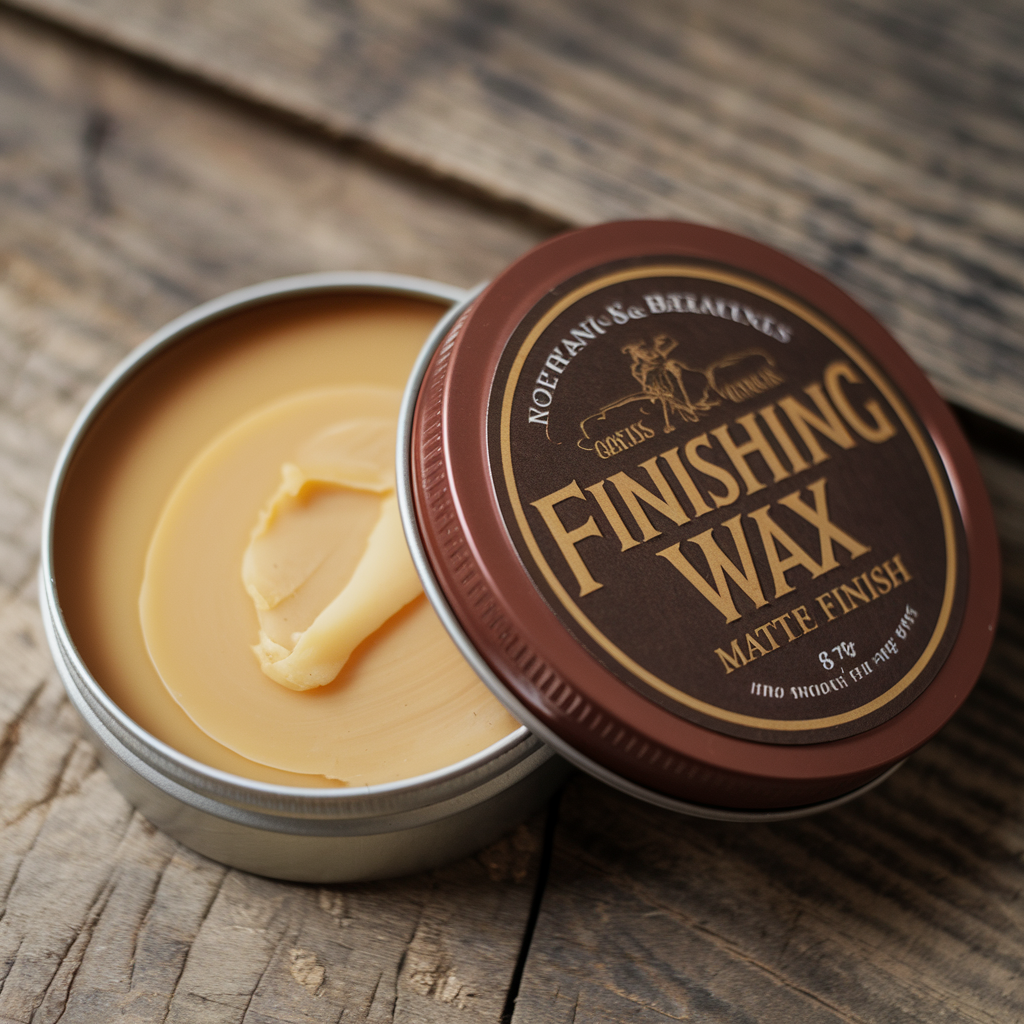
- Wax or oil. Finish with a paste wax or furniture oil to seal the wood and give it a soft glow.
For more stain colors and techniques, see how to stain wood for a vintage look and how to stain wood for a rustic farmhouse look.
Rag safety matters. Rags soaked in oil-based stain or finishing oil can heat up on their own as they dry and catch fire. Never wad them up in a trash can. Lay them flat outdoors to dry completely, or drop them in a sealed metal can filled with water, then dispose of them according to your local rules.
Wax options to look for
| Finish | Look | Good to know |
|---|---|---|
| Briwax | Rich, tinted | Strong odor, ventilate well |
| Mylands wax | Soft, traditional | Classic furniture finish |
| Fusion Mineral Paint wax | Smooth satin | Pairs well with painted pieces |
| Walrus Oil | Natural, matte | Easy wipe-on oil finish |
Whichever you choose, work in a well-ventilated space and follow the label.
If you’d like to see distressing in action before you try it, this video is a great primer:
Step 3: Add vintage details
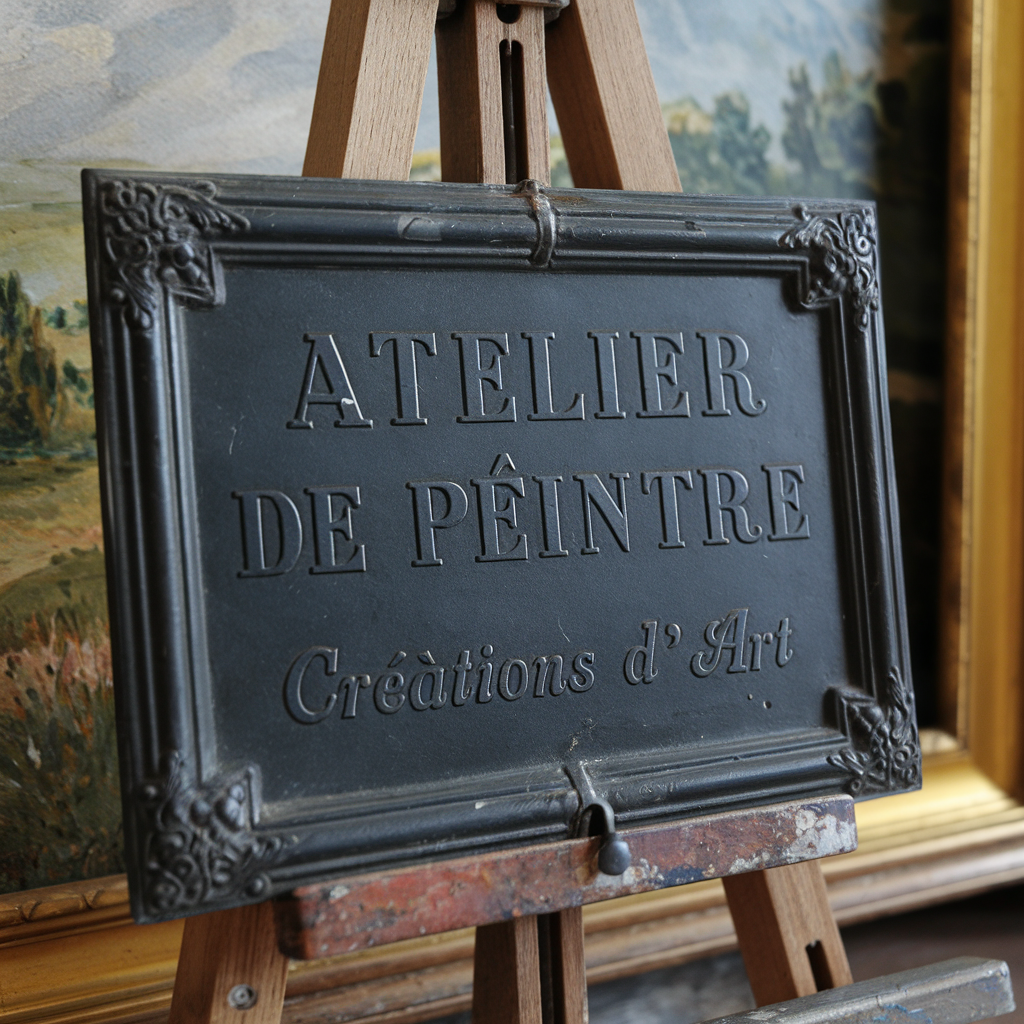

This is where your easel gets its personality. Pick two or three, not all of them.
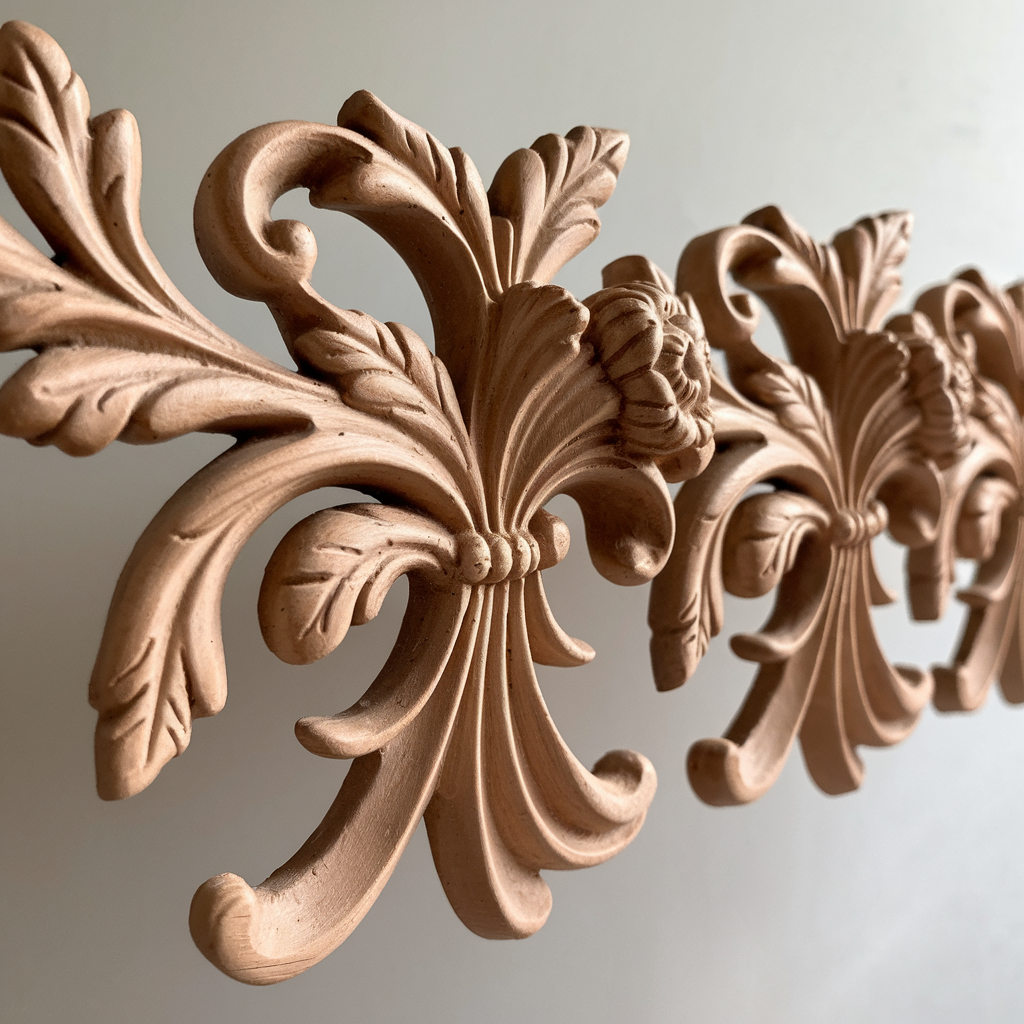
- Wood appliques on the top crossbar for a carved look
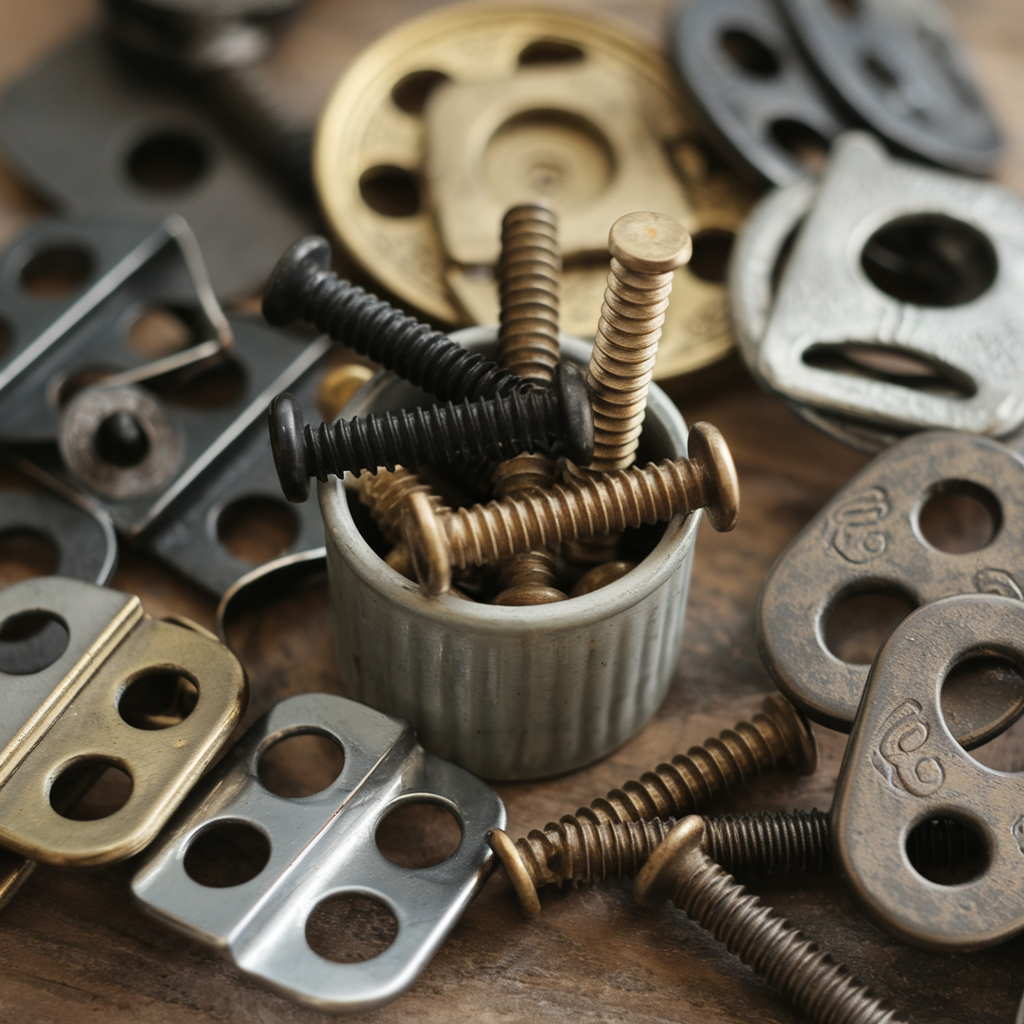
- Brass hooks or knobs to hang brushes, a rag or a small sketchbook
- A hand-painted flourish or your initials on the ledge
- Crackle glaze over paint for an antique, aged surface
- Botanical transfers on the legs
- A small brass nameplate with your name or studio name
- Lace or ribbon tied at the peak
- French script stencils along a leg
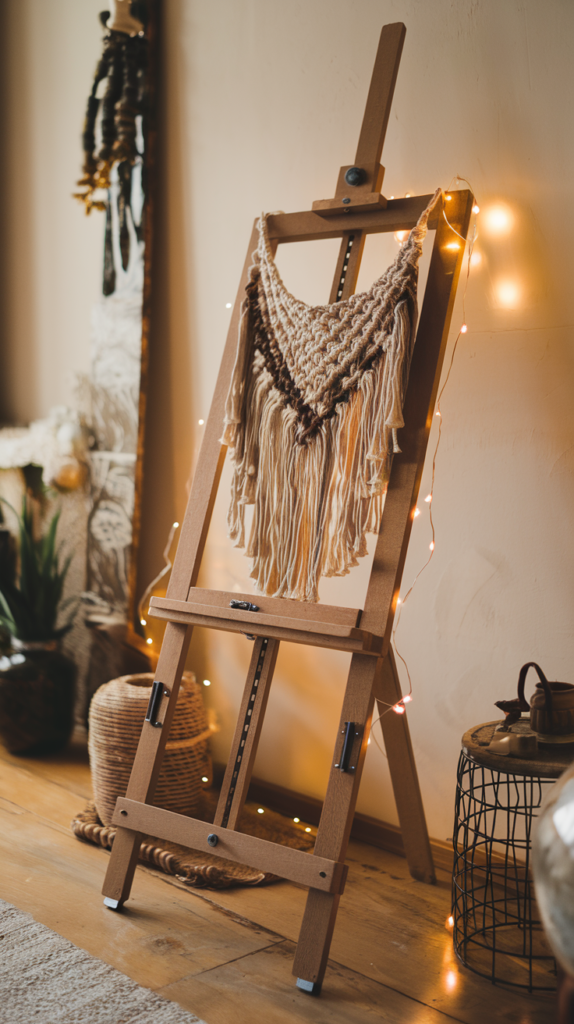
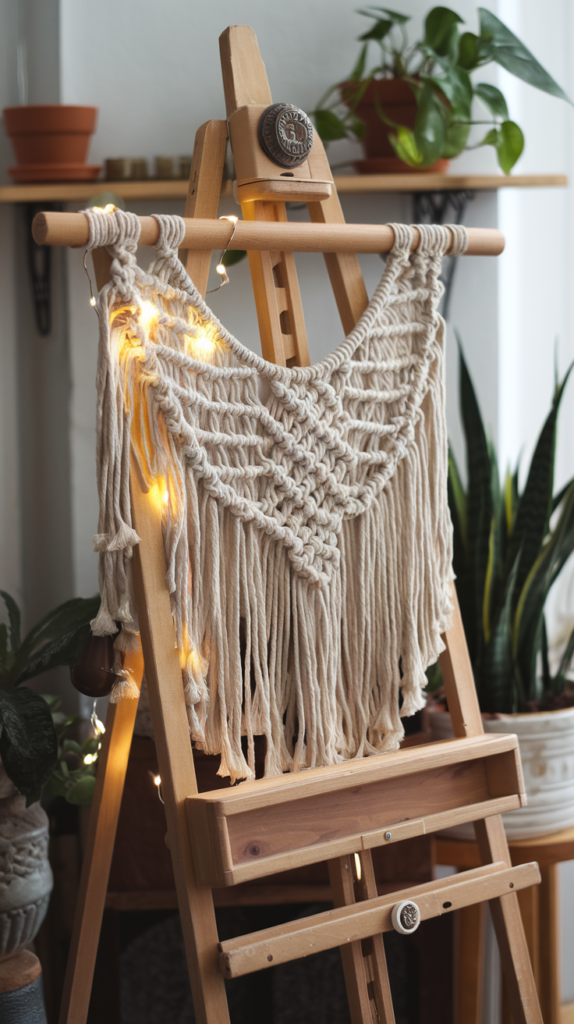
- Fairy lights wrapped loosely around the frame
- A vintage skeleton key hung from a hook
Step 4: Style it
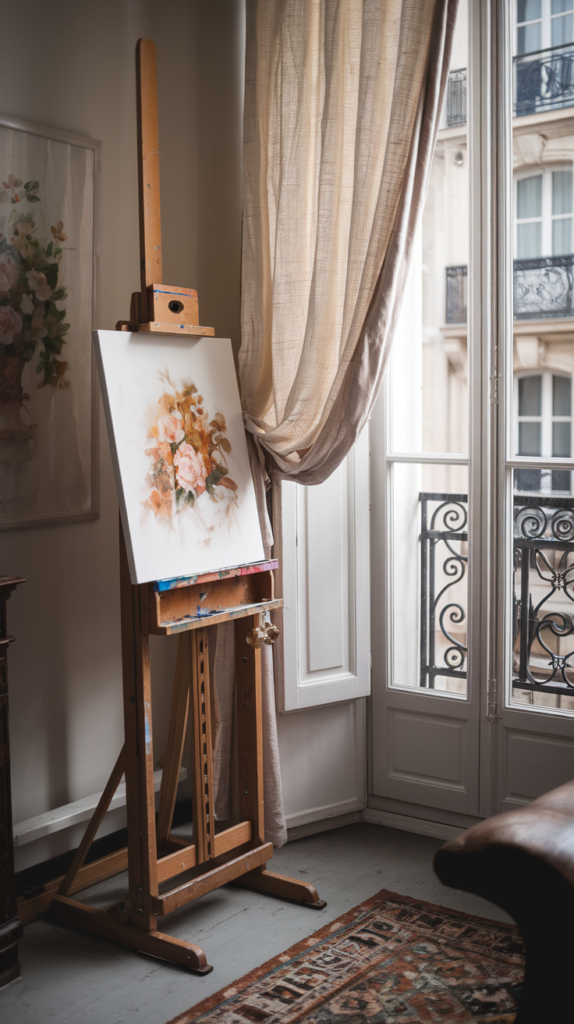
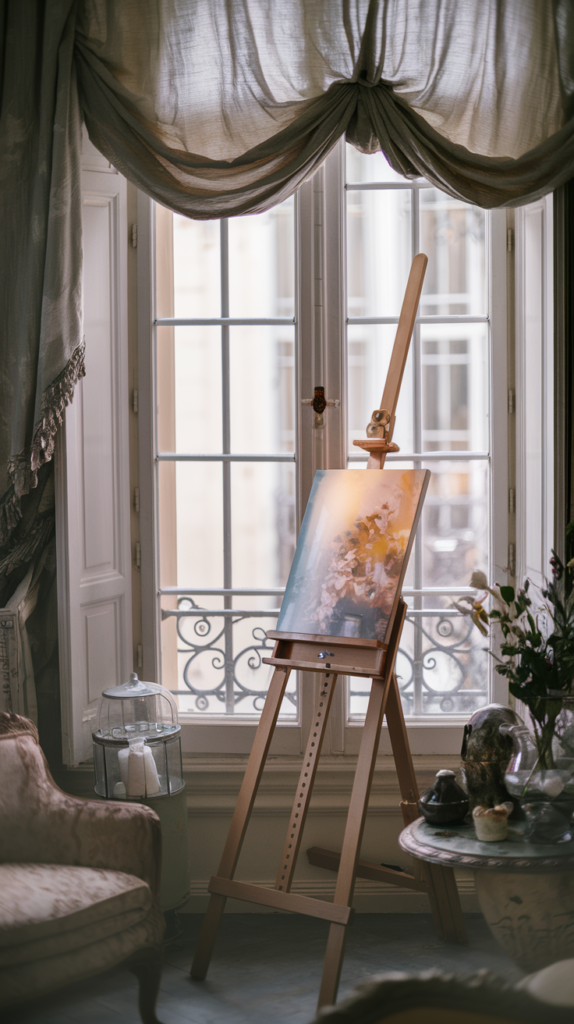
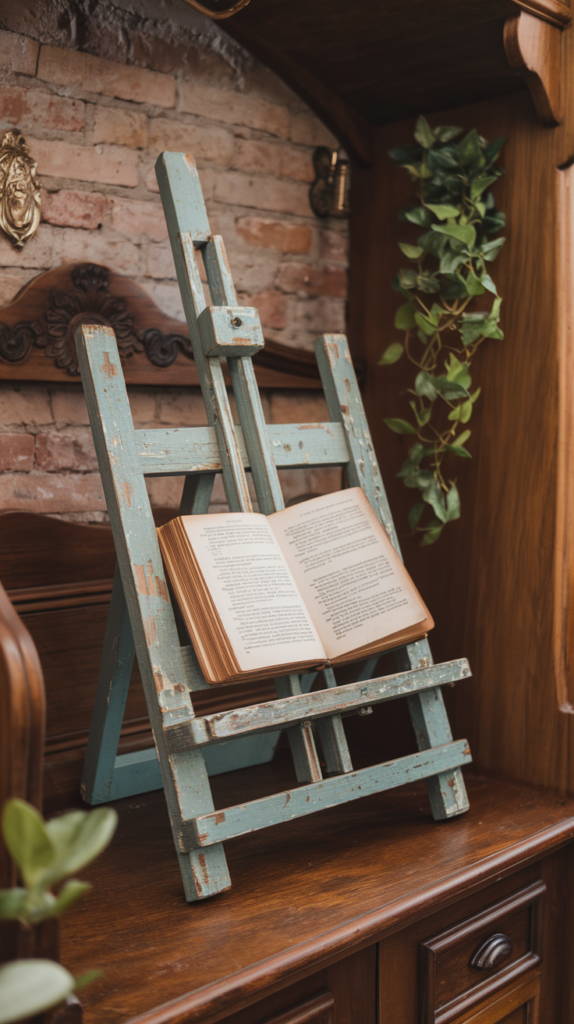
Five ways to show off your finished easel:
- Parisian corner. A French print on the ledge and a bistro chair beside it.
- Reading nook. Tuck it next to an armchair and a stack of art books.
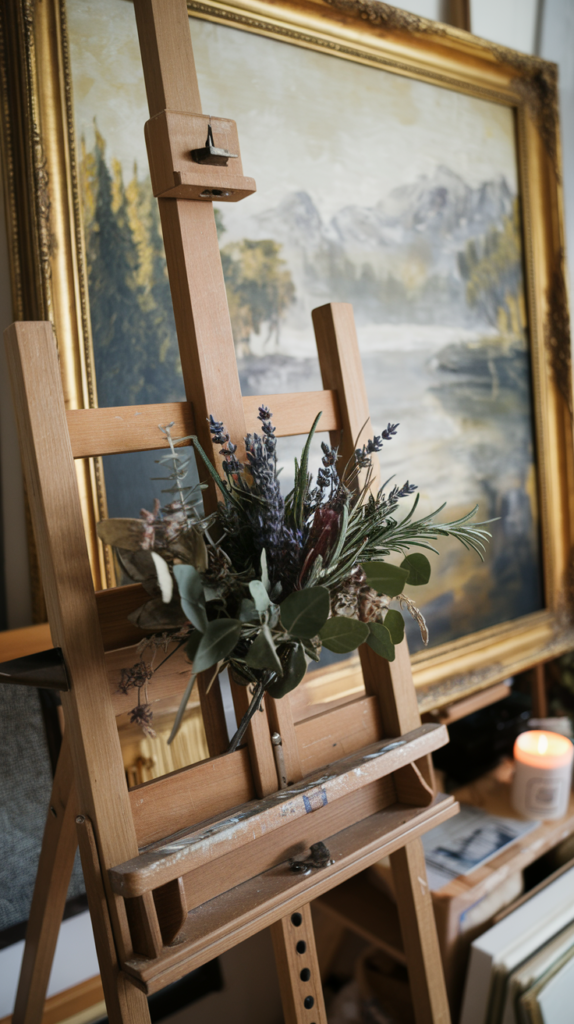
- Rustic gallery. A framed sketch on the ledge plus a jug of dried flowers.
- Romantic studio. Florals, a draped lace runner and soft, warm light.
- Boho. Macrame, trailing plants and woven baskets at its feet.
For the romantic studio look, choose battery candles or fairy lights over real flames. Lace, dried flowers and wood all burn easily.
Want the whole room to match? Browse vintage artist loft ideas and how to set up a dreamy vintage art studio.
Troubleshooting

| Problem | Likely cause | Fix |
|---|---|---|
| Easel wobbles | Uneven leg lengths | Sand the long leg or add felt pads |
| Back leg slides out | No stop | Add the chain between legs |
| Blotchy stain | Soft pine absorbs unevenly | Use pre-stain conditioner first |
| Paint peels at edges | Waxy or dusty wood | Wipe clean and sand lightly first |
| Finish feels sticky | Wax too thick | Buff off excess with a clean rag |
DIY or buy?



Building is half the fun, but it’s not for everyone. Here’s how to decide.
- lowest cost
- custom height
- vintage character
- weekend project
- ready today
- adjustable mast
- tilts for painting
- holds large canvases
If you’d rather buy, a solid H-frame studio easel gives you adjustable height and tilt that a simple A-frame can’t match.
MEEDEN Extra Large Heavy-Duty H-Frame Studio Easel, around $220. Solid beech that you can stain or wax for a vintage look of your own. Worth it if you paint regularly and want height and tilt adjustments. Skip it if you mainly need a display piece. The DIY version above is perfect for that.
MEEDEN Extra-Large H-Frame Easel, around $275. Holds canvases up to about 79 inches. Worth it if you work big. Skip it if your studio is a corner of a room, because it needs real floor space.
Compare more options in the best multi-use easels and how to choose an easel.
Make it yours
- Tabletop version. Halve every length for a sweet countertop easel that holds a recipe card print or a small painting.
- Chalkboard easel. Paint a plywood panel with chalkboard paint and set it on the ledge for a menu or welcome sign.
- Two-tone finish. Paint the legs and leave the ledge in stained wood.
- Gallery pair. Build two and display them side by side at a party or open studio.
The takeaway
Keep the frame simple, add a safety chain, and let the finish do the heavy lifting. Soft edges, a warm stain and a wax glow are what make plain 2x4s look like a treasured antique.
Which styling scene would you build yours for: the Parisian corner, the reading nook or the romantic studio? Tell me in the comments, and save this for your next weekend project.