This post contains affiliate links. If you buy through them, I may earn a small commission at no extra cost to you.
You’ve walked past this frame a hundred times. It was lying on the ground under a tree, waiting for someone to pick it up.
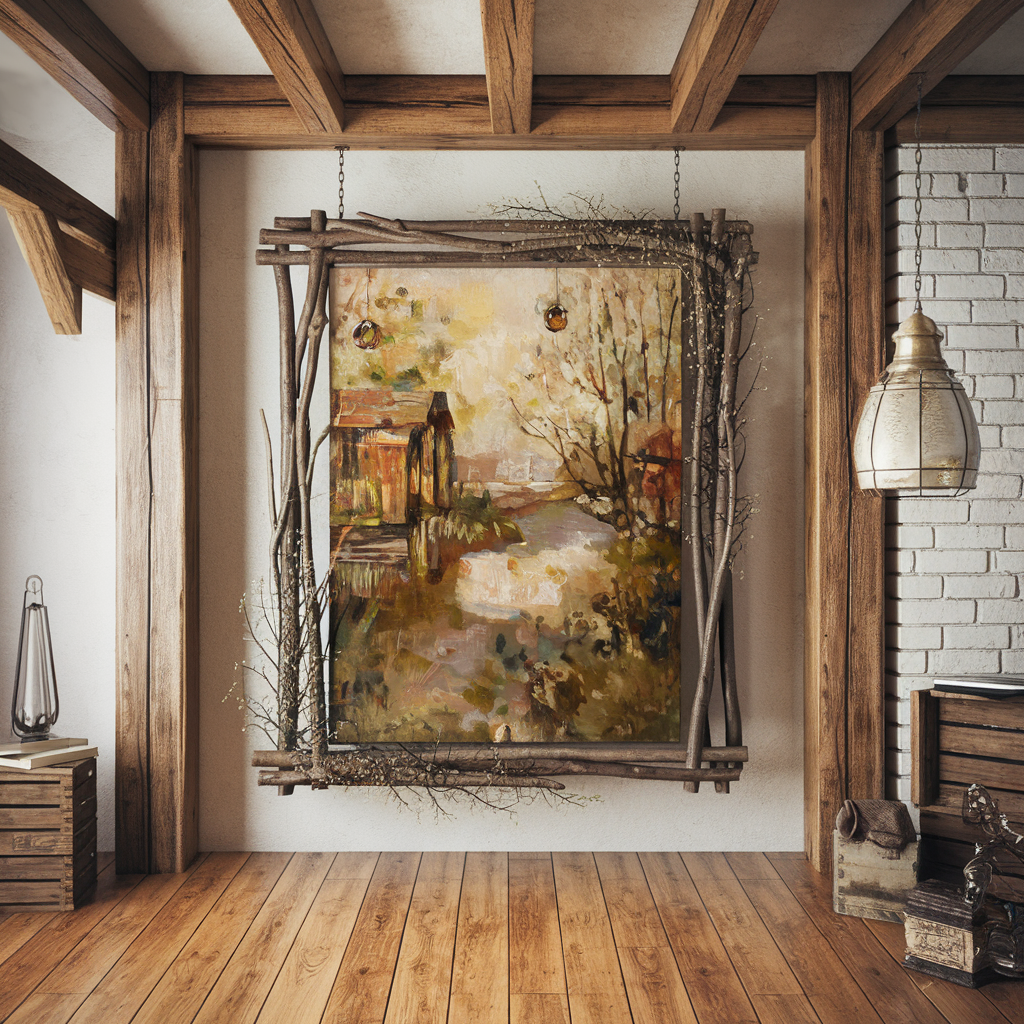
My take: a branch frame succeeds or fails before you ever open the glue. Pick dry, sound sticks of matching thickness, clean them properly, and cut them to the right length, and the build itself takes about 30 minutes. Skip that prep and you get a wobbly frame that sheds bark (or bugs) onto your mantel.
This guide gives you the prep, a size chart, the build in six steps, and a few ways to make it look like it came from a little boutique.
Quick answer

Collect 4 fallen branches about 3/4 to 1 1/2 inches thick, dry them for 1 to 2 weeks, cut each one about 4 to 5 inches longer than the side of the photo opening it frames, overlap the corners, and lock them with wood glue plus a tight wrap of jute twine. Hot glue alone is fine for a quick piece, but it won’t hold up to years on a wall.
What you need
You probably own half of this already.
For the frame
- 4 main branches of similar thickness, plus a handful of thinner twigs
- Pruning shears for cutting branches cleanly
- Sandpaper, medium and fine grit
- Wood glue for the strongest corners
- A hot glue gun for fast tacking and decorations
- Jute twine or floral wire to wrap the corners
- Small clamps or a few rubber bands to hold joints while glue sets
For the back and the photo
- Mat board or sturdy cardboard
- A clear front: lightweight acrylic sheet or picture frame glass
- Sawtooth hangers or D-rings, or a simple jute loop
For decorating (optional)
- Mini pinecones, dried flowers, moss, white paint for a whitewash, or gold leaf
Collecting branches the right way
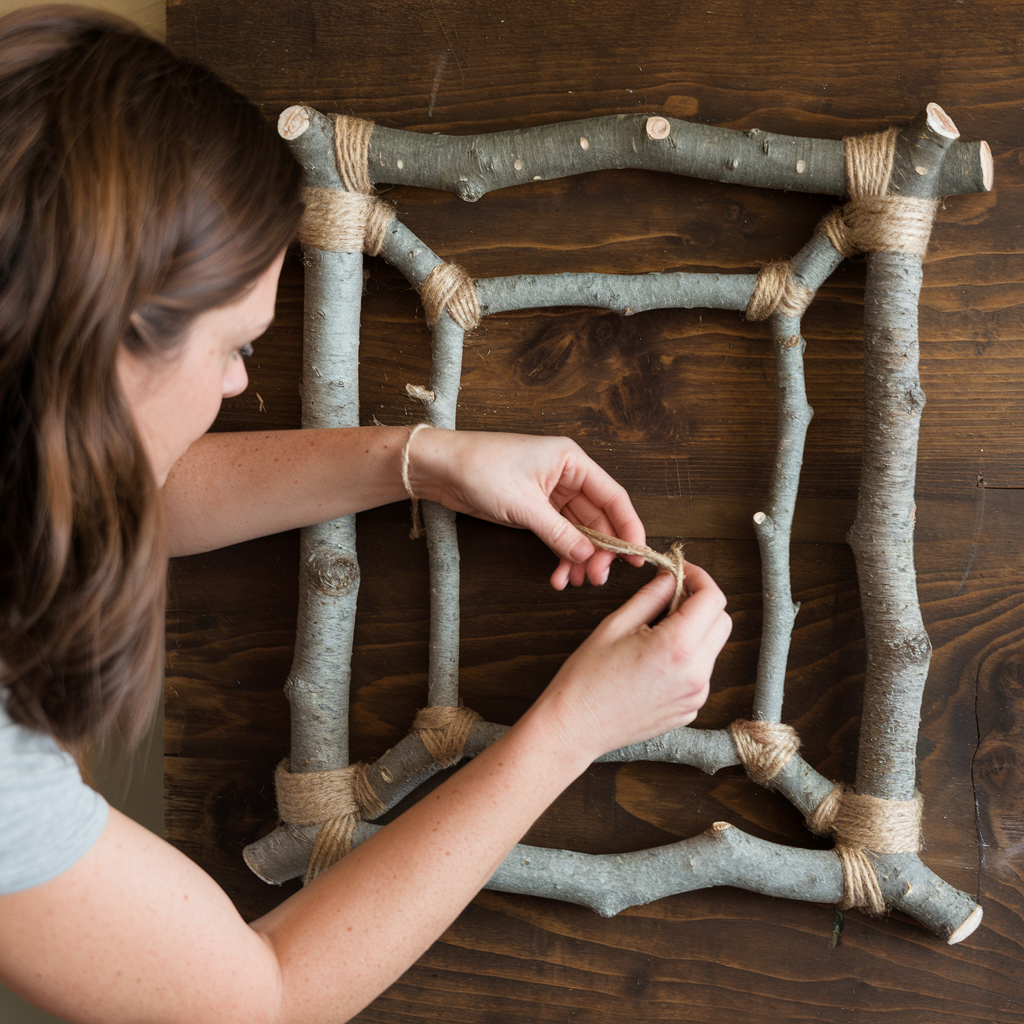
Good frames start with good sticks. Here’s what to look for on your walk:
- Fallen only. Don’t cut live branches. Wet green wood shrinks as it dries and pulls your glue joints apart.
- Sound, not soft. Press a thumbnail into the wood. If it dents easily or crumbles, leave it for the beetles.
- Straight-ish and matching. Pick four main branches within about 1/4 inch of the same thickness. Mismatched sticks are the number one reason a frame looks lopsided.
- Check local rules. Many parks and nature preserves don’t allow collecting anything at all. Your own yard, a friend’s yard, or a craft store bundle is the easy, rule-friendly option.
Bug-proofing your branches
Wood from outside can carry insects and moisture. You have two options:
- Air-dry for 1 to 2 weeks in a garage or covered porch, laid flat so they don’t warp.
- Bake them low and slow. About 200°F for roughly an hour on a foil-lined sheet. Check every 15 minutes, never leave the oven unattended, and skip this for very thin, dry twigs, which can scorch.
Either way, brush off loose bark and dirt with a stiff brush once they’re dry.
Branch length chart
Your photo opening should be a little smaller than the photo, so the frame overlaps the edges by about 1/4 inch on each side. Then each branch needs enough extra length to cross the corners and stick out a bit, which is the rustic look you want.
These are approximate and assume branches about 1 inch thick with roughly 1 1/2 inches of overhang past each corner. Thicker branches need a little more length.
| Photo size | Opening (approx.) | Short branches (x2) | Long branches (x2) |
|---|---|---|---|
| 4 x 6 in | 3.5 x 5.5 in | about 8 in | about 10 in |
| 5 x 7 in | 4.5 x 6.5 in | about 9 in | about 11 in |
| 8 x 10 in | 7.5 x 9.5 in | about 12 in | about 14 in |
| 11 x 14 in | 10.5 x 13.5 in | about 15 in | about 18 in |
Cut one branch long, lay the whole frame out on the table around your actual photo, then trim. Measuring twice beats re-collecting branches.
How to make a branch picture frame in 6 steps
1. Prepare the branches
Cut your four main branches using the chart above. Sand each cut end lightly so it isn’t splintery, and give the whole branch a quick pass with fine sandpaper anywhere the bark is flaking.
Lay them out in a square or rectangle, overlapping at the corners like a tic-tac-toe board with the middle missing.
2. Build the frame
Decide which branches sit on top: the long sides or the short sides. Keep it consistent at all four corners so the frame sits flat.
At each corner, put a generous dot of wood glue where the branches touch. Clamp or band them and let them set for at least an hour. Then wrap each corner in an X pattern with jute twine or floral wire, 6 to 10 wraps, and finish with a dab of hot glue on the knot.
3. Layer thin twigs
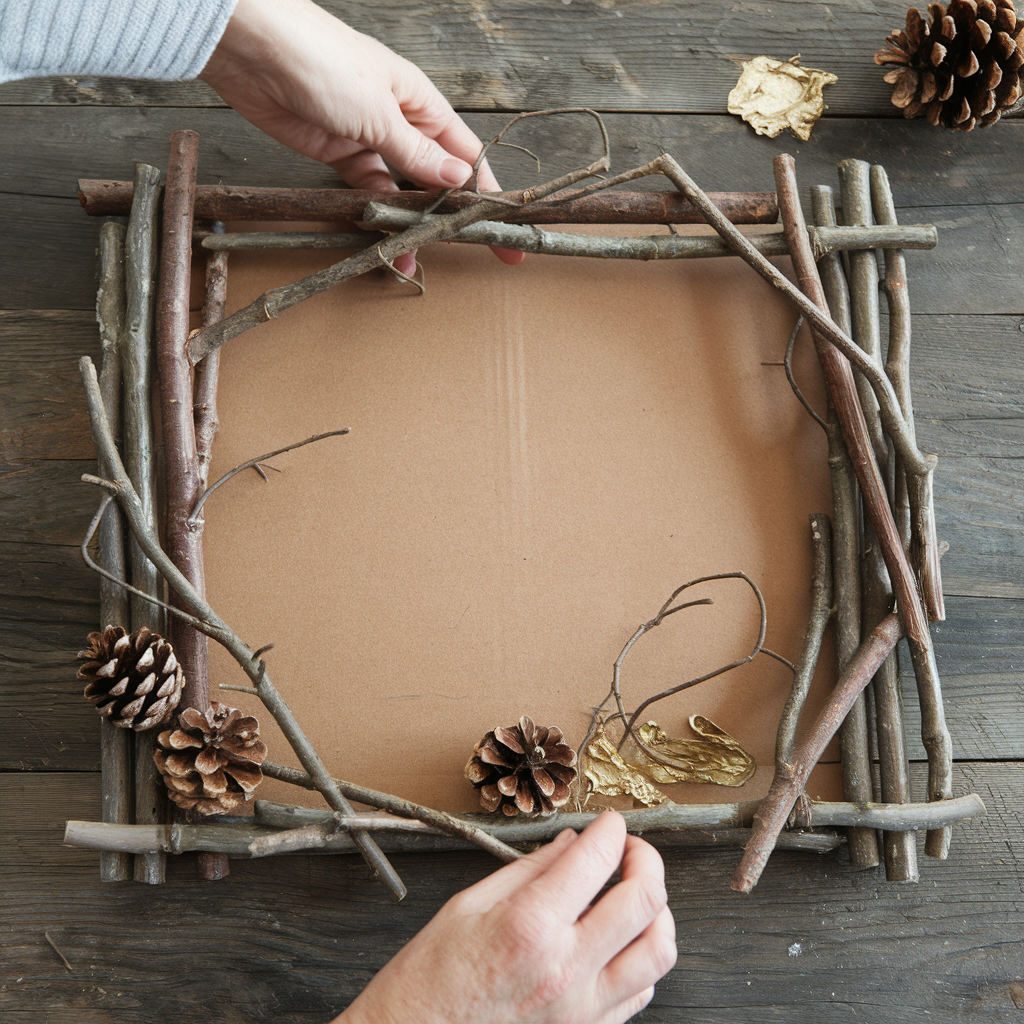
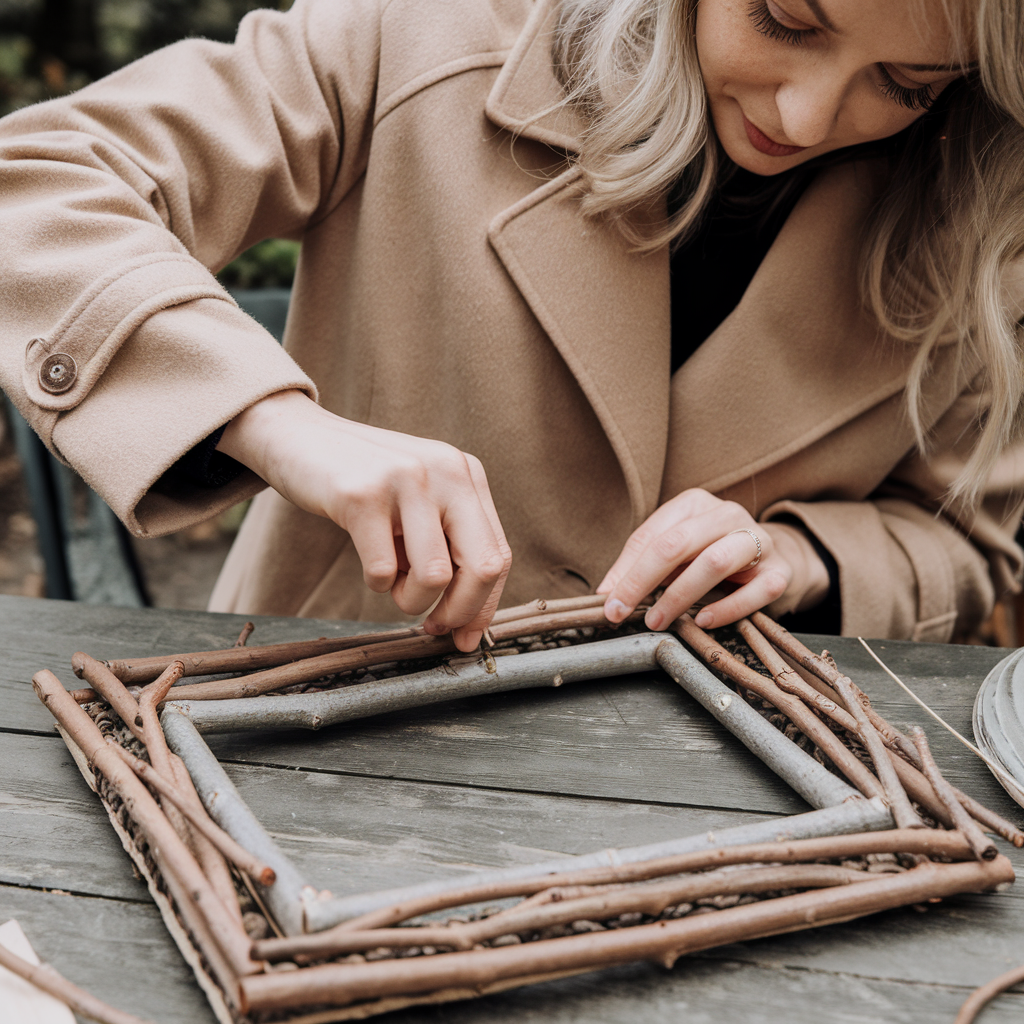
This is where it starts to look special. Hot glue thinner twigs along the top of the main branches, slightly offset, so the frame looks fuller and more organic. Two or three twigs per side is plenty. More than that and the frame gets bushy.
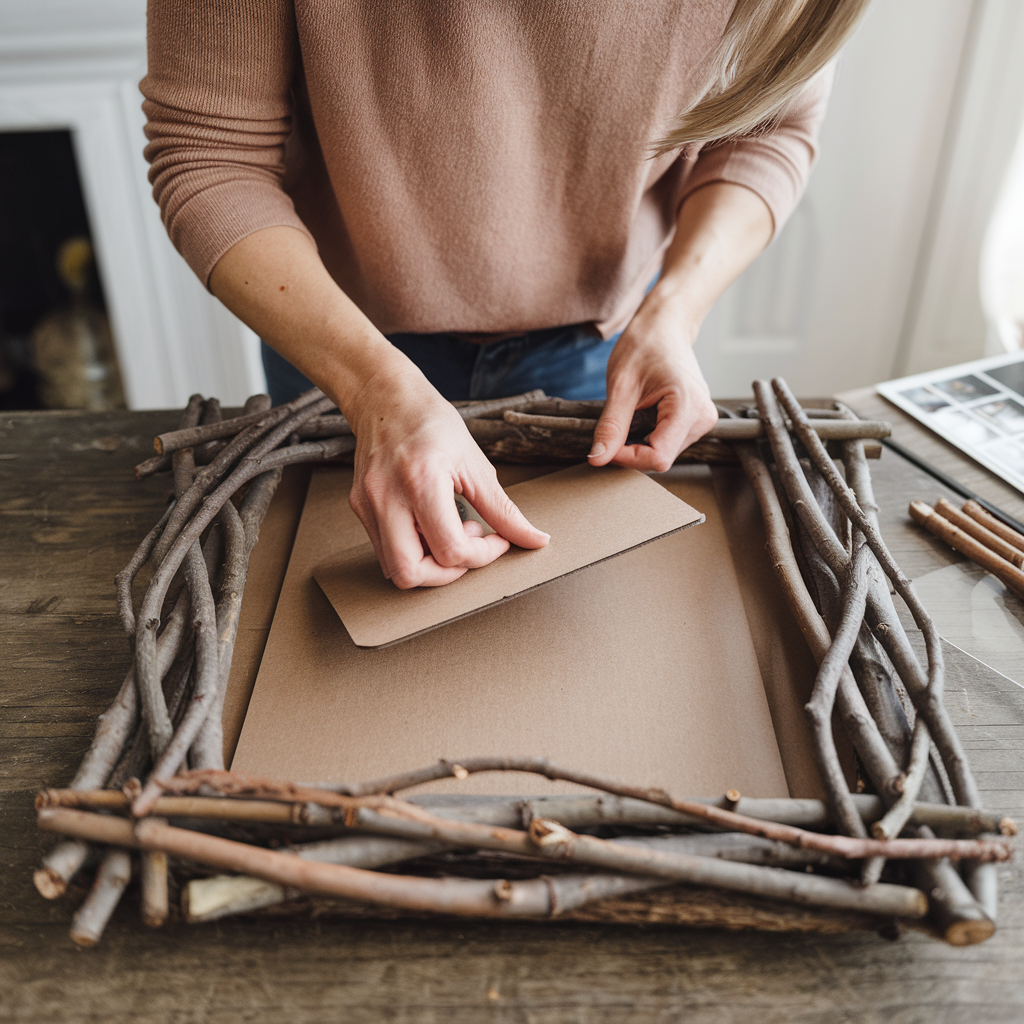
4. Attach the backing
Cut mat board or cardboard about 1 inch larger than the opening on all sides. Make a sandwich: clear front, photo, backing. Glue the edges of the backing to the back of the frame with wood glue or a thick line of hot glue.
Acrylic is lighter and won’t shatter, which makes it my pick for kids’ rooms and anything hanging over a bed. Glass looks crisper and doesn’t scratch as easily.
5. Decorate
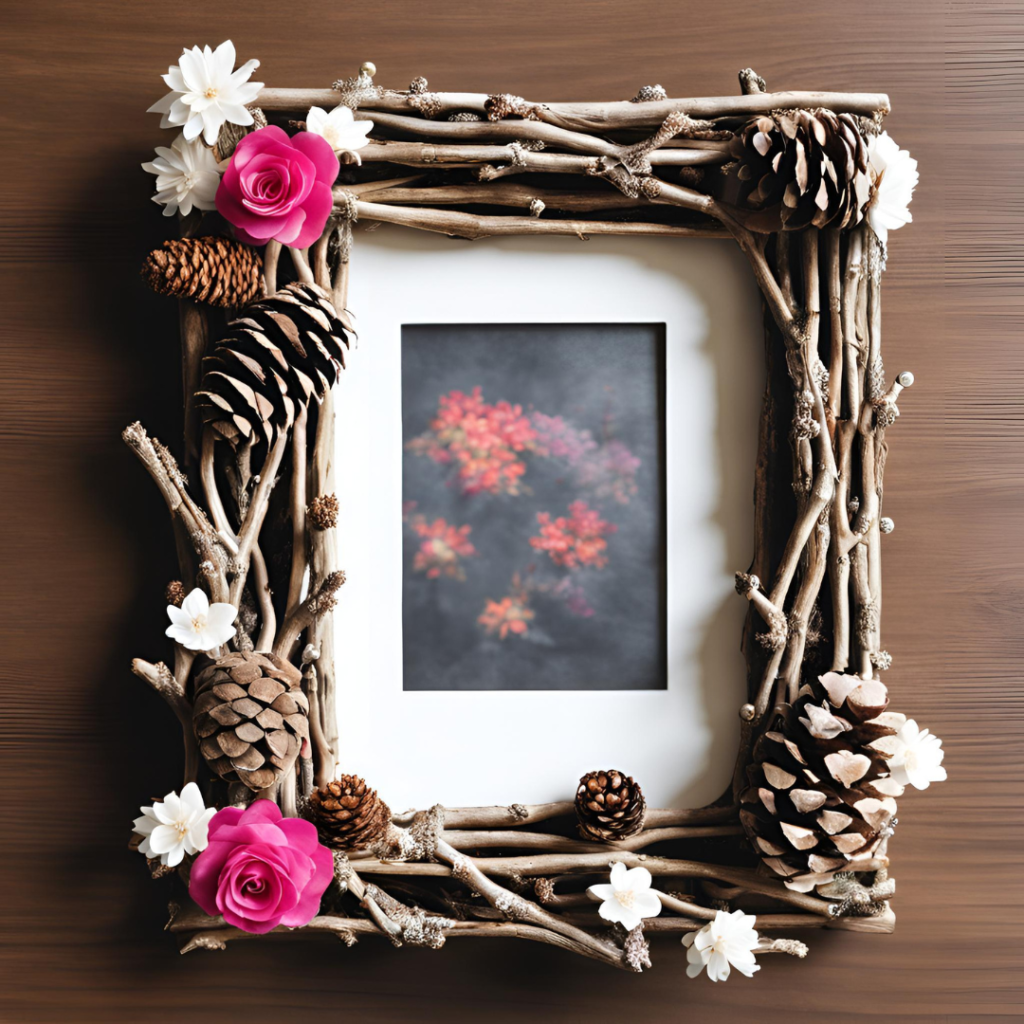
Keep decorations to one corner or two opposite corners. A cluster of three mini pinecones with a sprig of dried flowers looks deliberate. Decorations on all four sides look busy.
6. Add hanging hardware
For small frames, a jute loop glued and wrapped around the top branch is charming. For anything 8×10 and up, screw or glue a sawtooth hanger or two D-rings to the backing so the weight sits on something solid.
Let everything set overnight before hanging.
Hot glue vs wood glue vs wire
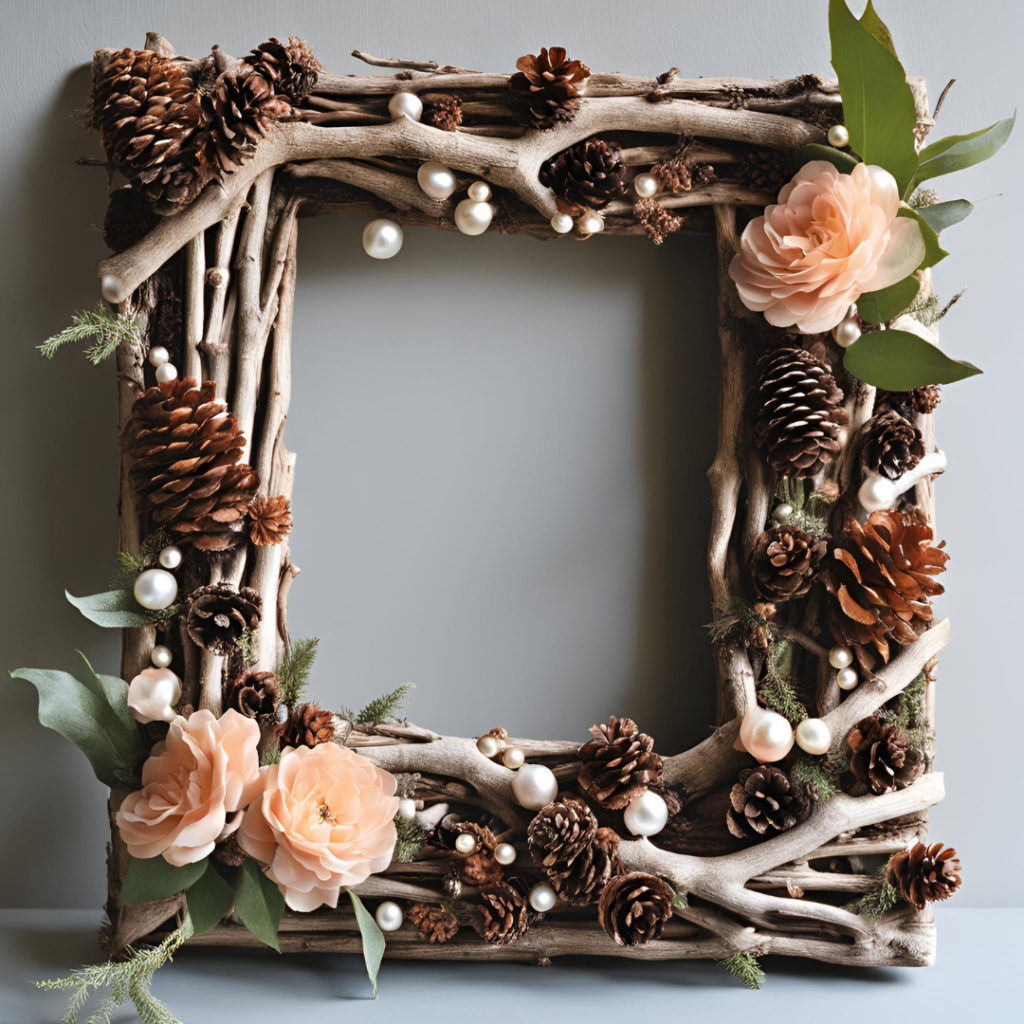
Each one has a job. The strongest frames use more than one.
| Method | Holds | Set time | Best for |
|---|---|---|---|
| Hot glue | Light | Seconds | Twigs, pinecones, decor |
| Wood glue | Strong | 1 hr clamp, 24 hr cure | Main corner joints |
| Floral wire | Strong | Instant | Heavy or uneven corners |
| Jute twine | Medium | Instant | Rustic look plus support |
- fast
- can pop off in heat
- fine for small decor
- may fail on a sunny wall
- slower
- holds for years
- handles bigger frames
- looks finished
Hot glue burns are real. Use a low-temp gun if kids are helping, keep a bowl of cool water nearby, and press twigs down with a craft stick instead of your fingertips.
4 pretty variations to try
Same build, different personality. Pick one based on where it’s going to live.
- Birch: Look for fallen birch in your own yard or buy a bundle. The white bark brightens a dark wall.
- Driftwood: Already dry and smooth, so prep is quick. Rinse in fresh water and dry fully first.
- Moss: Hot glue preserved sheet moss in the gaps between twigs. Gorgeous on a bookshelf.
- Gold leaf or whitewash: Brush a 50/50 mix of white paint and water over the branches for a soft whitewash, or gild just the cut ends for a little sparkle.
Worth buying vs not

You don’t need to spend much on this project. Here’s where a few dollars matters and where it doesn’t.
| Item | Worth buying? | Why |
|---|---|---|
| Wood glue | Yes | Corners last for years |
| Clamps | Yes | Reused on every DIY |
| Acrylic front | Yes, for kids’ rooms | Light and shatter-safe |
| Store-bought branches | Only if needed | Free ones are better |
| Fancy decor packs | Skip | Your walk is free |
One thought for later: a branch frame is perfect for photos, pressed flowers and small sketches. For a finished painting or drawing you care about, use acid-free mat board behind it, and keep it out of direct sun.
Bring the outdoors in
Make two or three in different sizes and hang them as a little cluster. A 4×6, a 5×7 and an 8×10 in the same type of wood look like a set, especially with matching twine on every corner.
They also make thoughtful gifts. Frame a pressed leaf from a favorite tree or a sketch of someone’s garden and it becomes a keepsake.
The takeaway
The prettiest branch frames come from boring prep: dry sticks, matching thickness and the right length. Glue the corners with wood glue, wrap them in twine, and save the hot glue for the fun part.
What would you put in yours: a family photo, a pressed flower or one of your own sketches? Tell me in the comments.
Save this tutorial for your next fall walk.
[…] Click Here! For a Step-by-Step Guide to Building a Natural Elements Picture Frame. […]