This post contains affiliate links. If you buy through them, I may earn a small commission at no extra cost to you.
Ever painted a snowman that looked like three flat white coins stacked on top of each other? One shadow color fixes that, and it’s probably already on your palette.
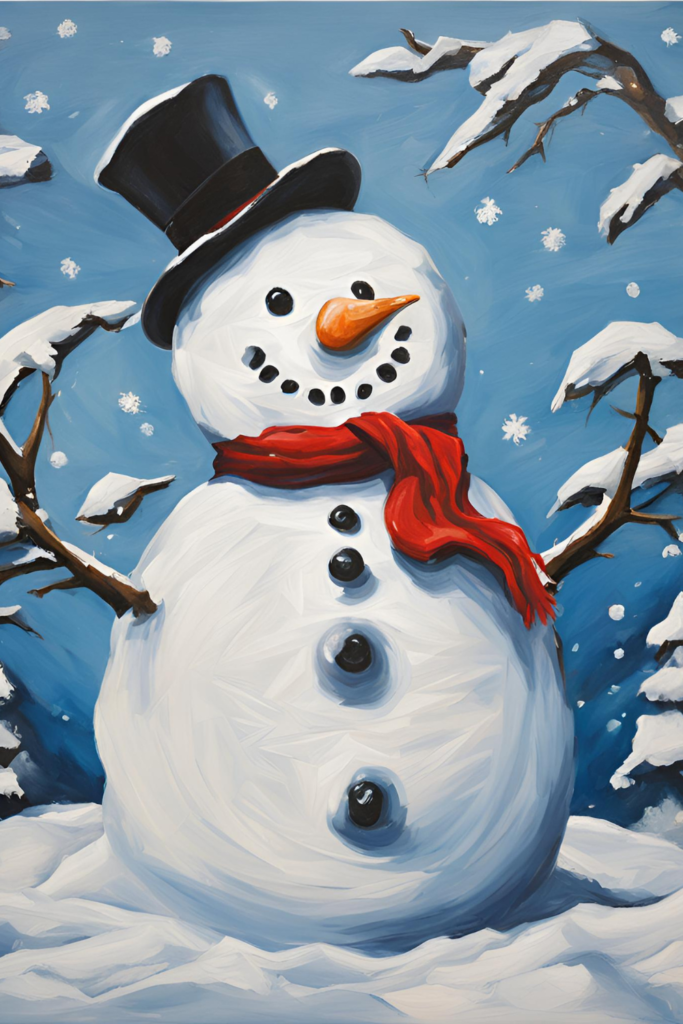
A snowman is the friendliest first painting there is. It’s three circles, a hat, a scarf and a carrot nose. Nobody expects it to be perfect, which is exactly why it’s such a good one to start with.
Here’s my point of view: white paint is the trickiest color on the canvas, and a snowman is the perfect place to learn it. Once you shade one side with a light blue gray, the snowman turns from a flat cutout into a round, snowy little character.
It’s October, so this is the season to paint a few. A finished snowman makes a sweet handmade gift, and small versions turn into holiday cards in no time.
If you only do one thing: Mix white with a tiny dot of blue and a speck of black, and paint it along one side of every snowball. That single shadow is what makes your snowman look round.
What you’ll need
- A canvas, 8×10 or 12×16 works great. A canvas pack lets you paint a whole snowman family or practice first.
- Beginner acrylic paint set with blue, white, black, red and orange. You’ll use more white than anything else.
- A blending brush set with a 1 inch flat for the sky, a medium round for the snowman and a liner for details.
- A sponge blending set for soft, puffy snow texture (optional).
- A white gel pen or fine-tip paint pens for snowflakes and scarf patterns.
- Gesso if your canvas is raw, a pencil, a water cup and paper towels.
The secret: white isn’t just white
Snow reflects the sky, so its shadows lean blue. If you shade a snowman with plain gray, it looks dirty. Shade it with blue gray, and it looks fresh and cold.
| Spot | Mix | How much |
|---|---|---|
| Lit side | Pure white | Thick, last layer |
| Shadow side | White + dot of blue + speck of black | A crescent on one side |
| Under each ball | Same mix, a little darker | Thin band at the bottom |
| Snow on the ground | Blue gray under the snowman | Short horizontal strokes |
Pick one light direction (say, the upper left) and keep every shadow on the opposite side. That consistency is what sells it.
The 8 steps at a glance
| Stage | Time to paint | Dry time (approx.) |
|---|---|---|
| Gesso | 5 min | 20 to 30 min |
| Sky gradient | 15 min | 10 to 15 min |
| Sketch | 5 min | none |
| Snowman coats | 20 min | 10 min per coat |
| Hat, scarf, face | 20 min | 15 min |
| Snowflakes and drifts | 15 min | 1 hour or more for thick paste |
Thin paint dries fast and thick paint dries slow, so adjust for your room.
Step-by-step: easy snowman painting
Step 1: Prep your canvas

If your canvas is raw, add a thin coat of gesso and let it dry. Pre-primed canvases are ready to go. An 8×10 is quick and cozy, a 12×16 gives you room for a snowy background or a second snowman.
Step 2: Paint a soft sky gradient
Start at the top with blue mixed with a little white. Work down in long horizontal strokes, adding more white as you go so the sky fades lighter near the horizon. For a twilight sky, blend in a touch of purple or pink at the bottom.
Let it dry for about 10 to 15 minutes before moving on.
Step 3: Sketch the snowman
Lightly sketch three stacked circles: big on the bottom, medium in the middle, small for the head. Let them overlap a little so the snowman looks squished together, the way real snowballs settle.
Add a hat shape on top and a scarf where the head meets the middle ball. Tilt the hat or the head a little for personality.
Step 4: Paint the snowman
Fill each circle with white. Acrylic white is usually a bit see-through, so plan on 2 to 3 thin coats, letting each one dry for about 10 minutes.
On the final coat, paint the shadow side with your blue gray mix while the white is still wet, and soften the edge with a clean, damp brush.
Thin coats beat one thick coat every time. Thick white stays tacky and lifts when you paint the scarf over it.
Step 5: Hat and scarf
Paint the hat black. Add a band of red or green if you like. Paint the scarf red, then use a liner brush or paint pen for stripes, dots or a little fringe at the ends.
A darker red along the bottom edge of the scarf, where it tucks under the chin, adds instant depth.
Step 6: Add the face
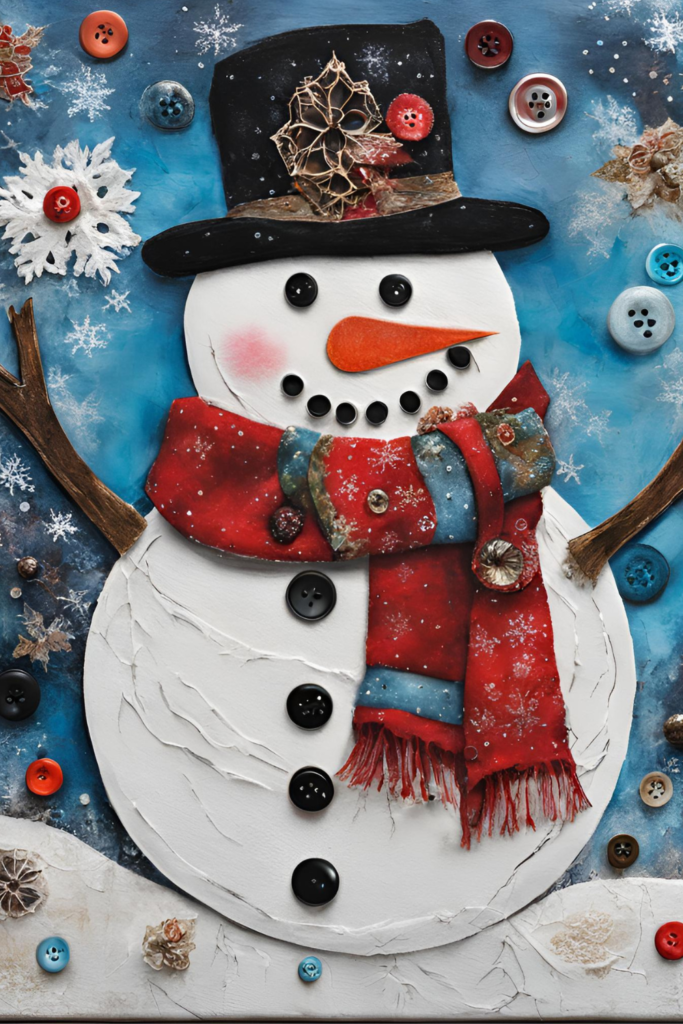
Dot in two black eyes with the tip of a brush handle. Paint an orange carrot nose as a long, thin triangle, with a slightly darker orange line along the bottom. Make a curved smile of small black dots, then add coal buttons down the middle ball.
A tiny white dot in each eye makes your snowman look friendlier.
Step 7: Snowflakes
Dip the end of your brush handle in white and dot snowflakes across the sky, bigger near the bottom and smaller toward the top. Add a few star-shaped flakes with a white gel pen. A light touch of glitter on wet paint is fun if you like sparkle.
Step 8: Final highlights and snowdrifts
Add a bright white highlight on the lit edge of each snowball. For dimensional snowdrifts, scoop a little modeling paste or thick white onto the ground with a palette knife and shade the underside with blue gray.
Let everything dry fully before you display or gift it.
Troubleshooting: quick fixes
- thin white coats
- blue gray shadows
- one light direction
- slightly overlapping balls
- one thick coat
- plain gray shadows
- shadows on both sides
- perfect separate circles
| Problem | Why it happens | Fix |
|---|---|---|
| Snowman looks flat | No shadow side | Add the blue gray crescent |
| Sky shows through white | Only one coat | Add 1 or 2 more thin coats |
| Scarf color bleeds | White underneath still wet | Wait 10 minutes, repaint |
| Wobbly circles | Freehand nerves | Trace a lid or cup lightly |
| Dirty looking snow | Gray made with black only | Mix in a dot of blue |
Make it yours: 5 snowman versions
| Version | What changes | Good for |
|---|---|---|
| Classic | Black hat, red scarf, blue sky | First painting |
| Scandinavian minimal | Pale sky, gray scarf, no outlines | Neutral decor |
| Night sky | Navy sky, moon, metallic stars | Evening glow |
| Snowman family | Three sizes side by side | Family gifts |
| Kid-friendly | Big shapes, sponge snow, stickers | Painting with kids |
A few more fun twists:
- Mixed media: glue on a fabric scarf or real buttons once the paint is dry.
- Metallic sky: blend a little metallic silver into the sky gradient.
- Gold accents: dot a few gold foil accents on the hat band or snowflakes.
- Embrace the wobble: a slightly crooked snowman has more charm than a perfect one.
Investment pieces worth it
If snowmen turn into a yearly tradition (or a stack of holiday gifts), these upgrades make painting more comfortable. Everything above works without them.
MEEDEN Versatile Studio H-Frame Easel (around $165). Holds your canvas steady and upright, so circles are easier to judge and you’re not hunched over a table. Worth it if you paint more than a few times a month. Skip it if you paint small cards flat on a desk.
Daylight Company Lumi Task Lamp (around $195). With a 95+ CRI, it shows the difference between your white, soft white and blue gray clearly, even on dark winter evenings. Worth it if most of your painting happens after dinner. Skip it if you paint by a bright window. Over three years of weekly sessions, that’s about $1.25 a session.
The takeaway
An easy snowman painting comes down to thin white coats and one blue gray shadow on the same side every time. Do that and even a wobbly snowman looks round and wintry. Paint one for you and a few to give away.
Which version are you painting first: classic, night sky or a whole snowman family? Tell me in the comments, and save this pin for your next holiday craft day.