This post contains affiliate links. If you buy through them, I may earn a small commission at no extra cost to you.
Why does painted snow so often look like flat white paper with a few gray smudges? Because the snow you’re picturing isn’t white at all.
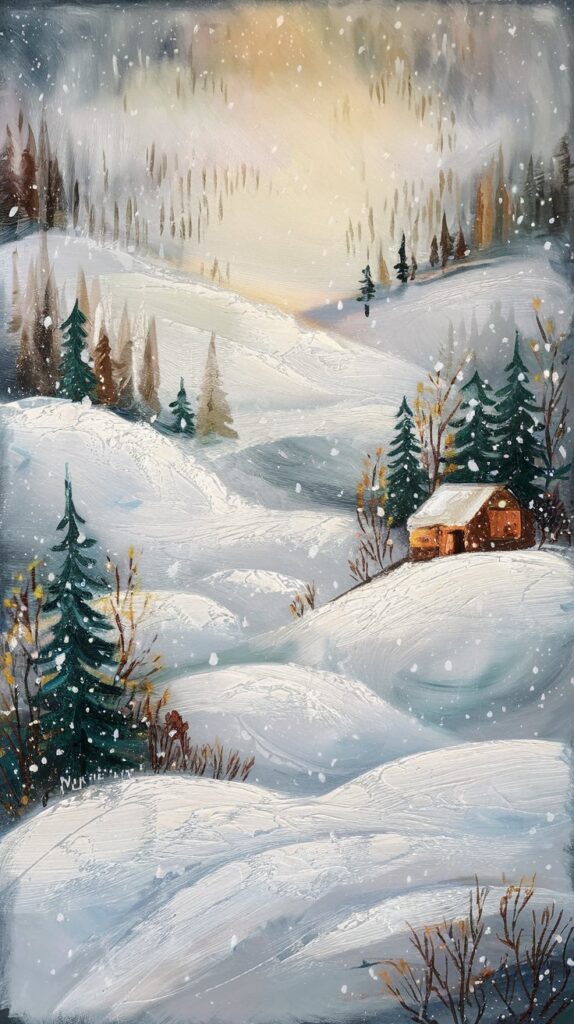
Here’s my take: snow is a mirror for the sky, so the secret to believable snow is painting its shadows blue, and leaving everything else alone. The white of the paper does the heavy lifting. Your job is to protect it and give it soft, cool shadows that tell the eye where the light is coming from.
This 9-step tutorial walks you through a quiet winter scene: a pale sky, rolling hills, a line of trees and one small warm focal point. It’s October, which makes this the perfect time to paint a few. They make lovely handmade holiday cards and gifts.
If you only do one thing: decide where your brightest whites are before you touch paint, and don’t paint there. You can always add color to white paper. Getting clean white back is much harder.
What You’ll Need
Nothing fancy here. Cotton paper is the one upgrade that changes the result most.
- Paper: 140 lb (300 gsm) cold-press, ideally 100% cotton like Arches cotton watercolor paper. A budget option is this cold-press watercolor paper for practice rounds.
- Paint: cerulean blue, ultramarine blue and a neutral gray. Any artist-grade watercolors with those colors will work. Add one warm color (burnt sienna or a soft orange) for your focal point.
- Brushes: rounds in sizes 2, 6 and 10 (a good round brush is the workhorse), plus a 1-inch flat wash brush for the sky.
- Extras: white gouache or white ink, table salt or coarse salt, painter’s tape, an HB pencil, a palette, an old toothbrush and paper towels.
- Optional: masking fluid to save snowy branches and fence tops, plus a rubber cement eraser to pick it up cleanly.
Plan Your Values Before You Paint
Snowy scenes live or die on value (how light or dark each area is). If everything is medium, the painting looks foggy. If you plan four simple steps from light to dark, it glows.
Squint at your sketch and assign each shape one of these four values. The sunlit snow should be the largest shape on the page, and your darkest darks should sit right next to it near the focal point. That contrast is what makes the snow sparkle.
Snow Shadow Colors at a Glance
Shadows on snow pick up the color of the sky, which is why they read as blue or violet instead of gray. Use this as a cheat sheet when mixing.
| Light | Shadow color | Mix idea |
|---|---|---|
| Bright sun | Clear sky blue | Cerulean + lots of water |
| Overcast | Soft blue-gray | Ultramarine + gray |
| Dusk | Lavender | Ultramarine + a touch of rose |
| Night | Deep blue-violet | Ultramarine + gray, less water |
Mix your shadow color once and keep a puddle of it on the palette. Using the same shadow mix everywhere makes the whole scene feel lit by one sky.
The 9 Steps
Here’s the whole process at a glance. Total time is about 60 to 90 minutes, most of it waiting for paint to dry.
Step 1: Set Up Your Paper
Tape all four edges of your paper to a board with painter’s tape. The tape keeps the paper flatter as it gets wet and leaves a crisp white border, which looks great on a card.
Prop the top of the board up about 1 to 2 inches so it sits at a slight tilt. Washes will flow gently downward instead of pooling. A tilted board makes this easy, but a book under one edge works too.
Step 2: Sketch the Big Shapes
Use an HB pencil and press lightly. Draw the horizon line about one third of the way up or down the page (never right in the middle), the curve of two or three hills and a few marks for where trees and your focal point will go.
Keep it loose. Pencil lines show through watercolor, so a simple map is plenty.
Step 3: Paint the Sky
Wet the sky area with clean water using your flat brush. When the paper has an even shine, drop in cerulean blue at the top and let it soften as you move down toward the horizon. Add more water as you go so the sky fades to nearly white at the hills.
Let it dry completely, about 15 to 20 minutes. If you’re new to reading how wet your paper is, the shine scale in my watercolor techniques for ethereal paintings guide explains it.
Step 4: Paint the Hills
Mix gray with a little ultramarine for the distant hills. Paint only the shadowed side of each hill and the line where one hill overlaps another. Leave the sunlit tops as bare white paper.
Soften the bottom edge of each shadow with a damp brush so it fades into the snow. Hard edge on top, soft edge below is what gives hills that rounded, drifted shape.
Step 5: Add the Trees
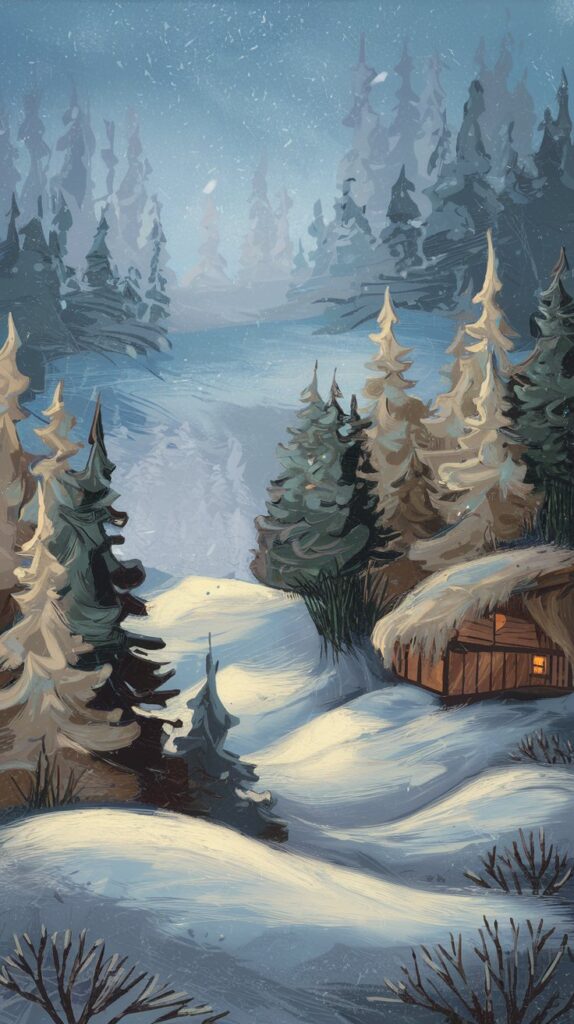
Paint the farthest trees first, pale and bluish, with the tip of your size 6 round. As trees come closer, make them darker, larger and more detailed. This is atmospheric perspective: distance makes things lighter, cooler and softer.
For evergreens, start at the tip and wiggle the brush side to side as you move down, pressing harder toward the base. Leave little gaps of white on the tops of branches to suggest snow.
Step 6: Sprinkle Salt While It’s Damp
While a shadowed snow area or the sky is still damp (satin sheen, not glossy), sprinkle a pinch of salt. As it dries, each grain pulls pigment away and leaves a tiny starburst that looks like falling or drifting snow.
Wait until it’s bone dry, then brush the salt off. Coarse salt makes bigger flakes, table salt makes fine sparkle.
Step 7: Add a Warm Focal Point
A snowy scene in all blues can feel cold in the wrong way. Add one small warm spot: a cabin with a glowing window, a red barn, a wooden fence or a tiny figure in a red coat.
Place it near where your darkest darks meet your whitest whites. Want a little story? Add a curl of chimney smoke with a pale gray wash softened at the edges.
Step 8: Make It Snow
Once everything is dry, load an old toothbrush with white gouache or white ink thinned to the consistency of milk. Hold it over the painting and run your thumb across the bristles to flick fine dots.
Cover any area you want to keep clean (like the sky right above your cabin) with a scrap of paper. Test on a scrap first, since a too-wet mix makes blobs instead of flakes. Then add a few bigger dots by hand with the tip of your size 2 brush.
Step 9: Remove the Tape
Make sure the painting is fully dry. Peel the tape slowly at a low angle, pulling away from the painting. If it starts to lift the paper, warm the tape with a hairdryer for a few seconds to soften the adhesive and try again.
That clean white border frames the scene for a card or mat.
Approximate Timing
Drying times depend on your room’s humidity and how wet you work, so treat these as rough guides.
| Stage | Active time | Drying time |
|---|---|---|
| Setup and sketch | 10 min | None |
| Sky wash | 5 min | 15 to 20 min |
| Hills and trees | 15 to 20 min | 10 to 15 min |
| Salt texture | 2 min | 15 min, then brush off |
| Focal point and snow | 10 to 15 min | 10 min before peeling tape |
Common Mistakes and Quick Fixes
| Problem | Why it happens | Fix |
|---|---|---|
| Snow looks gray and dull | Shadows mixed with black or too much gray | Use blue or violet shadows |
| Hard ring in the sky | Added paint to a drying wash | Wait until dry, or rewet the whole sky |
| Salt did nothing | Paper was too wet or too dry | Sprinkle at a satin sheen |
| White gouache looks chalky | Mix too thick | Thin to milk consistency |
| Tape tore the paper | Peeled too fast or while damp | Low angle, slow, hairdryer if stuck |
Make It Yours
Once you’ve painted the basic scene, try one of these variations:
- Snowy night: a deep ultramarine sky, a pale moon lifted out with a damp brush and glowing yellow windows.
- Birch grove: leave tall white trunks as bare paper and add dark horizontal marks for the bark.
- Winter sunrise: a peach-to-lavender sky with lavender snow shadows from the dusk row in the cheat sheet.
- Holiday card set: paint four small scenes on one sheet, about 5 by 7 inches each, then cut them apart and fold them over cardstock.
- Add a bird: a tiny red cardinal on a fence post is the cheeriest focal point there is.
Investment Pieces Worth It
You can paint this whole scene with a modest kit. If you find yourself painting winter scenes every weekend, these are the upgrades I’d consider.
A professional paint set. The Schmincke Horadam 24 half-pan metal box (around $157) has clean, single-pigment blues that stay luminous instead of turning chalky. Paint twice a week for two years and that’s about $0.75 a session. Worth it if you’re hooked on watercolor. Skip it if you’re still testing the waters; a student set will carry you through your first few dozen paintings.
A travel tin for plein air sketches. The Winsor & Newton Professional Complete Travel Tin (around $143) is compact enough to paint a real winter view from a car window or a cozy cafe. Worth it if you like painting on location. Skip it if you only paint at your desk.
Good daylight at your table. Short winter days make color mixing tricky. A Daylight Company Lumi Task Lamp (around $195) has a 95+ CRI, so your blues look the same at 4 pm as they do at noon. Worth it if you paint mostly in the evening. Skip it if your table sits by a bright north window.
Ready for a figure in the snow? My winter reflective portrait watercolor tutorial uses the same blue shadows and salt texture with a person and her reflection on the ice.
The Takeaway
Believable snow comes from blue shadows, protected whites and one warm spot of color. Plan your four values, let each layer dry, and the paper will do most of the work for you.
What’s going in your snowy scene: a cabin, a barn or a little red cardinal? Tell me in the comments. And save this to your winter painting board for holiday card season.
Keep going: