This post contains affiliate links. If you buy through them, I may earn a small commission at no extra cost to you.
Why does one little red bird on a snowy branch feel so warm? Because that splash of red is doing all the work, and once you know how to mix it, you can paint this scene in one afternoon.
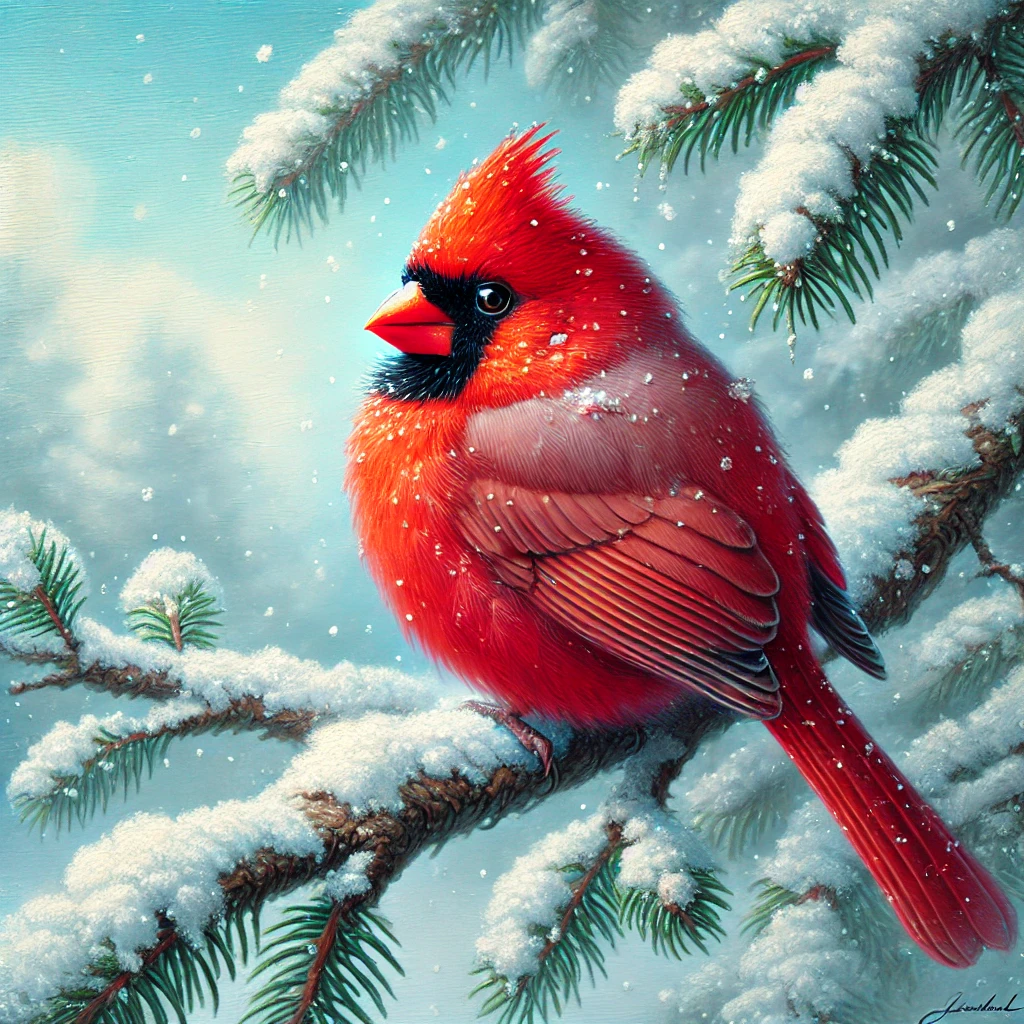
A cardinal painting looks fancy, but it’s built from simple shapes: a soft gradient sky, a few dark branches, and two egg-shaped birds. My take after painting plenty of winter birds: the red is easy, the snow is where paintings succeed or fail. Snow that’s pure flat white looks like paper. Snow with a little blue in the shadows looks cold, soft and real.
October is a lovely time to start this one. A finished 8×10 makes a handmade holiday gift, and a small 5×7 version scans beautifully for holiday cards.
Quick answer: Paint the sky first in blue fading to white, add dark branches with a white line of snow on top, then paint the cardinal in three reds (body, shadow, highlight) with a black mask around the beak. Shade the snow with a pale blue gray, never plain gray.
What you’ll need
You don’t need much. A basic set of student acrylics covers every color in this tutorial.
- A canvas or canvas panel, 8×10 or 11×14 is a comfy size. A canvas pack lets you practice a few birds before the “real” one.
- Beginner acrylic paint set with red, orange, yellow, blue, burnt umber, black and plenty of white. If you go through white fast (you will), a larger acrylic paint set is good value.
- A blending brush set with a 1 inch flat, a medium filbert and a small round or liner.
- A palette knife set for chunky snow on branches.
- Fine-tip paint pens for eye catchlights and tiny snowflakes (optional, very handy).
- Gesso if your canvas is raw, a reference photo of a cardinal, a pencil, a cup of water and paper towels.
Know your cardinal before you paint it
Getting the colors right is what makes people say “oh, a cardinal!” from across the room. Here’s what the northern cardinal actually looks like.
| Feature | Male | Female |
|---|---|---|
| Body | Bright red all over | Warm tan to soft brown |
| Wings, tail, crest | Red, slightly deeper | Brown with red tinges |
| Face mask | Black, crisp | Gray to black, paler |
| Beak | Red-orange, cone shaped | Orange, cone shaped |
| Crest | Pointed, upright | Pointed, upright |
Painting a pair is my favorite version. The bright male and the soft female balance each other, and the female lets you show off subtle warm browns.
Mixing your three cardinal reds
Most beginner sets have one tube red. That’s fine. You’ll make three versions of it so the bird looks round instead of like a red sticker.
| Mix | Recipe | Where it goes |
|---|---|---|
| Body red | Red + a touch of orange | Chest, head, back |
| Shadow red | Body red + a touch of burnt umber or alizarin | Under the belly, wing, tail |
| Highlight red | Body red + orange or a dot of yellow | Top of head, top of chest |
| Beak orange | Orange + a little red | The cone beak |
| Snow shadow | White + a tiny dot of blue + a speck of umber | Shadow side of snow |
Never darken red with black. It turns brown and dull fast. Burnt umber or a deeper red keeps the shadow warm and glowing.
The 8 steps at a glance
| Stage | Time to paint | Dry time (approx.) |
|---|---|---|
| Gesso | 5 min | 20 to 30 min |
| Sky gradient | 15 min | 15 to 20 min |
| Branches | 15 min | 15 min |
| Cardinals | 30 to 45 min | 20 min |
| Details and snow | 20 min | 1 hour |
| Varnish | 10 min | after full cure |
Drying times depend on how thick your paint is and how humid your room is, so treat these as a guide.
Step-by-step: painting cardinals in snow

Step 1: Prep your canvas
If your canvas is raw, brush on a thin coat of gesso and let it dry. Most store-bought canvases come pre-primed, so you can skip this. A light pencil line where your branch will sit helps you plan where the birds land.
Step 2: Paint the sky-to-snow gradient
Load a 1 inch flat with blue mixed with white. Start at the top and work across in long horizontal strokes. As you move down, add more white to your brush so the color fades to almost pure white near the bottom.
Blend where the bands meet while the paint is wet. If it starts to drag, mist lightly with water or move on. You can always glaze a second coat once it’s dry.
Step 3: Add the snowy trees and branches
Mix brown with a little black for a deep, cool branch color. Paint your main branch first with the side of a filbert, then pull thinner twigs outward, lifting pressure so they taper.
Once dry, lay a line of white along the top of every branch, since that’s where snow settles. Use a palette knife for chunkier snow on the main limb. Leave a few spots bare so it looks like real snow cover.
Step 4: Sketch the cardinals
With your reference photo nearby, sketch each bird lightly in pencil. Start with an egg shape for the body, a smaller circle for the head, a triangle for the crest and a long wedge for the tail. Perch the feet right on the snowy branch.
A pair works nicely with the male slightly higher and the female facing him.
Step 5: Paint the cardinals
Fill the male with body red. Add shadow red under the belly, along the wing and down the tail while it’s still wet, and soften the edge where they meet. Touch highlight red on the top of the head and chest.
Paint the black mask around the eye and beak base, then the coral cone beak. For the female, use warm tan with a little red on the wings, tail and crest, a paler gray mask and an orange beak.
Finish each bird with a little white along the back where snow would catch.
Step 6: Add details and texture
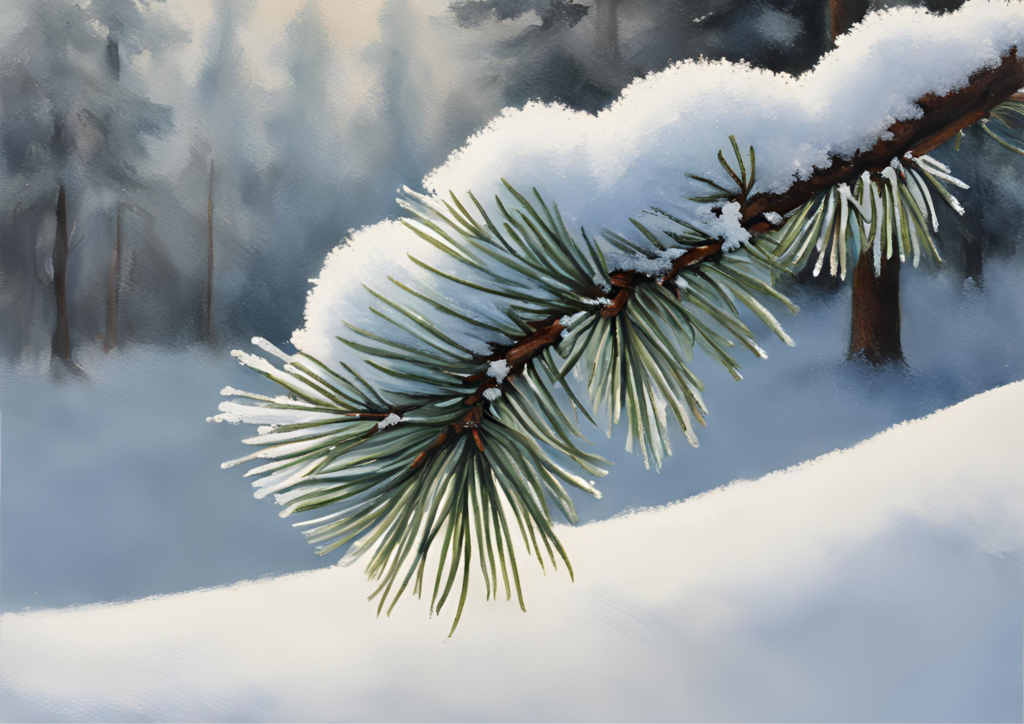
Use a small round with slightly darker red to flick a few short feather lines on the wing. Dot in a black eye and add a tiny white catchlight with a paint pen. That one dot makes the bird look alive.
Now shade the snow. Brush the snow shadow mix along the bottom edge of the snow on each branch. The white on top stays bright, the blue gray underneath makes it look thick.
Step 7: Snowflakes
Dip the end of your brush handle in white and dot snowflakes across the sky. Vary the size: bigger dots near the bottom, tiny ones near the top. For a soft flurry, flick a stiff brush with thinned white.
Test the flick on paper towel first. One overloaded flick can leave a white blob right on your cardinal’s face.
Step 8: Dry and varnish
Let the painting dry fully. A satin acrylic varnish adds a gentle sheen and protects the colors. Thick paint can take a few days to cure, so check the label on your varnish for wait times. A matte sealant spray works if you prefer no shine.
Troubleshooting: quick fixes
- blue gray shadows
- bright tops
- uneven edges
- a few bare spots
- flat pure white
- gray shadows
- even lines
- snow everywhere
| Problem | Why it happens | Fix |
|---|---|---|
| Cardinal looks flat | One red only | Add shadow red under belly and tail |
| Red looks pink | Too much white mixed in | Use orange or yellow to lighten |
| Muddy brown shadows | Black mixed into red | Repaint with umber or alizarin |
| Streaky sky | Paint dried mid-blend | Let dry, glaze a thin second coat |
| Bird floats above branch | Feet don’t overlap | Paint snow over the toes |
Make it yours
- Holiday card version: paint on a 5×7 panel, scan it and print cards.
- Night scene: deep navy sky, a pale moon and warmer highlights on the birds.
- Berry branch: add red winterberries or holly for extra color.
- One bird only: a single male on a fence post is quick and graphic.
- Gold touch: a few gold foil accents on snowflakes makes it festive.
Investment pieces worth it
If winter birds become a habit (they tend to), these upgrades make every painting session easier. None are required.
MEEDEN Heavy-Duty H-Frame Studio Easel (around $220). Solid beech and steady enough that dabbing snowflakes won’t wobble the canvas. Worth it if you paint weekly and want to stand at your work. Skip it if you mostly paint small panels at a table. Over two years of weekly sessions, that’s about $2 a session.
Daylight Artist Studio Lamp (around $275). A 95+ CRI lamp shows your reds the way they’ll look in daylight, which matters a lot when you’re judging red versus pink. Worth it if you paint after dark in winter. Skip it if you have a bright north window.
MEEDEN Rolling Art Supply Cart (around $158). A solid beech taboret that keeps paint, water and brushes right at hand beside your easel. Worth it if you set up and tear down often. Skip it if you have a dedicated table already.
The takeaway
Cardinals in snow come down to three reds and a blue gray shadow. Get those right and even a simple branch looks like a winter card. Paint a pair, give one away, keep one for your mantel.
Will you paint the bright male, the soft female, or the pair together? Tell me in the comments, and save this pin for your holiday card painting day.