This post contains affiliate links. If you buy through them, I may earn a small commission at no extra cost to you.
A blending stump costs about as much as a cup of coffee, yet it decides whether your shading looks like smooth skin or a smudged window. So why do most of us grab whichever one is rolling around the bottom of the pencil cup?
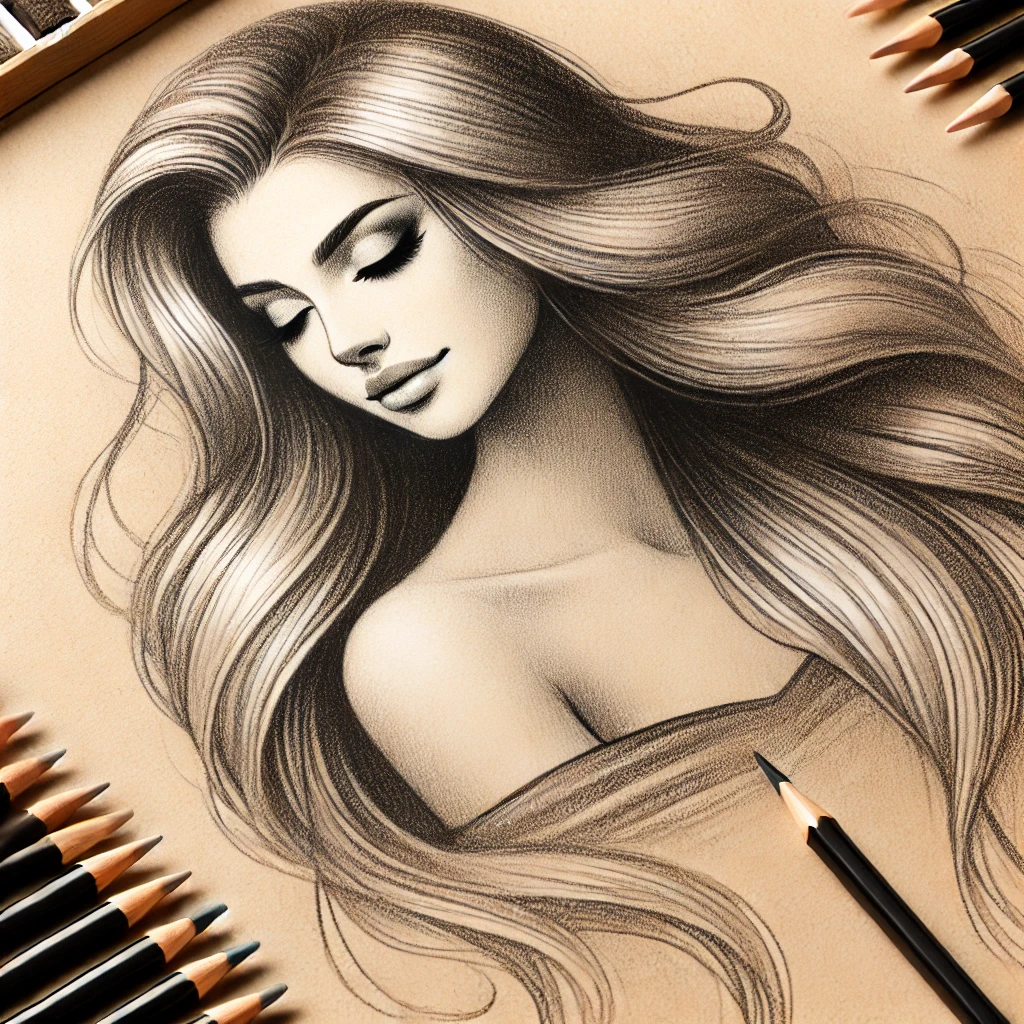
Here’s my take: the size of your stump matters more than the brand. A great stump in the wrong size leaves streaks, and a basic stump in the right size gives you a smooth gradient. Pick a set with at least three sizes, keep them clean, and you’ll shade better this week.
Below are three stump picks I recommend, a size chart, the difference between stumps and tortillons, and how to clean and sharpen them so they last for years.
If you only do one thing
Label two stumps “light” and “dark” and never swap them. A stump that has touched your darkest shadows carries that pigment everywhere, and it will gray out your highlights without you noticing.
Stumps vs tortillons
They look alike, and people use the names interchangeably, but they handle very differently.
- solid pressed paper
- pointed both ends
- firm under pressure
- sands clean
- hollow rolled paper
- single point
- collapses if pressed hard
- cheaper for tiny areas
For most shading, reach for a stump. Keep a tortillon or two for eye corners, nostrils and tight spots where a stump is too fat.
The 3 best blending stumps
I’ve organized these by type of buyer instead of crowning one winner, because each one fits a different drawing style.
| Pick | Feel | Best for | Price tier |
|---|---|---|---|
| Faber-Castell stumps | Silky, smooth | Graphite portraits, skin | $$ |
| Firm compressed-paper set | Dense, slightly rougher | Charcoal, heavy pressure | $ |
| Prismacolor stumps | Softer, multiple sizes | Beginners, variety | $ |
1. Best for silky graphite: Faber-Castell
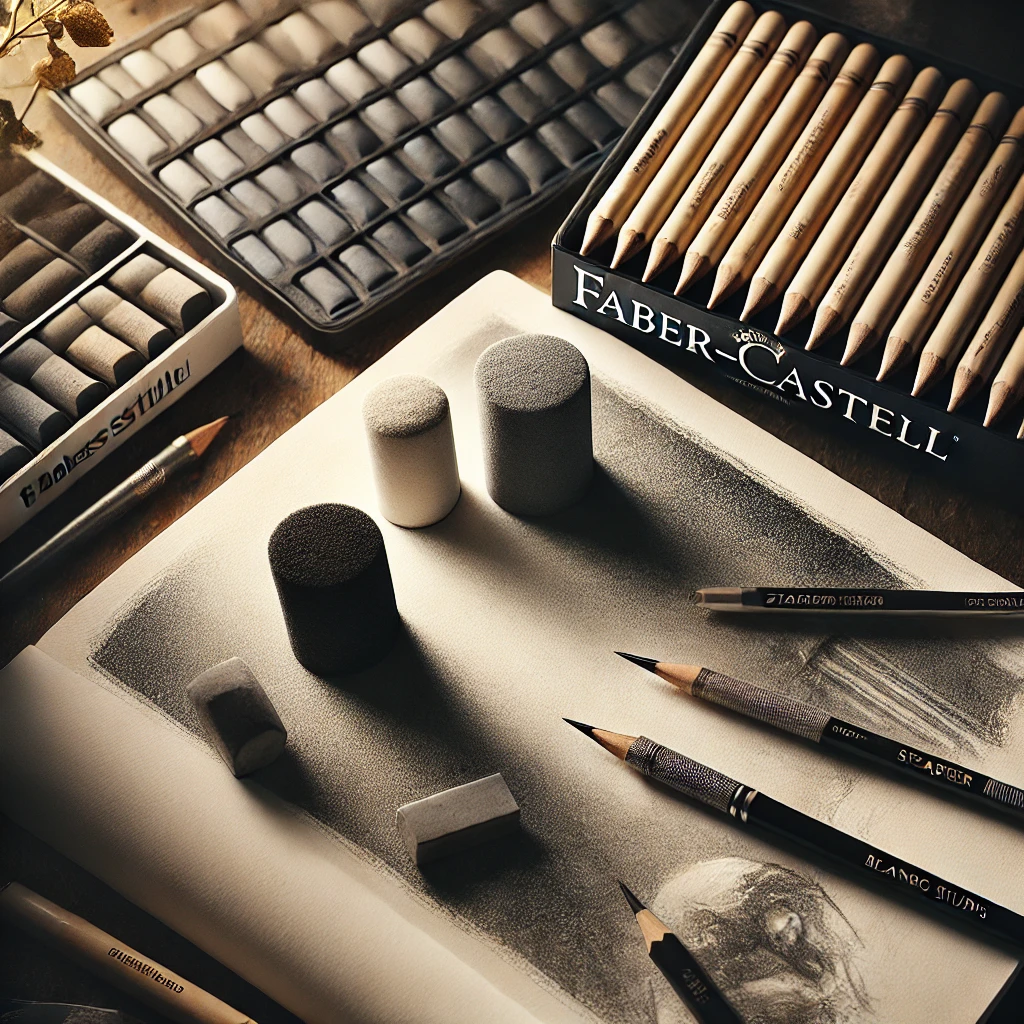
Faber-Castell blending stumps have a smooth, tightly packed surface that moves graphite into gentle gradients. They’re my favorite for skin, where any texture from the tool shows.
- Why I recommend them: smooth glide, clean points, refresh easily on a sandpaper pad
- Who should skip them: anyone on a tight budget who mostly draws loose charcoal studies
- What I look for: an even, dense surface with no loose paper fibers at the tip
2. Best for heavy charcoal work: a firm compressed-paper set
If you press hard or work with compressed charcoal, a softer stump flattens out fast. This firm stump set holds its point under pressure and has a slightly rougher surface that grabs more pigment.
- Why I recommend it: durable, keeps its shape, good for pushing darks into textured paper
- Who should skip it: artists working on very smooth Bristol who want the softest possible blend
- What I look for: firmness when you squeeze the tip between two fingers
3. Best budget variety: Prismacolor
Prismacolor blending stumps come in several sizes at a friendly price, which makes them a good first set for testing which sizes you actually use.
- Why I recommend them: affordable, a range of sizes in one pack
- Who should skip them: heavy-pressure artists, since softer stumps wear and fray faster
- What I look for: a mix of thin and thick so you can learn your favorites
Not sure which pencils to pair them with? Start with graphite vs lead pencils.
Stump size chart
Stumps are usually numbered from #1 (thinnest) to #8 (thickest). Diameters vary by brand, so treat these as approximate.
| Size | Approx. diameter | Best for |
|---|---|---|
| #1 to #2 | About 4 to 5 mm | Eye corners, nostrils, hair strands |
| #3 to #4 | About 6 to 8 mm | Lips, small forms, fabric folds |
| #5 to #6 | About 8 to 10 mm | Cheeks, foreheads, mid-size gradients |
| #7 to #8 | About 11 to 13 mm | Backgrounds, skies, large shadows |
If you’re buying just three, choose one from the small, middle and large rows. That covers almost every drawing.
How to use a stump for smooth shading
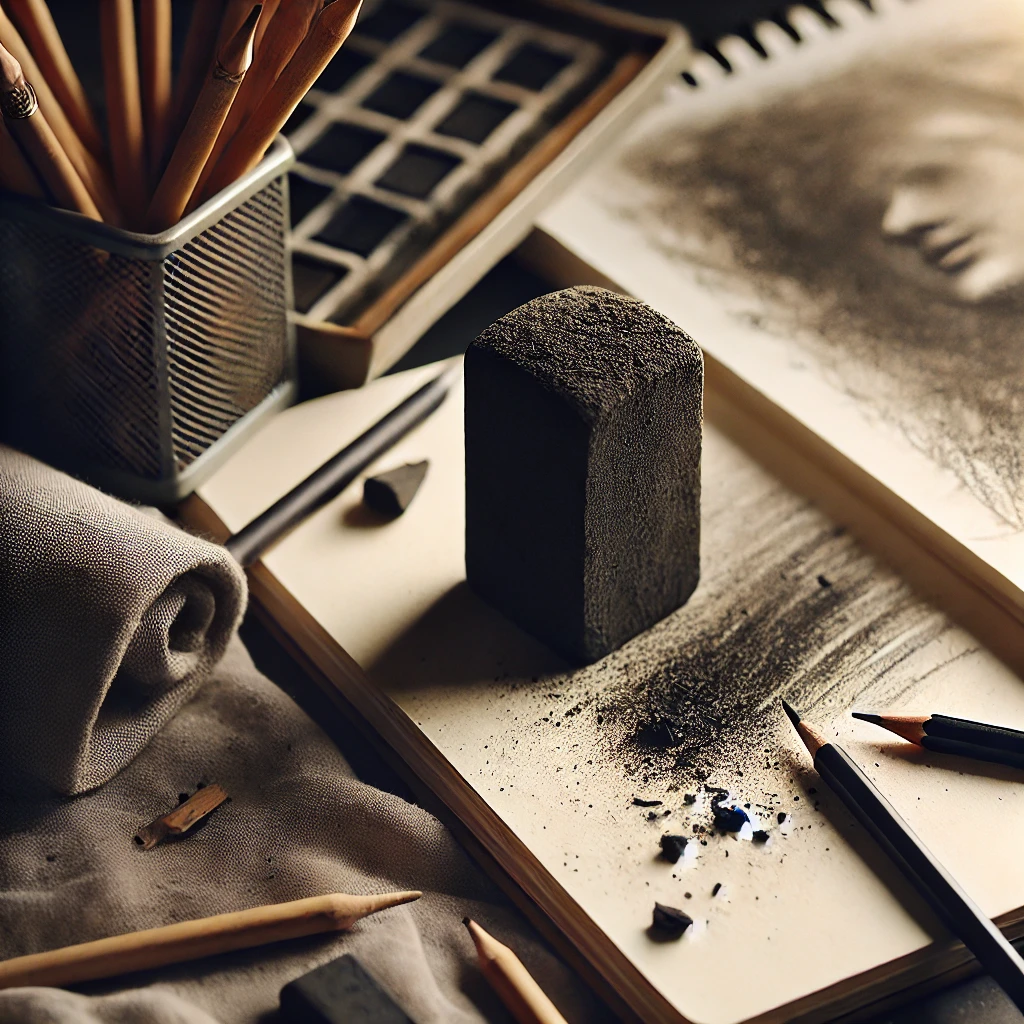
The full technique, including a gradient drill, is in how to blend charcoal like a pro, so here are only the stump-specific habits.
- Hold it low and angled. Use the side of the tip for broad areas and the very point only for edges.
- Blend from dark to light. The stump carries a little pigment into the lighter area, which is exactly what makes the transition smooth.
- Use small circles or short strokes that follow the form, not long back-and-forth swipes that leave streaks.
- Stop while some texture remains. Over-blending flattens everything to the same gray.
The dry pigment trick
Here’s a favorite: a stump can draw on its own. Rub the tip into a scribble of graphite or charcoal on a scrap sheet, then use the loaded stump to lay soft, pale tone straight onto your drawing. No pencil lines, no hard edges.
It’s perfect for:
- soft shadows under the jaw or around the eyes
- hazy backgrounds and distant shapes
- the first faint layer of skin tone before any pencil touches it
Pair it with a kneaded eraser to lift light back out. My kneadable erasers guide covers how to shape one for this.
How to clean and sharpen a stump
A dirty stump is the most common reason shading turns muddy. Cleaning takes less than a minute.
A few extra care notes:
- A small sandpaper pad (or a strip of fine sandpaper taped to a board) is all you need.
- When the tip gets too soft to sharpen, unroll one outer layer of paper with a craft knife to reveal a clean surface.
- Store stumps in a cup or pencil roll so the points don’t crush against each other.
Stump vs other blending tools
A stump isn’t always the right choice. Here’s when it wins and when something else does better.
| Tool | Choose it over a stump when | Skip it when |
|---|---|---|
| Tissue | You need soft, slightly uneven midtones | The area is tiny |
| Chamois | You’re covering a large, even area | You need edges |
| Soft brush | You want airy, barely there tone | You need dark, packed values |
| Finger | Never, really | Always (oils leave marks) |
For a deeper rundown of these tools, see the best charcoal drawing tools for artists.
Worth it upgrades for your shading setup
Stumps are inexpensive, so the bigger wins come from the space you shade in.
Daylight task lamp. Subtle gradients disappear under warm, dim light, and you end up over-blending to compensate. The Daylight Company Lumi Task Lamp is rated 95+ CRI and runs about $195. Worth it if you shade in the evening. Skip it if your drawing spot already gets steady daylight.
Tilting drafting table. Blending on a flat table makes you hunch over the paper, and your view of the gradient is skewed. The MEEDEN Extra-Large Wood Drafting Table, about 42 x 30 inches and roughly $230, keeps the page square to your eyes. Worth it if you draw for long stretches. Skip it if you mostly work in small sketchbooks.
The takeaway
The best blending stump is the right size, kept clean, and used with a light touch. Pick a set with small, medium and large sizes, keep separate stumps for light and dark areas, and sand them clean often.
Do you use stumps, tortillons, or your fingers when you shade? Tell me in the comments.
Save this to your drawing supplies board so the size chart is handy next time you shop.
[…] 2. Blending Stumps / Tortillons: Smooth Transitions and Soft Shading […]