This post contains affiliate links. If you buy through them, I may earn a small commission at no extra cost to you.
If your charcoal shading keeps turning gray and flat, the problem usually isn’t your hand. It’s the tool you grabbed and the moment you grabbed it.
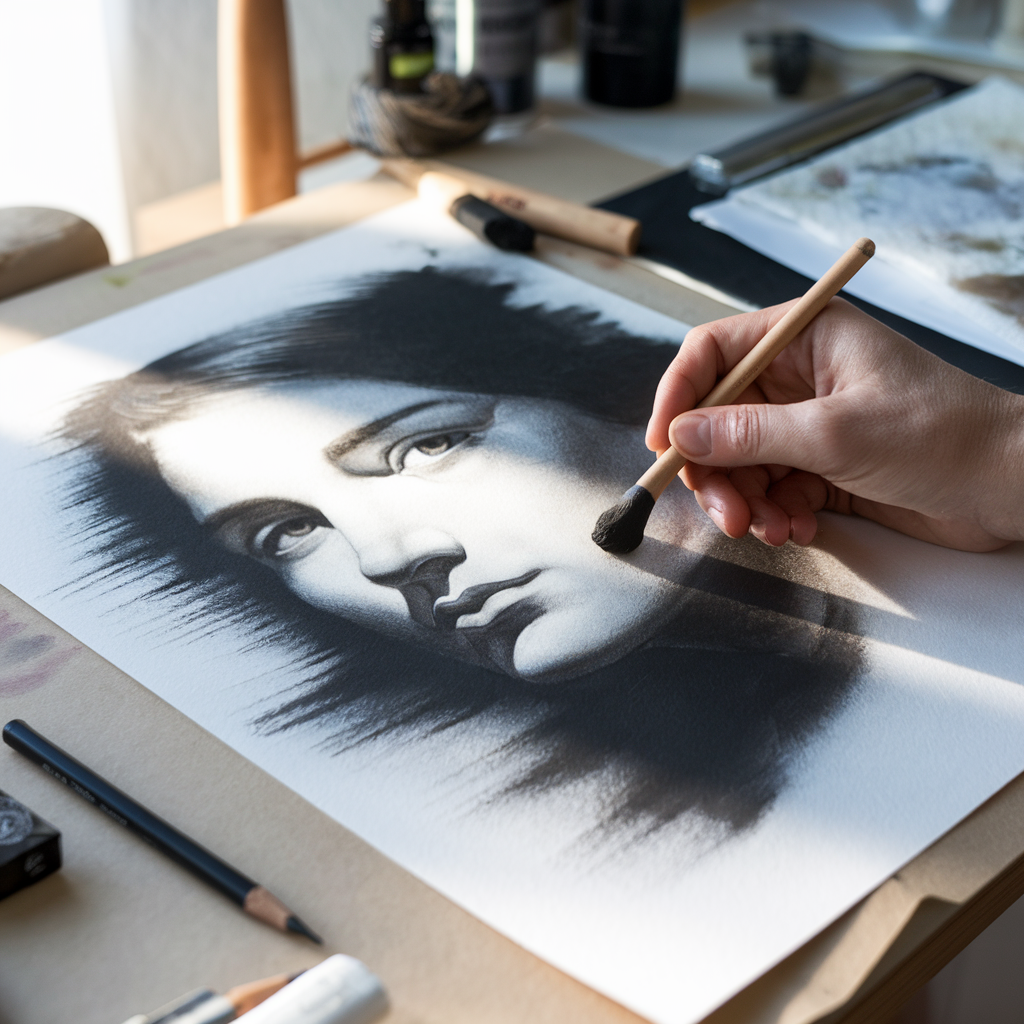
Here’s my take: great blending is mostly knowing when to stop. A drawing with a few rough, unblended passes looks alive. A drawing blended edge to edge looks like fog. The skill is matching the right tool to each area and leaving some texture on purpose.
New to charcoal? Start with the ultimate guide to charcoal drawing for the full lesson plan, then come back here for the blending deep-dive.
If you only do one thing
Put your darkest shadows down first, then blend from dark toward light with a clean stump. The stump carries just enough charcoal into the lighter areas to make a smooth transition, and you never drag gray into your highlights.
Why blending matters
Blending pushes charcoal into the tooth of the paper and softens the steps between values. That’s how a sphere looks round and skin looks soft. Without it, shading reads as hatching. With too much of it, everything flattens. You want the middle.
Your blending tools, from broad to precise
Every blending tool has a footprint. Big soft tools cover areas, small firm ones handle edges.
Blending stumps and tortillons
People use the names interchangeably, but they’re different tools:
- Stumps are solid, tightly pressed paper with a point on both ends. They’re firm, hold their shape and can be sanded clean.
- Tortillons are rolled paper, hollow inside, with a single point. They’re cheaper and great for tiny areas, but the tip can collapse if you press hard.
I keep a few sizes of stumps for most work and one or two tortillons for eyes, corners and small details. A mixed-size set like this covers both:
 Staedtler Blending Stump Set
 for Pastels, Graphite, Charcoal, Artist Blender, Pack of 4 Assorted Sizes, 5426-S BK4
Soft brushes
A soft, fluffy brush moves loose charcoal across large areas without pressing it in. It’s my favorite for skies, backgrounds and atmospheric haze. An inexpensive camel hair set works well:

Fingers
Fingers give a lovely soft blend, but skin oils can leave marks that won’t take charcoal evenly or erase cleanly. If you use them, keep it to small areas and wash your hands first. A thin cotton glove on your drawing hand helps too.
Tissue and chamois
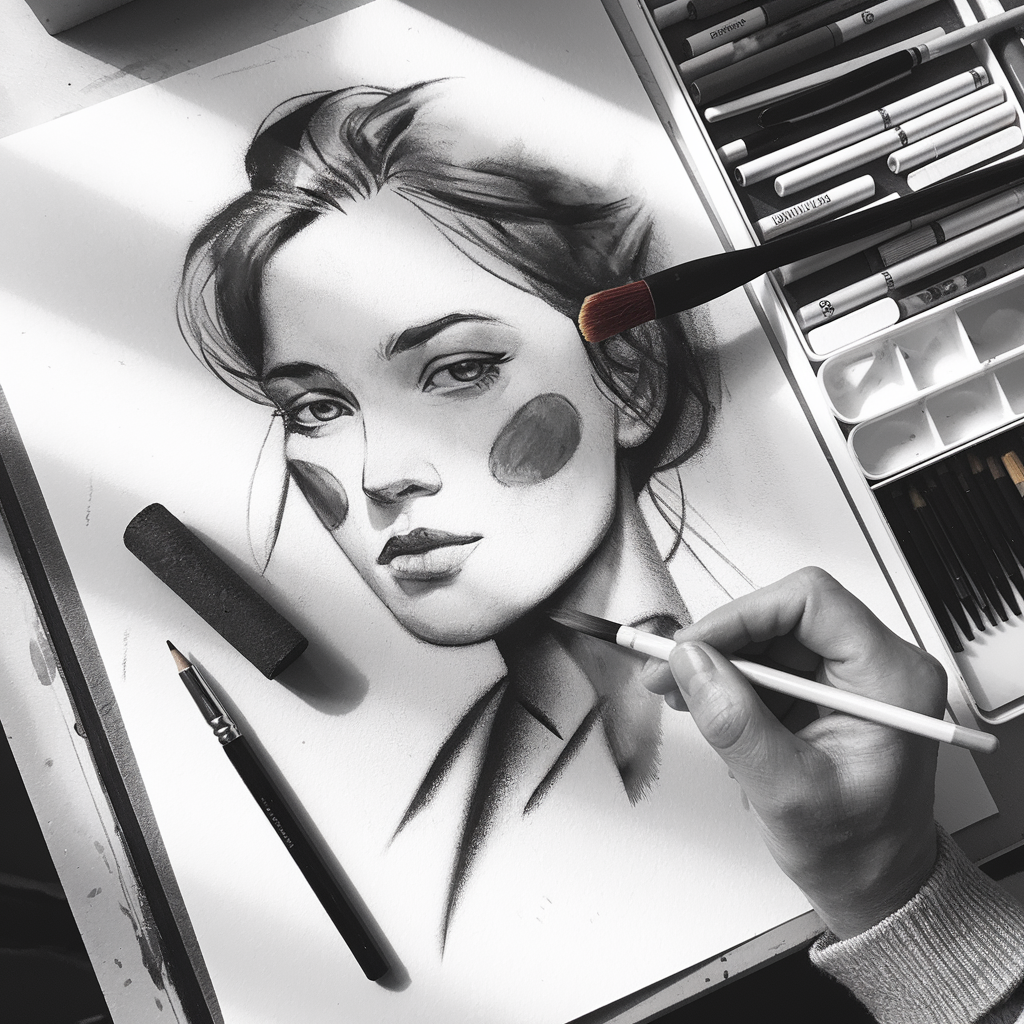
Folded tissue gives soft mid tones over medium areas. A chamois (soft leather) is smoother still and handles big areas beautifully. Shake it out often so it doesn’t redeposit old charcoal.
Kneaded eraser
The kneaded eraser is a blending tool too. Press and lift to pull charcoal out of an over-blended area or to soften an edge. Knead it until it’s clean between uses.

Blending tool cheat sheet
| Tool | Texture | Best for | Avoid when |
|---|---|---|---|
| Soft brush | Airy, very soft | Skies, backgrounds | You need a crisp edge |
| Chamois | Silky smooth | Large even tones | Small details |
| Tissue | Soft, slightly uneven | Mid tones, skin | Tiny areas |
| Stump | Firm, controlled | Gradients, forms | It’s dirty on a highlight |
| Tortillon | Fine point | Eyes, corners | Pressing hard |
| Kneaded eraser | Lifts, softens | Fixing over-blends | Rubbing back and forth |
Core blending techniques
Build in light layers
Lay down a light layer, blend, then add another. Three thin layers blend smoother than one heavy one, and you keep some paper tooth available for the final darks.
Work dark to light
Place shadows first, then blend toward the light. Your tool picks up charcoal in the dark area and deposits less and less as it moves, which creates the gradient for you.
Combine tools in one area
Brush to spread, stump to refine, kneaded eraser to lift a highlight. Switching tools inside one area is how you get a finish that looks controlled without looking stiff.
Keep your stump clean
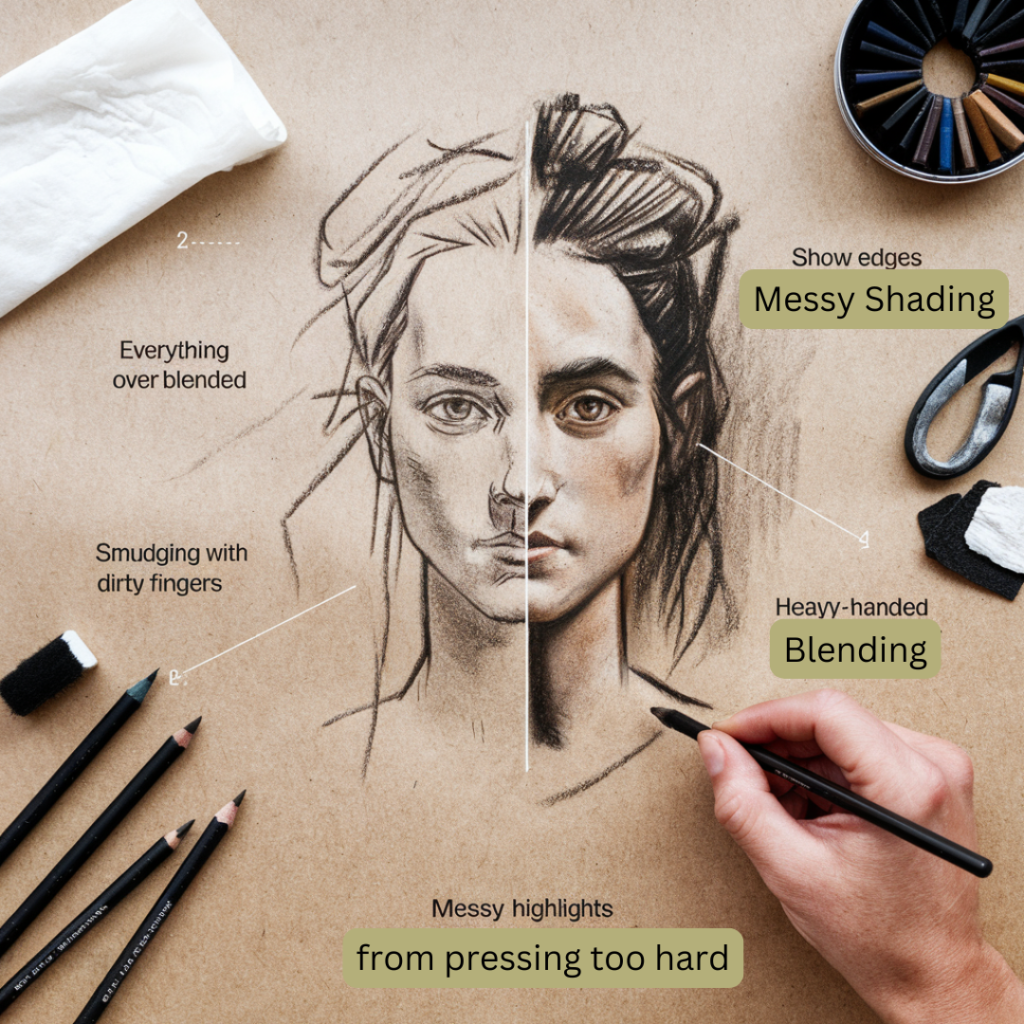
A dirty stump on a light area leaves a gray smear you can’t fully remove. Rub the tip on a sandpaper block every few minutes, and keep one clean stump only for light values.

Try toned paper with white charcoal
On a mid-tone paper, the paper itself is your middle gray. Blend the charcoal darks, then add white charcoal for highlights and blend those separately with a different stump. Never let the black and white stumps touch the same area or you get a chalky gray.

The 15-minute gradient drill
Do this before a drawing session for one week and your blending control will change.
| Minutes | What to do | What to look for |
|---|---|---|
| 0 to 2 | Draw two 1 x 6 inch strips | Straight, light outlines |
| 2 to 5 | Shade the left third dark | Even, solid darks |
| 5 to 9 | Blend strip 1 with a stump | No visible steps |
| 9 to 13 | Blend strip 2 with a brush | Softer, airier fade |
| 13 to 15 | Lift the far right end clean | Pure paper white |
You’ll notice the stump makes a richer, smoother gradient and the brush makes a softer, lighter one. Both are useful. Now you know which to grab.
Blend by subject
- Skin: tissue or a large stump for broad planes, then a small stump for the transitions around the nose and eyes. Leave a few highlights unblended so the skin doesn’t look plastic.
- Sky: soft brush or chamois only. Work in big, loose strokes and lift clouds out with the kneaded eraser.
- Fabric: blend the broad planes smooth, then leave creases crisp. The contrast between soft folds and sharp edges is what reads as fabric.
- Hair: blend the overall mass lightly with a stump, then draw individual strands over it with a sharp pencil and lift a few highlights in thin lines. Never blend the final strands.
Blended vs over-blended
- darks still rich
- some texture left
- crisp edges where forms turn
- clean highlights
- everything mid gray
- no texture anywhere
- fuzzy outlines
- gray in the highlights
Four mistakes that make charcoal muddy
- Over-blending. Stop when the transition is smooth enough to read. Then step back 6 feet before you touch it again.
- Dirty fingers or tools. Old charcoal on a stump or fingertip ends up in your highlights. Clean tools, clean hands.
- Pressing too hard. Heavy pressure burnishes the tooth flat, and then nothing blends or erases well. Use light layers.
- Skipping the kneaded eraser. Lifting light back in is half of blending. Without it, highlights get smaller and smaller.
Protect the finished blend
Blended charcoal is fragile. Spray a light coat of workable fixative outdoors or in a well-ventilated room, about 12 inches from the paper, and add a final fixative coat when you’re done. Store drawings flat with glassine on top. For more on keeping work safe, see how to store canvas, paper and sketchbooks.
Want a deeper look at supplies? The best charcoal drawing tools for artists breaks down what to buy first and what can wait.
Investment pieces worth it
Blending is a close-up, slow-detail skill. These upgrades help when you’re doing it most days.
A daylight task lamp. The Daylight Company Lumi Task Lamp (around $195) has a 95+ CRI, so subtle gray transitions look the same at night as they do in daylight. Worth it if you shade after dark or in a dim room. Skip it if you have strong window light and draw by day.
An adjustable drafting table. The Stand Up Desk Store adjustable height and angle drafting table (around $300) lets you tilt the board so you see gradients without distortion and loose dust falls away instead of being blended into the paper. Worth it if you draw at a table several times a week. Skip it if you mostly work at an easel.
An air purifier. Brushing and chamois work put fine charcoal dust in the air. The Levoit Core 400S-P (around $190) has a HEPA filter for exactly that kind of fine particle. Worth it for small or closed rooms. Skip it if you work mostly with charcoal pencils near an open window.
The takeaway
Smooth charcoal comes from the right tool in the right area: brushes and chamois for big spaces, stumps for forms, tortillons for tiny details, and a kneaded eraser to pull light back in. Work dark to light, keep your tools clean, and stop before it turns to fog.
Which blending tool do you reach for first, and which one do you avoid? Tell me in the comments. And save the gradient drill for your next warm-up.
[…] If you loved this guide, check out:➡️ The Best Paper for Charcoal Drawings➡️ How to Blend Charcoal Like a Pro […]