This post contains affiliate links. If you buy through them, I may earn a small commission at no extra cost to you.
Ever finish a portrait where every feature is in the right place, and it still looks flat as a sticker? The features are fine. The light is the part that’s missing.

Here’s what I believe: a face looks three-dimensional because of where the light lands, far more than because of how carefully you draw the eyelashes. Get the light consistent and simple, and even a loose drawing reads as a real person with a real mood.
This post is all about light: how to see it, how to place it, and how to use it for emotion. If you’re still working on head structure and feature placement, start with my portrait drawing tips, then come back here to make that face glow.
If you only do one thing
Keep every value in the shadow side darker than every value in the light side. The lightest shadow should still be darker than the darkest light. That one rule fixes more flat portraits than any new pencil.
The 6 parts of light on a face
Every lit form has the same family of values. On a face they show up in predictable places, which makes them easy to look for.
| Part of light | Where on a face | Value | Pencil |
|---|---|---|---|
| Highlight | Nose tip, brow, lower lip | Paper white | None, or lift it |
| Midtone | Forehead, lit cheek | Light gray | 2H to HB |
| Core shadow | Side of nose, jaw edge | Darkest on the form | 4B to 6B |
| Reflected light | Under the jaw, shadow cheek | Muted gray | 2B, blended |
| Cast shadow | Under the nose and chin | Dark, edge sharp near form | 4B |
| Catchlight | In both irises | Brightest spot | Eraser or gel pen |
Two notes that trip people up. Reflected light is a soft glow inside the shadow, so it stays a muted gray. And a cast shadow is sharpest right where it starts, then softens as it travels away, like the shadow of the nose falling onto the upper lip.
5 classic lighting setups (and the mood each one creates)
Photographers have named these setups for decades, and they work beautifully for drawing too. Each one is defined by where the lamp sits and the shadow shape it leaves under the nose.
A quick way to recognize each one on a reference photo:
- Butterfly: a small, symmetrical shadow right under the nose, like a little butterfly. Cheekbones glow on both sides.
- Loop: the nose shadow makes a small loop down toward the corner of the mouth without touching the cheek shadow.
- Rembrandt: the nose shadow joins the cheek shadow and leaves a small triangle of light under the eye on the dark side.
- Split: one half of the face is lit, the other half sits in shadow, with the line running down the nose.
- Rim or back light: the face is mostly in soft shadow, with a thin bright edge along the hair, cheek or shoulder.
For a first light study, I recommend loop or Rembrandt. They give you clear shadow shapes and still show both eyes.
Hard light vs soft light: what changes in your drawing
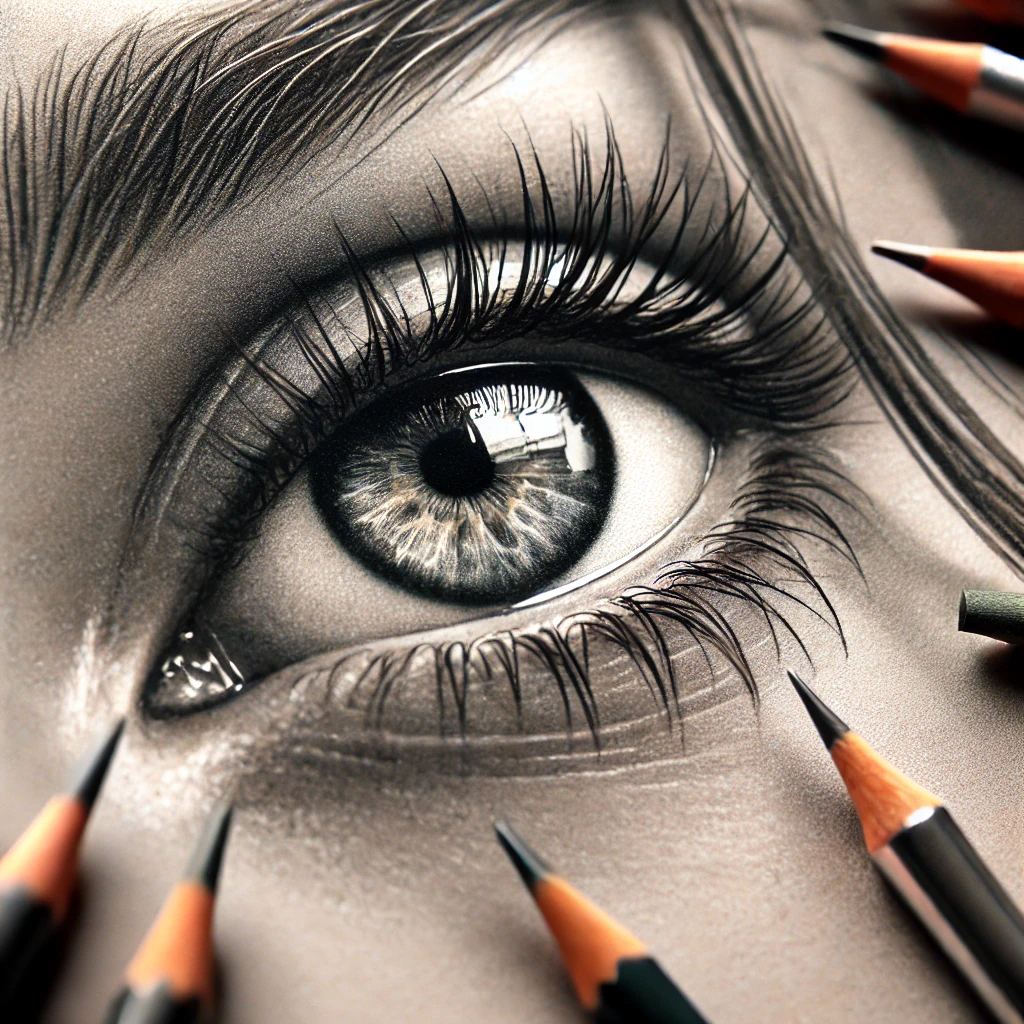
The setups tell you where the light is. Its quality tells you how the edges behave, and that changes the whole mood.
| Light type | Where shadows fall | Mood | Try it |
|---|---|---|---|
| Soft window light | Gentle, blurry edges | Calm, tender | North window, cloudy day |
| Hard lamp light | Crisp shadow shapes | Bold, dramatic | Bare bulb at 45 degrees |
| Overhead light | Deep eye sockets | Tired, serious | Ceiling light only |
| Light from below | Shadows point up | Eerie, theatrical | Lamp on the table |
| Back light | Face in shadow, bright edge | Dreamy, mysterious | Window behind sitter |
If you want a soft, emotional portrait, soft light from the side is your friend. If you want drama, a single hard lamp with deep shadow (the old masters called it chiaroscuro) does most of the work for you.
Read the planes of the face
A face is curved, but light behaves as if it were made of small flat planes. Each plane either faces the light, turns away from it, or faces down. Learn these zones and you’ll know where values change before you even look at the reference.
The biggest surprise for most people is the eye socket. Even in bright light, the eye sits back under the brow, so the whole area around it is a midtone. Keep it slightly gray, and the eyes will look set into the head instead of pasted on top.
Where light lands on each feature
Once you know the planes, the features almost shade themselves.
Eyes and catchlights
The catchlight is a tiny reflection of the light source on the wet surface of the eye. Put it in the same position in both eyes, because both eyes see the same lamp. It usually sits partly on the iris and partly on the pupil. My tutorial on how to draw a realistic eye with tears shows how to save and add these highlights.
Cheekbones
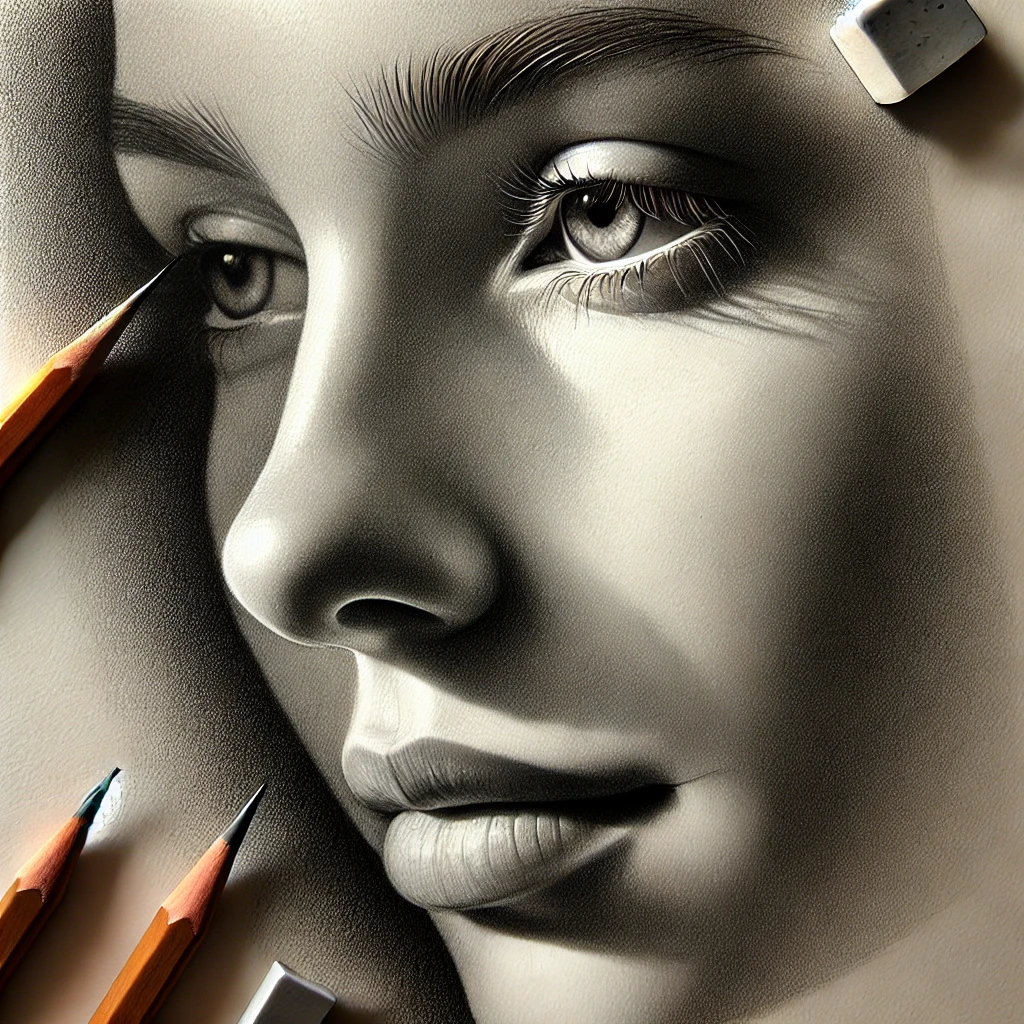
The cheekbone is where the face turns from front to side. With side light, you’ll often see a crisp highlight along the top of the cheekbone and a soft core shadow just below it. That soft transition is what makes a face look sculpted.
Nose
The bridge and tip catch light. The side away from the light holds a midtone, and the underside is one of the darkest planes on the face because it faces down. Shade the nose with these value shapes and skip outlines entirely.
Lips
The upper lip angles down, so it’s usually darker. The lower lip angles up toward the light and often has a small highlight in the center. Just below the lower lip, a small shadow tucks into the chin.
Hair
Hair is a big form first and strands second. Find the band of light where the hair bulges toward the lamp, and keep everything else in two or three simple values. My guide to drawing realistic hair with charcoal pencils breaks this down step by step.
Techniques for drawing light
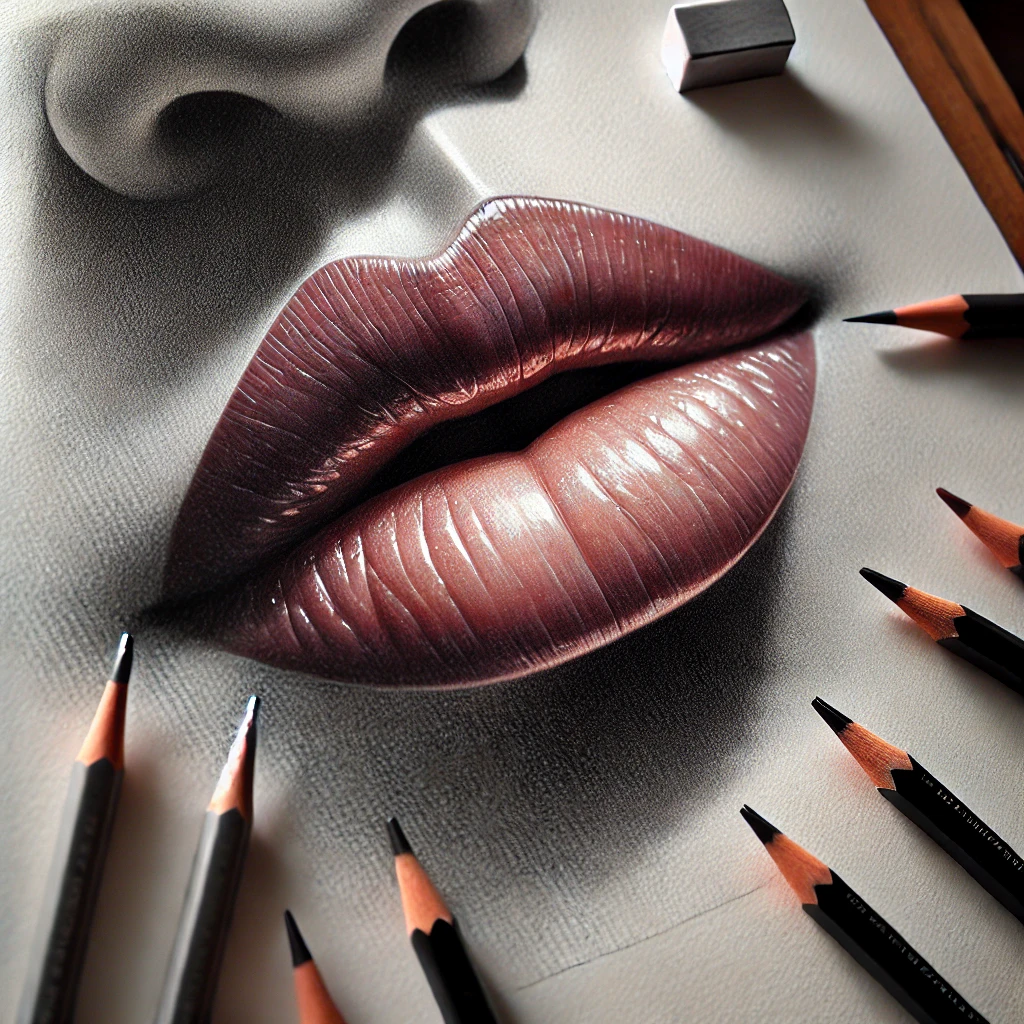
Light is mostly drawn by protecting the paper and by building darks around it. These three techniques do most of the work.
Blend soft shadows. Use a blending stump set to smooth the transition from midtone into core shadow on cheeks and forehead. Blend light to dark so you don’t drag graphite into your highlights.
Hatch along the form. Let your pencil strokes follow the curve of the surface, around the cheek and down the nose. Even after blending, the direction helps the form turn. A range of graphite pencils from 2H to 6B covers everything from the forehead to the darkest corner of the mouth.
Lift highlights. Press a kneaded eraser into the graphite to pull out soft highlights on the brow and cheekbone. For crisp highlights on lips and eyes, a precision eraser gets into tiny spaces. If you lost a catchlight completely, a white gel pen brings it back. Use it last and sparingly.
For more blending and value methods, see my guide to shading techniques for artists, and for the full portrait kit, the essential tools for drawing a realistic portrait.
Set up portrait lighting at home
You don’t need a studio. One lamp, one white surface and your phone will give you clear, consistent reference that beats most random photos online.
An adjustable LED desk lamp makes it easy to move the light up, down and around until you find loop or Rembrandt lighting. A collapsible reflector kit bounces a little light back into the shadows so they don’t go completely black. A sheet of white foam board does a similar job if you’d rather start for free.
Squint at your reference until the details disappear. You should see two clear shapes: light and shadow. If you can’t, move the lamp until you can. A confusing setup makes a confusing drawing.
Practice exercises
Try these over a week, one per sitting.
- Egg study (15 minutes). Draw an egg under one lamp. It’s the closest simple form to a head, and it teaches the core shadow and reflected light.
- Two-value face (20 minutes). Draw a portrait from your home setup using only paper white and one flat gray for shadows. No blending. If it reads as a face, your shadow shapes are right.
- Same face, three lights (45 minutes). Photograph the same person in butterfly, Rembrandt and split light. Draw three quick small studies and compare the mood.
- Feature light map (20 minutes). Draw just a nose and lips, and label where you see highlight, core shadow and cast shadow.
For expressive reference ideas, my collection of female poses for artists pairs well with exercise 3.
Investment pieces worth it
None of these are required. A cheap lamp and white board will teach you everything above. But if you draw portraits often, these are the upgrades that pay off.
A high-CRI daylight lamp. The Daylight Artist Studio Lamp (around $275) has a 95+ CRI and puts out up to 6,000 lux, so subtle grays on your paper are easy to judge. It’s for people who draw in the evening or in a room without good window light. Skip it if you mostly draw in daylight by a window.
A floor lamp to light your model or still life. The Daylight Company Anita Floor Lamp (around $245) also has a 95+ CRI and frees up your table. Used for 2 sessions a week over 3 years, that’s about $0.80 a session. Worth it if you set up live models or plaster casts. Skip it if you always work from photos.
An angled drawing surface. A tilted board keeps your drawing square to your eyes, so faces don’t come out stretched at the top. The Studio Designs Vintage Drafting Table (around $270) is a solid wood option, and your neck will thank you on long portrait sessions. Skip it if you’re happy with a tabletop easel or drawing board on your lap.
The takeaway
Realistic portraits come alive when the light is simple and consistent: one source, two clear value groups, and highlights that land on the planes facing that source. Master one setup, then use the others to change the mood.
Which lighting setup do you want to try first, Rembrandt or split? Tell me in the comments, and save this guide for your next portrait.
Keep going
- Build the head first with portrait drawing tips.
- Gather your kit with the essential tools for drawing a realistic portrait.
- Add sparkle with how to draw a realistic eye with tears.
- Deepen your values with shading techniques for artists.
- Light the hair with realistic hair in charcoal pencils.
[…] Creating a realistic portrait is an exciting challenge that combines technique, patience, and the right set of art tools. Whether you’re capturing the details of a loved one or perfecting your self-portrait, the tools you use can make a significant difference in achieving lifelike results. If you’re aiming to create a drawing that reflects depth, texture, and emotion, here are the essential art tools you’ll need to bring your realistic portrait to life. […]