This post contains affiliate links. If you buy through them, I may earn a small commission at no extra cost to you.
Ever notice how a sketch can have perfect proportions and still look nervous? The fix usually lives in your hand.

Here’s my take: most “I can’t draw” problems are grip problems. People hold a pencil the way they learned to write a grocery list, tight and close to the tip, and then wonder why every line looks stiff. Change how you hold the pencil and how hard you press, and your drawings start to look confident before your observation skills even catch up.
This post is all about the hand: grips, strokes, pressure and sharpening. If you want the theory of light and shadow, my shading techniques guide covers that. Here, we’re training the hand that does the shading.
If you only do one thing
Slide your hand back. Hold the pencil about 2 to 3 inches from the tip instead of half an inch. Your lines get longer, looser and lighter immediately, and you’ll find it much harder to press too hard.
The 4 pencil grips (and what each one is for)
You don’t need one “correct” grip. You need four, and the habit of switching between them as the drawing moves from big shapes to tiny details.
Tripod grip. The way you write: thumb, index and middle finger near the tip. Use it last, for eyelashes, edges and crisp details. It’s precise because it’s restrictive, which is exactly why it makes bad starting lines.
Extended tripod. Same fingers, but slide them 2 to 3 inches up the barrel. Move from the elbow and shoulder instead of the fingers. This is your workhorse for laying in proportions and long contour lines.
Overhand grip. Turn your hand over so the pencil lies almost flat under your palm, held between thumb and fingers. The side of the lead touches the paper, so you get wide, soft swaths of tone. It’s the grip artists use at an easel, and it works on a tabletop too.
Underhand grip. Rest the pencil in your loosely curled fingers like a conductor’s baton, palm facing up. It feels odd at first. It’s wonderful for gesture drawing and quick, airy lines, because it’s almost impossible to grip hard this way.
Choosing pencils to go with these grips? My best graphite pencil brands guide compares the sets worth buying.
Your stroke library
Every pencil drawing is built from a handful of marks. The trick is knowing which part of your arm makes each one. Fingers make short marks. Wrists make arcs. Elbows and shoulders make long, even lines.
| Stroke | How to move | Grip | Common slip |
|---|---|---|---|
| Hatching | Wrist flick, lift at the end | Tripod or extended | Hooked “tails” |
| Cross-hatching | Same flick, rotate 30 to 45 degrees | Tripod | Too many layers too soon |
| Contour hatching | Curve strokes around the form | Extended tripod | Lines that ignore form |
| Scumbling | Tiny overlapping loops | Tripod, light touch | Loops too visible |
| Stippling | Straight up and down taps | Tripod, upright pencil | Dots turning into dashes |
| Circulism | Small circles, layer by layer | Tripod, very light | Pressing to finish fast |
A few notes that make these strokes cleaner:
- Lift as you finish a hatch line. Start the stroke on the paper and flick off it. That taper is what makes hatching look intentional instead of scratchy.
- Rotate the paper, not your wrist. Your hand has a natural, comfortable stroke direction. Turn the sketchbook so the line you need goes that way.
- Keep spacing even. With hatching, the gap between lines matters more than the lines. Aim for consistent gaps of about 1 to 2 millimeters for mid tones.
- Circulism rewards slow hands. Circles about the size of a grain of rice, overlapping, with almost no pressure. It produces the smoothest skin tones you can get without blending.
For when to use each texture in a finished drawing, the shading techniques comparison goes deeper.
Pressure: the skill nobody practices
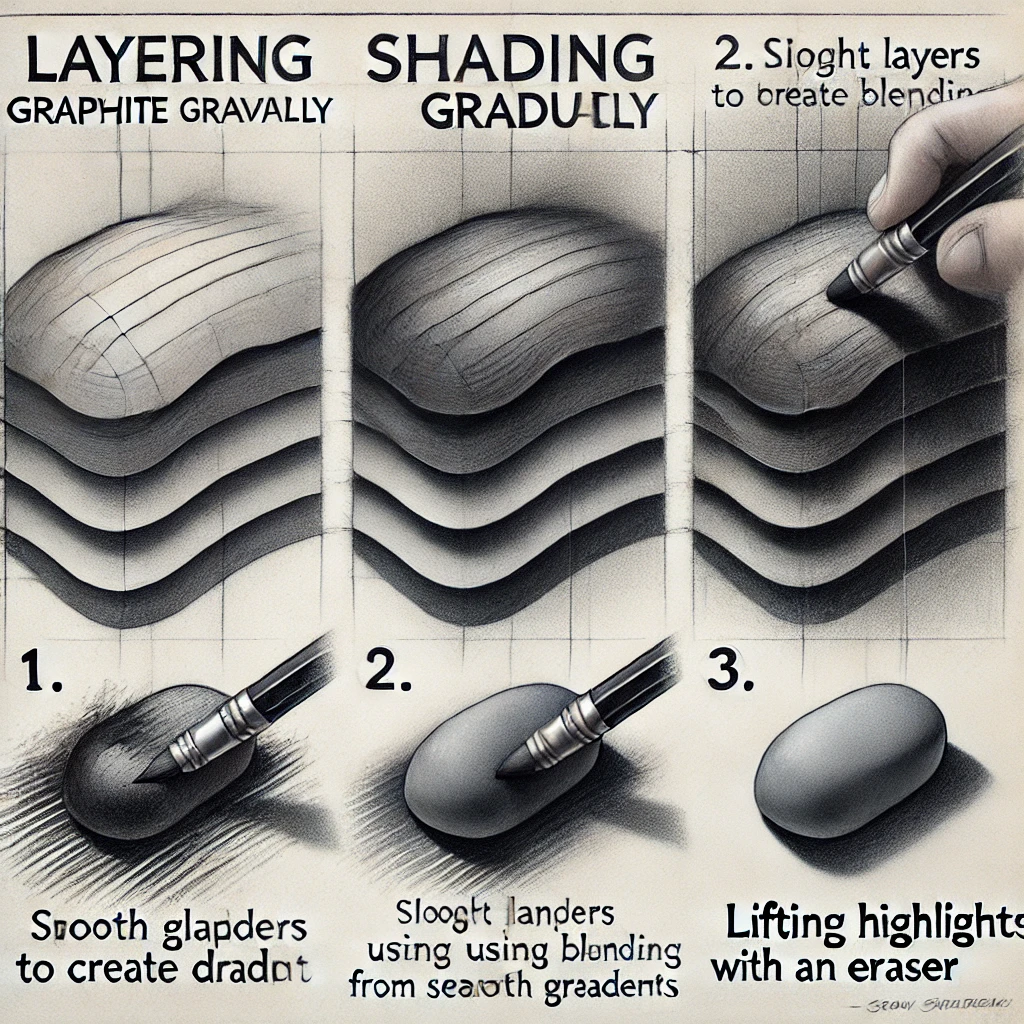
Here’s a “do this, not that” I wish someone had handed me sooner: get darker by switching to a softer pencil, not by pressing harder. Heavy pressure flattens the paper’s tooth, leaves grooves you can’t erase, and creates that shiny, metallic look graphite gets when it’s burnished.
Think of your pressure as a 1 to 5 dial. Most of a good drawing happens between 1 and 3. Save 4 and 5 for the last 10 percent: the darkest crevices, the pupil of an eye, the occlusion line where an object touches the table.
A quick pressure drill: draw five 1-inch squares in a row and fill each one with an HB pencil at pressure levels 1 through 5. Then do the same row with a 4B. Most people discover their “light” is already a 3. That’s useful to know.
Not sure what the H and B numbers mean? Start with graphite vs lead pencils, which explains what’s in a pencil and how grades work.
Sharpening for the stroke you want
How you sharpen changes the marks you can make. One point shape can’t do everything.
| Point shape | How to make it | Best for |
|---|---|---|
| Needle point | Handheld sharpener, then light sanding | Detail, hair, crisp edges |
| Long exposed lead | Craft knife, about 1/2 inch of lead | Overhand side shading |
| Chisel point | Rub one side flat on sandpaper | Even hatching, sharp lines |
| Blunt, rounded | Let it wear down naturally | Soft scumbling, textures |
Sharpening with a craft knife takes a little practice. Always cut away from yourself, shave the wood in long strokes, then shape the graphite by rubbing it on a small sandpaper block. Exposing a long lead is what makes the overhand grip work: with a short point, the wood scrapes the paper before the graphite does.
The 10-minute daily warm-up
Musicians play scales. Artists can too. Do this before every sketch session for two weeks and you’ll see steadier lines.
- Ghost lines. Mark two dots a few inches apart. Hover the pencil over the path two or three times, then draw the line in one motion from the shoulder.
- Ellipses. Fill a row with loose ovals, letting each one overlap the last. Keep the elbow moving, not the fingers.
- Hatch blocks. Fill three small squares with hatching at three spacings. Focus on lifting at the end of each stroke.
- Pressure row. Five values from feather light to full, using a single pencil.
- Grip swap. Draw a mug or an apple four times, once with each grip, and notice which marks each grip makes naturally.
If you’d like a structured way to keep this going, the 30-day sketching challenge gives you a prompt for every day.
A small, sensible pencil kit
You don’t need a drawer full of pencils to practice these skills. This is what I recommend for hand training:
- A graded pencil set. The Faber-Castell 9000 graphite pencil set covers a full range from hard to soft, which is all the pressure scale above needs.
- Medium tooth drawing paper. The Strathmore 400 Series drawing pad has enough tooth to hold layers without fighting your fine lines.
- Blending stumps. A set of paper blending stumps in a few sizes softens circulism and hatching when you want a smoother finish.
- A kneaded eraser and an eraser pen. The kneaded eraser lifts tone gently. A fine eraser pen draws crisp white lines back into dark areas.
- Optional matte graphite. If shine bothers you in dark passages, Faber-Castell Pitt Graphite Matte pencils are made to reduce glare.
Investment pieces worth it
Once the free habits are in place, two pieces of furniture and light change how your hand moves more than any pencil upgrade.
A tilting drawing surface. On a flat table, you look at your paper at an angle, which distorts proportions, and your arm can’t swing freely. The Stand Up Desk Store adjustable height and angle drafting table runs around $300 and lets you tilt the top and stand or sit. Worth it for: anyone sketching several times a week who wants to use the extended tripod and overhand grips properly. Skip it if: you mostly draw in a small sketchbook on your lap. A $20 tabletop board does 80 percent of the job.
A true daylight task lamp. Pressure control depends on seeing small value differences, and warm, dim light hides them. The Daylight Company Lumi Task Lamp is about $195 with a 95+ CRI rating. Used four evenings a week for three years, that works out to about 30 cents a session. Worth it for: evening sketchers and anyone working in a room without good window light. Skip it if: you draw by a north-facing window during the day.
A solid wood drafting table. If you’d rather have something beautiful that stays in the room, the Studio Designs Vintage Drafting Table runs around $270 and tilts for drawing. Worth it for: a dedicated studio corner. Skip it if: you need a height-adjustable sit-stand setup.
The takeaway
Confident drawings come from confident marks, and confident marks come from your grip, your pressure and a well-shaped point. Hold the pencil farther back, keep your pressure between 1 and 3 for most of the drawing, and give your hand ten minutes of warm-up before you start.
Which grip feels the strangest to you right now: overhand or underhand? Tell me in the comments, and save this post for your next sketchbook session.
[…] Types of Shading Techniques […]