This post contains affiliate links. If you buy through them, I may earn a small commission at no extra cost to you.
That blank first page in a brand new sketchbook can feel weirdly loud. Here’s a secret: the artists whose sketches you admire are mostly drawing boxes, balls and tubes, just very quickly.
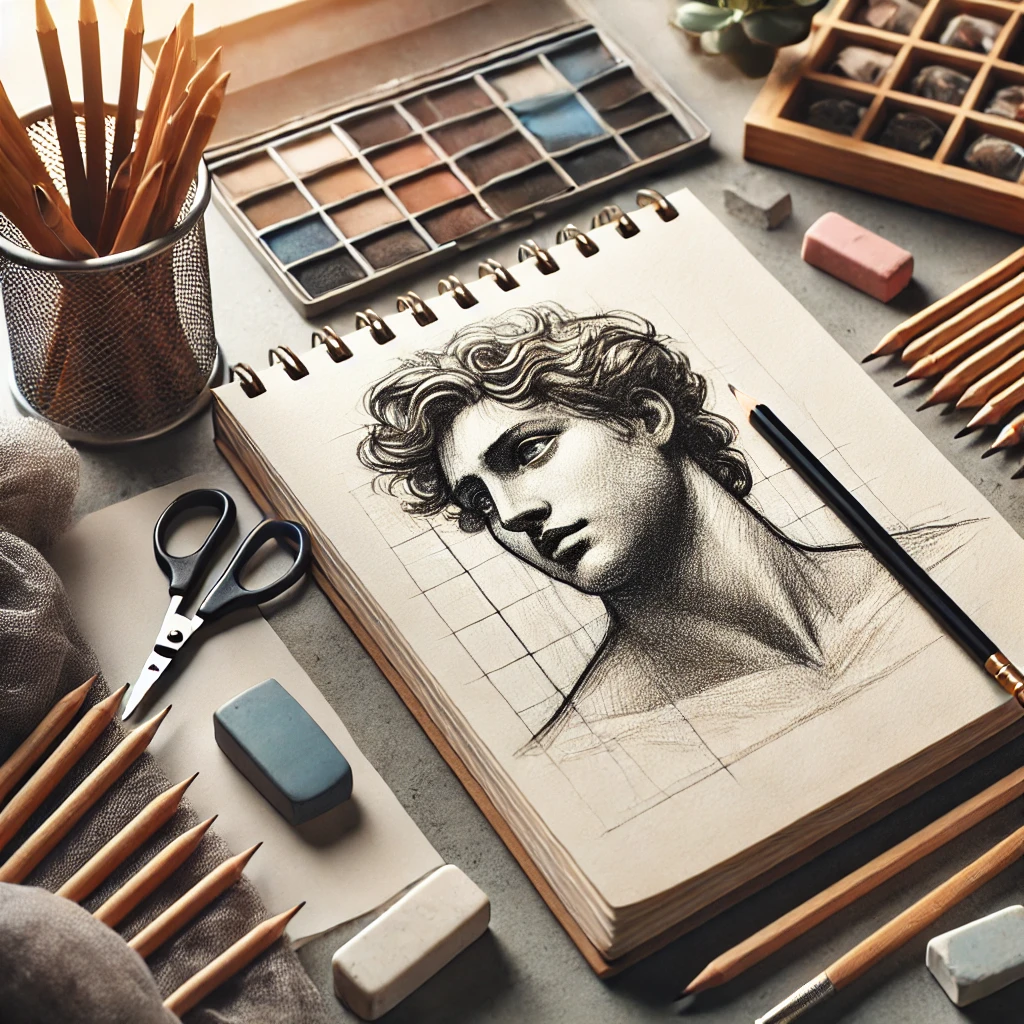

My take: sketching like a pro is a habit of seeing simple shapes first, and talent has very little to do with it. Learn to spot the cylinder hiding in a coffee mug and the sphere hiding in an apple, and half the “magic” is already in your hands.
This post is your first week. Five techniques, one exercise each, a 7-day plan, and a short list of what to buy (spoiler: three things). If you want the bigger picture of tools and habits, my beginner’s guide to sketching covers that. Here we put pencil to paper.
If you only do one thing
Sketch for 15 minutes a day for 7 days, at feather-light pressure, and draw everything as a simple shape first. Short and daily beats one long Saturday session every time.
Your 7-day starter plan
Each day takes 15 to 20 minutes. Do them in order, because each one sets up the next.
| Day | Focus | Exercise | Time |
|---|---|---|---|
| 1 | Warm-up and grip | One page of lines and circles | 15 min |
| 2 | Basic shapes | Sphere, cube, cylinder, cone | 15 min |
| 3 | Shapes in objects | A mug, a book, an apple | 20 min |
| 4 | Light and shadow | Shade one sphere fully | 20 min |
| 5 | Gesture | Ten 30-second poses | 15 min |
| 6 | Contour | One leaf, eyes mostly on the leaf | 15 min |
| 7 | Put it together | A mug, start to finish | 20 min |
Miss a day? Pick up where you left off. The plan works because the sessions are small enough to fit around real life.
Technique 1: Start with basic shapes
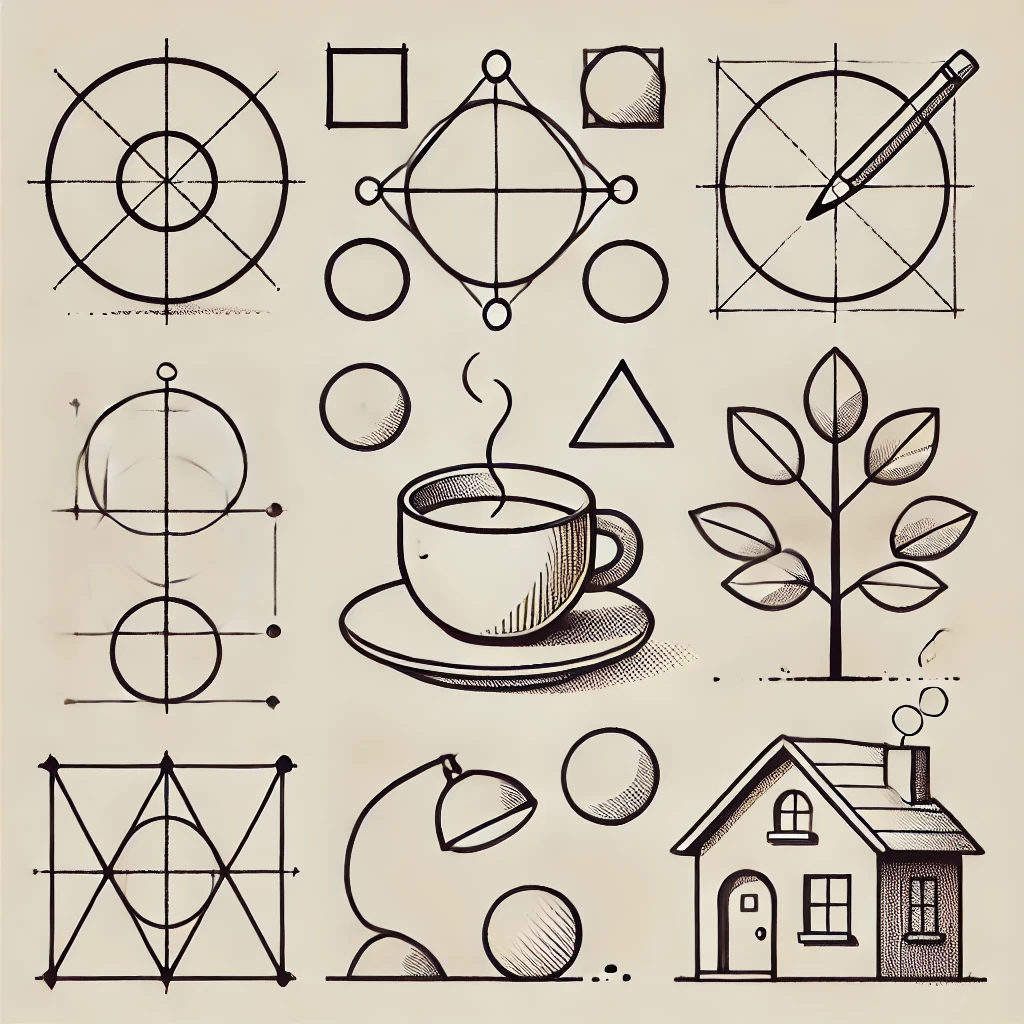
Almost everything around you is built from four shapes. Once you see them, objects stop being intimidating and become puzzles you already know how to solve.
Exercise: Draw each shape three times in different sizes. Then find one real object for each shape in your kitchen and sketch it as that shape. Don’t add details yet.
A cup is a cylinder. That means the top is an ellipse, and the bottom is a slightly rounder ellipse because you’re looking down at it more steeply. Getting that one idea right makes your mugs, glasses and vases sit on the table instead of floating.
Technique 2: Understand light and shadow
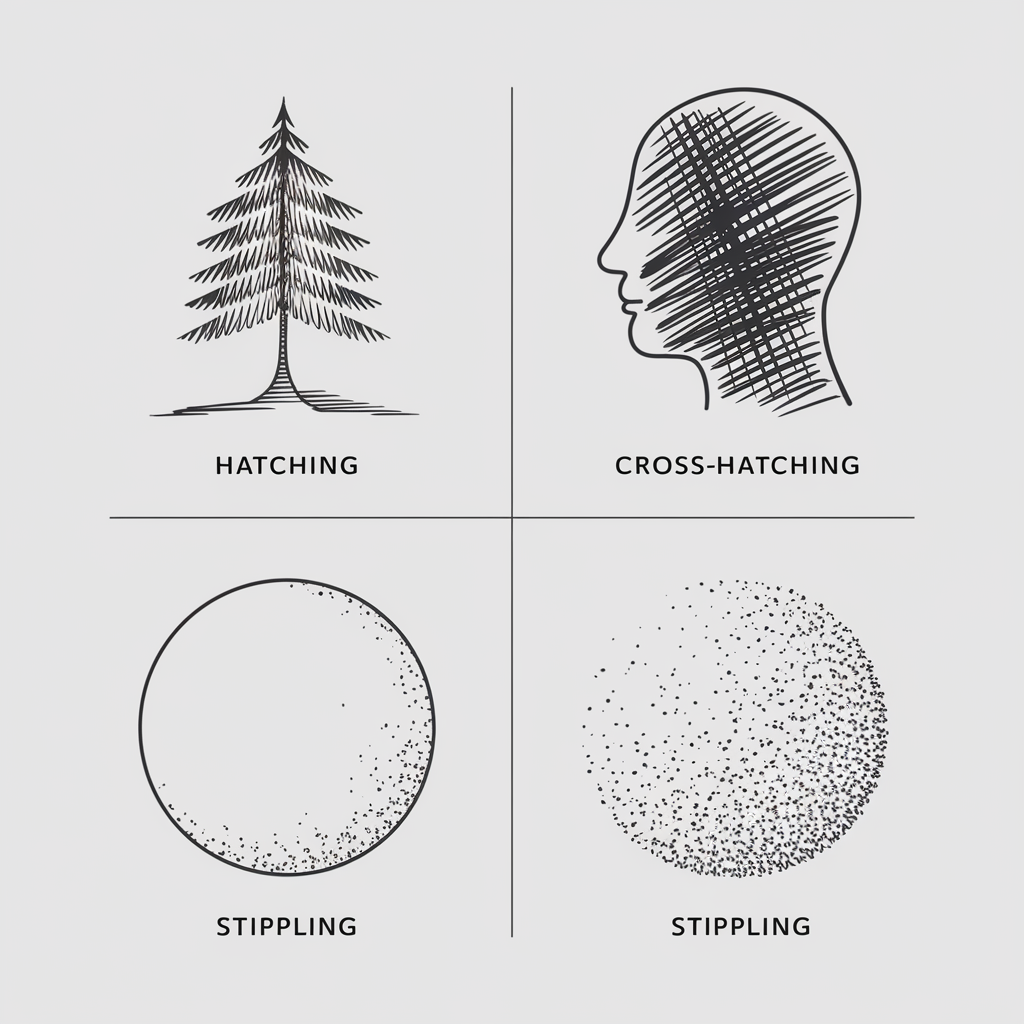
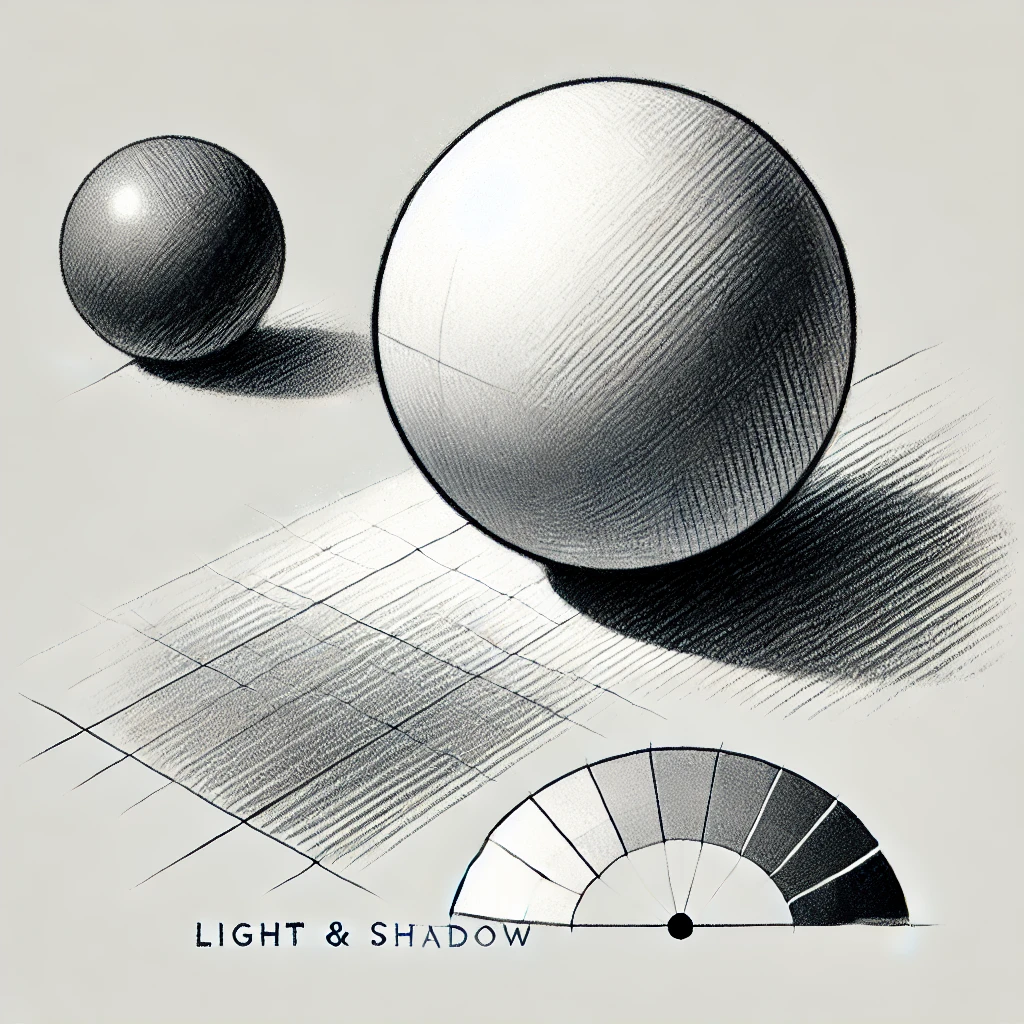
Shading is what turns a circle into a ball. You only need to know five parts of light to start:
- Highlight: the brightest spot, facing the light.
- Midtone: the true color of the object, turning away from the light.
- Core shadow: the darkest band on the object, where it turns fully away.
- Reflected light: a soft glow at the shadow edge, bounced back from the table.
- Cast shadow: the shadow on the table, darkest right where the object touches down.
Exercise: Put an orange or a ball next to a single lamp in a darker room. Shade it with gradual layers, light to dark. Leave the highlight as untouched paper, since erasing back to clean white is harder than saving it.
Keep reflected light darker than any midtone on the lit side. Beginners often make it too bright, and the ball suddenly looks flat.
For more ways to build value, my guide to shading techniques for artists goes further into hatching and blending.
Technique 3: Practice your grip and strokes
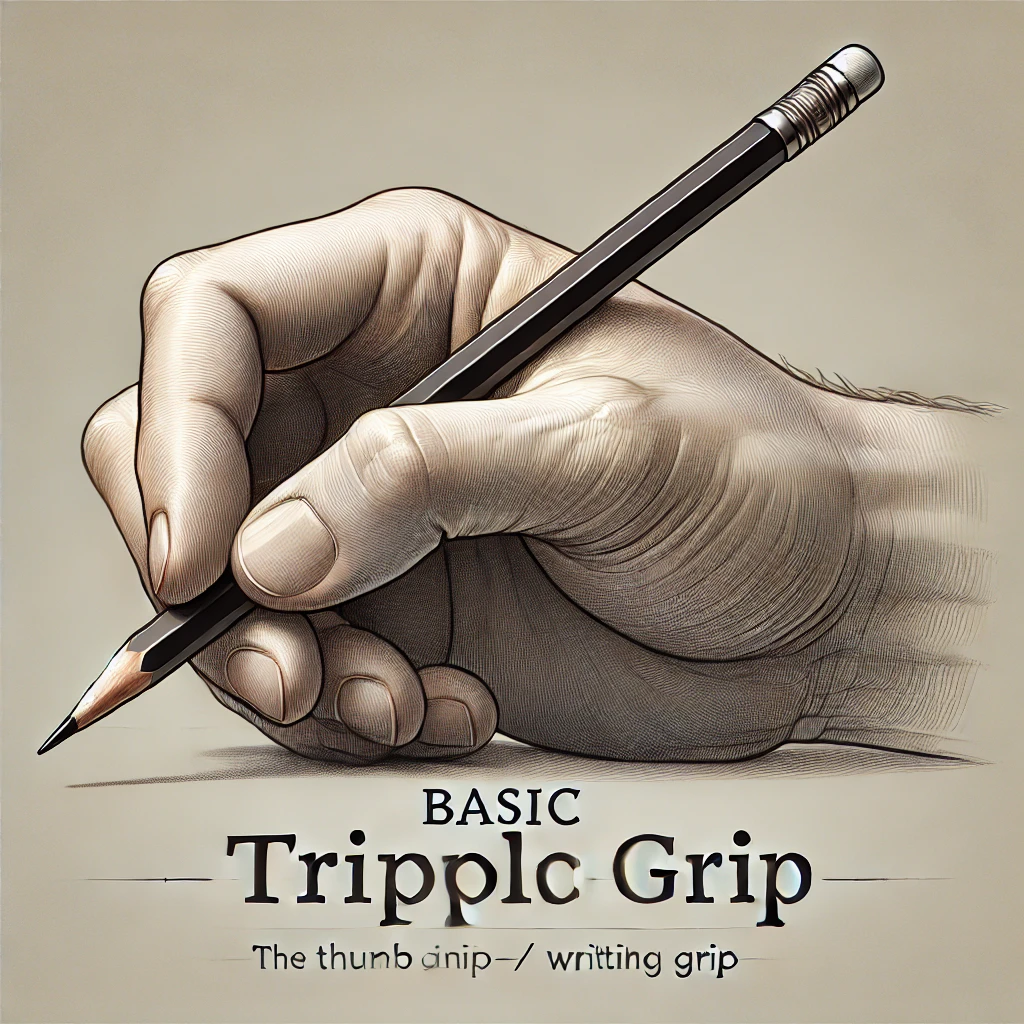
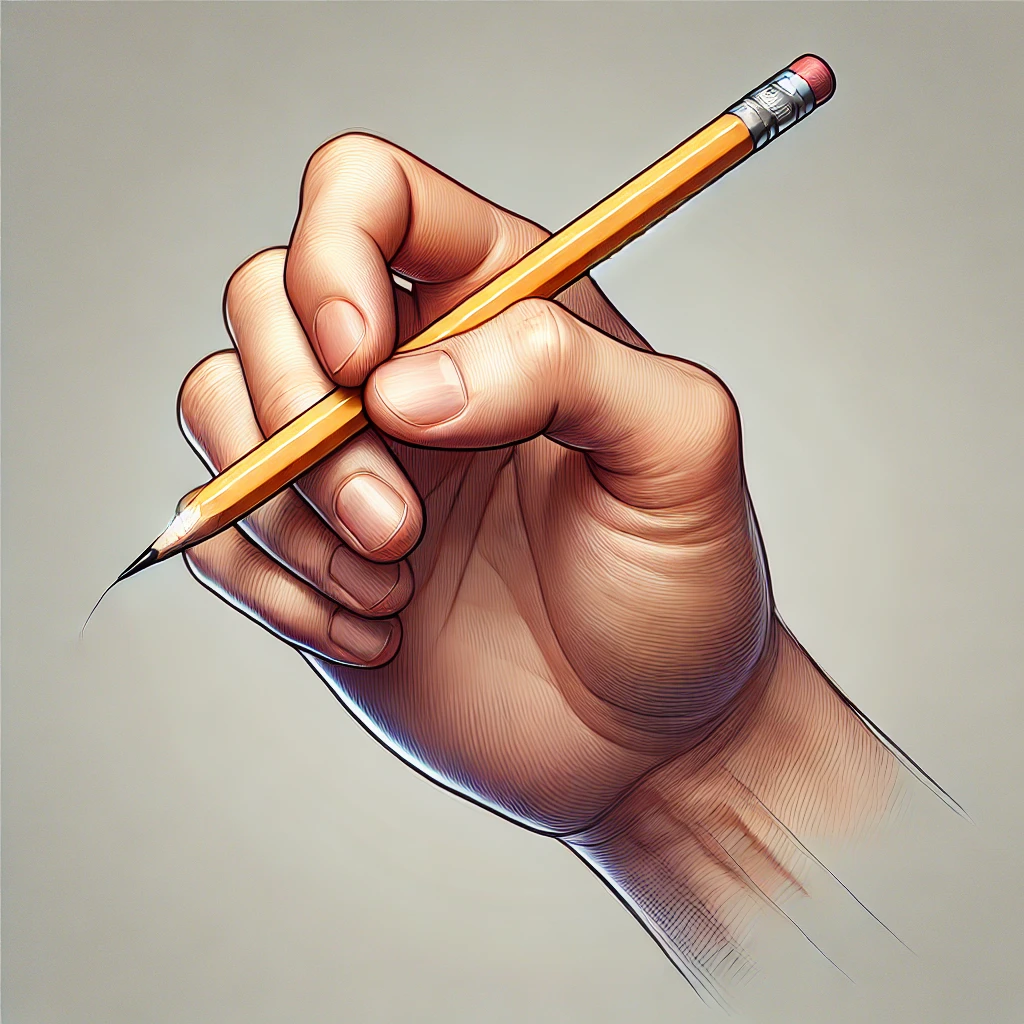
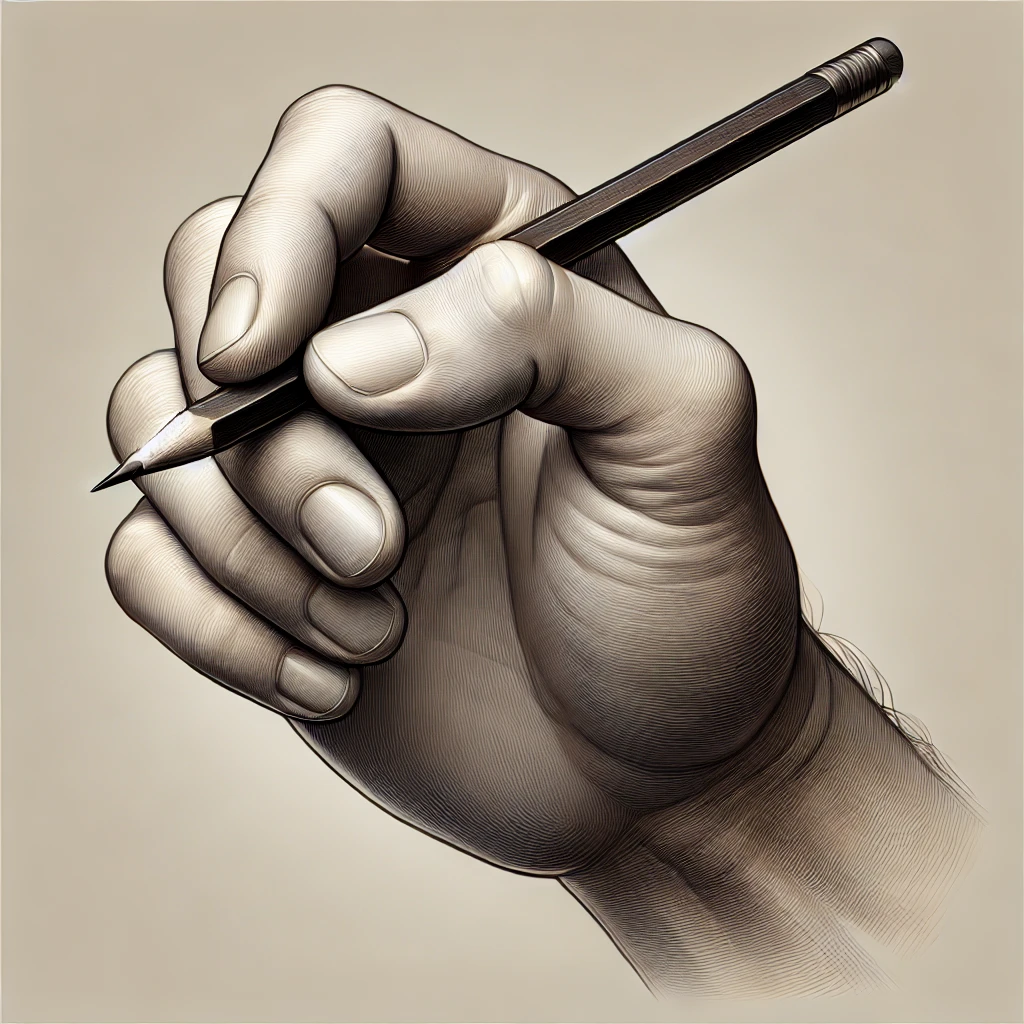
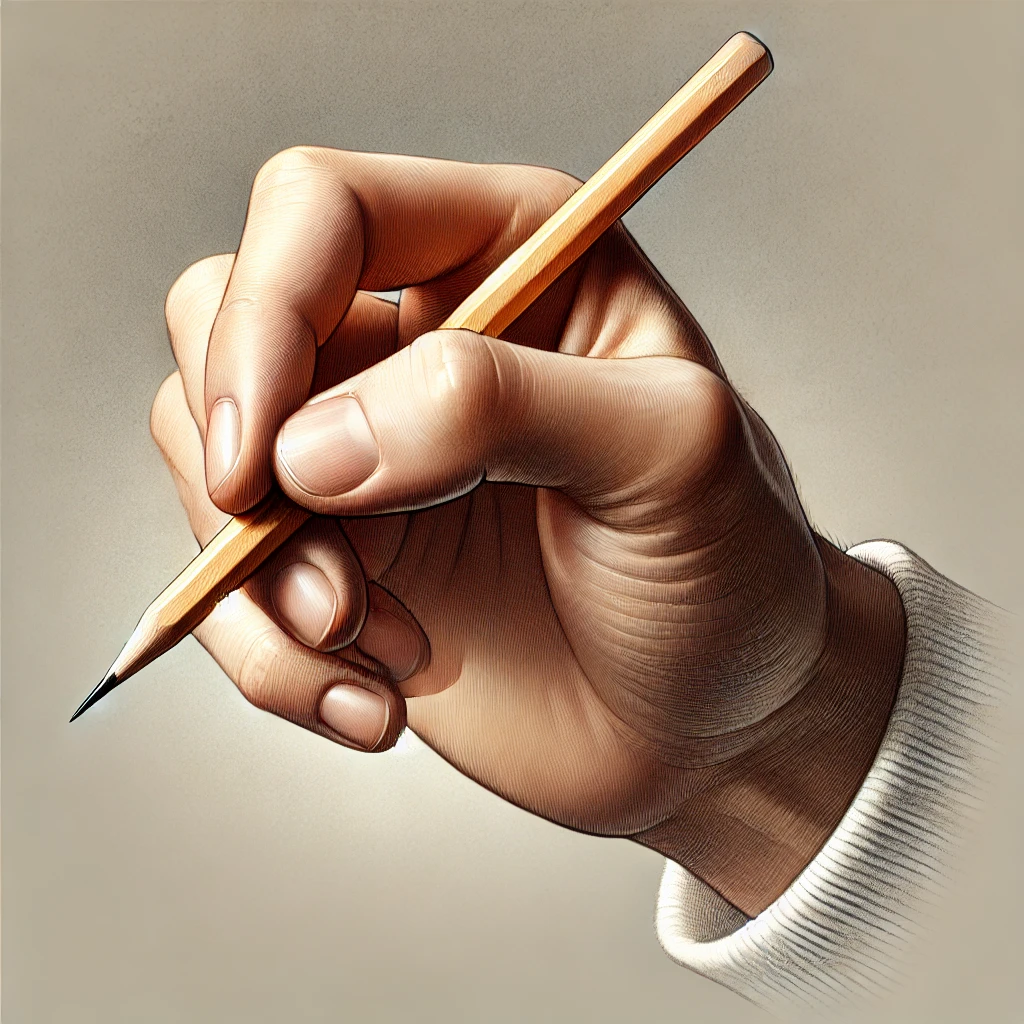
Most beginners hold a pencil like they’re writing a grocery list: close to the tip, pressing hard. That gives you tight, dark lines that are hard to erase.
Try holding the pencil further back, an inch or two up the barrel, and drawing from your elbow and shoulder for long lines. Save the close “writing” grip for small details at the end.
Exercise: Fill one page with long straight lines, smooth curves, and ovals. Then try four shading strokes in small squares:
- Hatching (parallel lines)
- Cross-hatching (lines crossed at an angle)
- Stippling (dots)
- Scribbling (small loose circles)
My post on pencil sketching techniques has more stroke drills if you enjoy this one.
Technique 4: Capture movement with gesture drawing
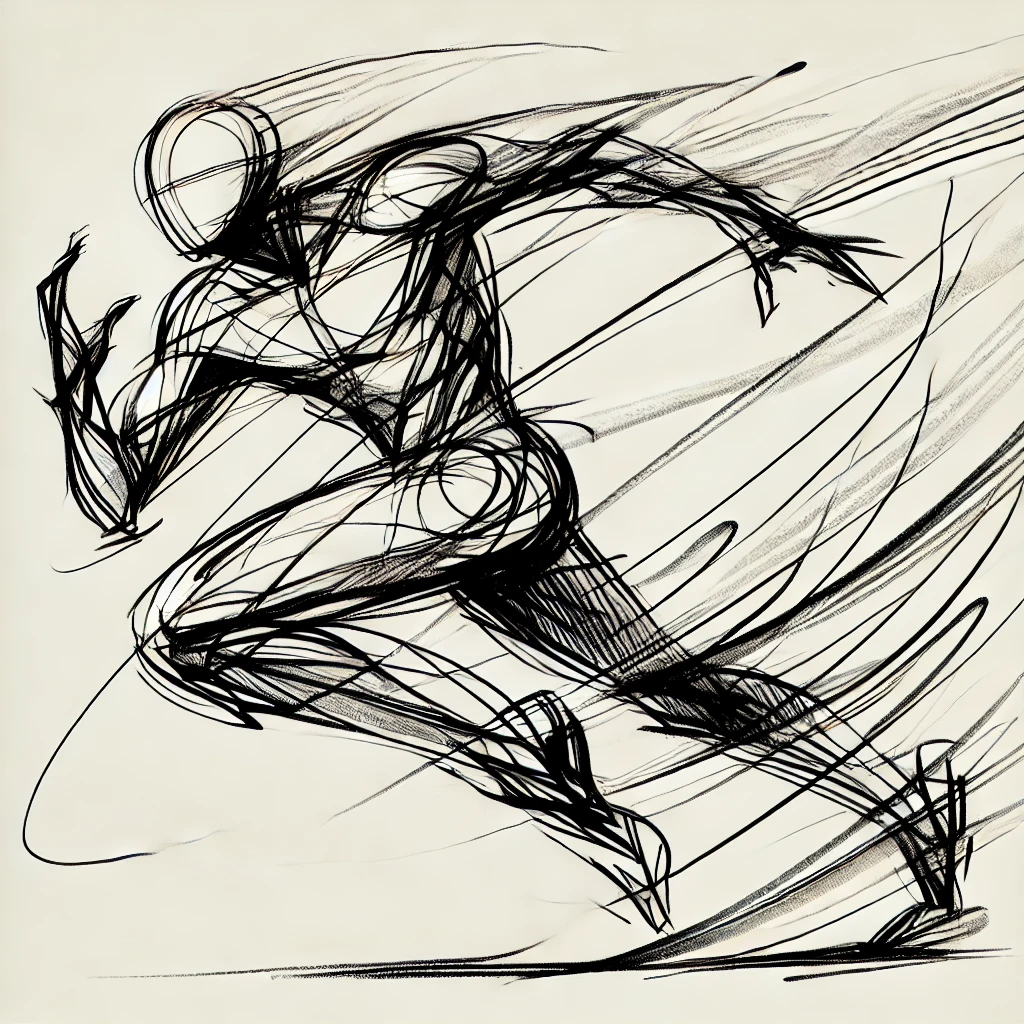
Gesture drawing captures the action of a pose in seconds. Details are banned. You’re looking for the one curve that tells the story: the lean, the twist, the reach.
Exercise: Set a timer for 30 seconds and sketch ten poses from photos or free timed pose sites. Start each one with a single “line of action” that follows the spine, then hang the arms and legs off it.
Your first ten will look like noodles. That’s exactly right. Gesture is a warm-up for your eye, and it makes every slower drawing afterward feel more alive. If you want reference to work from, my female poses for artists collection is a good place to start.
Technique 5: Focus on contour and detail
Contour drawing trains your hand to follow your eye. You draw the edges of an object slowly, as if a tiny ant is walking along the outline and your pencil is following it.
Exercise: Pick one leaf. Look at the leaf about 80 percent of the time and your paper about 20 percent. Draw its outline and the main veins in one slow, continuous line. Then do a second version where you add a little shading along the center vein.
The wobbly results are part of the point. This is where you learn to really look, and that’s the habit that separates a quick sketch from a convincing one.
Your first finished drawing: a mug, start to finish
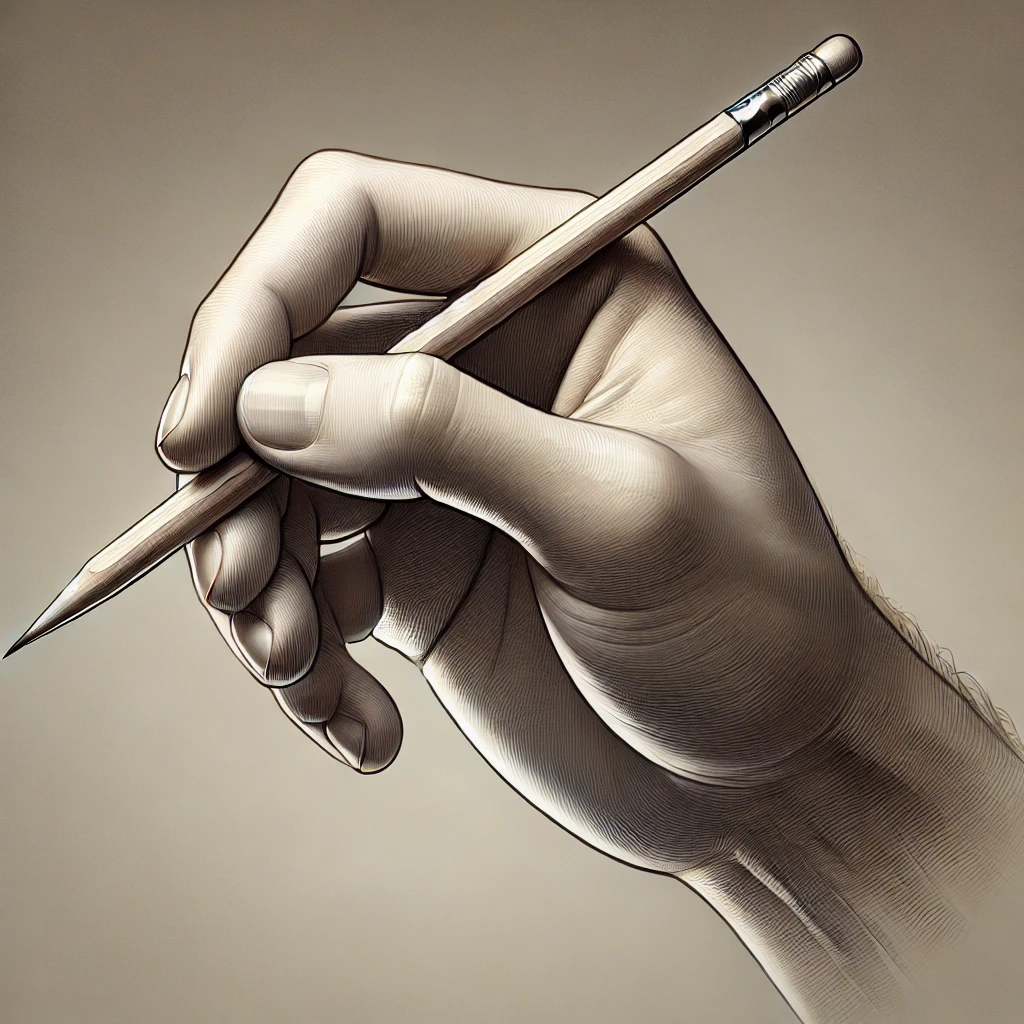
On day 7, you’ll put all five techniques together. A plain mug is perfect: one cylinder, one handle, one light source.
Keep every line light until step 4. Then press a little harder for the darkest areas: the inside rim, the core shadow, and the line where the mug meets the table.
The mistakes almost every beginner makes
These four are so common they’re practically a rite of passage. Here’s the quick fix for each.
| Mistake | What it looks like | Do this instead |
|---|---|---|
| Pressing too hard | Dark grooves that won’t erase | Feather pressure until the end |
| Skipping the warm-up | Stiff, shaky first lines | Two minutes of lines and circles |
| Wonky perspective | Mug tops look flat | Draw the full ellipse, even hidden parts |
| Proportion drift | Objects grow as you draw | Measure with your pencil at arm’s length |
Proportion drift sneaks up on everyone. Hold your pencil at arm’s length, line the tip up with one edge of the object, and slide your thumb to the other edge. Now compare that length to another part. My guide to proportion and perspective sketching has drills for this.
What to buy first (and what can wait)
You can sketch beautifully with very little. Buy in this order and stop when you feel ready to draw.
The first three:
- A small graphite range like this Faber-Castell graphite sketch set. An HB, 2B and 4B are enough to start.
- A pad you won’t feel precious about, like Strathmore 400 Series sketch paper. Cheap enough to fill quickly.
- A kneaded eraser. It lifts graphite instead of scrubbing, so you can pull out highlights.
Nice to have: a set of blending stumps for smooth shading on your sphere and mug. They cost a few dollars and last a long time.
If you’d rather browse in person or compare brands side by side, an art store’s beginner pencil section is a great place to touch the paper first.
Investment pieces worth it
You don’t need any of these in week one. But if sketching sticks, these are the upgrades I’d consider, in this order.
A daylight task lamp. The Daylight Company Lumi Task Lamp (around $195) has a 95+ CRI, so your grays look like grays and your shadows read clearly. Worth it if you sketch in the evening at a dim table. Skip it if you have a bright window and draw during the day.
An angled drawing surface. The Studio Designs Vintage Drafting Table (around $270) tilts your paper toward you, which reduces the stretched, distorted look you get drawing flat, and your neck will thank you. Worth it if you draw several times a week. Skip it if you mostly sketch on the couch or on the go.
A tablet for digital sketching. An iPad Air 13-inch (M4) (around $929) with an Apple Pencil Pro (around $99) gives you unlimited paper and an undo button. Over three years of sketching 4 times a week, that’s roughly $1.65 a session. Check Apple’s compatibility list before pairing a pencil and tablet. Skip it if you’re still deciding whether you like sketching. Paper is a far cheaper way to find out. When you’re ready, my guide to mastering digital sketching covers the setup.
The takeaway
Sketching like a pro starts with four shapes, one light source, and a light hand. Give it 15 minutes a day for one week and you’ll see the difference between your day 1 page and your day 7 mug.
Which of the five techniques feels hardest for you right now? Tell me in the comments, and save this post for your first week.
Keep going
- Ready for the next step? Try the 30-day sketching challenge.
- Build your foundation with the beginner’s guide to sketching.
- Practice strokes with pencil sketching techniques.
- Make the jump to screens with mastering digital sketching.
- Learn which pencil does what in graphite vs lead pencils.