This post contains affiliate links. If you buy through them, I may earn a small commission at no extra cost to you.
You know that feeling when a sketch looks “off” but you can’t point to what’s wrong? The shading is fine. The lines are clean. Something just won’t sit right on the page.
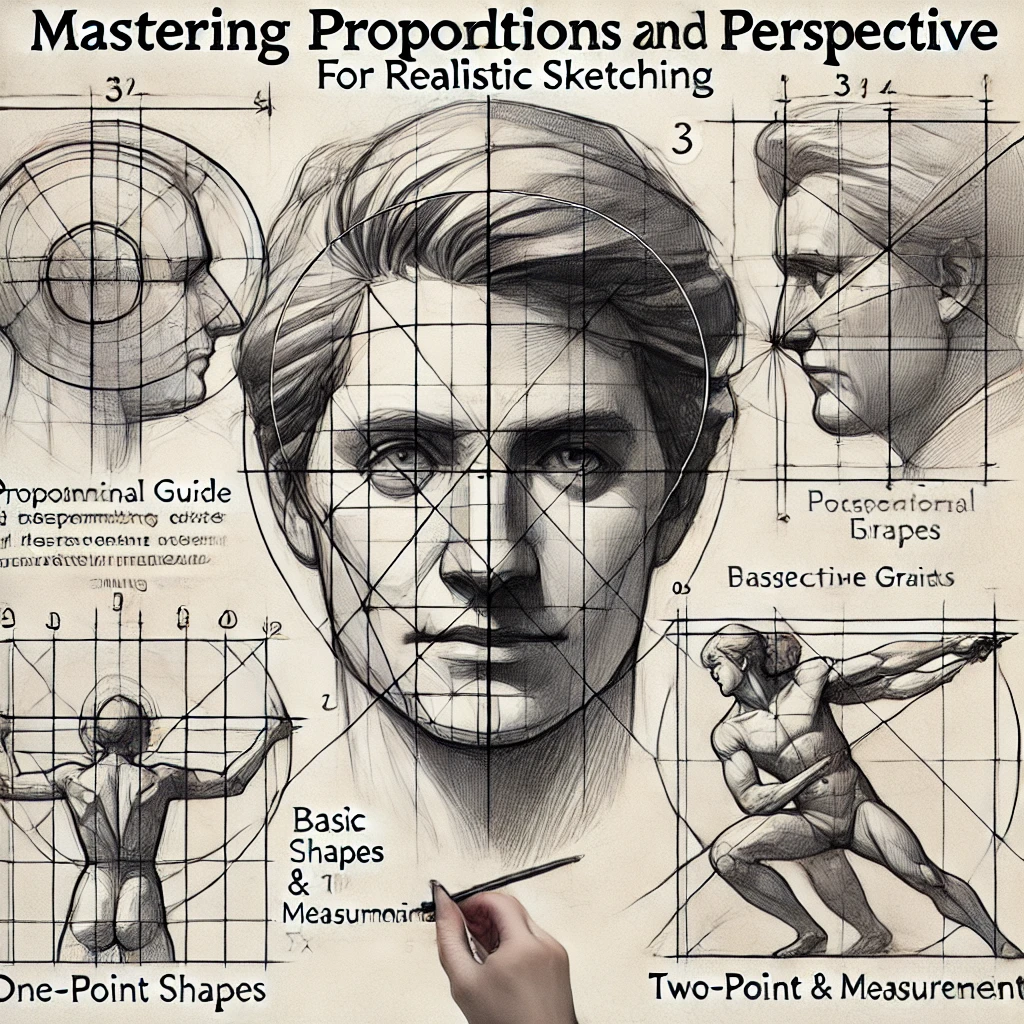
Here’s my take: almost every “off” sketch is a measuring problem, and measuring is a skill you can learn in an afternoon. Talent has very little to do with it. Artists who draw convincing buildings and figures check their proportions constantly and know exactly where their eye level is.
This guide covers both halves: proportion (how big things are compared to each other) and perspective (how things shrink as they move away). Then you’ll get five drills to lock it in.
If you only do one thing
Before you draw anything, decide where your eye level is and lightly draw it as a horizontal line across the page. That line is your horizon, and every vanishing point lives on it. Most wobbly perspective comes from never placing it.
What you need
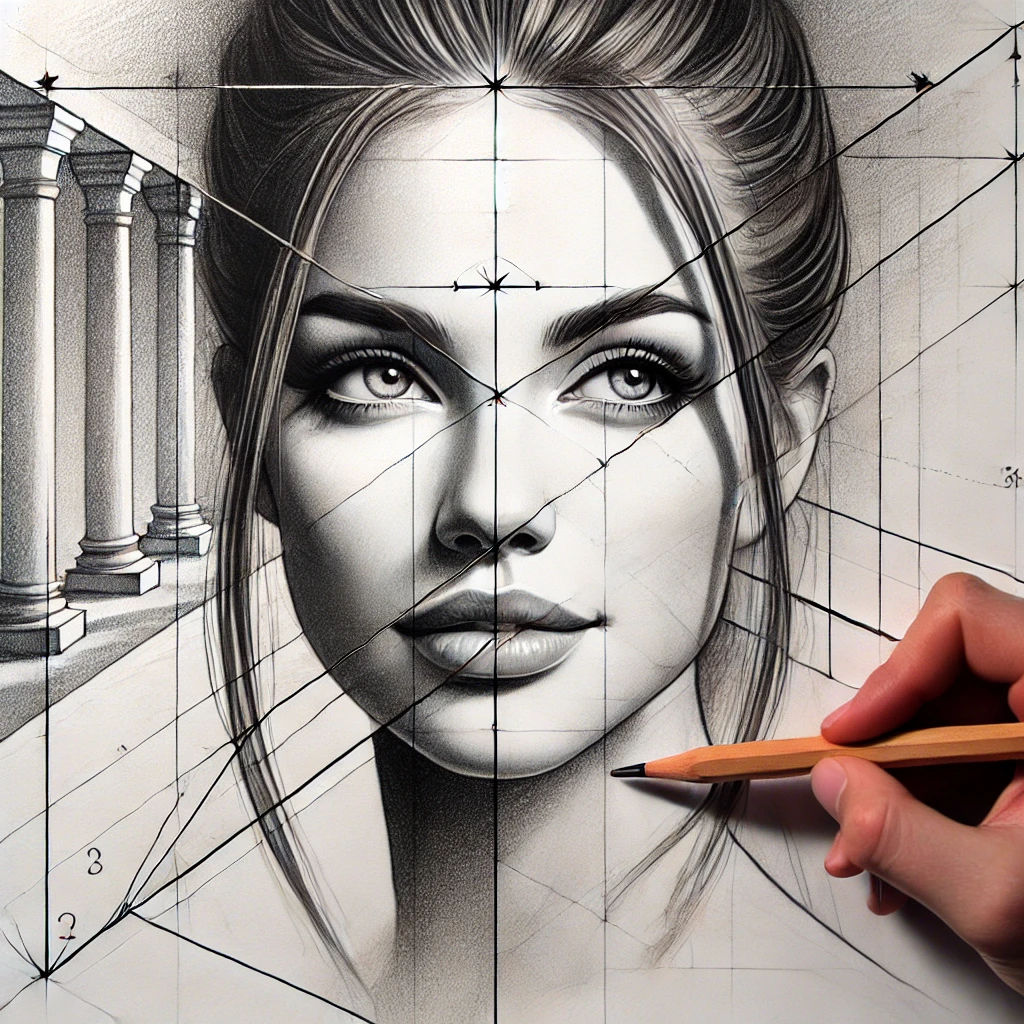
You don’t need much. A few tools make measuring faster and keep your lines honest:
- Graphite in a few grades. A 2H for construction lines and a 2B or 4B for the final drawing. The Faber-Castell Pitt Graphite tin covers the range.
- A ruler and compass. For straight construction lines and comparing distances. A ruler and compass set is inexpensive and lasts for years.
- A perspective aid. A perspective grid tool helps you see how lines converge while you’re learning.
- A kneaded eraser and a blending stump. For lifting construction lines and softening values at the end.
Part 1: Proportion
Proportion is relationships. How tall is the vase compared to its width? How many heads tall is the figure? You don’t need exact inches. You need ratios.
Measure with your pencil at arm’s length

This is called comparative measuring, and it’s the single most useful habit in observational drawing.
Say the head of a figure is your unit. You hold the pencil up, line the tip with the top of the head, slide your thumb to the chin, and then count how many of those units fit from head to toe. Now you know the figure is about seven and a half heads tall, and you can lay that out on the page at any size.
The locked elbow matters. If your arm bends even a little between measurements, the pencil moves closer to your eye and every measurement changes.
Four more proportion tools
- Simple shapes first. Block every object into boxes, cylinders and spheres before adding detail. A teapot is a sphere with a cylinder spout. Shapes are easy to check; details are not.
- The grid method. Draw a light grid over your reference and a matching grid on your paper, then copy one square at a time. It’s a great training tool for seeing shapes as they are, not as you expect them to be.
- Angles with your pencil. Hold the pencil along an edge in your scene, then tilt your drawing pencil to match. This catches roof lines and arm angles that drift.
- Rule of thirds. Divide your page into a 3 by 3 grid and place key shapes near the intersections. This one is about composition rather than accuracy, but it makes a well-proportioned drawing look intentional.
Check proportion at three moments: after the big shapes, halfway through, and before the darks go in. Fixing a measurement at the shape stage takes seconds. Fixing it after shading takes an eraser and a sigh.
Faces have their own set of approximate proportions. If portraits are your thing, my portrait drawing tips include a face proportion cheat sheet.
Part 2: Perspective
Perspective is the system that explains why railroad tracks seem to meet in the distance. Parallel lines that move away from you appear to converge at a point on your eye level. That point is the vanishing point.
The horizon line is your eye level
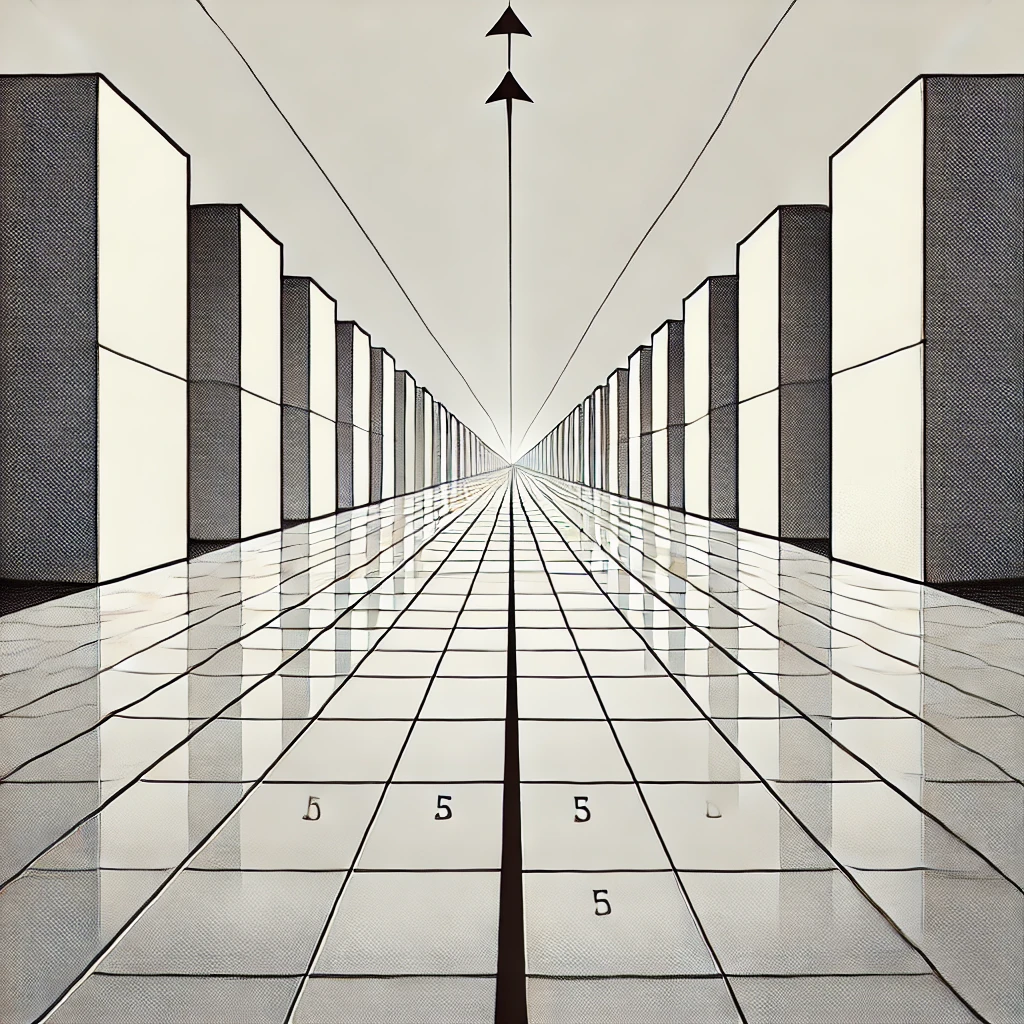
This is the idea that makes everything else click. The horizon line sits at the height of your eyes, wherever the ground happens to end.
- Sitting down, your horizon line is low, and you see the tops of tables.
- Standing up, it rises, and you see more of the floor.
- Lying on the ground, it’s almost at the floor, and everything towers over you.
Anything above the horizon line, you see from below. Anything below it, you see from above. Draw the line first, and you’ll always know whether to show the top or the bottom of a box.
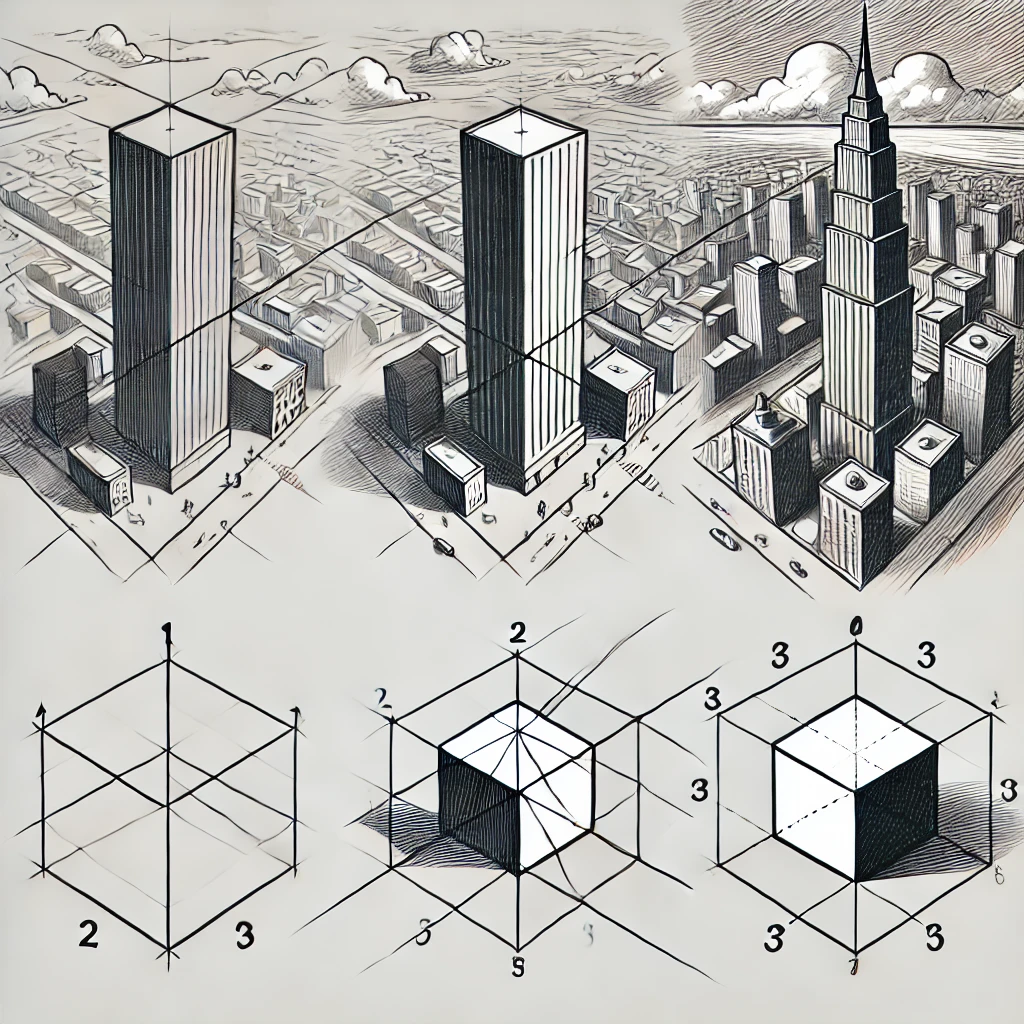
1, 2 or 3-point: which one to use
One-point perspective uses a single vanishing point on the horizon. Edges facing you stay horizontal and vertical, and edges going away from you all run to that one point. Use it for a hallway, a road or a room seen straight on.
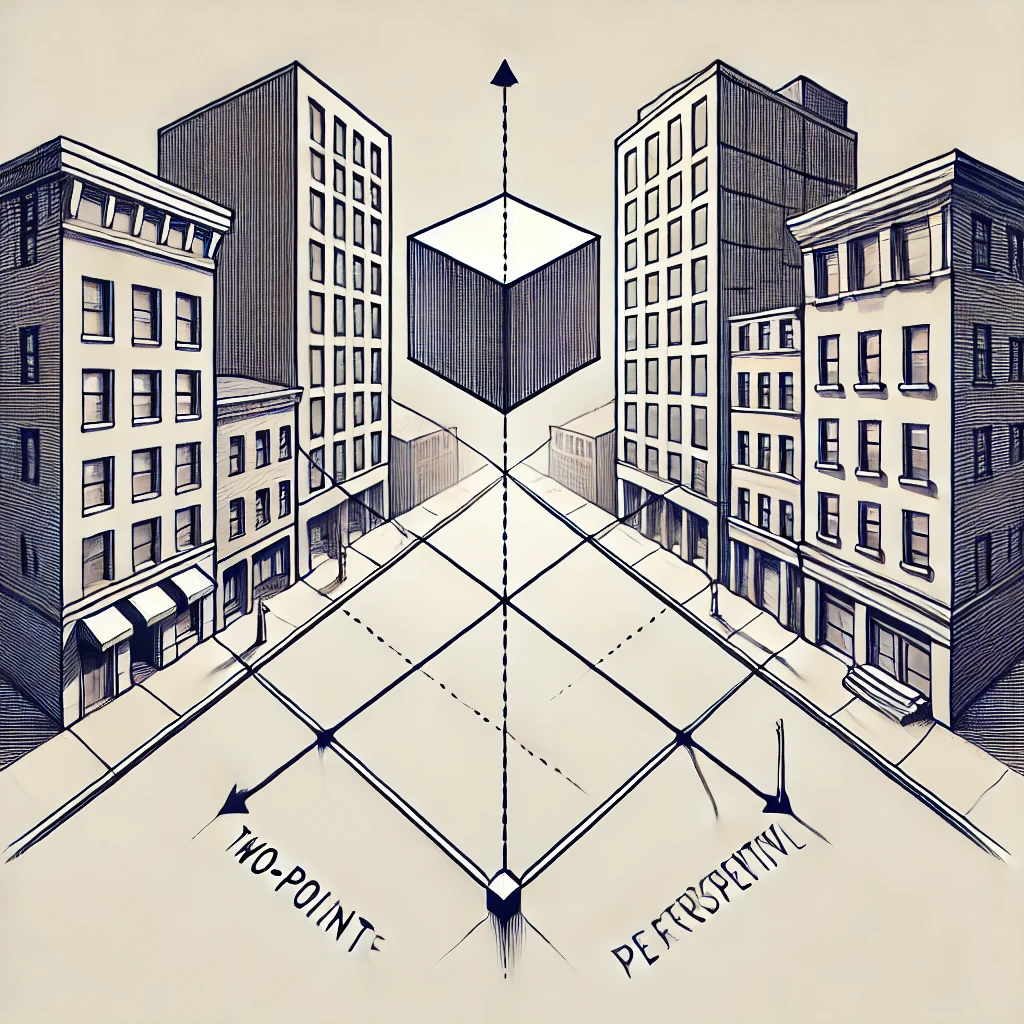
Two-point perspective uses two vanishing points on the horizon, one on each side. Vertical edges stay vertical. Use it when you’re looking at the corner of a building, a box on a table or a chair turned at an angle.
Three-point perspective adds a third vanishing point far above or below the horizon, so vertical edges converge too. Use it for a tall building seen from the sidewalk or a city street seen from a rooftop.
Keep your two vanishing points far apart, even off the edge of the page. Points that sit too close together make boxes look stretched and distorted. Tape scrap paper to each side of your sketchbook if you need the room.
Depth cues that work with or without vanishing points
Perspective lines are only one way to show distance. These cues work in landscapes, still lifes and figure drawings too.
| Depth cue | What it does | How to use it |
|---|---|---|
| Overlap | Front objects block back ones | Let shapes tuck behind each other |
| Size | Far things look smaller | Shrink repeated objects as they recede |
| Placement | Far things sit nearer the horizon | Raise distant objects on the page |
| Detail | Far things lose detail | Save texture for the foreground |
| Value | Far things get lighter and softer | Keep strong darks up front |
That last one is called atmospheric perspective. Air softens contrast over distance, so distant hills look pale and blue-gray while nearby rocks look dark and crisp.
Foreshortening
Foreshortening is perspective applied to a single object pointing toward you. An arm reaching at you looks short and wide, with the hand looking larger than the shoulder. Your brain wants to draw the arm at its “real” length. Measure instead. If the measurement says the forearm is half a hand long, draw it half a hand long. It will look right once it’s shaded.
Hands are the ultimate foreshortening test. How to draw realistic hands walks through it step by step.
If you learn better by watching, this tutorial covers the basics:
The 3 mistakes that make sketches look off
- detail before shapes
- vanishing points moved midway
- no horizon line
- straight to final paper
- simple shapes first
- one horizon line
- fixed vanishing points
- quick thumbnail first
- Skipping the simple shapes. Detail looks good up close and hides big errors. Block in first, always.
- Inconsistent vanishing points. Every receding line in a set should run to the same point. Mark your points with a small x and leave them visible until the drawing is done.
- No thumbnail. A 2 by 3 inch sketch takes two minutes and shows you composition and proportion problems before you commit to a full page.
5 drills to build the skill
Do one drill per session, about 15 minutes each. This pairs nicely with a 30-day sketching challenge.
| Drill | What you draw | Skill it builds |
|---|---|---|
| Box field | 10 boxes in 2-point, above and below the horizon | Eye level and convergence |
| Cylinders | Cups and jars at different heights | How ellipses change with eye level |
| Hallway | A hallway or road in 1-point | Single vanishing point |
| Measure a mug | A mug using one unit for everything | Pencil measuring |
| Foreshortened hand | Your own hand pointing at you | Trusting measurements over memory |
For the cylinder drill: ellipses get flatter the closer they are to your eye level and rounder the farther above or below it they sit. Draw a stack of cups and you’ll see it right away.
Investment pieces worth it
You can learn all of this in a sketchbook on your lap. These are for when you start drawing longer and larger and want your setup to stop working against you.
A large tilting drafting table. Drawing flat on a table means you see your paper at an angle, which quietly distorts proportions, usually stretching the top of the page. A tilted surface keeps the page square to your eyes and gives room for vanishing points off the edge. The MEEDEN Extra-Large Wood Drafting Table has a roughly 42 x 30 inch top for about $230. Worth it if you draw at a desk for an hour or more at a time, or work on large perspective drawings. Skip it if you sketch mostly outdoors or in small books; a tabletop easel will cover you.
A light pad for clean transfers. Construction lines for perspective can get busy. A light pad lets you trace your clean final lines onto fresh paper. The U.S. Art Supply Lightmaster is about $130 with a 17 x 24 inch surface. Worth it if you plan detailed scenes with many guidelines. Skip it if you prefer loose sketching straight on the page.
For more on angled surfaces, see the best easels for sketching.
The takeaway
Proportion is measuring relationships, and perspective is knowing where your eye level is and keeping your vanishing points consistent. Both are habits you can practice, and a few weeks of drills will change how every sketch looks.
Which one trips you up more right now: proportion or perspective? Tell me in the comments.
Save this to your sketching board so the 1, 2 and 3-point cheat sheet is there next time a drawing looks off.