This post contains affiliate links. If you buy through them, I may earn a small commission at no extra cost to you.
Ever wonder why the same wash melts into a dreamy glow one day and dries into a hard-edged puddle the next?

Here’s my take: most watercolor “magic” is a timing problem, and the clock is the shine on your paper. Learn to read how wet the surface is, and wet-on-wet, salt, lifting and soft gradients suddenly behave. Ignore it, and even great paint looks muddy.
Below are seven techniques that give paintings that soft, ethereal, slightly-otherworldly feel. Each one comes with the steps, what it’s best for, and the supplies that make it easier.
If you only do one thing: before you add paint to a wet area, tilt your paper toward the light and look at the sheen. Glossy means colors will spread and blur. Satin means soft edges with control. Matte damp is where blooms happen, so either wait until it’s bone dry or leave it alone.
The Shine Scale: Read Your Paper First
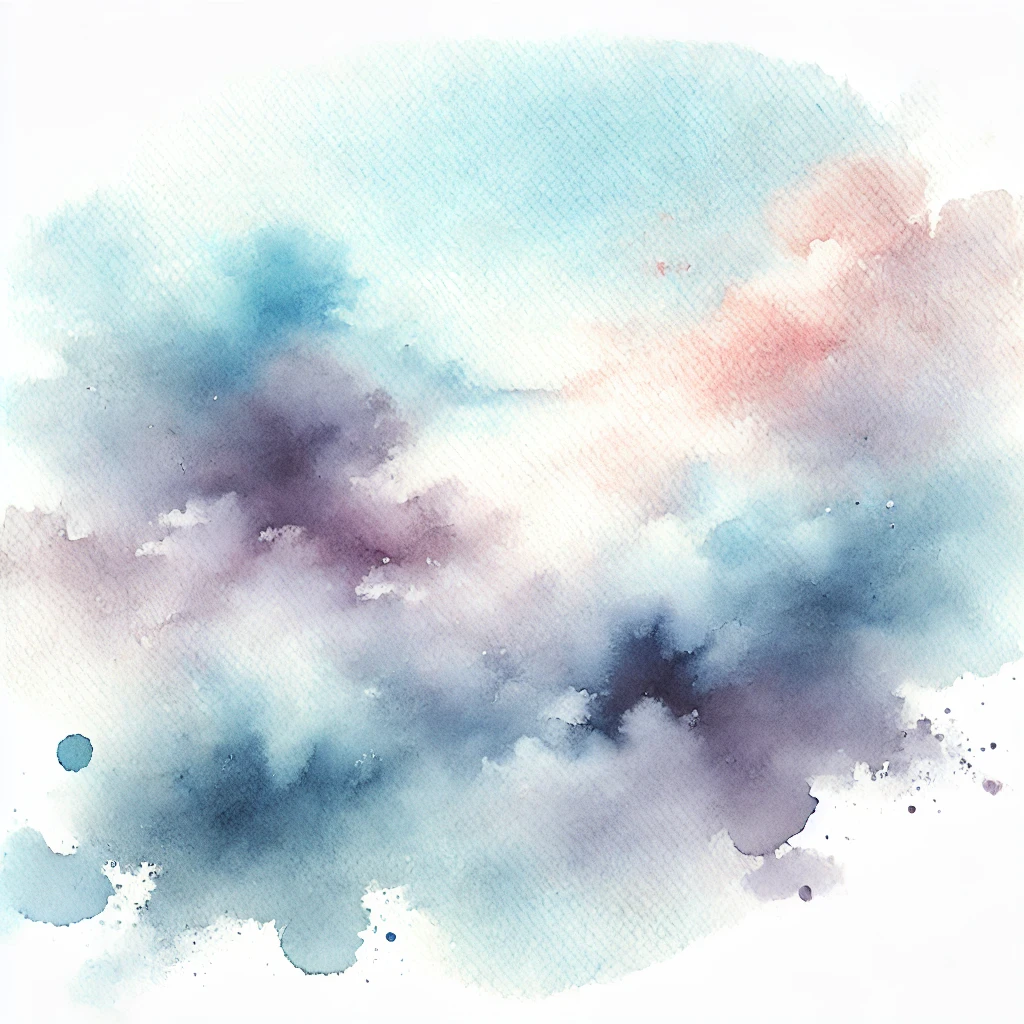
Every technique on this list depends on how much water is sitting on the paper. You don’t need a timer. You need to look at the surface at an angle.
A quick test: touch the back of your fingers lightly to the paper (not your fingertips, which carry oils). Cool means still damp. Room temperature means dry.
Start With the Right Paper
Paper decides more about these techniques than paint does. Cellulose (student) paper soaks water in fast and unevenly, so washes streak and lifting tears the surface. Cotton paper holds water longer and evenly, which gives you more working time.
| Paper | Fiber | Weight | Best for |
|---|---|---|---|
| Student pad | cellulose | 140 lb / 300 gsm | swatches, practice |
| Cold-press cotton | 100% cotton | 140 lb / 300 gsm | all 7 techniques |
| Hot-press cotton | 100% cotton | 140 lb / 300 gsm | fine detail, botanicals |
| Heavy cotton | 100% cotton | 300 lb / 640 gsm | big wet washes, no buckling |
For everything below, I recommend a cold-press cotton paper. The texture catches dry brush strokes and salt crystals beautifully, and it can take a scrub when you lift.
1. Wet-on-Wet: Skies, Oceans and Mist
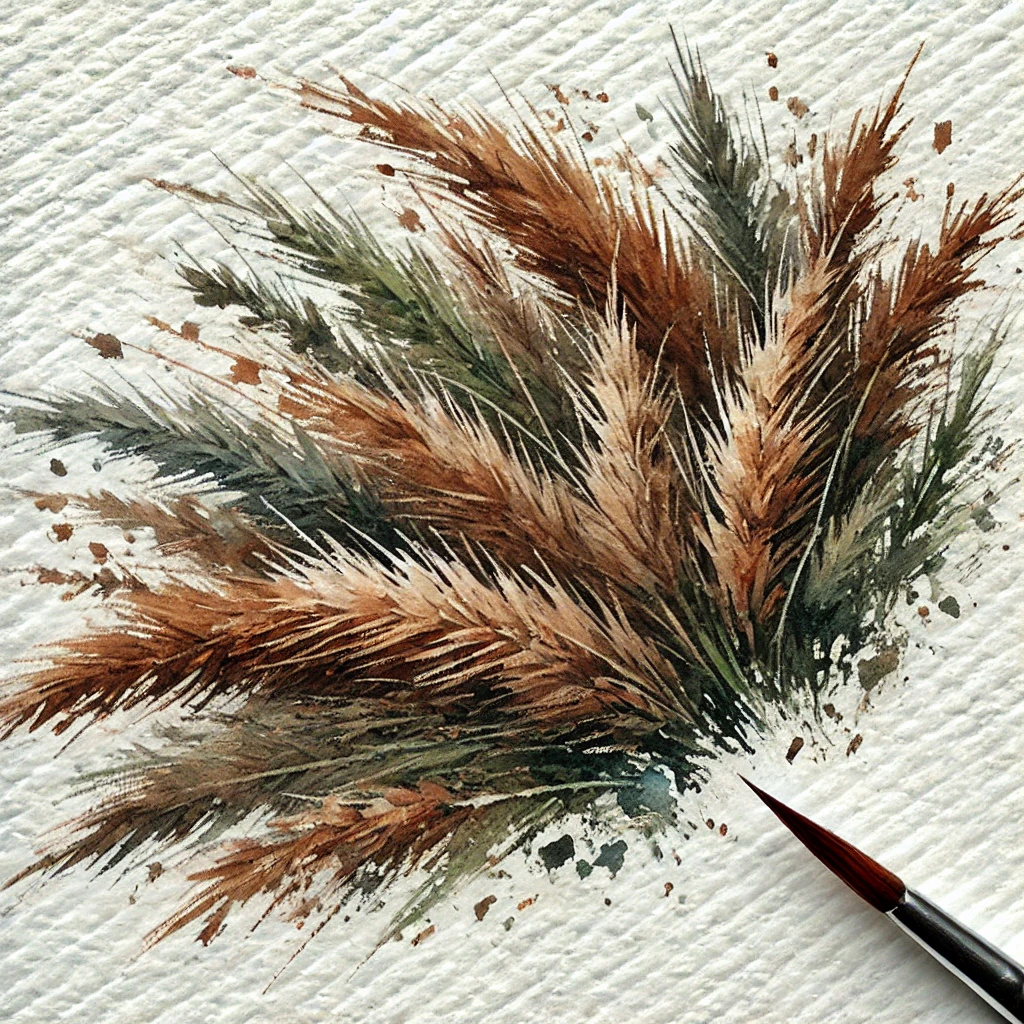
This is the heart of ethereal watercolor. Paint dropped into wet paper spreads, feathers and blends on its own.
How to do it:
- Wet the area with clean water until it has an even glossy sheen, with no standing puddles.
- Load your brush with fairly strong color (it will dilute on the paper) and touch it in.
- Tilt the board gently to guide the flow, then hands off while it dries.
Best for: skies, oceans, misty backgrounds, soft florals.
Supplies: a mop brush holds a big load of water, and transparent watercolors stay luminous when they mingle.
Mix about twice as strong as you think you need. Wet-on-wet washes typically dry 30 to 50 percent lighter than they look wet.
2. Dry Brush: Grass, Fur and Bark
The opposite of wet-on-wet. Very little water, lots of pigment, and the paper texture does the rest.
How to do it:
- Load a brush with thick paint, then blot most of it off on a paper towel.
- Drag the brush lightly and quickly across dry paper, holding it low and almost flat.
- Build in layers, letting each one dry first.
Best for: grass, fur, tree bark, weathered wood, sparkle on water.
Supplies: a stiff synthetic brush or a fan brush for grasses.
3. Salt Texture: Galaxies and Snow

Salt crystals pull pigment toward them and leave little starbursts. It’s the most fun you can have with a kitchen shaker.
How to do it:
- Lay down a rich, wet wash.
- Wait until the sheen drops from glossy to satin, then sprinkle salt.
- Let it dry completely (at least 20 to 30 minutes), then brush the salt off.
Best for: galaxies, snowfall, frost, lichen, textured stone.
Timing is everything here. On a glossy wash the salt just dissolves. On matte damp paper nothing happens. Coarse sea salt makes big bursts, and table salt makes fine speckles. Granulating pigments add even more texture under the salt.
4. Lifting: Sunsets, Fog and Light Beams
Watercolor can be taken back out. Lifting pulls pigment off the paper to create glowing light.
How to do it:
- While the wash is still damp, press a natural sponge or a crumpled tissue into it.
- On dry paint, wet the area with a clean damp brush, count to five, then blot.
- Repeat gently for lighter areas. Scrubbing hard will rough up the paper.
Best for: sunbeams, fog, cloud tops, soft highlights on petals.
Some pigments lift easily (ultramarine, most earth colors) and some stain and barely budge (phthalo blue and green, quinacridones). Swatch first if you plan to lift. Keep cotton rags handy for clean blotting.
5. Splatter: Stars and Loose Florals

A little chaos goes a long way. Splatter adds energy and makes a painting feel alive.
How to do it:
- Mask off areas you want to protect with scrap paper.
- Load a brush with fluid paint and tap it against another brush or your finger.
- For finer stars, flick an old toothbrush with your thumb.
Best for: night skies, loose floral bouquets, sea spray, a sense of movement.
Try splattering clean water into a damp wash too. It pushes the pigment away and leaves soft, glowing dots.
6. Gradient Wash: Sunsets and Backgrounds

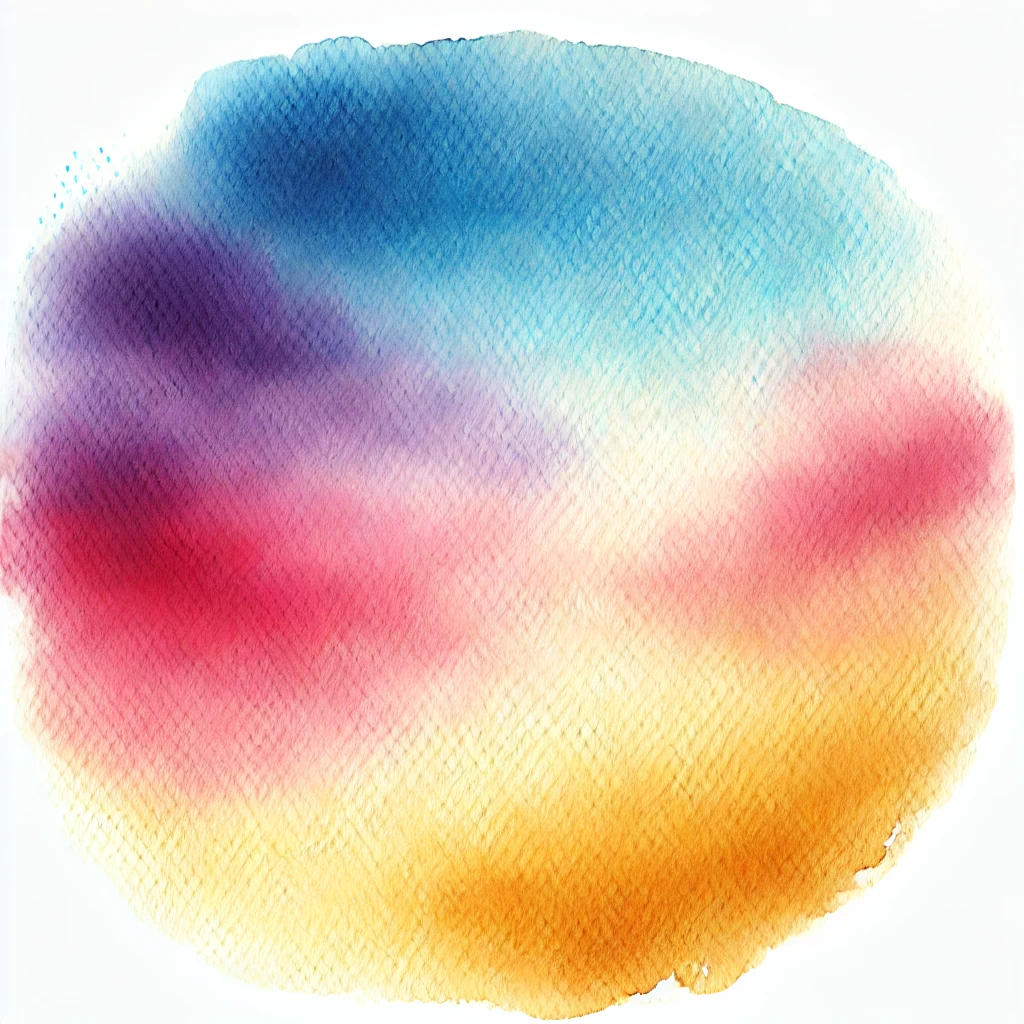
A smooth fade from strong color to pale (or from one color to another) is a classic for dreamy backgrounds.
How to do it:
- Tilt your board about 15 to 30 degrees so a bead of paint forms at the bottom of each stroke.
- Paint the first stripe with full-strength color using a flat wash brush.
- Add a little more water to the paint for each new stripe, always picking up the wet bead from the row above.
Best for: sunset skies, calm seas, soft background washes.
The rule is to keep a wet edge. If the bead dries before you reach it, you get a hard line. A tilted board makes this much easier than propping your paper on a book.
7. Masking Fluid: Saving Your Whites
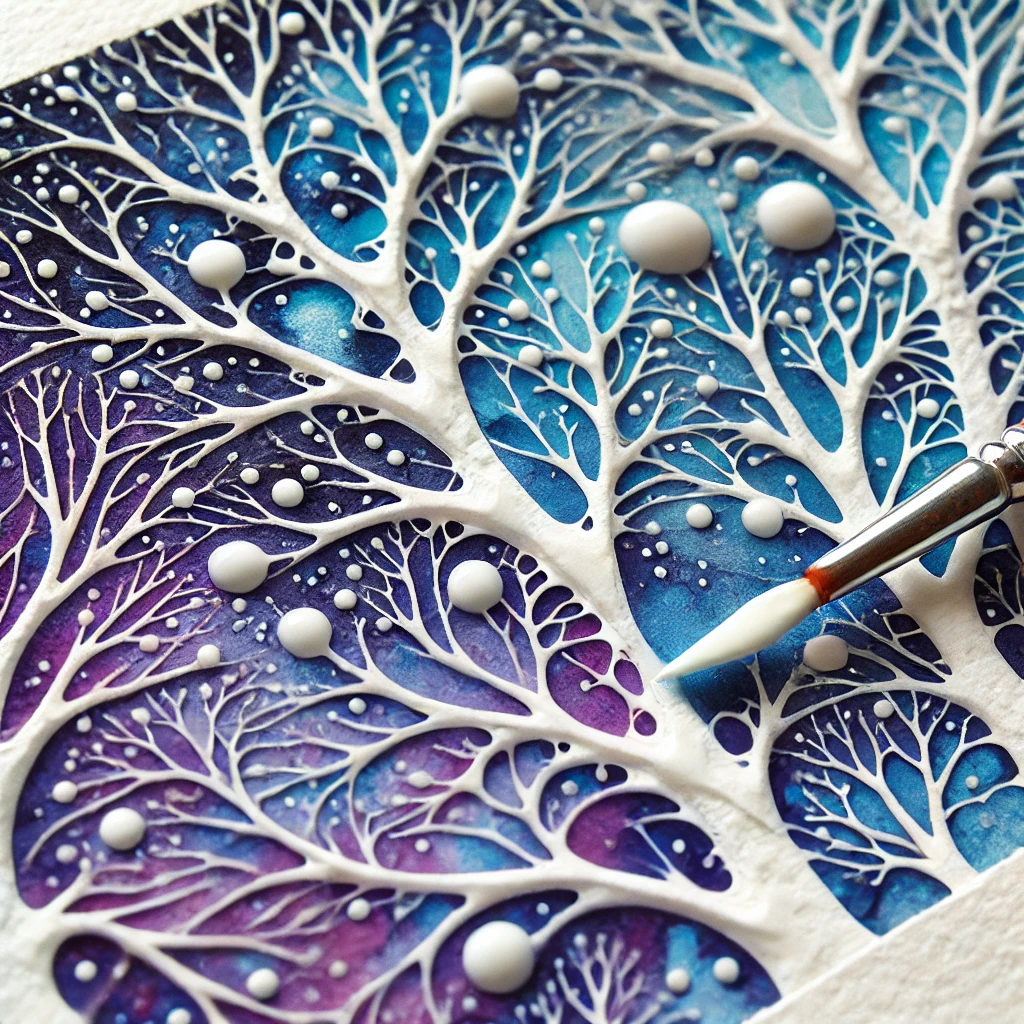
Watercolor has no white paint in the traditional sense. The white is the paper, so you protect it before you paint.
How to do it:
- Coat an old brush in a little dish soap so the fluid won’t ruin it, then apply masking fluid.
- Let it dry completely, then paint right over it.
- When the paint is bone dry, rub it off with a rubber cement eraser.
Best for: stars, highlights on water, white petals, fine branches against a sky.
Remove masking fluid within a day or two, and never dry it with a hot hair dryer, or it can bond to the paper. A silicone brush is even easier: the dried fluid peels right off the tip.
Cheat Sheet: Which Technique for Which Subject
| Subject | Main technique | Add for magic |
|---|---|---|
| Night sky | wet-on-wet | salt, splatter |
| Sunset | gradient wash | lifting for sunbeams |
| Misty forest | wet-on-wet | lifting for fog |
| Snow scene | masking fluid | salt for flakes |
| Meadow | wet-on-wet base | dry brush grass |
| Ocean | gradient wash | masking for foam |
Common Fails and How to Fix Them
Three problems show up for almost everyone: blooms (those cauliflower edges), hard lines in washes, and mud. All three are fixable.
- add paint only on glossy or dry paper
- keep a wet edge
- mix 2 pigments max
- let layers dry fully
- use cotton paper
- drop wet paint into damp paper
- stop mid-wash
- stir 4 colors together
- rework a drying wash
- fight with cellulose paper
- Blooms: wetter paint flowed back into a drying area. Next time, add paint while the area is still glossy, or wait until it’s fully dry. Or lean in and call it texture.
- Hard lines: the wash edge dried before you got back to it. Work smaller areas, or wet the whole sheet first for more time.
- Mud: too many pigments or too much reworking. Mix on the paper, not the palette, and stop touching it.
Your 20-Minute Practice Sampler
Don’t test a new technique on a painting you care about. Fold a quarter sheet of cotton paper into six boxes and run through this.
Label each box with the paint and paper you used. In a month you’ll have a reference page that tells you exactly how your supplies behave.
Investment Pieces Worth It
You can learn all seven techniques on a modest kit. These are the upgrades that make the biggest visible difference.
Professional cotton paper. Arches cotton watercolor paper holds water evenly, which is exactly what wet-on-wet, lifting and gradients need. Worth it for anyone painting finished pieces. Skip it for daily swatching and use student paper there.
A professional paint set. The Schmincke Horadam 24 half-pan box (around $157) and the Daniel Smith 24 hand-poured half pans (around $128) are both loaded with pure, single-pigment colors that mix clean instead of muddy. If you paint twice a week for two years, $140 works out to about $0.70 a session. Skip it if you’re still deciding whether you love watercolor. A good artist-grade starter set is enough for that.
A quality mop brush. A good mop brush holds enough water to cover a whole sky in one pass, which means fewer hard lines. Worth it if you love big washes. Skip it if you mostly paint small botanicals, where a good round brush does more work.
Want a project to try these on? My watercolor cherry blossom scenes use wet-on-wet skies, splatter and masking fluid all in one painting.
The Takeaway
Ethereal watercolor comes from water control more than talent. Read the shine on your paper, pick the technique that matches the subject, and give every layer time to dry before you touch it again.
Which of these seven are you trying first: the salt galaxies or the lifted sunbeams? Tell me in the comments. And save this to your watercolor board so the shine scale is there next time you paint.
Keep going: