This post contains affiliate links. If you buy through them, I may earn a small commission at no extra cost to you.
Why do cherry blossoms look so effortless on Pinterest and turn into pink blobs on your paper?
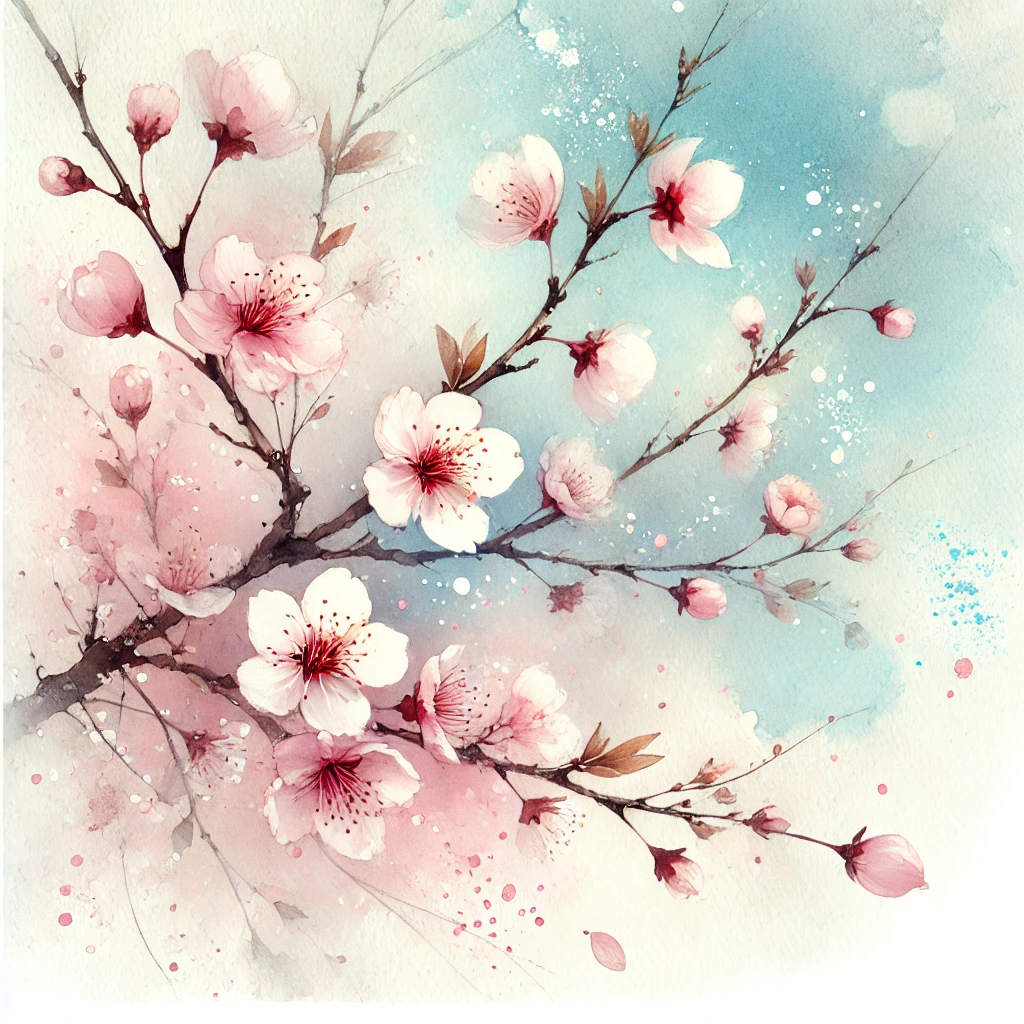
Here’s my take: pretty cherry blossoms come from restraint. Fewer petals, more white paper, and a pink that stays clean because you stopped mixing it. The branch can be loose and a little wild. The blossoms need to be light and left alone.
This tutorial walks through a full scene, from the first pencil line to the falling petals, with the exact mixes, water ratios and timing that keep everything soft.
If you only do one thing: paint each blossom in one or two touches and walk away. Going back into a damp petal is the number one cause of muddy pink.
What You’ll Need
You don’t need a huge kit for this one. A handful of colors and two good brushes will carry the whole painting.
- Paint: a watercolor set with a rose or magenta, a blue and a brown. For extra-soft blending, this watercolor set is lovely for pinks.
- Paper: cold-press watercolor paper, 140 lb (300 gsm) at minimum. Thinner paper buckles under the background wash.
- Brushes: a brush set with a size 8 or 10 round for blossoms, plus a few smaller round brushes (size 2 to 4) for twigs.
- Extras: two jars of water (one for rinsing, one kept clean), paper towels, a pencil, and an old toothbrush for splatter.
- Optional: cherry blossom stencils if you’d like help placing blooms, and blossom stickers for decorating finished cards.
Mix Your Pinks Before You Start
Mix everything in separate wells first. Once you start painting blossoms, there’s no time to hunt for the right pink while a petal dries.
| Mix | Recipe | Use it for |
|---|---|---|
| Blossom pink | permanent rose or quinacridone rose + lots of water | main petals |
| Deep pink | same rose, less water, tiny touch of red | bloom centers, buds |
| Shadow pink | blossom pink + a speck of blue or violet | petals in shade |
| Branch brown | burnt umber + ultramarine | branches, twigs |
| Sky wash | very watery blue, or blue + a hint of violet | background |
No exact match in your set? Use the nearest colors you have. Any cool rose works. Warm, orange-leaning pinks look more like peach blossoms.
Shadow pink needs only a speck of blue. Add more than a pinhead and you’ll get lavender or gray. Test every mix on a scrap strip first.
Water Ratios: The Consistency Guide
Most “my blossoms look flat” problems are water problems. Think of your paint in kitchen terms.
Tea-thin paint spreads into a glow. Butter-thick paint holds a crisp line. A cherry blossom scene uses all four, roughly from lightest to darkest in that order.
How to Paint the Scene, Step by Step
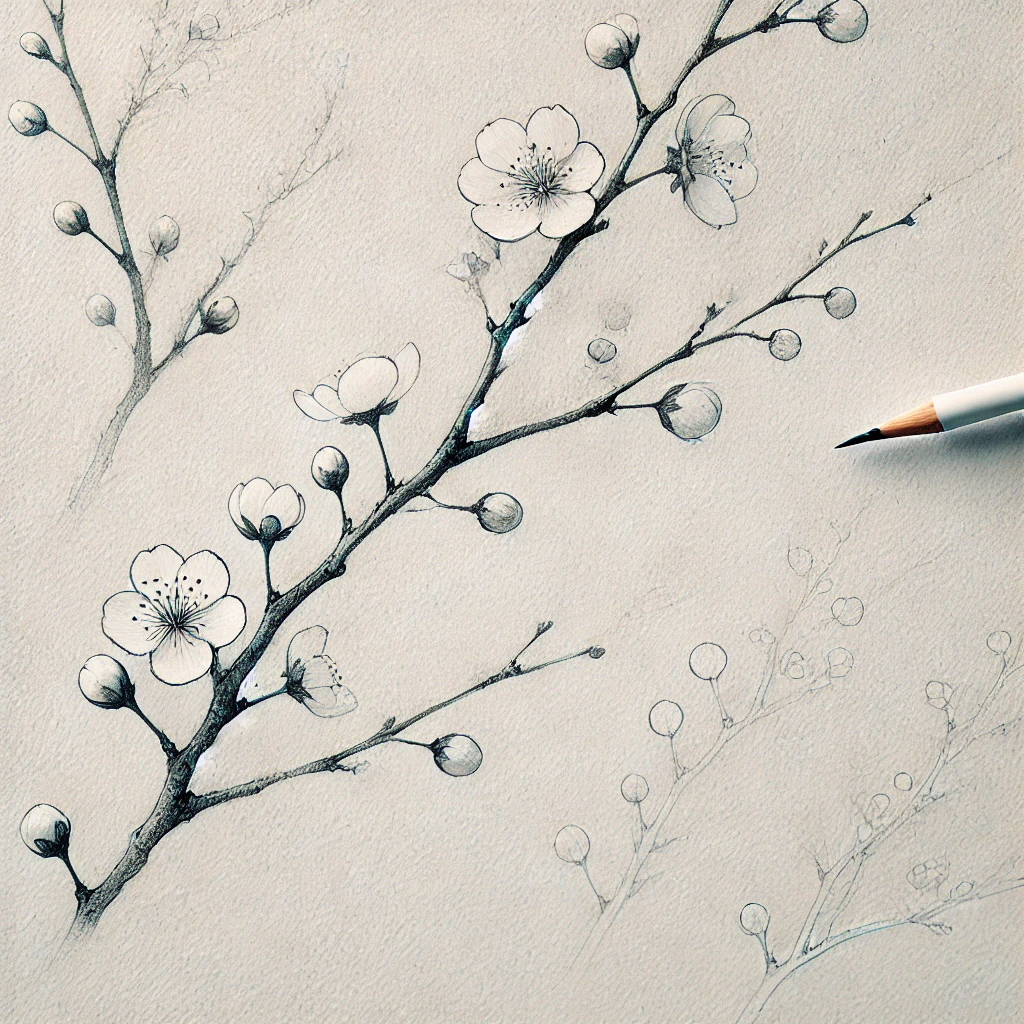
Here’s the whole process at a glance before we go step by step.
Step 1: Sketch the Branches Lightly
Use an HB pencil and barely touch the paper. Draw the main branch entering from one side or a corner, never straight through the middle. Add two or three smaller branches that fork off at angles.
Mark blossom clusters with small circles, about the size of a coin. Skip drawing individual petals. Pencil under transparent pink shows through.
Step 2: Lay a Soft Background Wash
Wet the whole sheet with clean water until it has an even sheen, with no puddles. Drop in your tea-thin sky wash in loose patches, leaving some areas white. Tilt the paper gently so the color drifts.
Let it dry completely, about 15 to 20 minutes, or use a hair dryer on low held a foot away. The back of your hand on the paper should feel room temperature, not cool. If you want to understand the timing behind this, my ethereal watercolor techniques guide covers how to read the shine on your paper.
Step 3: Paint the Blossoms
This is the fun part. Load your size 8 round with milk-consistency blossom pink.
A cherry blossom has five rounded petals with a tiny notch at the tip of each one. Press the belly of the brush down and lift to make each petal, so the stroke is fat in the middle and tapers. Five presses in a loose circle make one flower.
- Group blooms in clusters of 2 to 5, with a few singles and buds scattered between.
- Turn some flowers sideways (three visible petals) and some away (a small cup shape). All front-facing flowers look like stickers.
- Vary pressure. Lighter presses make smaller, younger petals.
- While a petal is still wet, touch deep pink into the center and let it bleed outward.
Leave tiny gaps of white between petals. That white is what makes them glow.
Step 4: Build Depth

Once the first layer is fully dry (10 to 15 minutes), go back with shadow pink on the petals that sit behind others or face away from the light. Two or three shadow petals per cluster is plenty.
Add deep pink dots for centers and a few closed buds along the branch tips. Buds are just small teardrop shapes in your darkest pink.
Step 5: Paint the Branches
Switch to a smaller round and your butter-thick branch brown. Paint the branch in short, broken strokes rather than one smooth line. Let it disappear behind blossom clusters and reappear on the other side.
Add a little gray (brown plus more ultramarine) to the undersides for shadow. Thin twigs come off at sharp angles and taper to nothing. Wobbly is good here. Real cherry branches are knobby and crooked.
Step 6: Finishing Touches
- Falling petals: load a toothbrush with blossom pink and flick it with your thumb over the paper. Cover any area you want clean with a paper towel first.
- Floating petals: paint four or five single petals drifting away from the branch, getting smaller as they go.
- Highlights: dampen a clean brush, touch it to the top of a petal, count to five, and blot with a tissue to lift a soft highlight.
Stop while it still looks a little unfinished. That’s usually the moment it looks best.
If you learn better by watching, this tutorial walks through a cherry blossom painting:
Petal Shapes Cheat Sheet
Mix all five in every cluster and the branch suddenly looks real.
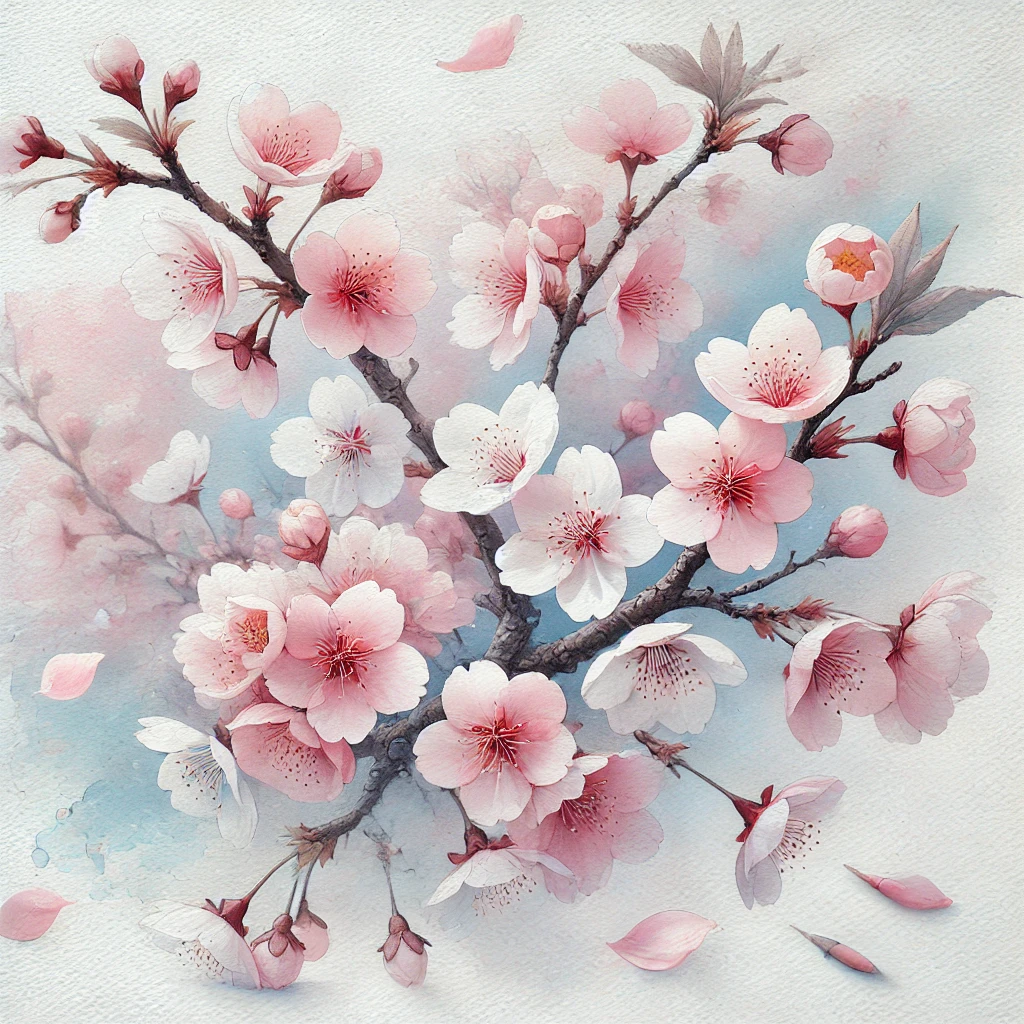
Troubleshooting Your Blossoms
| Problem | Why it happens | Fix |
|---|---|---|
| Cauliflower blooms | wet paint touched damp paper | wait until fully dry or work fully wet |
| Hard, dark edges | too much paint, too little water | thin to milk consistency, soften edge with damp brush |
| Muddy pink | too many layers or blue added twice | one or two touches per petal, clean water jar |
| Blossoms look flat | all the same pink | add shadow pink and deep centers |
| Branch looks stiff | one smooth line | break it into short strokes behind blooms |
| Sky looks dirty | rinse water was tinted | keep one jar of clean water only for washes |
Make It Yours: Variations
- Night blossoms: paint a deep indigo sky, mask the blossoms or paint them with white gouache on top.
- Sunset branch: a peach to lavender gradient sky makes pink petals glow warmer.
- Single branch study: skip the background and float one branch on white paper. Great for beginners.
- Blossoms and a lantern or bird: add one small focal element. Keep it in the darker brown family.
Ways to Use Your Painting
Cherry blossom scenes make beautiful wall art, handmade cards, sketchbook and journal covers, and printed stationery. If cards are your thing, my handmade spring watercolor floral notecards tutorial covers sizing and folding.
For a quick card, paint a single branch on a 5 x 7 inch piece and fold in half. One branch, three clusters, a few falling petals. Done in under 30 minutes.
Planning a bigger floral piece? My guide to dreamy floral watercolor compositions shows how to arrange flowers so the eye knows where to look.
Investment Pieces Worth It
You can paint every step above with a basic set. These are the upgrades that make the biggest visible difference for blossoms.
Professional cotton paper. Arches cotton watercolor paper holds water evenly, so your background wash stays soft and petals don’t blotch. Worth it for wall art and gifts. Skip it for practice branches, where student paper is fine.
A professional paint set. The Schmincke Horadam 24 half-pan box (around $157) has clean, single-pigment roses that stay bright when diluted. Paint twice a week for two years and that’s roughly $0.75 a session. Skip it if you’re still testing whether you love watercolor; a good artist-grade starter set is plenty.
A portable pro tin. The Winsor & Newton Professional Complete Travel Tin (around $143) is perfect if you’d love to paint real blossoms outdoors in spring. Skip it if you only paint at a table at home.
The Takeaway
Cherry blossoms look best when you do less: clean pink, five soft presses, white paper left showing, and a loose branch tying it together. Mix first, paint each petal once, and let the layers dry.
Are you a single-branch painter or a full-sky scene painter? Tell me in the comments. And save this to your watercolor board so the mixing chart is handy in spring.
Keep going: