This post contains affiliate links. If you buy through them, I may earn a small commission at no extra cost to you.
Exposed brick, black steel and warm wood look amazing in photos. So why do so many industrial studios feel like a cold parking garage once you actually sit down to paint?
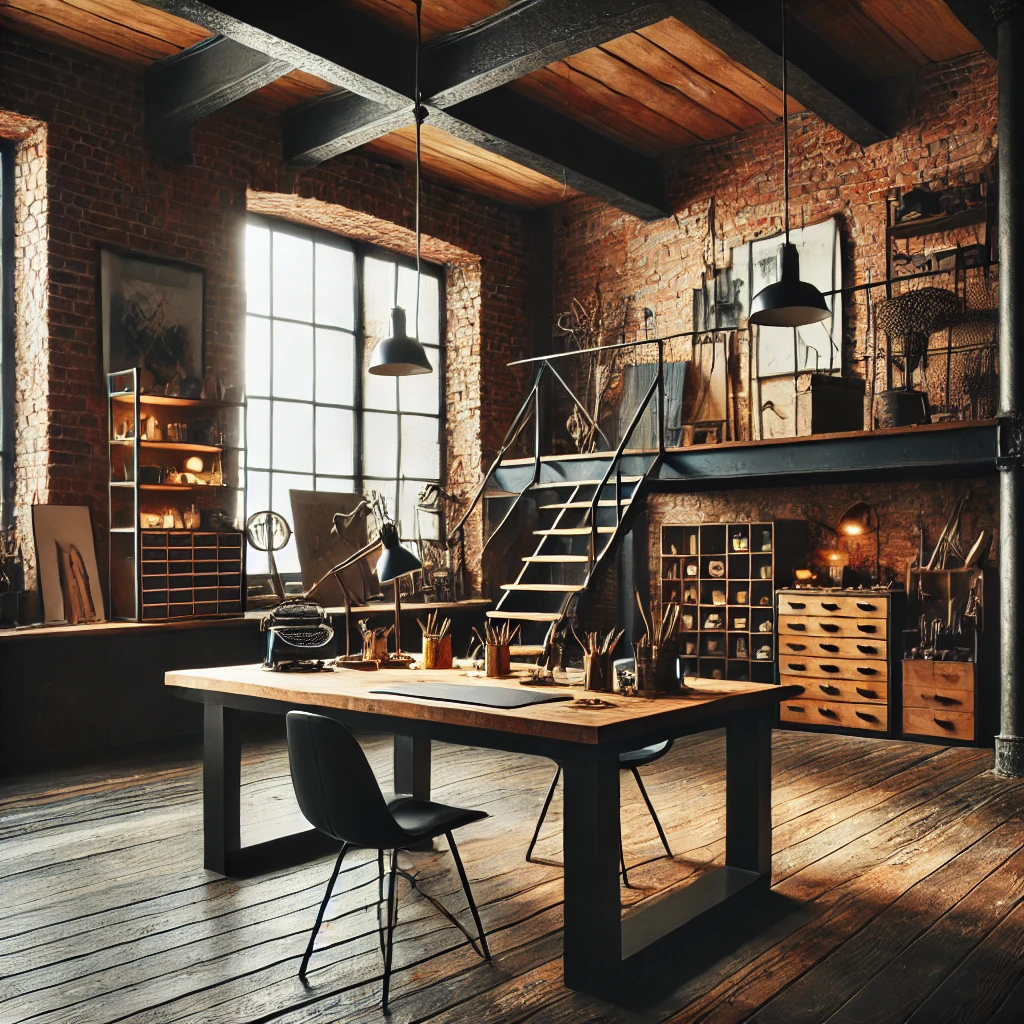
My take: industrial chic works in an art studio when the bones are hard and the touches are soft. Let brick, concrete and metal set the bold look, then warm it with wood, leather and a rug, and keep a neutral daylight lamp on your work. Get that balance right and you have a studio that’s tough enough for messy projects and cozy enough to stay in for hours.
Here’s how to build it in six steps, in the order that saves you the most money and the most second-guessing.
If you only do one thing: add warm wood to every metal zone. A steel shelf with a wood plank, a black metal desk with an oak top, a pipe rail holding a walnut board. That single pairing is the difference between industrial chic and industrial chilly.
Why Industrial Chic Works So Well for Artists
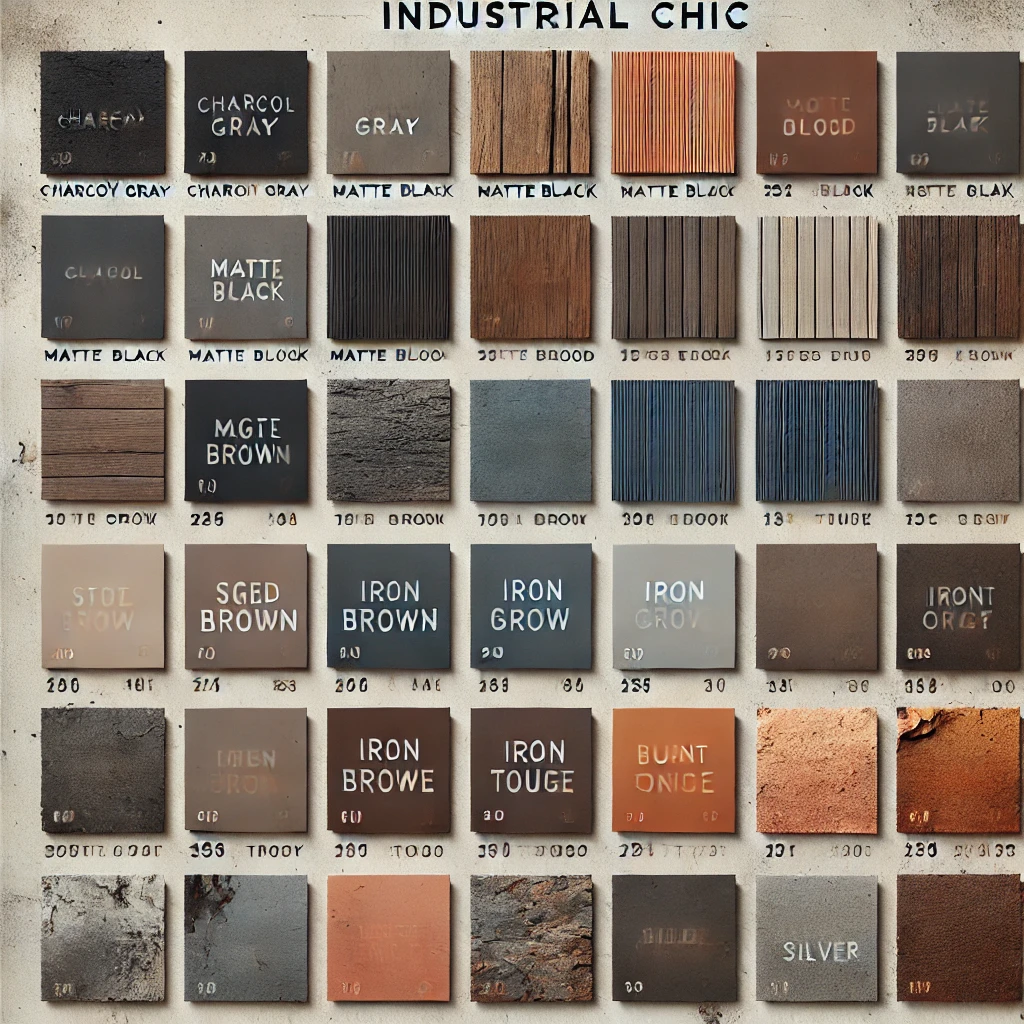
Industrial style was born in old factories and warehouses, and that’s exactly why it suits a working studio. The materials are built to take a beating.
- Forgiving surfaces. A paint drip on steel or sealed concrete wipes off. On a cream linen sofa it doesn’t.
- Open storage. Metal shelving and pegboards keep supplies visible, so you actually use what you own.
- Neutral backdrop. Grays, blacks and wood tones don’t compete with the colors on your canvas.
- Easy to grow. Modular shelving, carts and grids let the studio expand as your supply stash does (and it will).
Step 1: Pick an Industrial Color Palette
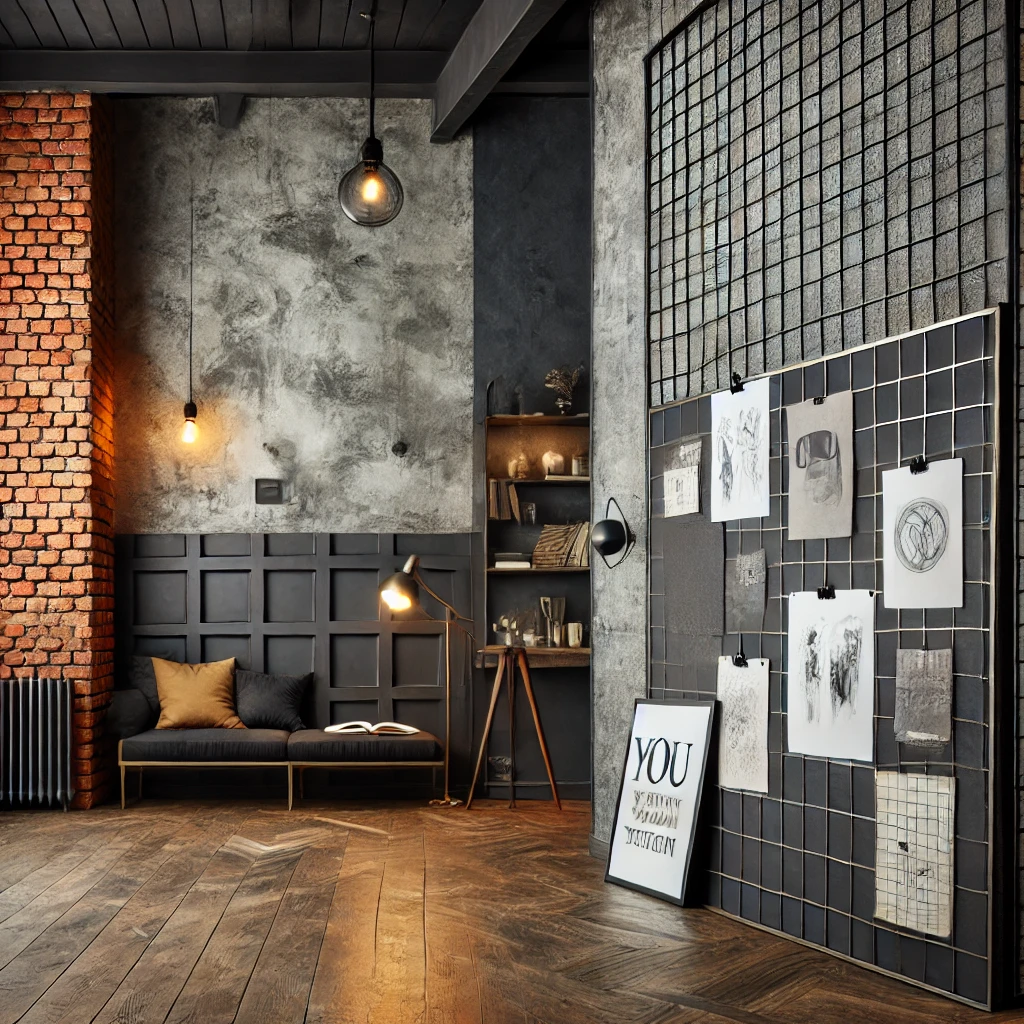
Start here, because every purchase after this gets easier. Choose one palette and keep it to three or four colors. Hex codes below are approximate screen matches for shopping textiles, frames and paint samples.
A few notes on choosing:
- Classic charcoal and aged wood is the boldest. Use it if your studio gets plenty of daylight.
- Concrete gray, matte white and warm wood is the easiest to paint in. Light walls bounce more light onto your work.
- Olive and espresso is the moody choice. It looks rich but needs strong task lighting.
Dark walls can tint what you see slightly, so test a sample on the wall nearest your easel and look at a painting you love against it. If it looks muddy, go one shade lighter.
Step 2: Create a Statement Wall
One bold wall carries the whole look. Four walls of brick feels like a basement.
- Brick. Real exposed brick is the dream. For everyone else, peel-and-stick brick wallpaper gets you 90% of the look and comes off when you move.
- Concrete look. Limewash or a concrete-effect paint gives a soft, cloudy gray that photographs beautifully behind artwork.
- Dark accent wall. Charcoal or black behind your display area makes framed work and bright canvases pop.
- Metal grid. Wire grid panels let you clip up sketches, reference photos and works in progress without nail holes.
Put the statement wall behind you or behind your display area, not directly behind your easel. A dark wall in your line of sight while you paint makes your eyes keep adjusting between the bright canvas and the dark background.
How to Lay Out the Statement Wall
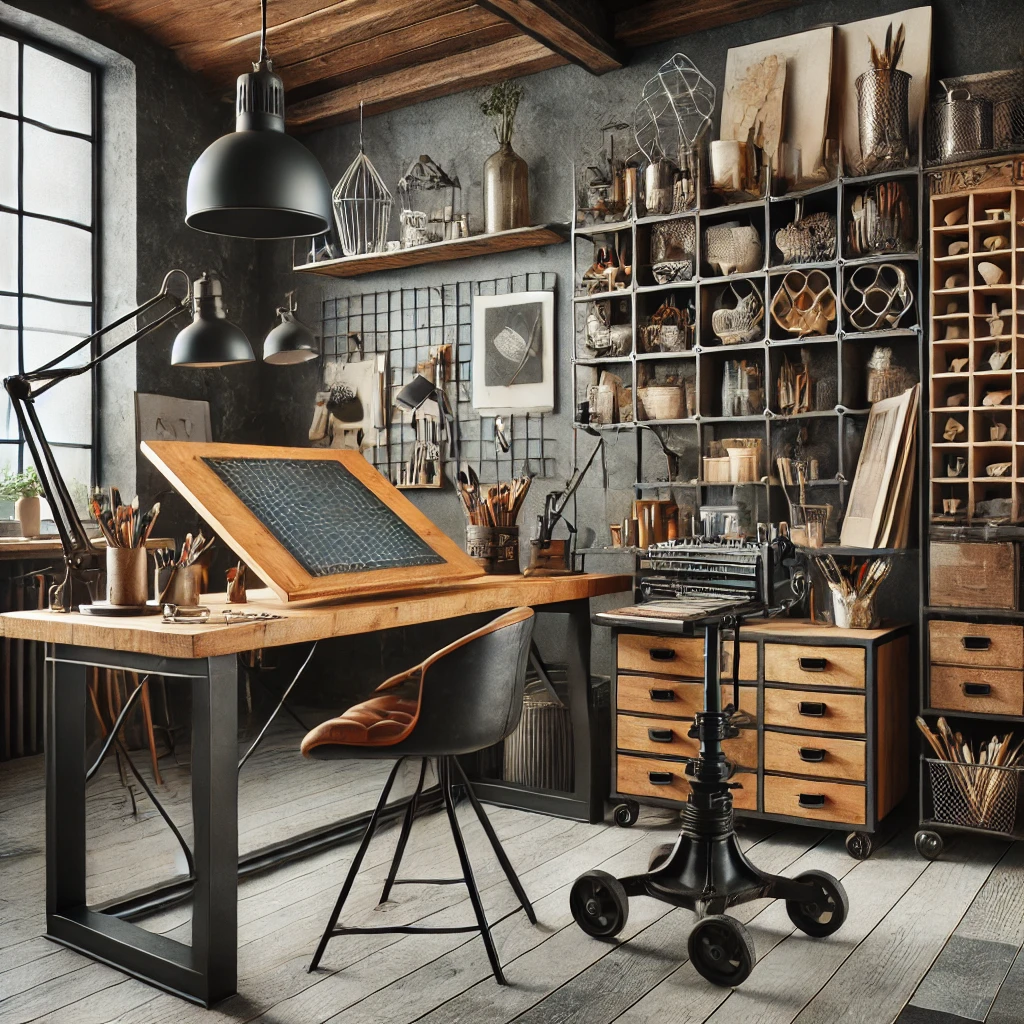
Think of your wall in bands. Things you look at go at eye level. Things you grab go at arm’s reach.
Step 3: Choose Furniture That Mixes Wood and Metal
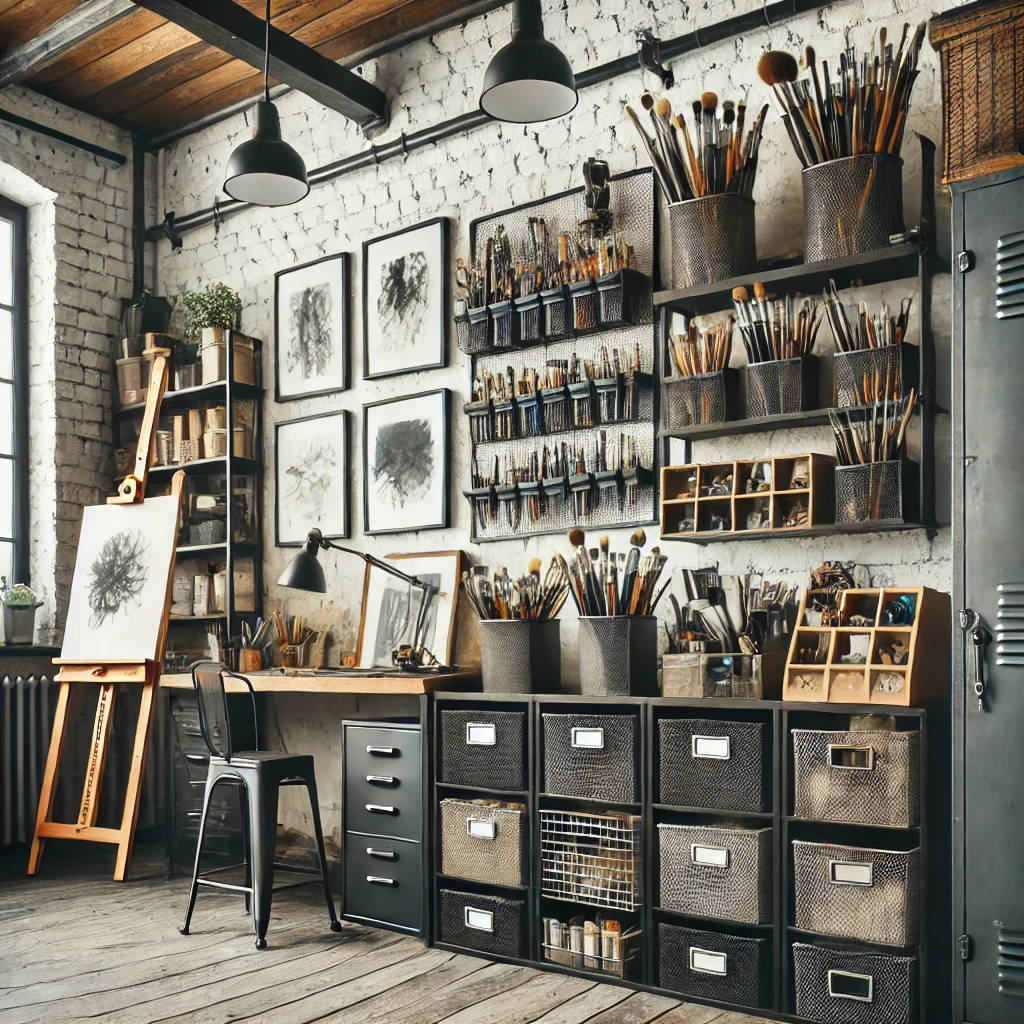
This is where the “chic” comes from. Pure metal furniture looks like a workshop. Wood and steel together look designed.
- A wood and metal desk. A thick wood top on black steel legs is the classic. The VASAGLE industrial table is an affordable starting point.
- Metal shelving. Open steel shelves with wood planks hold bins, jars and books without looking like a garage.
- A workbench or drafting table. If you draw, a tilting top saves your neck. Aim for a desk height that puts your elbows at roughly 90 degrees.
- A black metal chair. Classic industrial stools look great. Add a leather or wool seat pad if you’ll sit for more than an hour.
- A rolling cart. A narrow VASAGLE cart slides between furniture and parks next to the easel while you paint.
For more desk options at every price, see my art desks for every budget guide.
Budget vs Splurge, Piece by Piece
| Element | Budget version | Splurge version |
|---|---|---|
| Statement wall | peel-and-stick brick | real brick or limewash |
| Desk | wood top, steel legs | reclaimed teak drafting table |
| Storage | wire baskets, cart | steel multi-drawer cabinet |
| Wall organizer | grid panels | metal pegboard system |
| Lighting | clamp lamp, Edison pendant | high-CRI daylight floor lamp |
Step 4: Organize With Metal and Reclaimed Wood
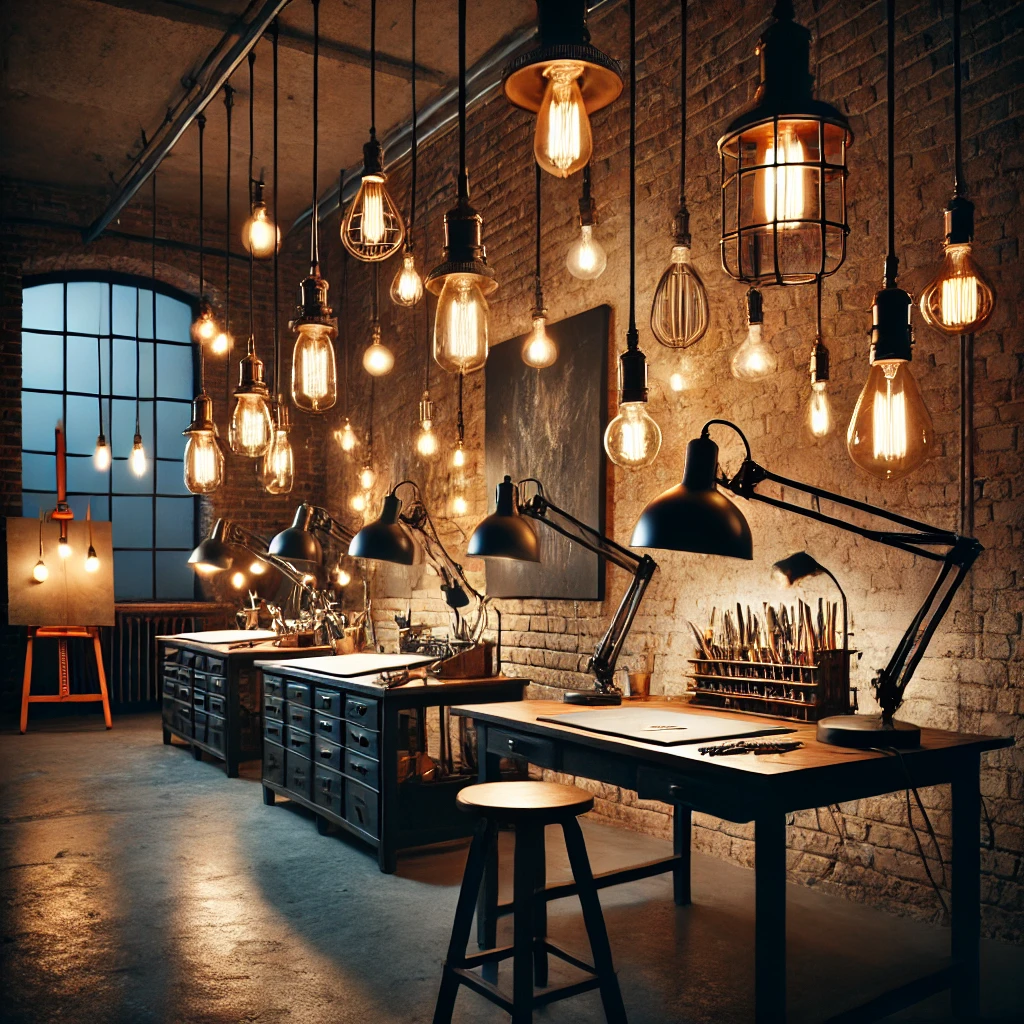
Industrial storage is meant to be seen, so make it tidy enough to show off.
- Wire baskets like these metal wire baskets corral sketchbooks, rags and paper rolls.
- Reclaimed wood shelves on black brackets, or a pipe shelf, hold jars of brushes and reference books.
- A metal pegboard keeps scissors, rulers, tape and brushes at arm’s reach. This metal pegboard is a budget pick, and the Wall Control pegboard kit is the sturdier one.
- Metal lockers like this steel storage locker hide the messy stuff: spray cans, solvents, spare canvases.
- Chalkboard tags on bins look charming and let you relabel as your supplies change.
A quick rule: keep tubes of paint in drawers 2 to 3 inches deep, not in deep bins where they pile up and get lost. More ideas in my wall-mounted organizers roundup.
Step 5: Light It Like an Industrial Loft (and Still See True Color)
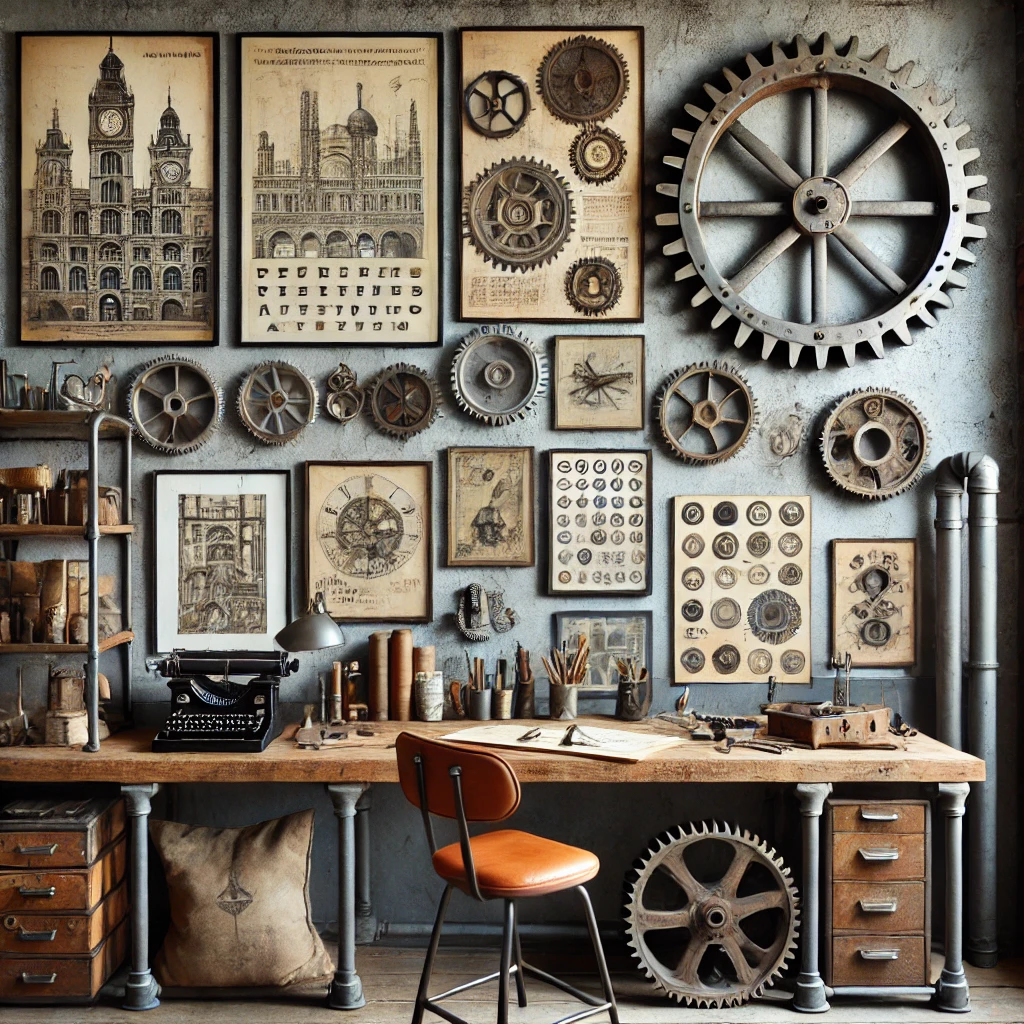
This is the step most industrial studios get wrong. Edison bulbs are gorgeous, but they run around 2200 to 2700K, a warm amber that makes blues look gray and yellows look orange.
The fix is two layers of light:
| Light layer | Fixture | Color temp | Job |
|---|---|---|---|
| Ambience | Edison bulbs, 90+ CRI | 2200 to 2700K | mood and glow |
| Overhead | warehouse pendant | 3000 to 4000K | general light |
| Directional | CRI 90 track lighting | 4000 to 5000K | wall and display |
| Task | daylight lamp at easel | 5000K, 95+ CRI | true color |
Wall sconces, string lights and LED strips under shelves are lovely extras. Just keep them on the ambience side. A rustic task lamp looks the part on a desk, and if you swap in a 5000K high-CRI bulb it doubles as a work light. My full lighting guide for art studios goes deeper.
Step 6: Personalize It
Now the fun part. These are the touches that make the space yours instead of a catalog page.
- DIY pipe shelves in black iron with stained pine boards.
- Vintage blueprints or architectural drawings, framed in thin black metal.
- An oversized wall clock for that old train-station feel (and to remind you lunch was three hours ago).
- Leather on a chair, a stool seat or a tool roll for brushes.
- Your own art. Hang finished pieces on the brick and rotate them every season.
Industrial Done Right vs Cold and Harsh
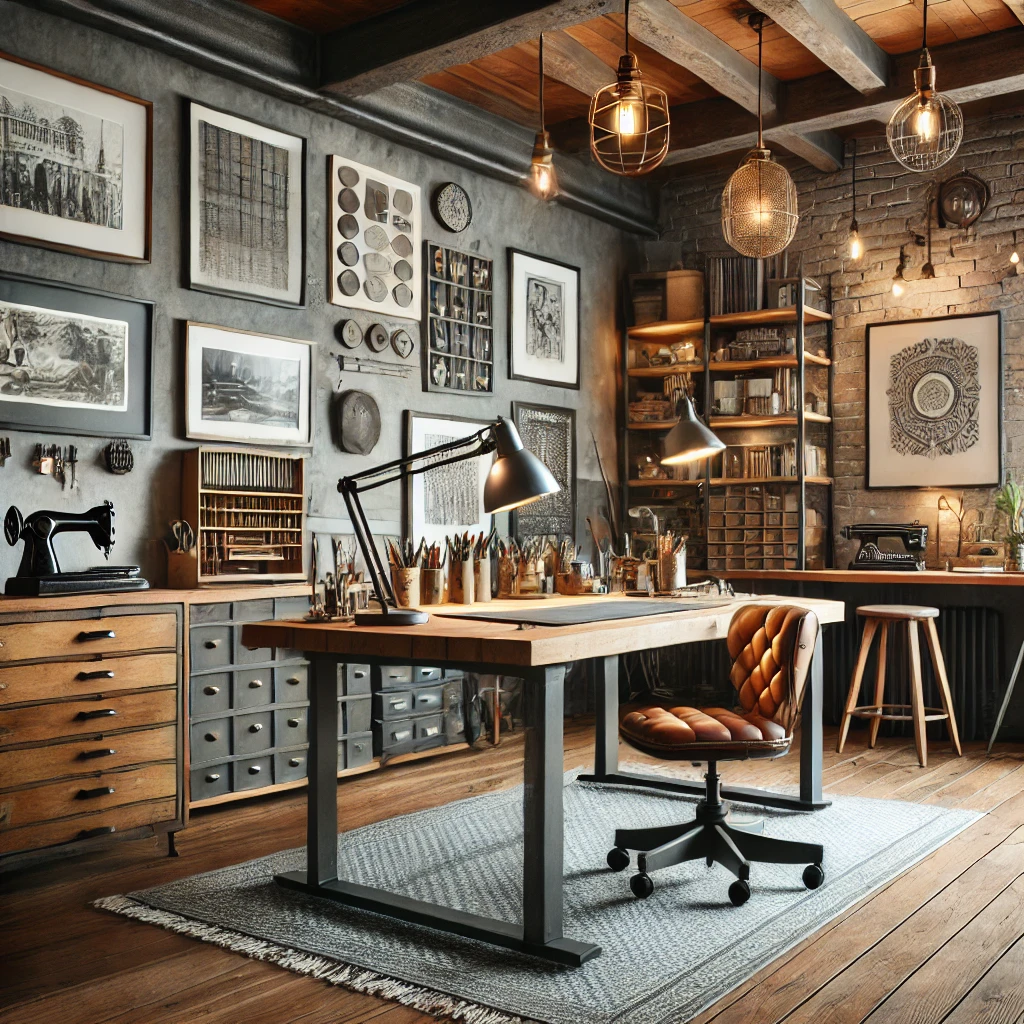
- wood on every metal piece
- leather and wool
- rug underfoot
- warm lamps plus 5000K task light
- one statement wall
- all-metal furniture
- bare concrete floor
- only Edison bulbs
- four dark walls
- nothing soft to sit on
Investment Pieces Worth It
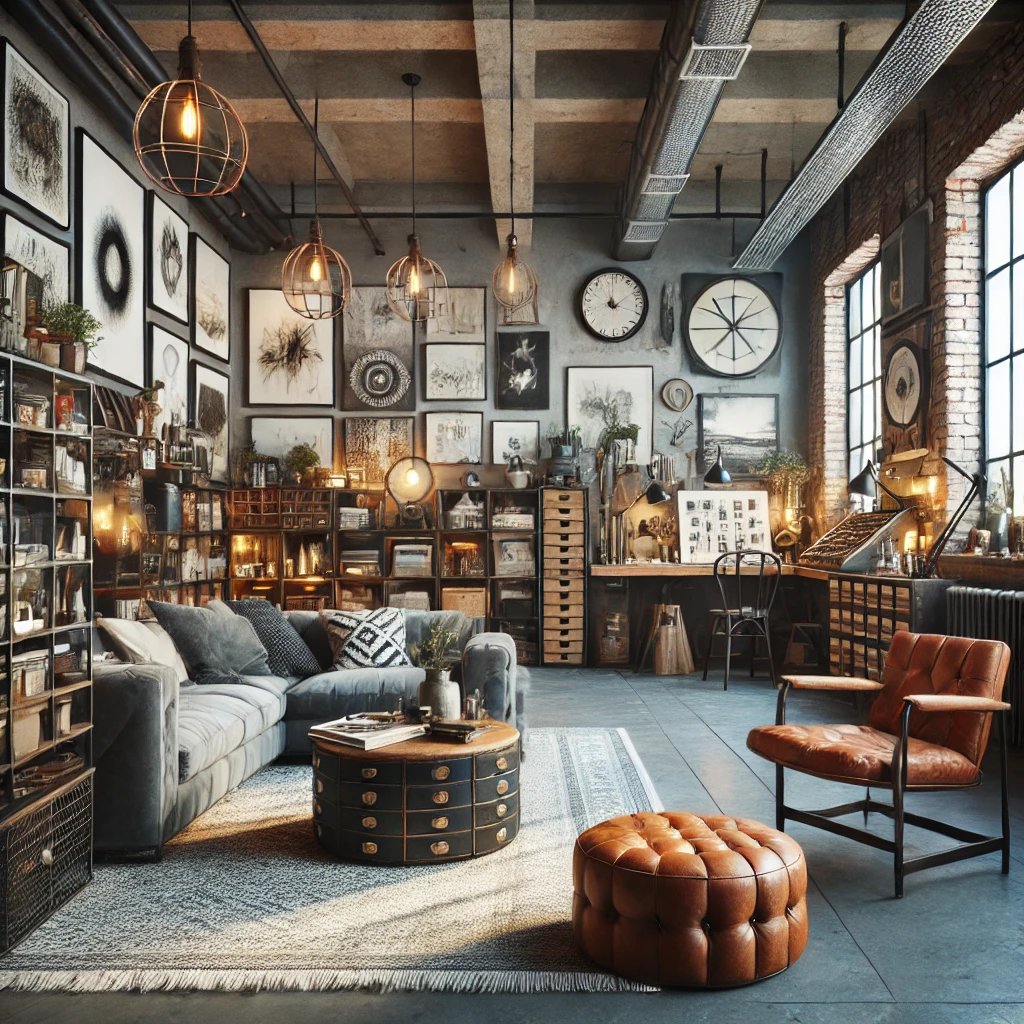
Once the basics are in, a few higher-ticket pieces carry the look and work harder than ten small accessories.
Bisley 6-Drawer Steel MultiDrawer Cabinet (around $245). Classic powder-coated steel drawers, the kind you see in design studios, with shallow drawers that suit paper, pens and tubes. Worth it if you want storage that looks intentional in an industrial room and lasts for decades. Skip it if you mostly need to store large paper, where a flat file fits better. Over 5 years, it’s about $4 a month.
Williston Forge Hackett Reclaimed Teak Drafting Table. Reclaimed wood with real character on a sturdy frame, which is industrial chic in one piece of furniture. Worth it if drawing is your main practice and you want the desk to be the star. Skip it if you paint mostly at an easel and need a flat worktable instead.
Daylight Company Anita Floor Lamp, 95+ CRI (around $245). The piece that lets you keep all those warm Edison bulbs without guessing at your colors. Worth it if you paint in the evening or your studio has little daylight. Skip it if you already have steady north light and only work during the day.
Bringing It All Together
Here’s the whole build in order:
- Pick one palette of three or four colors.
- Make one statement wall and plan it in height zones.
- Pair wood with metal on every big piece of furniture.
- Store in the open, but tidy, with metal and reclaimed wood.
- Layer warm ambience with a 5000K high-CRI task lamp.
- Personalize with leather, blueprints and your own art.
The Takeaway
Industrial chic is a balancing act: hard materials for the bones, wood, leather and warm light for the soul, and a neutral daylight lamp for your actual work. Do those three things and the studio will feel bold, practical and easy to spend a whole afternoon in.
Which part are you starting with, the brick wall, the furniture or the lighting? Tell me in the comments, and save this to your studio inspiration board for later.
[…] ✨ Want More Inspiration for this Industrial studio style? Check out our related posts:Industrial Chic Studio: Design a Bold & Creative Art Space […]