This post contains affiliate links. If you buy through them, I may earn a small commission at no extra cost to you.
Ever walk into a beautiful studio photo and think, “I could never make that work with real paint and real mess”? You can. Luxury in a working studio comes from a few smart decisions made in the right order.
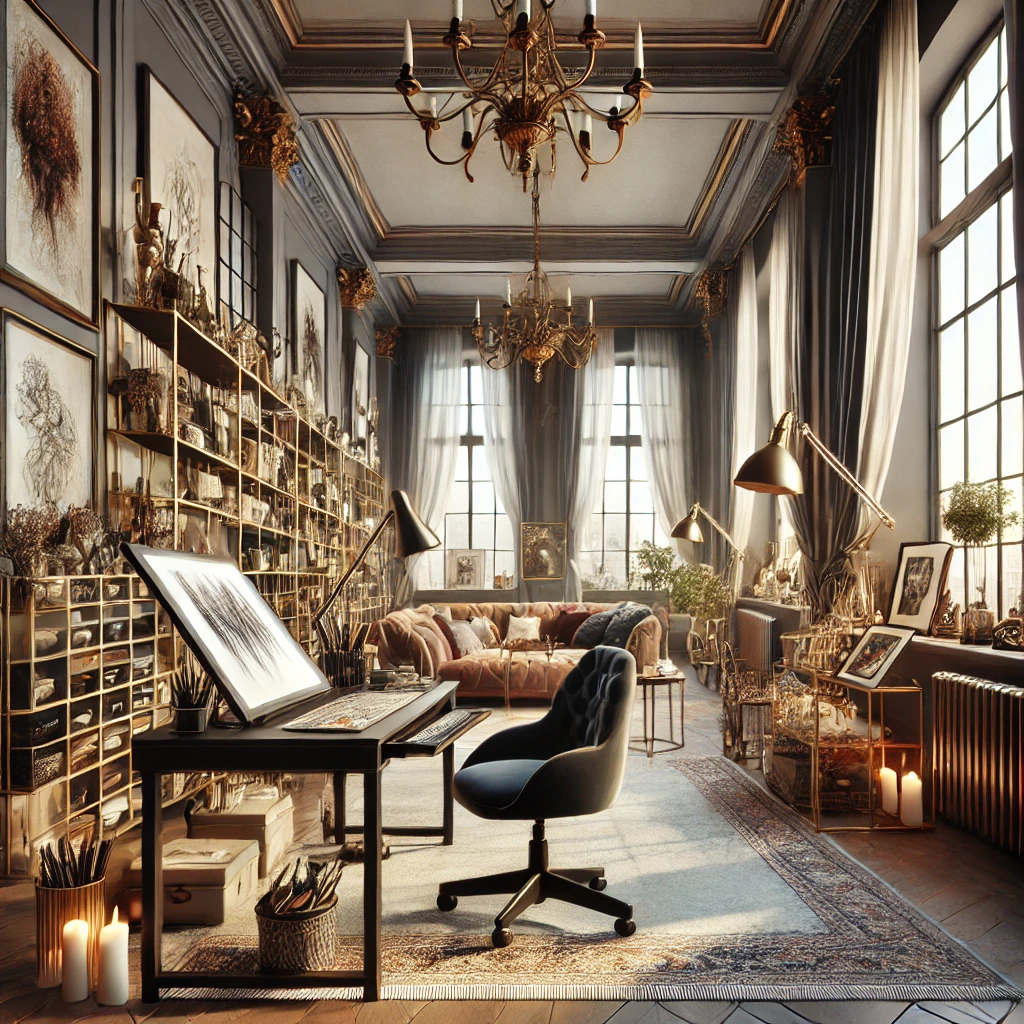
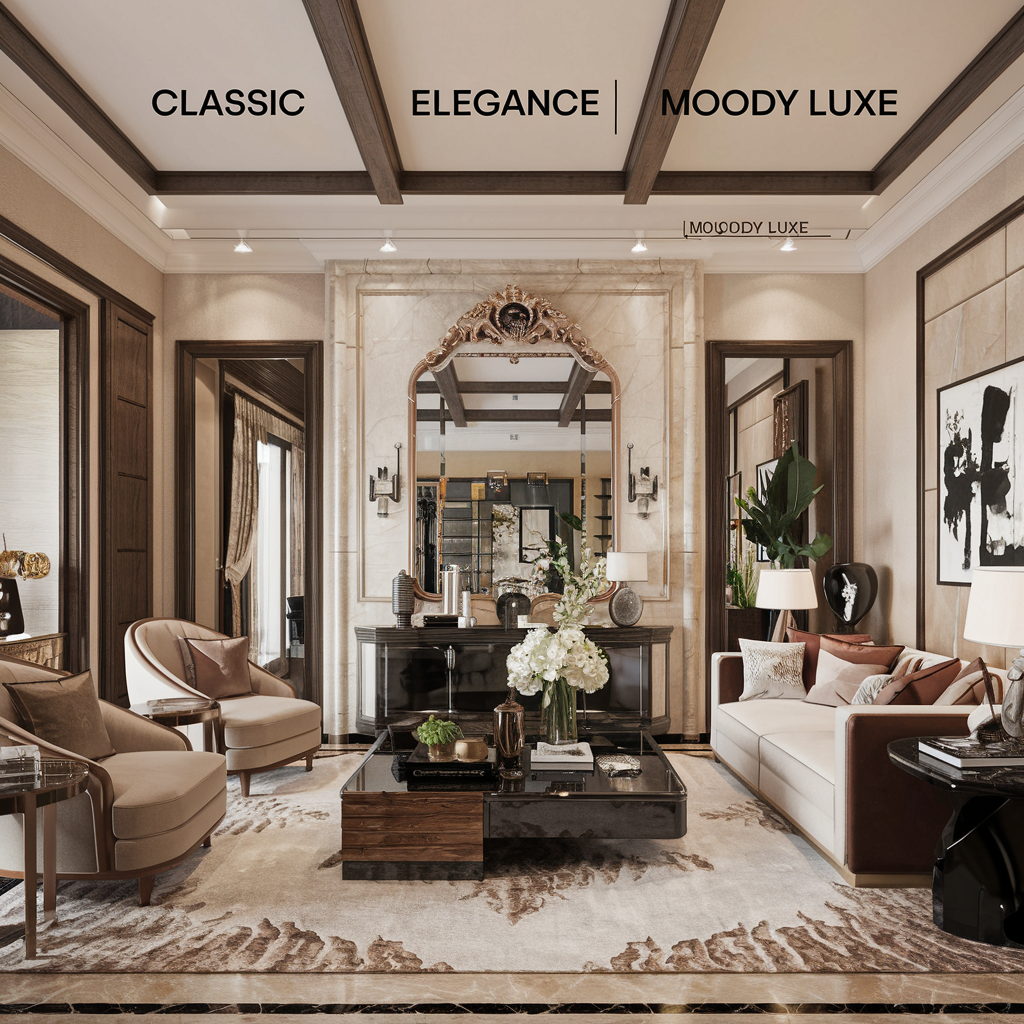
Here’s my point of view: a luxury artist loft is a sequencing problem, not a budget problem. Most rooms that feel expensive got there because someone picked the look first, then the palette, then one anchor piece, and only then started shopping. Skip the order and you end up with a pretty chandelier over a desk that doesn’t fit your canvases.
This is the how-to. If you want to pick a style first, start with 5 luxury artist loft styles and come back here to build it.
If you only do one thing: put a 5000K, 90+ CRI lamp at your work surface before you buy a single decor piece. Gold and velvet are lovely, but true-color light is what makes a studio usable every day.
1. Define Your Aesthetic Before You Buy Anything
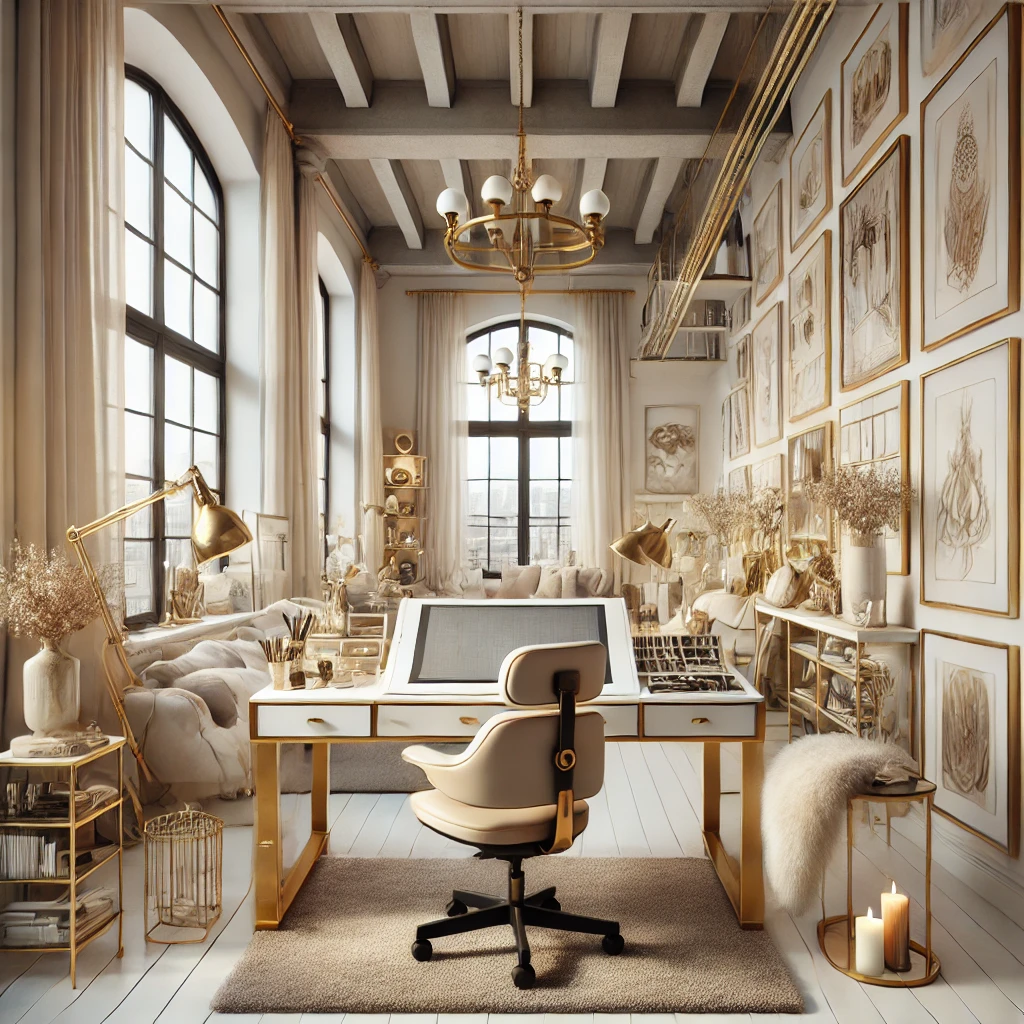
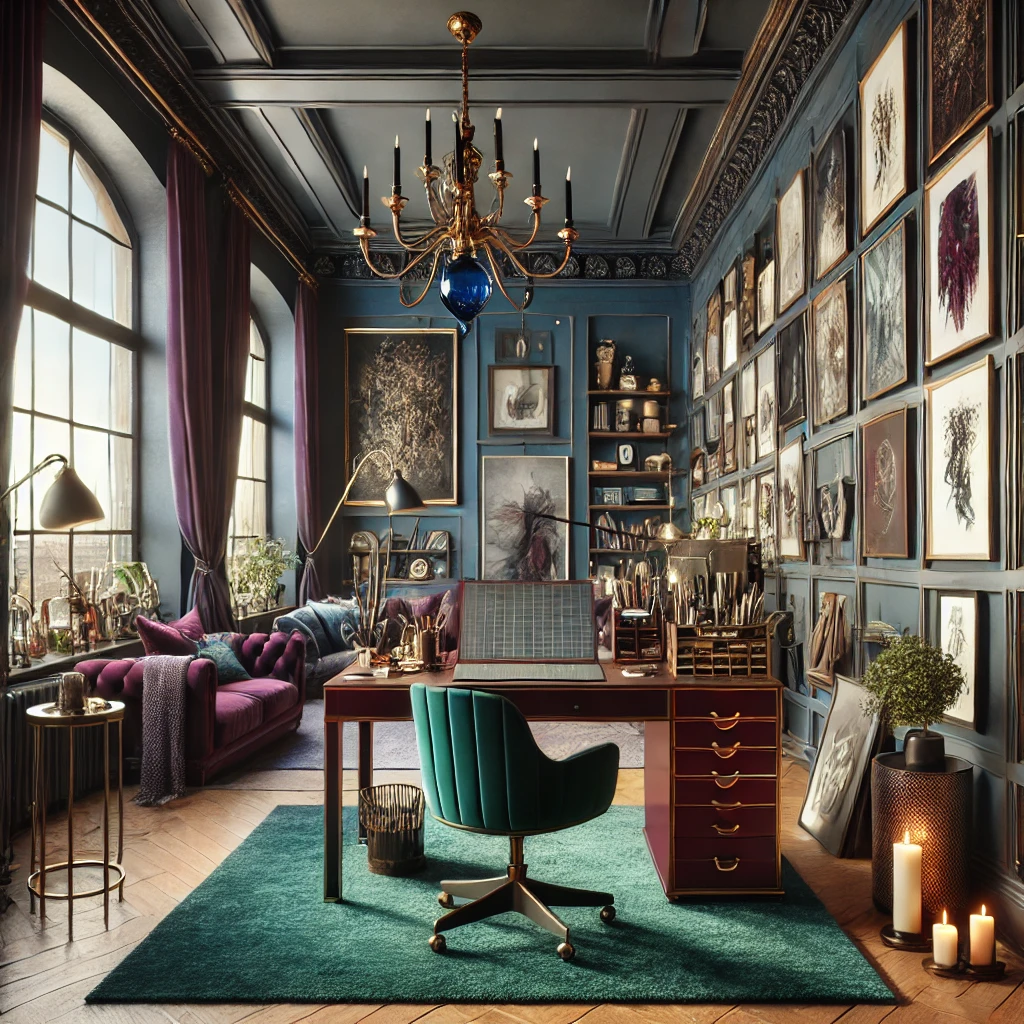
Three looks cover most luxury lofts:
- Classic elegance: warm whites, beige, gold hardware, a crystal or brass light. Calm and bright.
- Moody luxe: deep green or navy walls, brass, velvet, low pools of light. Dramatic and cozy.
- Minimalist chic: white, charcoal, matte black, nothing on surfaces that doesn’t earn its spot.
Pick one and write it on a sticky note on your monitor. Every purchase has to agree with it. Want to see each look in full? The luxe elegant artist studio space post shows the classic version in detail.
2. Choose a Palette With Three Colors and One Metal
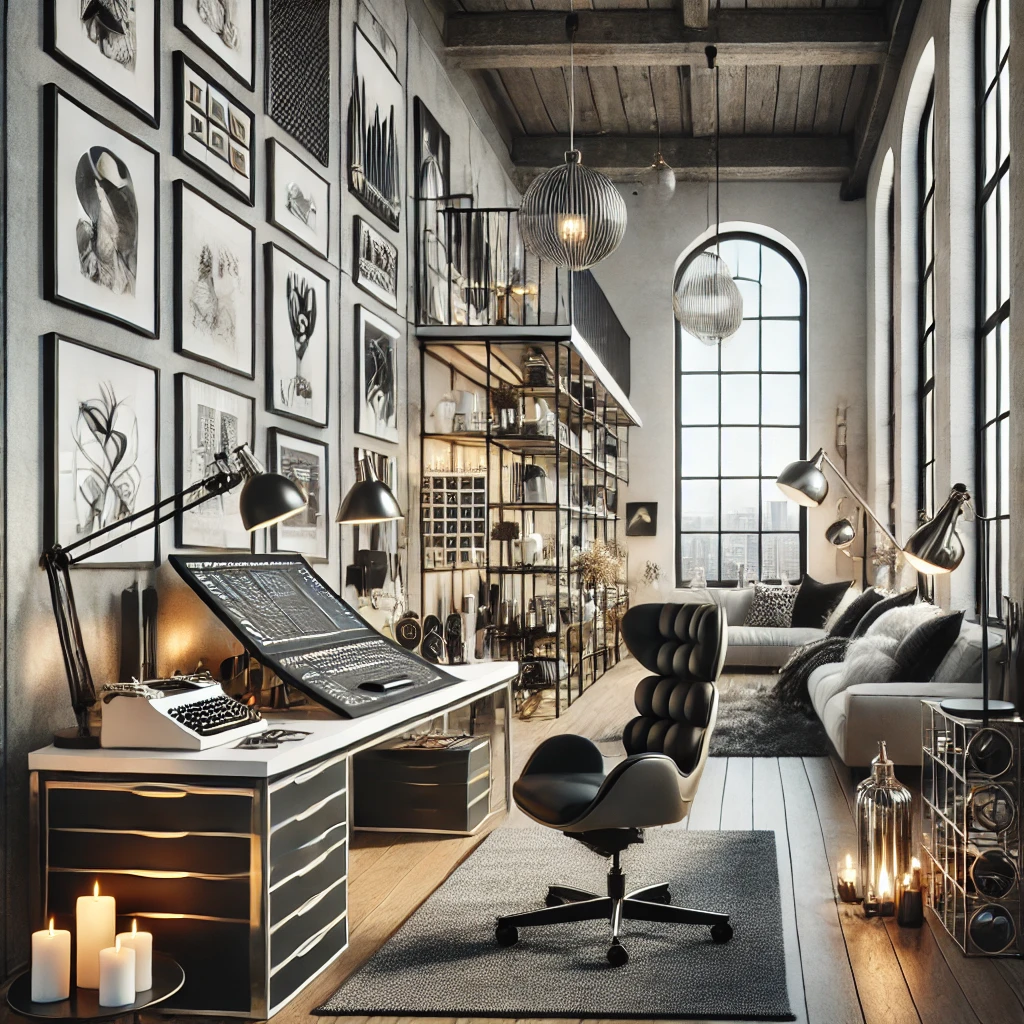
A luxury room almost always has fewer colors than you’d expect. Use a 60/30/10 split: 60% main color on walls and big surfaces, 30% secondary on furniture and textiles, 10% accent in small pieces. Then pick one metal and stick with it.
| Look | Main (60%) | Secondary (30%) | Accent + metal |
|---|---|---|---|
| Classic | Warm white | Beige or greige | Soft gold |
| Moody | Forest green | Walnut wood | Brass |
| Minimal | Bright white | Charcoal | Matte black |
Paint the wall behind your easel a neutral, not your bold color. A saturated wall reflects tint onto your canvas and quietly shifts how you mix color.
3. Pick Materials That Look Rich and Survive Paint

Luxury materials and studio materials overlap more than people think. The trick is putting the delicate ones where paint never travels.
- Near the mess: sealed wood, metal, glass, wipeable faux leather, hard flooring with a washable rug.
- Away from the mess: marble-look tops, velvet, boucle, lace, sheepskin.
- Avoid entirely at the work zone: unsealed marble (it stains), raw linen upholstery, light carpet.
A marble-look writing desk makes a gorgeous sketching or journaling station if your painting happens elsewhere.
4. Choose One Anchor Piece of Furniture
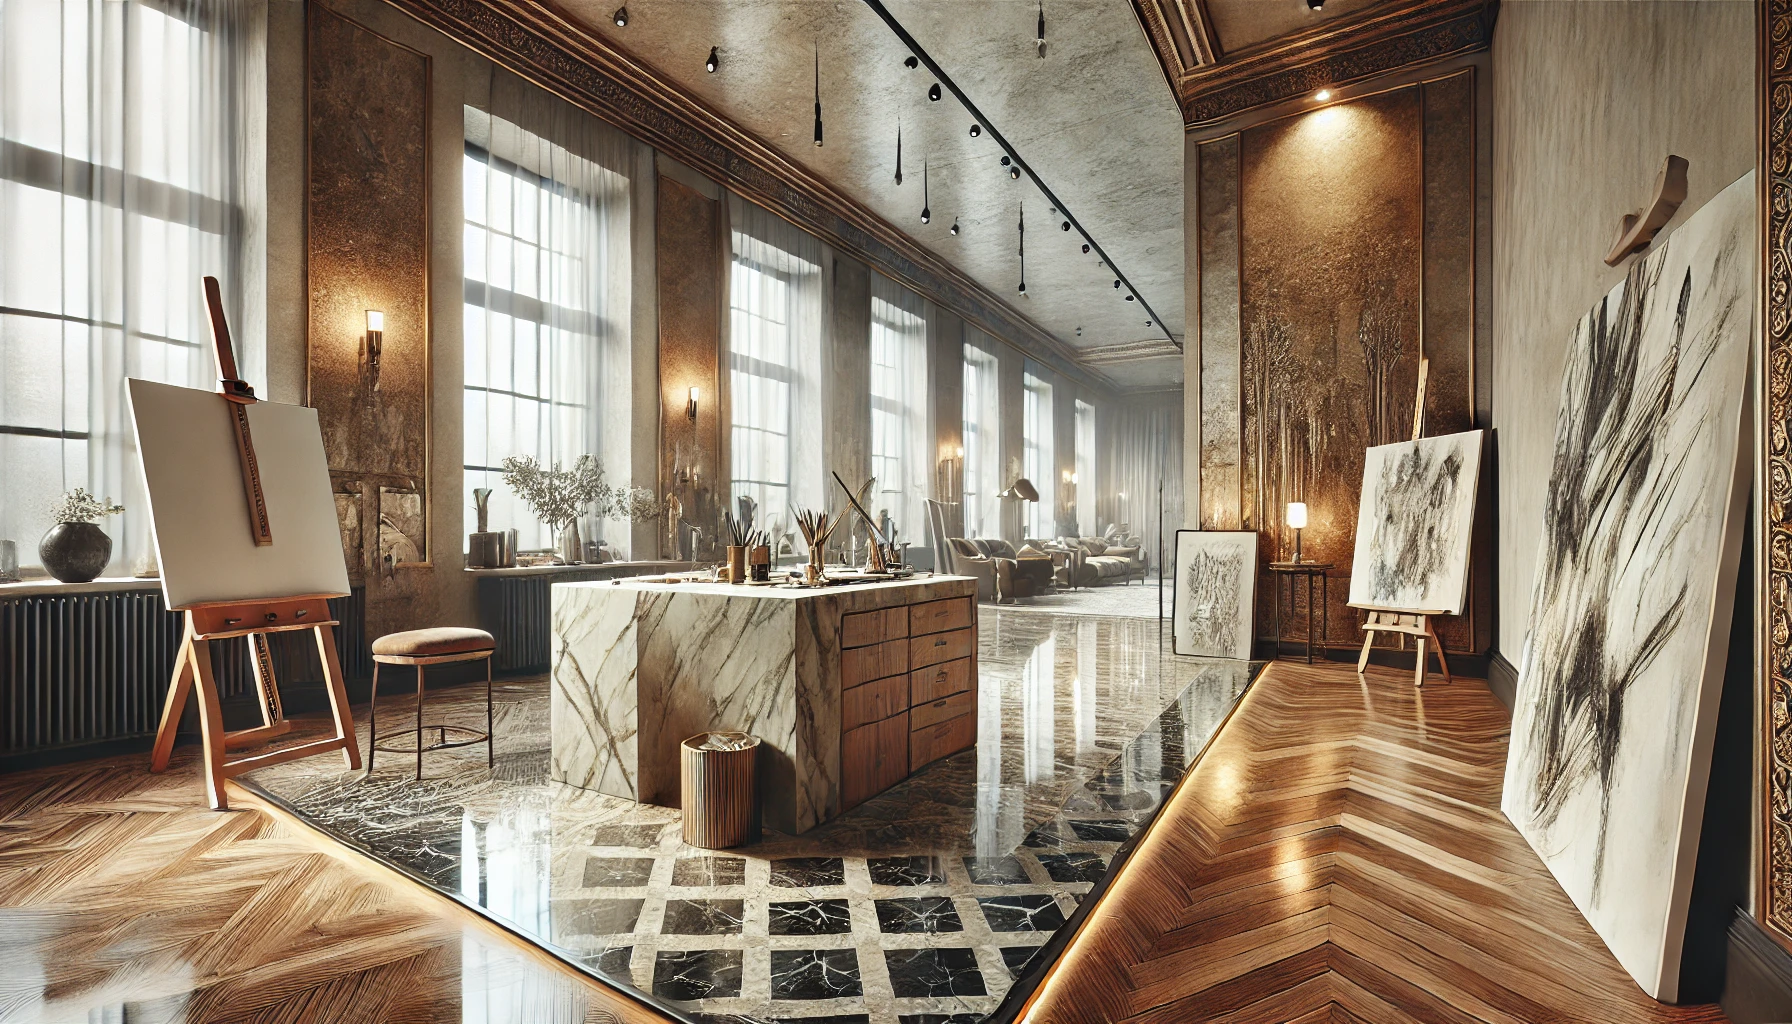
Every elegant room has a hero. In a studio it’s usually the desk or a statement storage piece. Buy that first and let everything else take its cues from it.
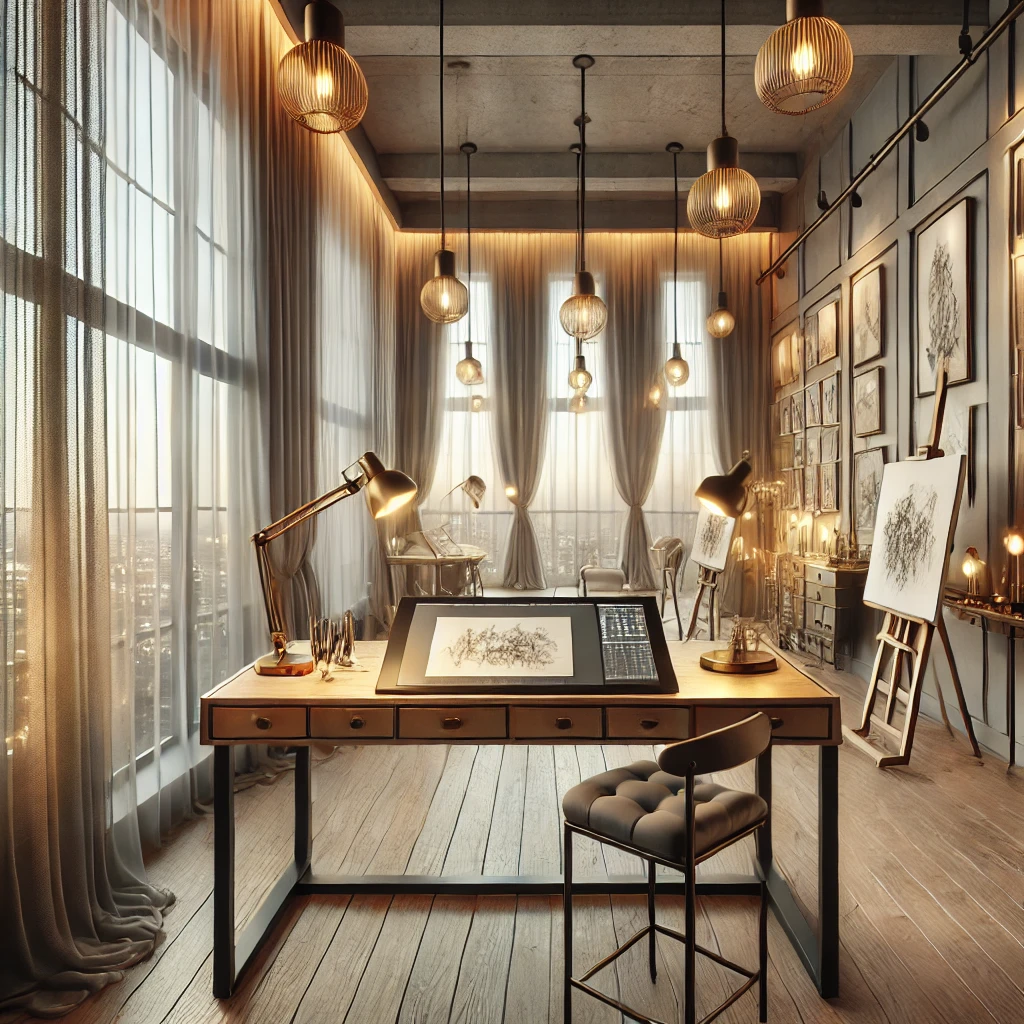
For a classic look, a white and gold desk with drawers sets the tone at a friendly price. At 47 inches wide it fits a drawing pad, a lamp and a supply tray.

Pair it with a chair that matches the look. Faux leather wipes clean if a brush flicks your way, and the gold casters do a lot of visual work for the price.

For moody luxe, let a deep green sideboard be the anchor. It holds paper and supplies behind doors and gives the room instant depth.

Chair height matters more than chair style. Your elbows should rest around 90 degrees at the work surface and your feet flat on the floor. Browse studio chairs that balance comfort and style if you’re stuck.
5. Layer Your Lighting (Pretty Light Plus True-Color Light)
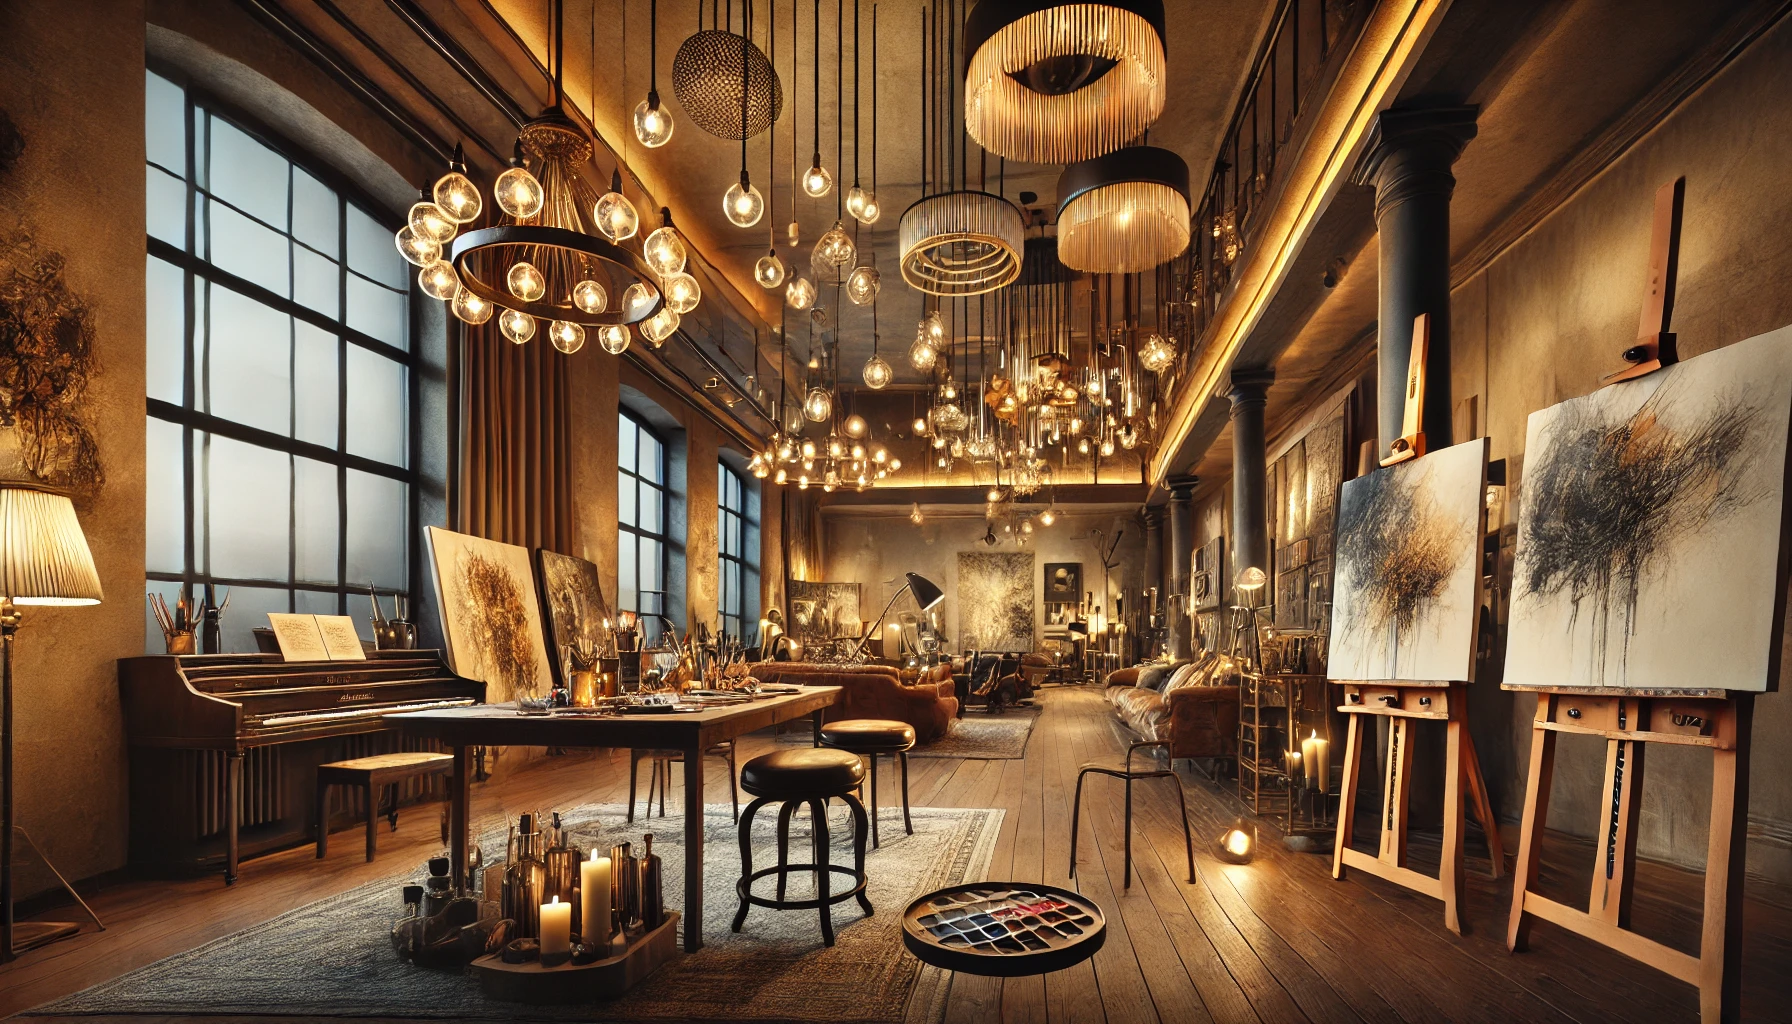
This is where most luxury studios fall apart. A chandelier is ambience. It is not task lighting.
Plan three layers:
- Ambient: a statement fixture, warm 2700 to 3000K.
- Task: a high-CRI lamp at 5000K aimed at your work.
- Accent: a pendant, sconce or lamp that adds glow to a corner.
A gold sputnik chandelier gives a classic or minimal loft its “wow” for under $100.

For a moodier corner, an amber glass globe pendant casts a warm, flattering glow over a reading chair.

A brass desk lamp looks beautiful on a side table, but swap in a 5000K bulb if you sketch under it. Natural light is the bonus layer: soften it with sheer curtains so you get diffused daylight without harsh shadows across your page.

More detail on bulbs, CRI and placement lives in the best lighting for art studios.
6. Treat Your Walls Like a Gallery
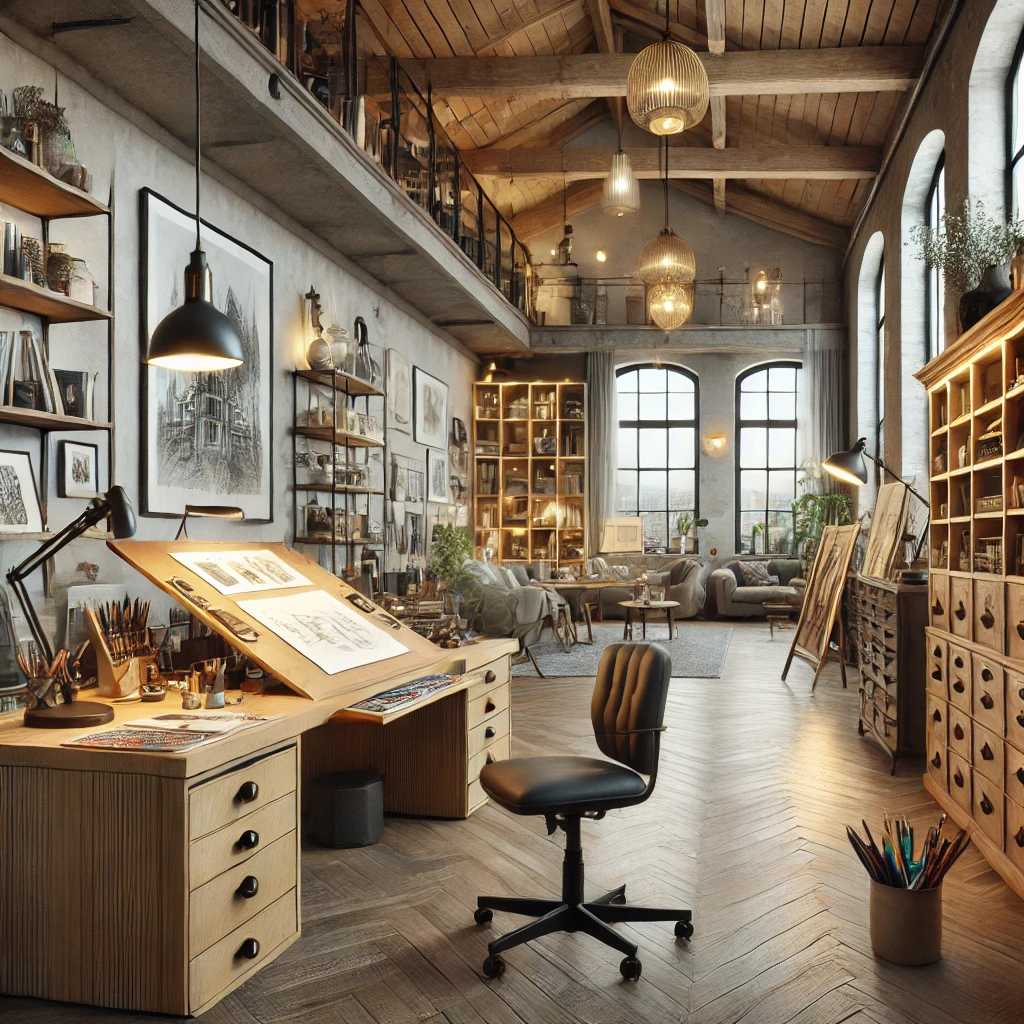
Walls are where a loft starts to feel personal. Keep it to two or three ideas per wall so it reads as intentional.
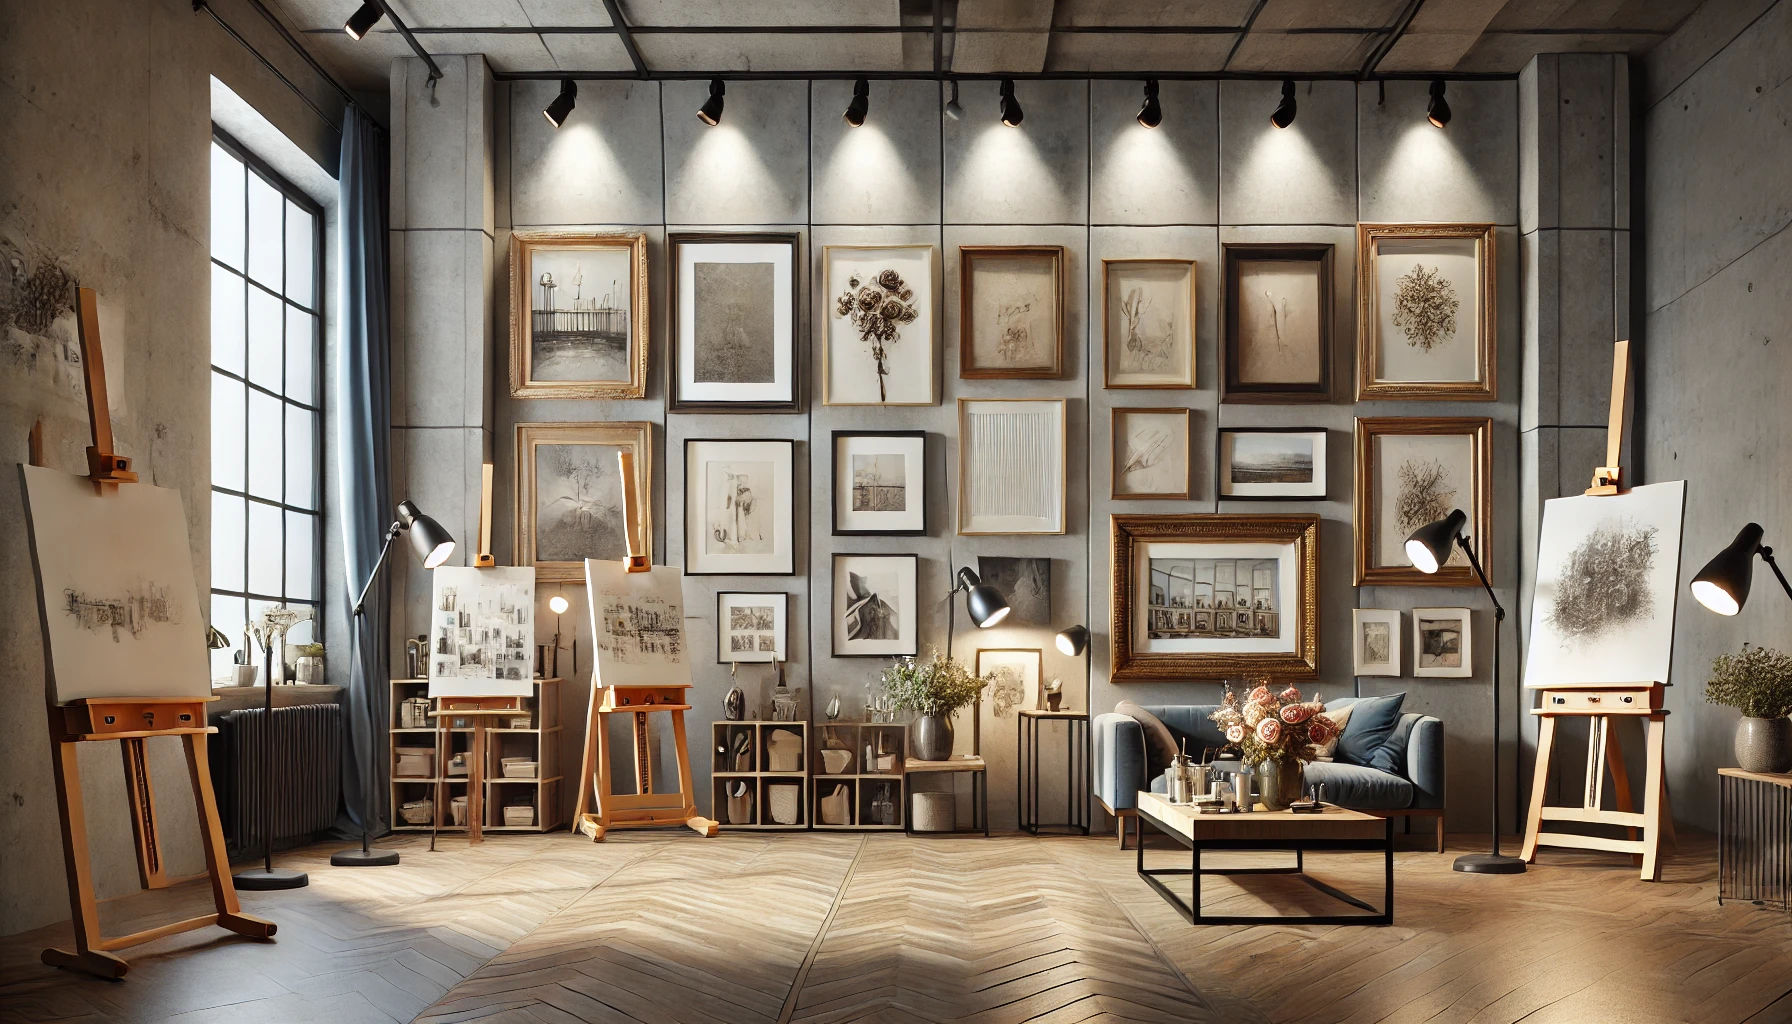
- A gallery cluster of your own work in matching frames. A frame set keeps it consistent.
- A large mirror opposite a window bounces daylight deeper into the room.
- A shelf with a few treasures: a vase, a sculpture, one stack of art books.


Hang art so the center sits about 57 to 60 inches from the floor, gallery standard. Above a desk, leave 8 to 10 inches between the desk surface and the bottom of the frame.
7. Hide the Chaos With Storage That Looks Like Furniture
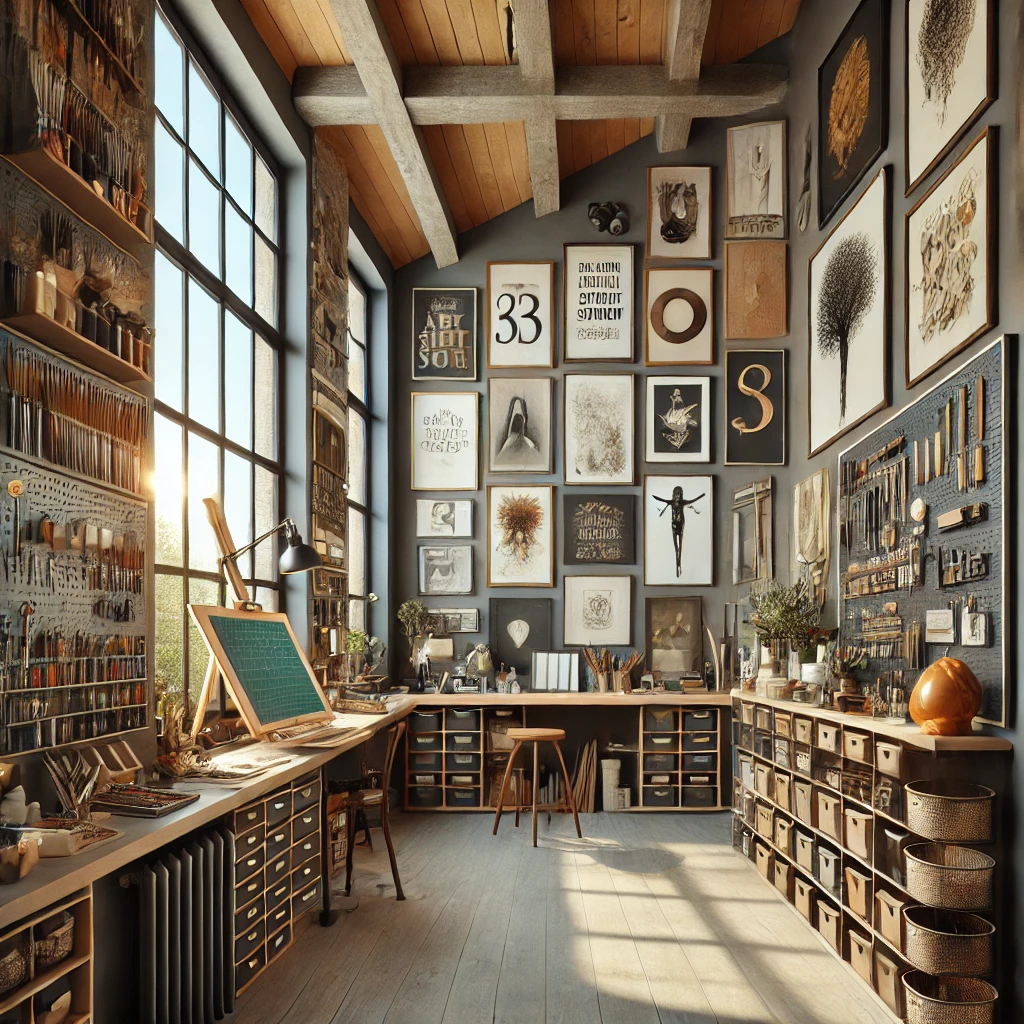
Supplies on display only look luxurious when there are very few of them. Everything else goes behind doors or into drawers.
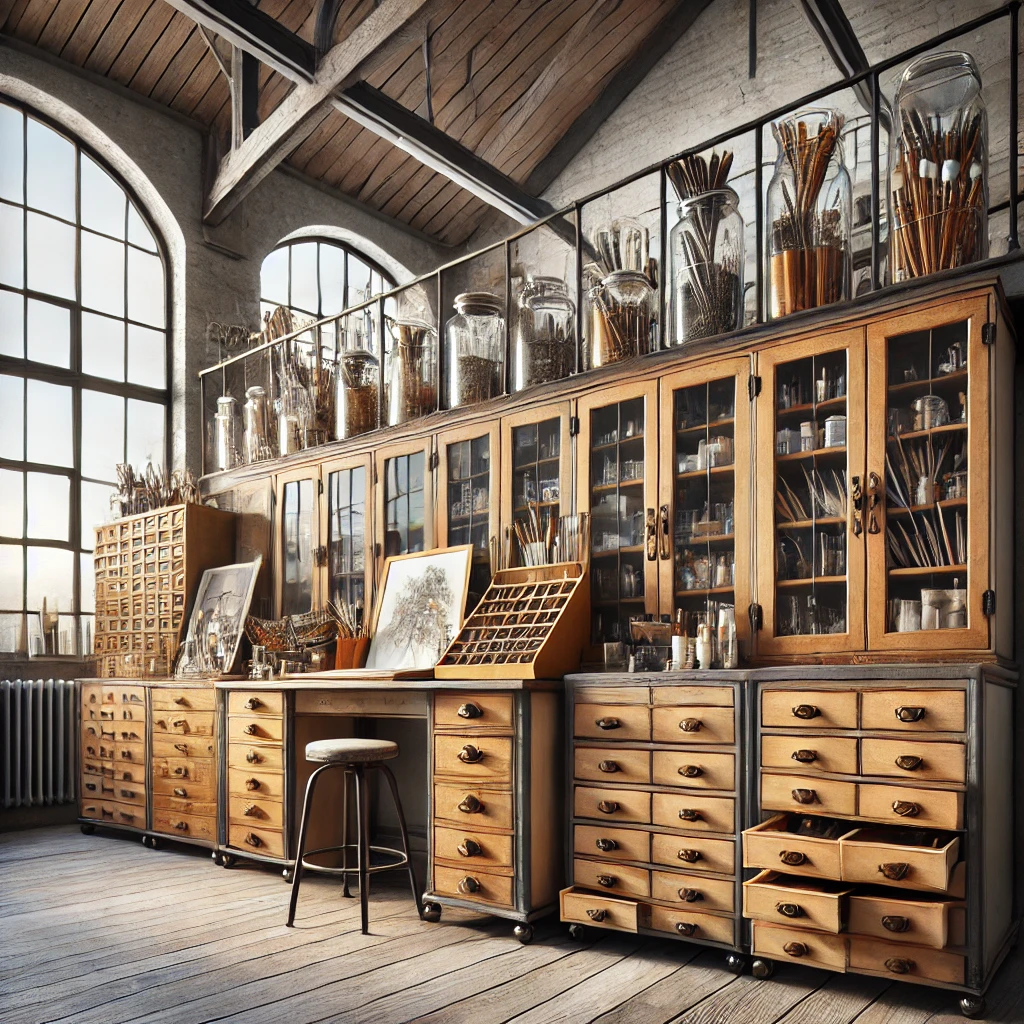
A solid teak drawer cabinet reads as furniture, not storage, and the drawers are perfect for pencils, pastels and small tubes.

For tools you reach for daily, use a pegboard or magnetic board painted in your main wall color so it disappears. Clear glass jars for brushes look expensive and let you see everything, and lidded bins on a shelf handle the overflow.
Want more ideas? See art studio storage solutions for options by supply type.
8. Add Textiles Last (They Do the Most for the Least)
Soft layers are the cheapest way to make a room feel expensive. Add them after the working pieces are in place.
- A plush round rug under the lounge chair, never under the easel.
- One throw and two pillows in your secondary color.
- A candle or two for the lounge corner (keep open flame far from solvents and paper).

9. Create a Lounge Zone for Thinking Time
Some of the best art happens when you’re sitting with a sketchbook and a cup of tea, looking at yesterday’s work. A lounge corner gives you that.
You need three things: a comfortable chair, a side table and a warm light. A lounge chair or plush seating placed where you can see your easel works beautifully.
Here’s how the zones fit together in a typical loft:
Splurge vs Save: Where Your Money Matters
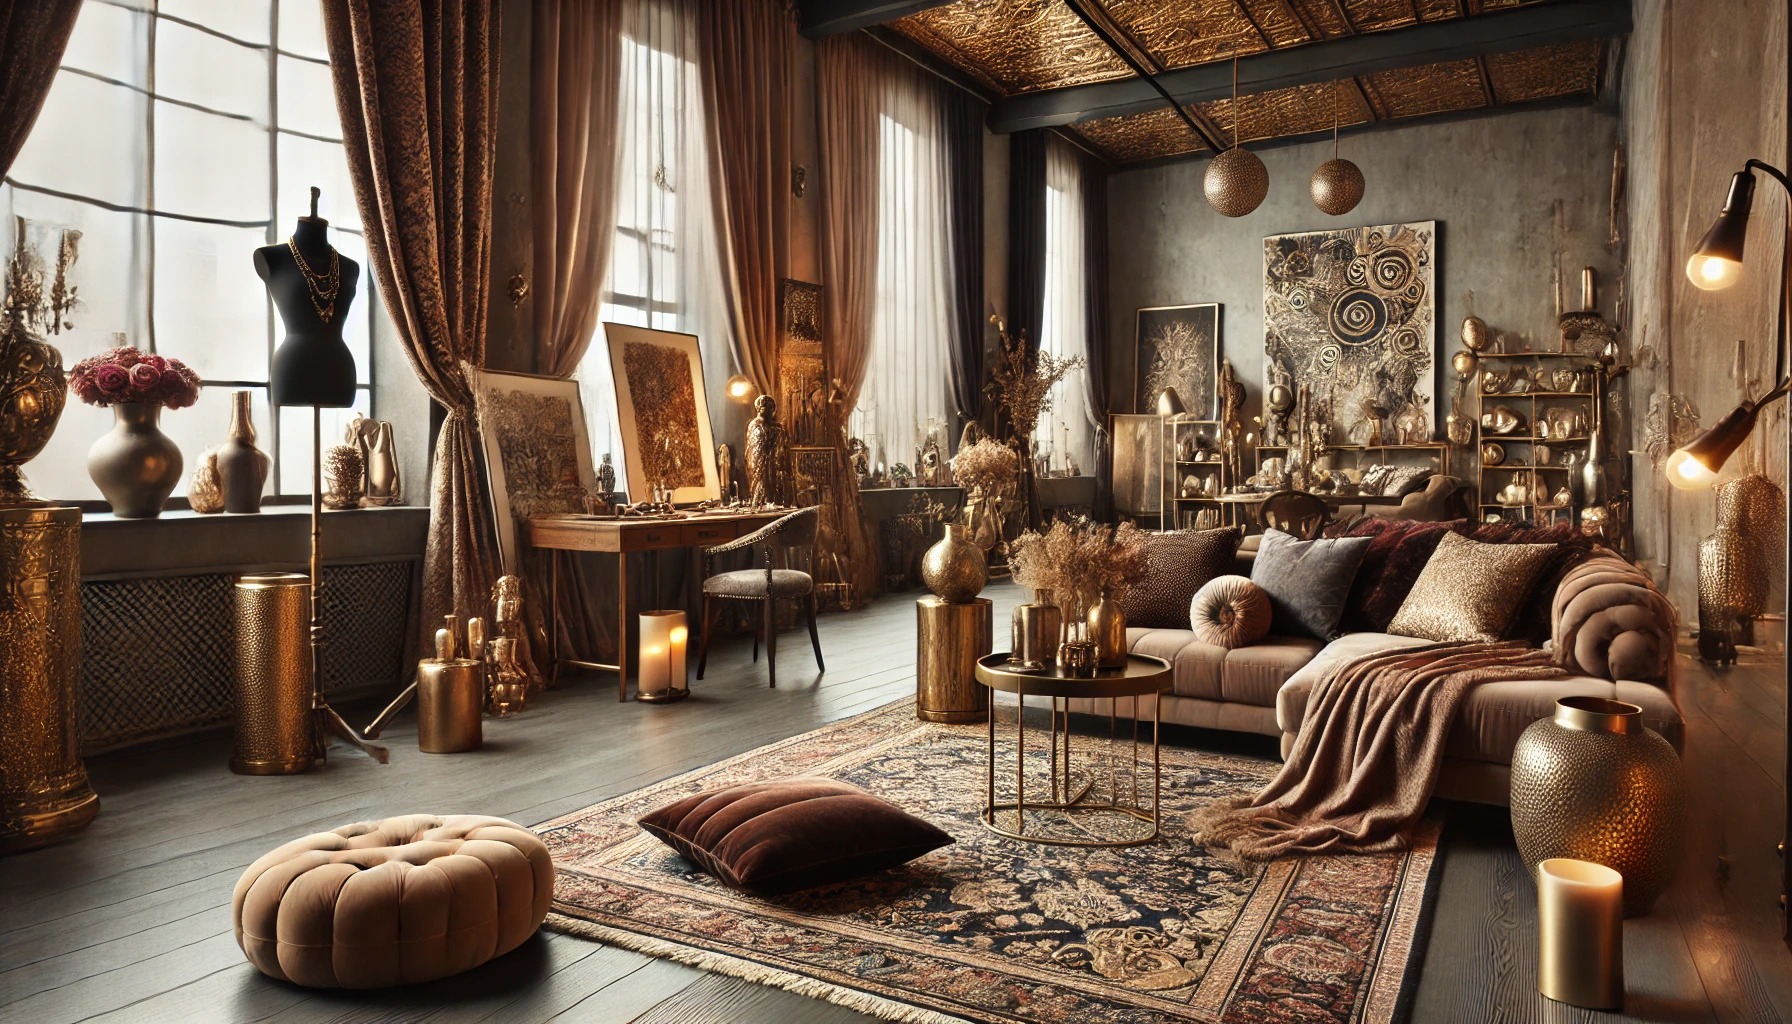
You don’t need to spend big on everything. Spend on what you touch every session, save on what you look at.
| Element | Splurge if… | Save with… |
|---|---|---|
| Task lamp | You paint daily | High-CRI clamp lamp |
| Chair | You sit 2+ hours | Gold-caster accent chair |
| Desk | You need height change | Vanity-style desk |
| Chandelier | Rarely worth it | Sputnik style |
| Rugs, pillows | Never | Faux sheepskin |
| Storage | Supplies are pricey | Teak drawer cabinet |
Investment Pieces Worth It
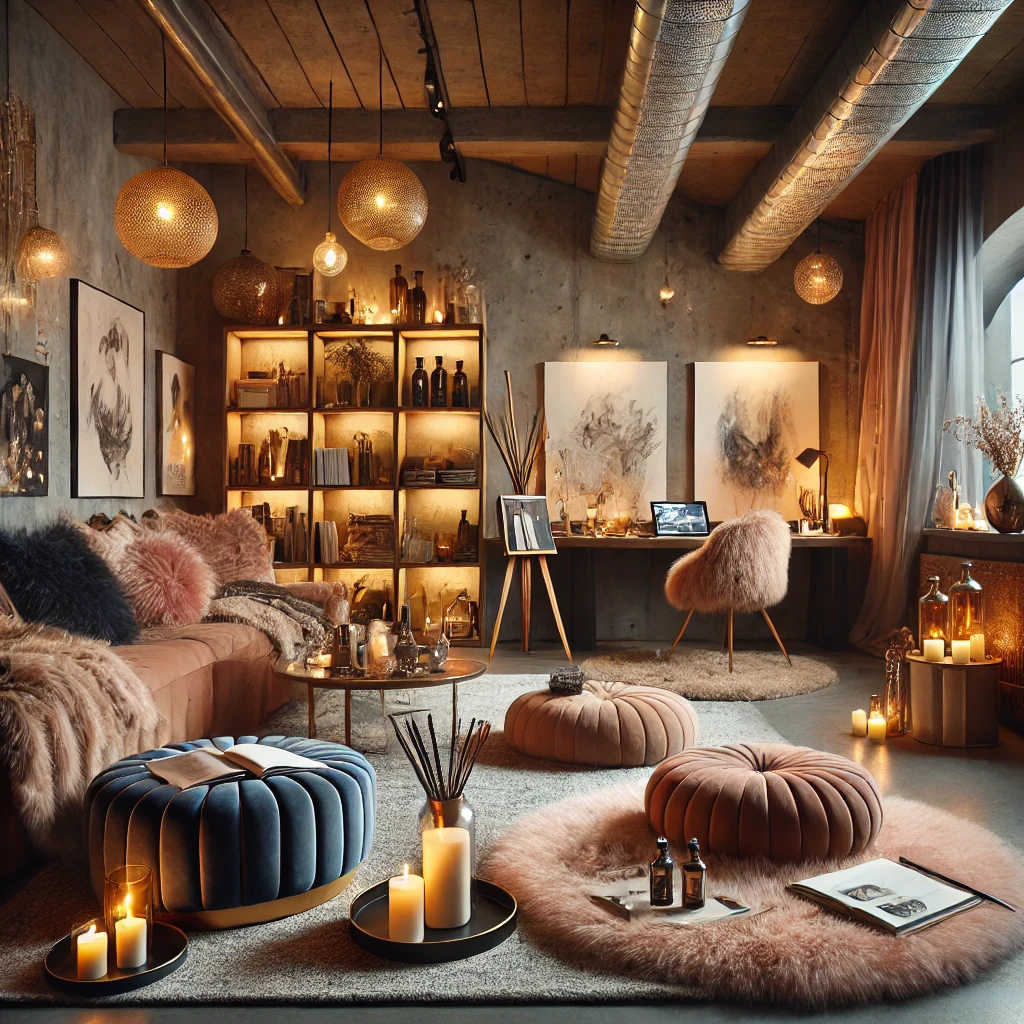
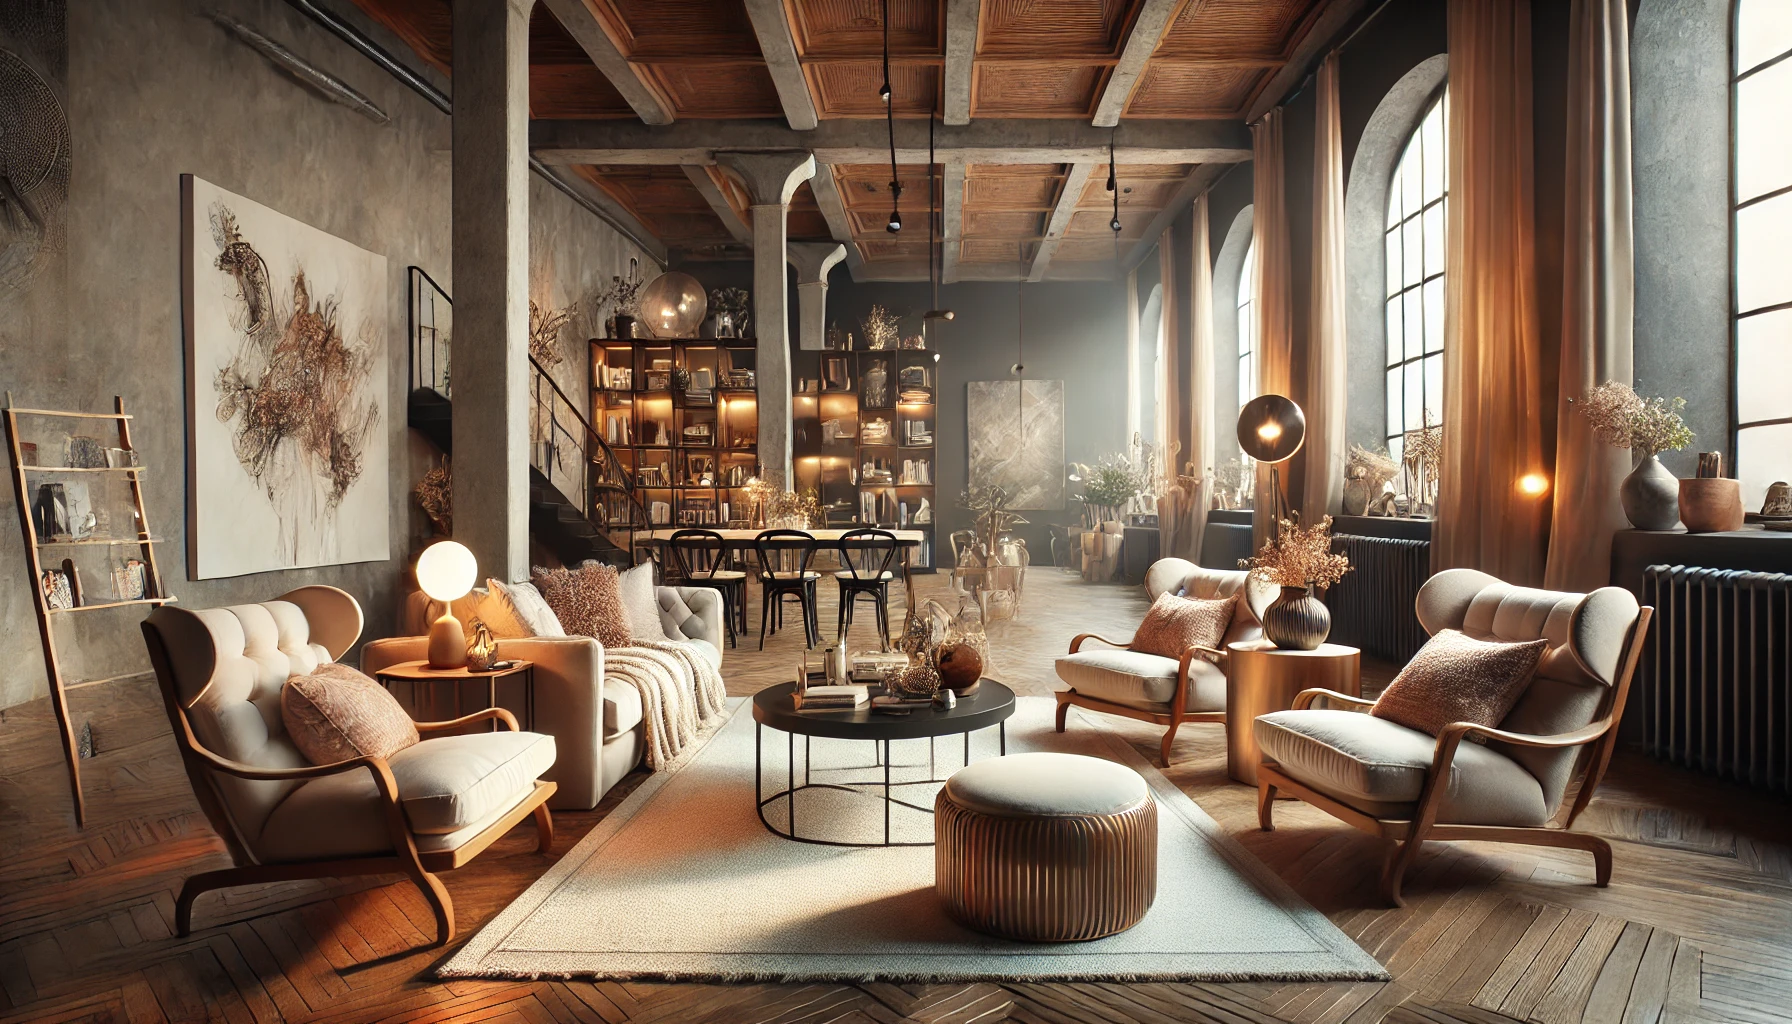
Once the basics are in, these three are where extra money pays you back in comfort and better work.
Artifox standing desk: a beautifully made, minimal desk that moves between sitting and standing. Worth it if you draw or work digitally for hours and love a clean-lined look. Skip it if you mainly paint at an easel, since you’d be paying for height you won’t use. Compare options in best standing desks for artists.
Steelcase Series 1 chair, around $500: adjustable everything, built to last a decade. At about $500 over 5 years of four sessions a week, that’s roughly 50 cents a session. Worth it if you sit at your desk most days. Skip it if you stand at an easel most of the time.
Daylight Artist Studio Lamp, around $275: 95+ CRI and enough output to light a full canvas. Worth it if you paint in color after dark or in a north-facing room. Skip it if you mostly work in graphite or charcoal by day.
Luxury on a Budget: 6 Quick Wins
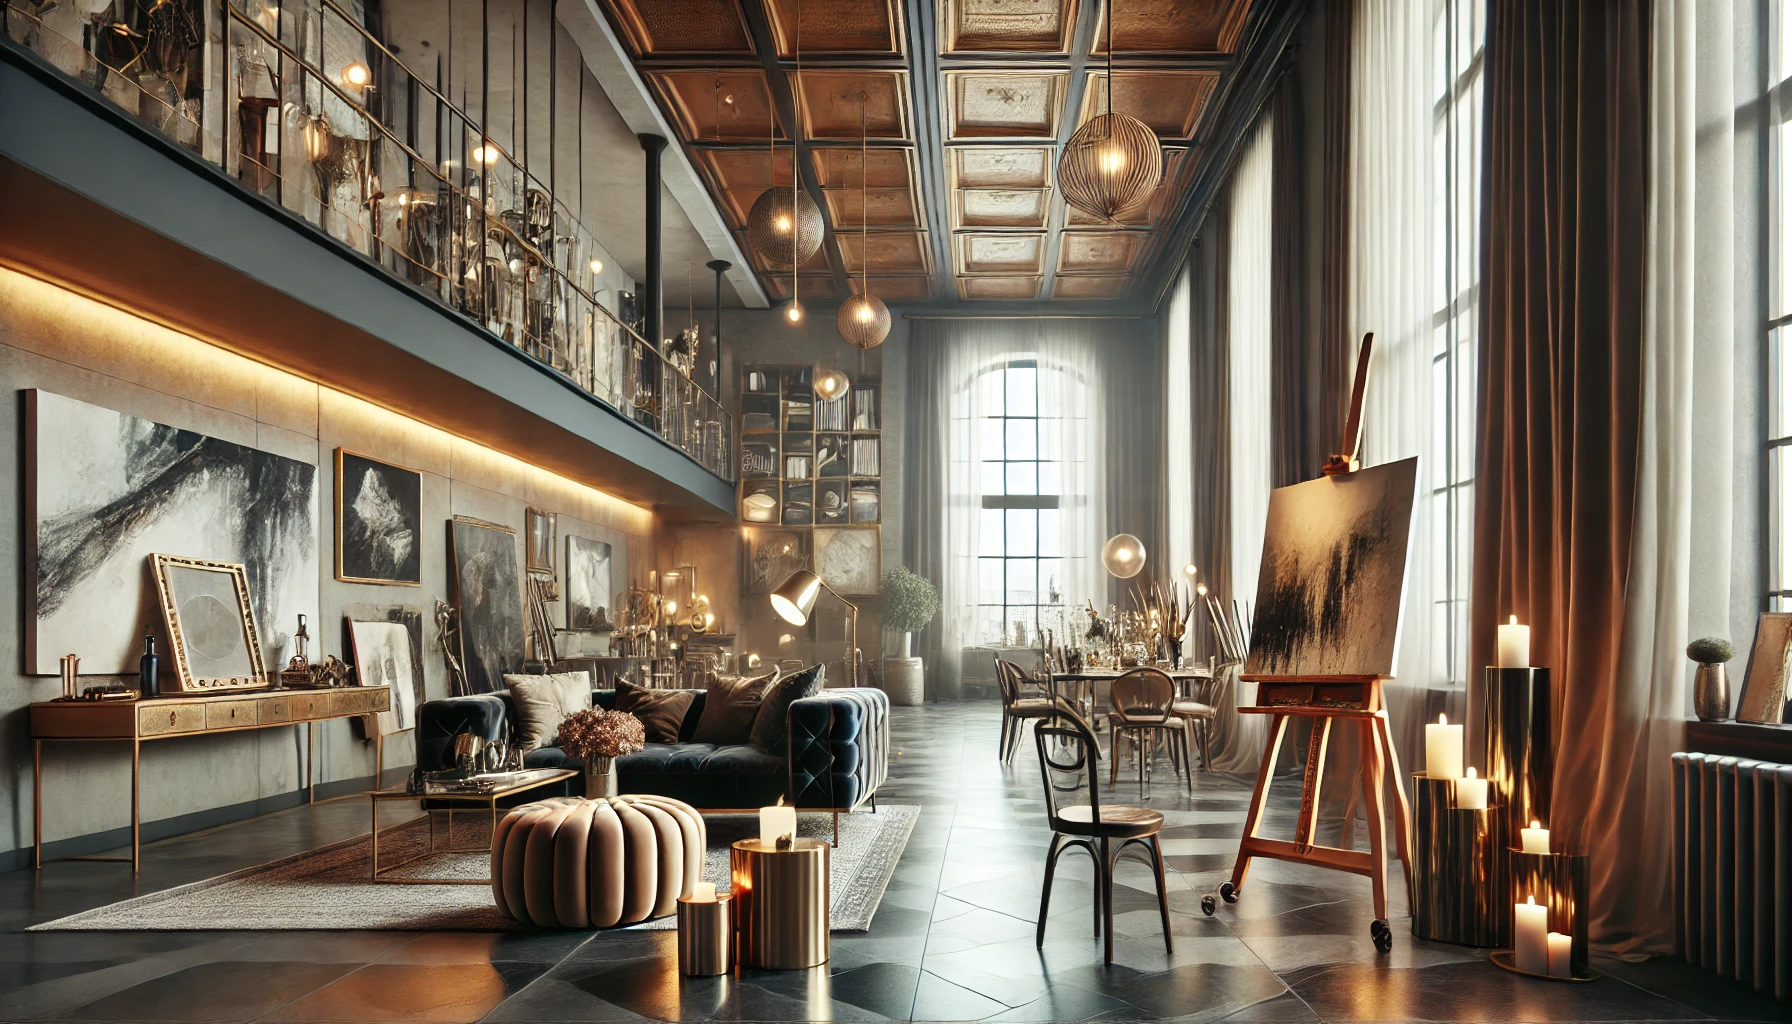
- Swap plastic drawer pulls for brass ones.
- Paint one wall a deep shade and leave the rest white.
- Frame your own sketches in matching frames.
- Decant supplies into glass jars.
- Hang one large mirror instead of three small pieces.
- Add one statement light fixture.
The Takeaway
Pick the look, lock the palette, choose one anchor piece, then light, store and soften in that order. Spend on the things your body and your eyes use every day, and save on the rest.
Which step are you on right now: still choosing a look, or ready to shop for the anchor piece? Tell me in the comments.
Save this to your studio board so you have the build order handy when you start shopping.
Keep going:
[…] 📖 How to Set Up a Dreamy Vintage Art Studio📖 Luxury Artist Lofts: Create an Inspiring Workspace […]