This post contains affiliate links. If you buy through them, I may earn a small commission at no extra cost to you.
You bought the tablet, opened the app, drew one wobbly line, and hit undo forty times. Good news: that’s exactly how everyone starts.
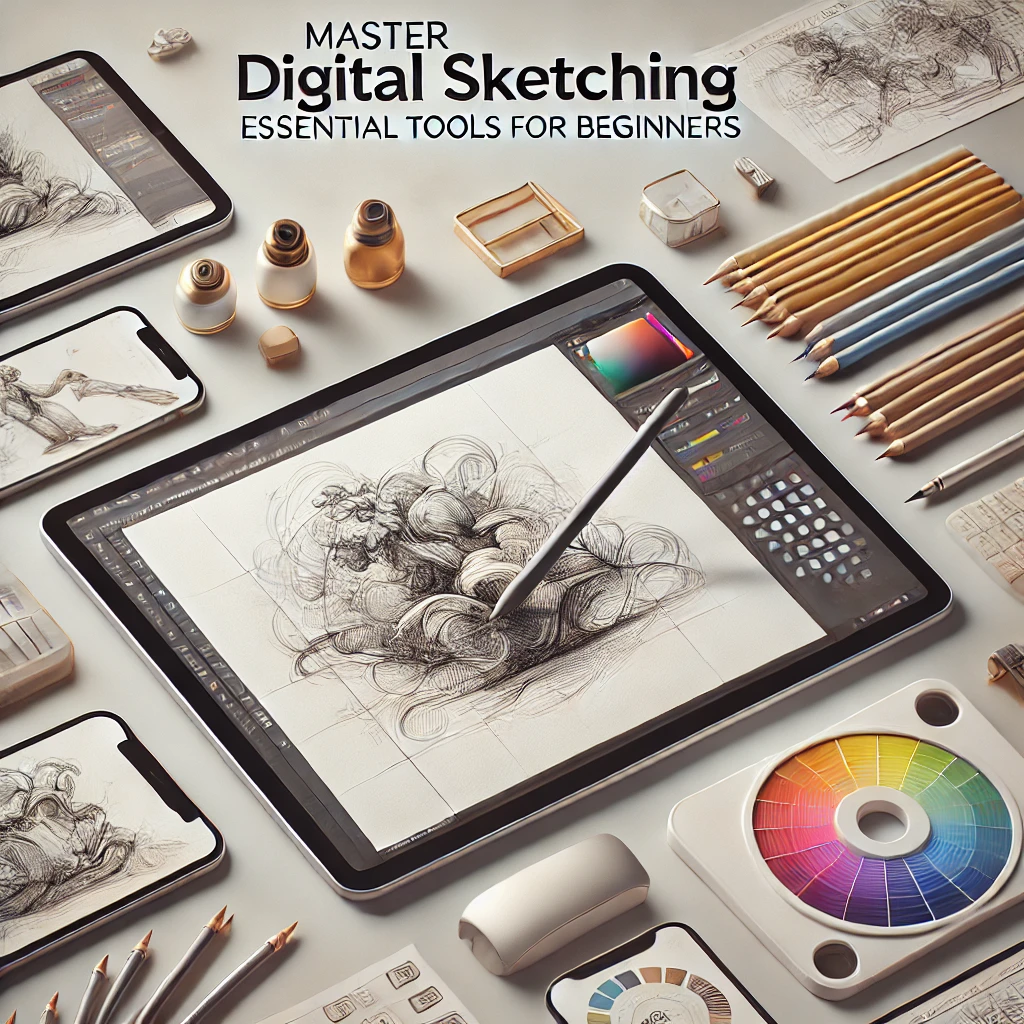
Here’s my take: digital sketching is pencil sketching with better undo. The skills you build on paper carry straight over, so you don’t need the most expensive tablet to get good. You need a pen that feels right, an app you’ll open every day, and a layer habit. Spend on the feel, save on the specs.
This guide covers which tablet type fits you, how to choose a stylus, which apps are worth it, the small accessories that make a big difference, and a simple plan for your first layered sketch.
Quick answer
If you only do one thing: add a matte, paper-feel screen protector to whatever tablet you already own. Glass is slippery, and that slip is the reason so many first digital lines look shaky. A textured surface gives your pen a little friction, and suddenly it feels like drawing again.
Why sketch digitally at all?
Paper will always have a place in my studio. Digital earns its spot for a few practical reasons:
- Unlimited do-overs. Undo, erase, move a nose two millimeters to the left. No smudges, no holes in the paper.
- Layers. Sketch on one, ink on another, color on a third. Change one without wrecking the rest.
- No supply run. Every color, brush and paper texture lives in one device.
- Easy sharing. Export a clean file for prints, cards or Pinterest in seconds.
The tradeoff is the up-front cost and a short learning curve while your hand gets used to a new surface. Give it two weeks of short daily sessions before you judge it.
Pick your tablet type first
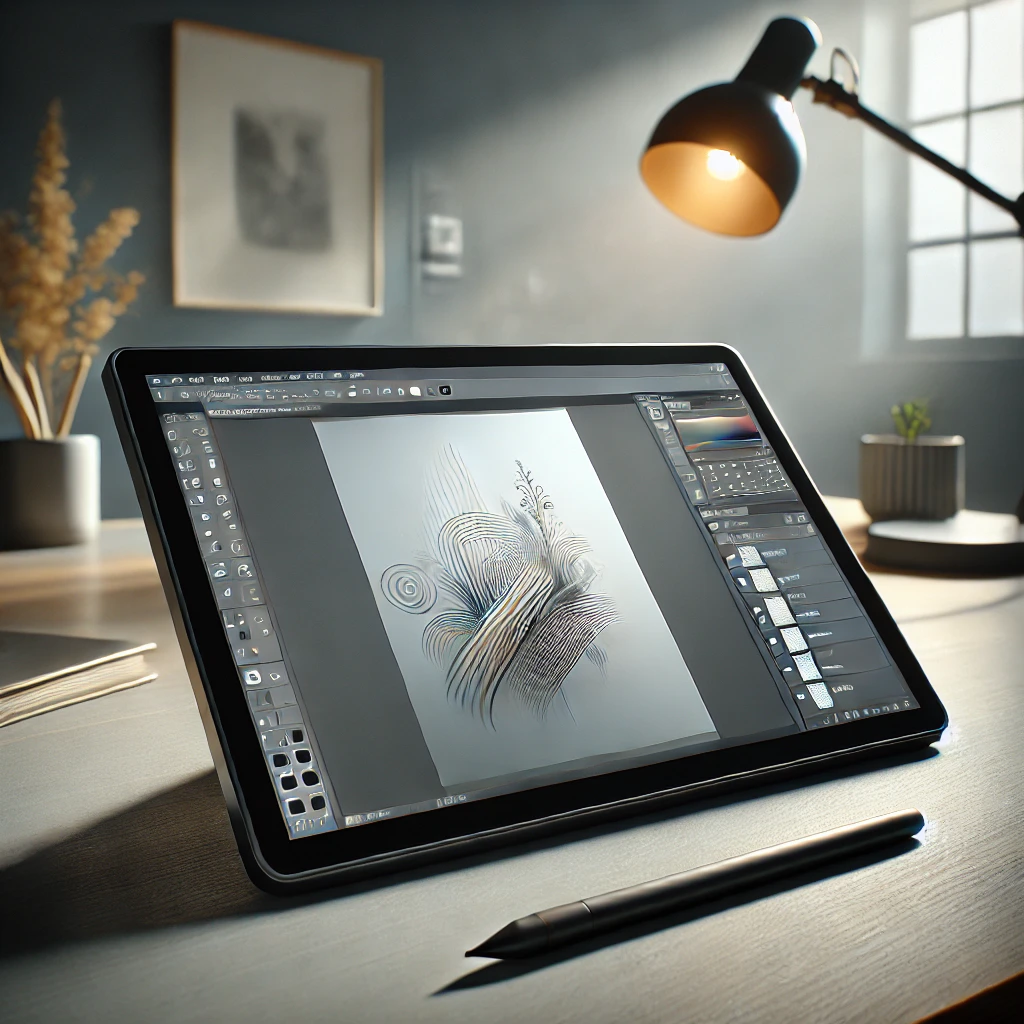
There are two families of drawing tablets, and choosing between them matters more than choosing a brand.
- draw right on the image
- feels like paper
- higher price
- bigger footprint
- draw on a pad and look at your monitor
- lower price
- takes a week to adjust
- very durable
A screen tablet (an iPad or a pen display like a Cintiq) lets you draw directly on the picture. It’s the most natural move from paper. A screenless pen tablet plugs into your computer and you watch your monitor while your hand moves on the pad. It feels odd for a few days, then clicks. Many professional illustrators still prefer them.
Tablets compared
| Device | Type | Best for | Tier |
|---|---|---|---|
| iPad Air or iPad Pro | Standalone screen | Sketching anywhere | $$$ |
| Wacom Cintiq 16 | Pen display | Desk-based detail work | $$$ |
| XPPen Artist Pro 16 | Pen display | Cintiq feel for less | $$ |
| Screenless pen tablet | Plugs into computer | Tight budgets | $ |
The iPad route. An iPad Pro or the larger iPad Air 13-inch (M4) runs on its own, so you can sketch on the couch, at a cafe table or in the garden. It’s the most flexible choice if you also want the tablet for everyday use.
The pen display route. A Wacom Cintiq 16 or the XPPen Artist Pro 16 Gen2 needs a computer, but you get a dedicated drawing surface and pen with no battery to charge. Great if you already have a desk setup you love.
Choosing a stylus
The pen is where you’ll feel the difference every single stroke. What I look for:
- Pressure sensitivity. Most current pens list 4,096 or 8,192 levels. Feel matters more than the number. You want light pressure to give a whisper line and firm pressure a bold one, with a smooth ramp in between.
- Tilt support. Lets you shade with the side of the “pencil” like you would with graphite.
- Low lag. The line should appear right under the tip, not chase it.
- Comfortable grip. You’ll hold it for an hour at a time. A slightly wider barrel or a soft sleeve helps.
For iPad, compatibility is model-specific. The Apple Pencil Pro works with the newest iPad Pro and iPad Air models, the Apple Pencil (2nd generation) pairs with many older ones, and there’s a USB-C Apple Pencil for others. Check Apple’s compatibility list for your exact iPad before you buy. Mistakes here are the most common returns.
For Wacom, the Wacom Pro Pen 2 is the classic spare or replacement for many models. For Huion displays, the Huion PW517 pen is a battery-free option. Again, match the pen to your device’s model number.
Apps: start with one
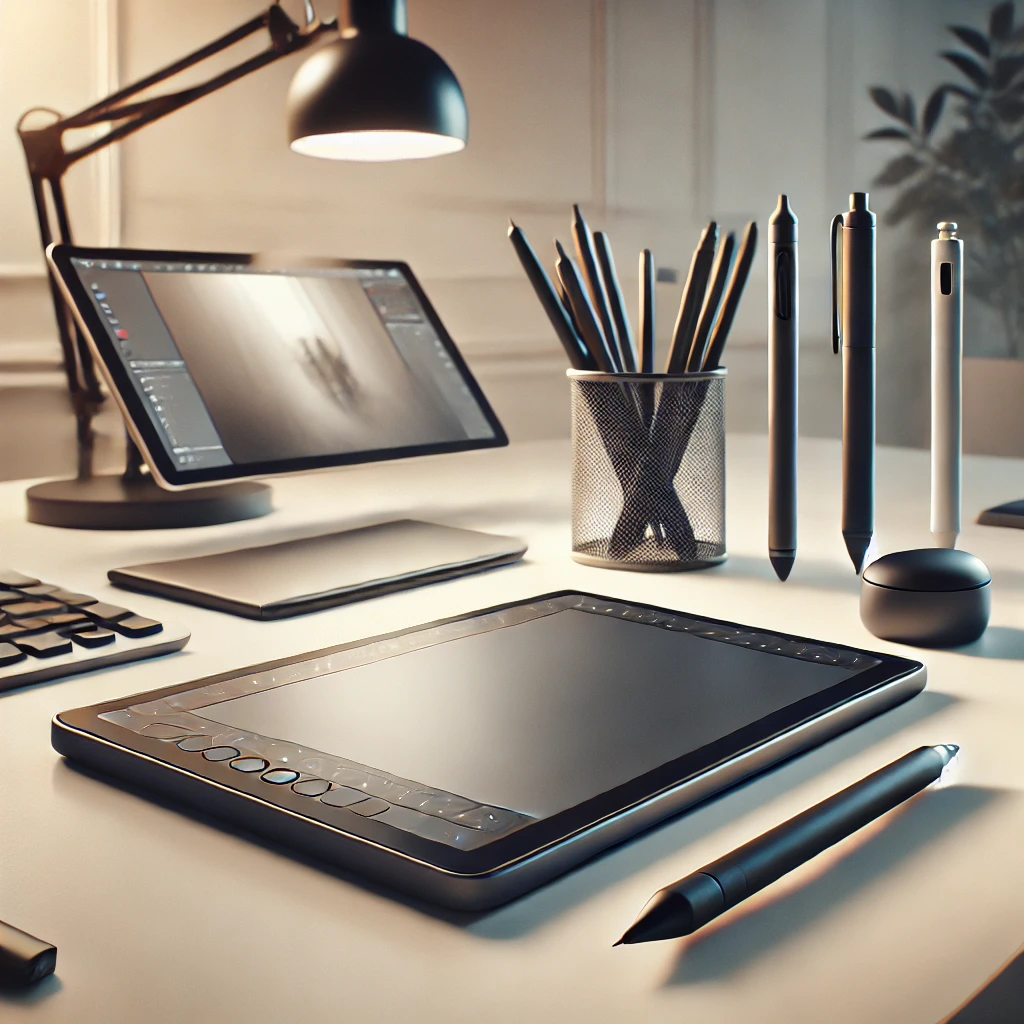
Don’t download five apps. Pick one and learn its brushes, layers and shortcuts.
- Procreate (iPad only). A one-time App Store purchase, intuitive, and the favorite of most iPad sketchers.
- Clip Studio Paint. Excellent line stabilization and comic tools. Runs on iPad and computers.
- Photoshop. Subscription based. Powerful, and worth it if you already use it for other things.
- Krita. Free and open source for computers. A wonderful way to test digital drawing before spending anything.
Turn on stroke stabilization (sometimes called streamline or smoothing) at a low setting, around 10 to 20 percent. It quietly removes hand wobble without making lines feel rubbery.
Your pencil skills, translated
This is the chart I wish someone had handed me. Every paper habit has a digital twin.
| On paper | Digital equivalent |
|---|---|
| Light construction lines | Sketch layer at 20 to 30% opacity |
| Tracing paper | New layer on top, lower opacity |
| Kneaded eraser | Soft eraser brush at low opacity |
| Fixative | Merge or lock a finished layer |
| Rotating the paper | Two-finger rotate the canvas |
| Stepping back to look | Flip canvas horizontally |
Flipping the canvas is my favorite trick. Your eye gets used to a drawing’s mistakes, and a mirror view shows you a lopsided face or a leaning vase instantly.
If your paper fundamentals feel shaky, spend a week with pencil sketching techniques and the beginner’s guide to sketching. Those skills transfer one to one.
Your first digital sketch, step by step
- Set up the canvas. For prints and pins, start around 3000 pixels on the long side at 300 DPI. That prints a crisp 10-inch image.
- Rough sketch. Use a pencil brush on its own layer. Keep it loose and drop the layer to 20 to 30 percent opacity when you’re happy.
- Clean lines. Add a new layer above and trace your best lines with an inking or fine pencil brush.
- Flat colors. Add a layer below the lines and fill each shape with a base color.
- Shading. Add a layer above the colors, clip it so it only paints inside them, and build shadows with a soft brush.
Name your layers as you go. Future you will be grateful when there are fourteen of them.
Brushes and the accessories that matter
Default brushes are fine for learning. Once you know which marks you love, a set of custom Procreate brushes can mimic graphite, charcoal and watercolor textures.
The accessories that change the experience most:
- Matte screen protector. A paper-feel screen protector adds tooth and cuts glare. It does wear pen nibs a little faster, so keep a spare tip.
- Drawing glove. A two-finger glove lets your hand glide and stops palm smudges or accidental touches.
- Tablet stand. An adjustable tablet stand tilts your screen like a drafting board, which is more comfortable for long sessions than drawing flat on the table.
Set up a comfortable digital corner
Digital sketching still needs a good workspace. Your neck will thank you.
- Light. Place an LED desk lamp off to the side so it doesn’t bounce off the screen. More ideas in the best lighting for art studios.
- Chair. A supportive desk chair makes an hour of sketching feel like twenty minutes. My favorites are in top art studio chairs for comfort and style.
- Breaks. Stand up and stretch every 30 to 45 minutes. It also gives you fresh eyes on the drawing.
Investment pieces worth it
These are the splurges. Here’s who should go for them and who should skip.
iPad Air 13-inch (M4) with Apple Pencil Pro, around $1,030 together. Worth it if you want one device for sketching on the go plus everyday use, and you’ll draw several times a week. At three sessions a week for three years, that’s about $2.20 a session. Skip it if you’ll only draw at a desk that already has a good computer.
Wacom Cintiq 16 (Pro Pen 3), around $700. Worth it if you draw at a desk, use a computer app like Clip Studio or Photoshop, and want the pen feel many professionals trust. Skip it if you need portability.
XPPen Artist Pro 16 Gen2, around $500. Worth it if you want a pen display experience for a few hundred less than a Cintiq. Skip it if you’re not sure digital is for you yet. Try Krita on a basic pen tablet first.
Not sure any of these are for you? A budget pen tablet plus free Krita is a perfectly good way to spend a month finding out.
Building out the rest of your workspace? My art studio setup guide covers desks, storage and layout.
The takeaway
Choose your tablet type based on where you’ll draw, match your pen to your exact device, and add a matte screen protector before anything else. Then sketch in layers, flip the canvas often, and give yourself two weeks before deciding how you feel.
Are you team iPad, team pen display, or still drawing on paper and curious? Tell me in the comments.