This post contains affiliate links. If you buy through them, I may earn a small commission at no extra cost to you.
A painter and a sketcher can buy the same “essential studio setup” and both end up frustrated. One is missing a drying rack. The other just paid for an easel she’ll use as a coat hook.

Here’s my take: your medium should design your studio, not a generic shopping list. Oils need air. Graphite needs a tilted surface and a clean hand. Digital needs cable management and a screen at the right height. Set up for what you actually make, and the space starts working for you on day one.
This post is the medium-by-medium version. If you’re starting from an empty room and want the full build order (light, chair, storage, and so on), start with the complete art studio setup guide, then come back here to tune it to your medium.
Quick answer: Painters, prioritize ventilation, a rinse station, and a place for wet work to dry. Sketchers, prioritize a tilted surface, a task lamp opposite your drawing hand, and flat paper storage. Digital artists, prioritize screen height, a monitor arm, and a desk at least 30 inches deep.
Step 1: Pick the spot that suits your medium

Before you buy anything, walk your home with your medium in mind. The “best” room changes depending on what you make.
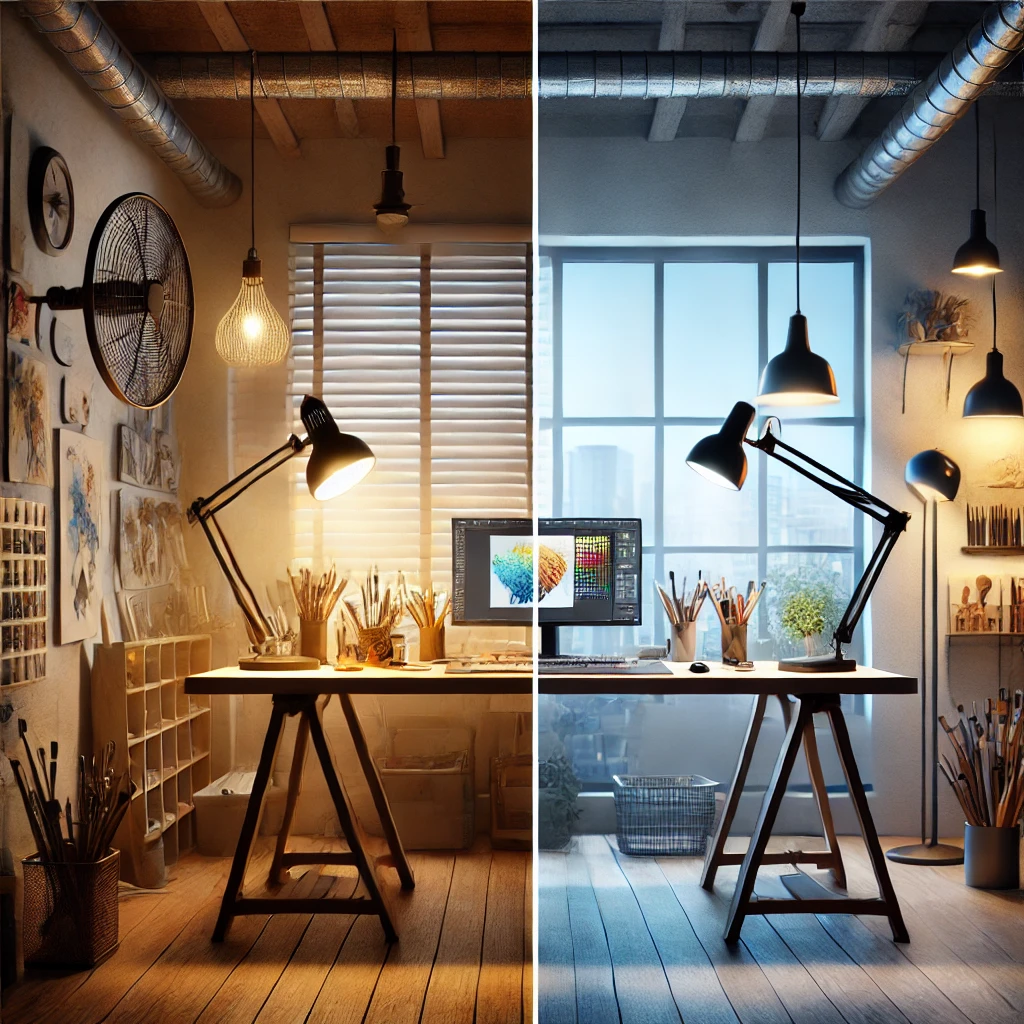
- Light: north-facing windows give the steadiest daylight through the day, which painters and colored pencil artists love. Digital artists want the opposite: no window directly behind or in front of the screen, where glare washes out the colors.
- Air: oils, solvents, spray fixative, and resin all need real ventilation. Look for a room with a window you can open and a door you can close.
- Quiet: a spot away from the TV and the kitchen makes it easier to settle in for a long session.
- Room to grow: leave one empty wall if you can. Most artists add a second medium within a year or two, and that wall becomes its zone.
If you use spray fixative or varnish, spray outdoors or in a garage with the door open, never at your desk. Fine mist travels farther than you’d think and settles on everything.
Step 2: The furniture every medium shares
A few pieces work for every kind of artist. Get these right and the medium-specific gear slots in around them.
A work surface that tilts

A drawing surface angled 15 to 30 degrees brings your paper up toward your eyes, so you’re not hunched over it. Painters who work flat (watercolor, gouache) benefit too; you can drop the angle to 5 to 10 degrees so washes don’t run.
Solid Wood Drafting Table with Built-In Pencil Groove and Pencil Ledge Angle Adjustable Work Surface

For more options at different price points, see the best art desks for every budget.
Storage that rolls
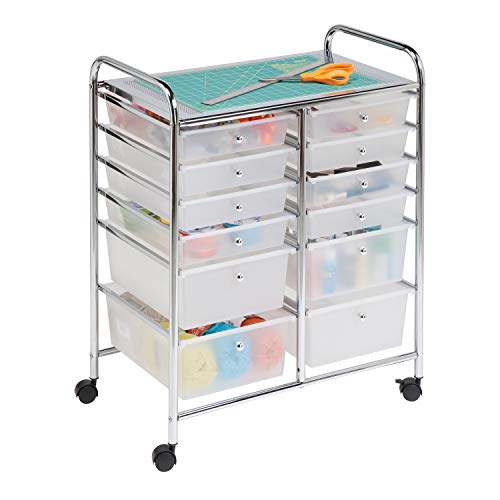
A rolling cart beside your chair is the most useful storage piece for any medium. Shallow drawers (2 to 3 inches deep) keep tubes, pencils, and pens visible instead of piled up.
Closed storage if you share the room

If your studio lives in a dining room or guest room, a craft armoire hides everything behind doors. Five minutes and the room is a room again.

Light you can trust
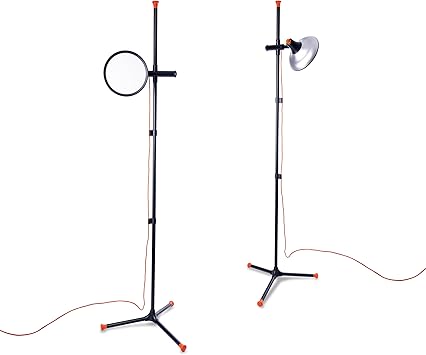
Use 5000K bulbs with a CRI of 90 or higher for color work, and put your task lamp on the side opposite your drawing hand. The full breakdown lives in the best lighting for art studios.
Step 3: Set up by medium
Now the fun part. Find your medium below and build that zone. If you work in two, set up both and keep them at least an arm’s length apart. Water and paper should never share a tabletop.
If you paint (acrylic, oil, watercolor)
Painters need three things other artists don’t: a wet zone, a drying zone, and a cleanup station.
Your wet zone
- A drop cloth or vinyl mat under the easel or table. Canvas drop cloths absorb drips; vinyl wipes clean.
- Your paint cart on your dominant side, so you’re not reaching across the wet canvas.
- The canvas center at eye level when you stand, or slightly below when you sit.
Your drying zone
- Acrylics are touch-dry in about 20 to 30 minutes, but oils can take days to weeks. Wet paintings need a place where nobody leans on them.
- A wall rail, a shelf with 2 inches of air between canvases, or a drying rack all work.
Your air
- Oils with solvents: crack a window and run a box fan pointing out, so fumes leave instead of circulating.
- Use odorless mineral spirits, keep the lid on between uses, and store solvent-soaked rags in a sealed metal can. Oily rags can heat up on their own as they dry.
Starter supplies I recommend
A 48-color set is plenty to learn color mixing without buying tube by tube.

Good synthetic brushes hold their shape across acrylic, oil, and watercolor. Four quality brushes beat thirty cheap ones that shed.

Running out of room for tubes? See 10 genius ways to organize your paints and the H-frame vs. A-frame breakdown in choosing the right easel.
If you sketch (graphite, charcoal, ink)

Sketchers can set up in the smallest footprint of anyone. A corner, a tilted board, a lamp, and you’re working. What matters is angle, light, and keeping paper flat and clean.
Your drawing zone
- A tilted surface at 15 to 30 degrees.
- A task lamp on the side opposite your drawing hand, so your hand doesn’t shadow your line.
- A shallow tray for pencils, erasers, and blending tools within reach of your drawing hand.
- A sheet of scrap paper under your hand so skin oils don’t smudge your work.
Your paper storage
- Loose sheets go flat, in a drawer or portfolio. Paper stored at an angle develops a permanent wave.
- Keep paper out of direct sun and around 40 to 50% humidity.
- Sketchbooks stand upright on a shelf like books.
Charcoal note: charcoal and pastel dust hang in the air and settle on every flat surface. Blend over a tray, tap excess dust into a trash can (never blow it), and wipe your surface daily.
Starter supplies I recommend
An 18-piece graphite range gives you hard pencils for light layout and soft ones for deep darks.

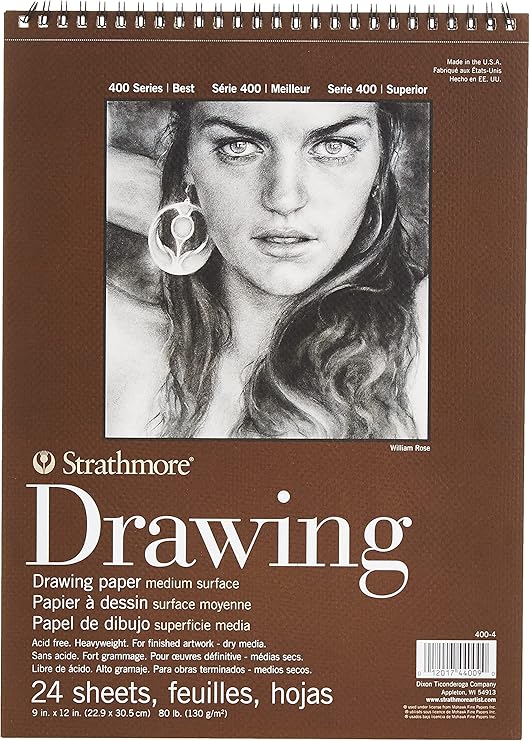
Strathmore 400 has enough tooth to hold graphite and charcoal layers without pilling.
Blending stumps and tortillons give you soft gradients without smearing skin oil into the paper.

New to sketching? The beginner’s guide to sketching and the 30-day sketching challenge pair well with this setup.
If you draw digitally
Digital studios look simple, but they have the most measurements to get right. Your screen height and your desk depth decide whether a two-hour session feels good or leaves your neck stiff.
Your digital corner
- Desk depth of at least 30 inches, so a drawing display can sit at an angle with room for your forearm.
- The top of any monitor at or slightly below eye level. A monitor arm makes this easy and frees up desk space.
- Pen display angled 15 to 25 degrees, similar to a drafting board.
- Cables bundled along the back edge of the desk. One snag and a tablet hits the floor.
- Matte wall behind the screen, and no window directly behind you to cause glare.
Big-screen setup
If digital art is your main medium, a large pen display lets you draw directly on the screen at a size closer to working on paper. The Xencelabs Pen Display 24 is around $1,500 or more, with 4K resolution and 99% Adobe RGB coverage. It’s a serious tool for serious hours. If you’re still figuring out whether digital is for you, the smaller options in the investment section below make more sense.
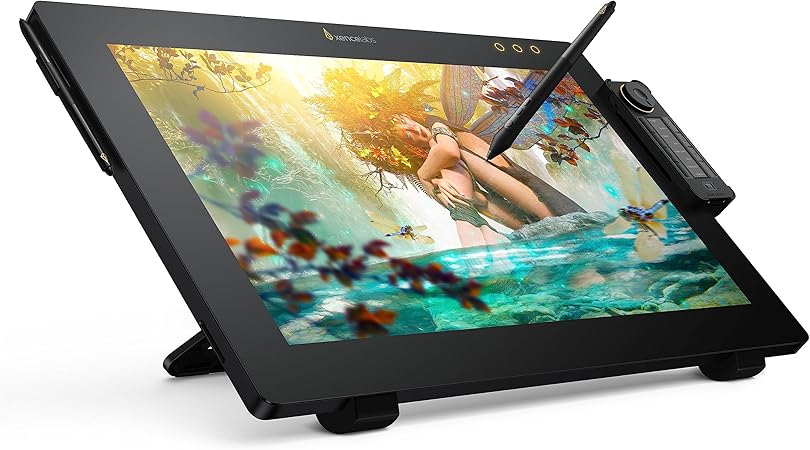
A monitor arm lets you push your reference screen up to eye level and swing it out of the way when you draw.

Tablet artists: the Apple iPad Air 13-inch (M4) (around $929) paired with the Apple Pencil Pro (around $99) is a portable studio that fits in a tote. Check pencil compatibility before you buy: newer iPads don’t work with older Apple Pencil models.
Investment pieces worth it
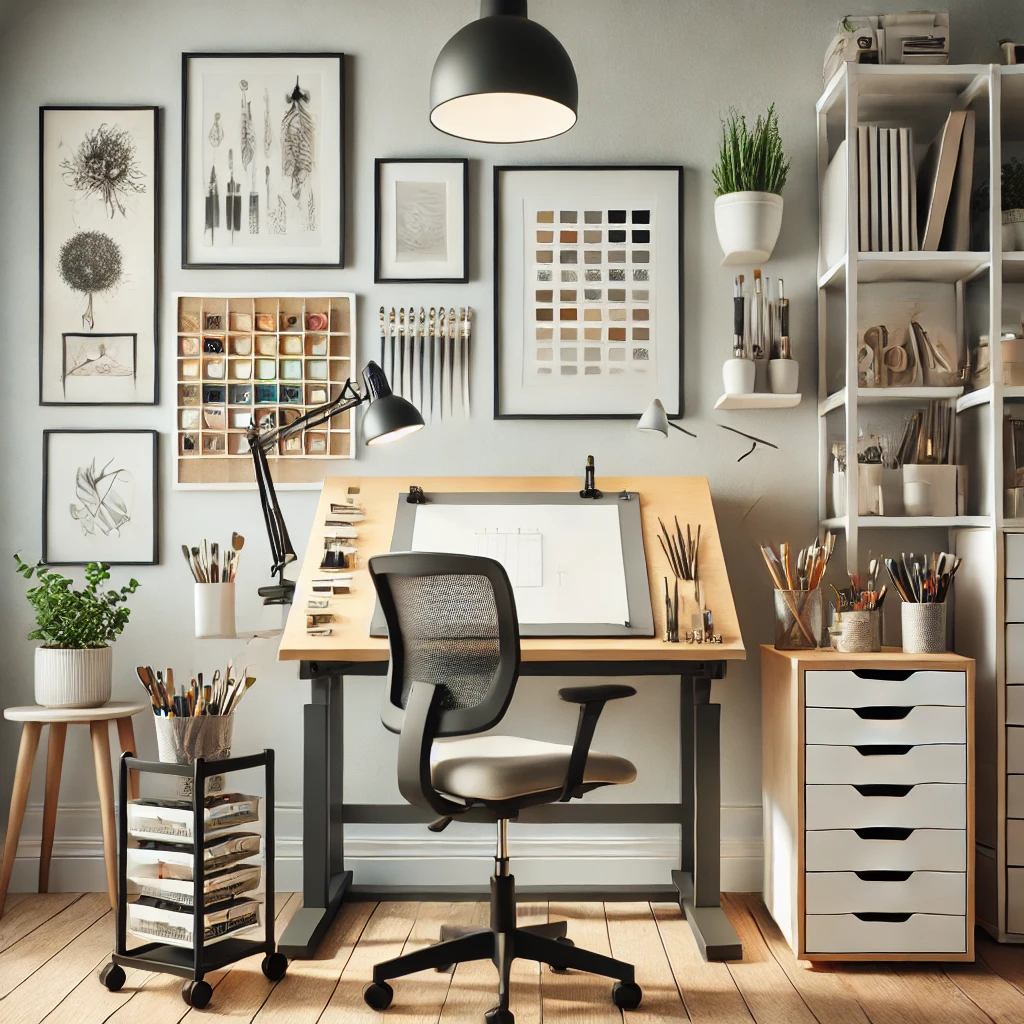
Once your zone works, these are the bigger purchases I’d save for, one per medium. Each solves a real problem, so each comes with who should buy it and who should skip it.
For painters: a solid easel and a drying rack. The MEEDEN Extra-Large H-Frame Easel holds canvases up to 79 inches and runs around $275. Pair it with an extra-large wooden art drying and storage rack (around $160) so wet paintings stop living on the kitchen counter. Over three years of weekly sessions, the easel works out to about $1.75 a session. Worth it for: anyone painting 16×20 or larger, or working on several paintings at once. Skip it if: you paint small on a tabletop. A tabletop easel does the job.
For sketchers: a large light pad. The Artograph LightPad 950 LX gives you a 24×17 inch glowing surface for around $280, big enough to trace a full 18×24 layout onto good paper. The U.S. Art Supply Lightmaster 17×24 is about half the price at around $130. Worth it for: botanical illustrators, anyone who refines rough sketches into clean final drawings, and lettering artists. Skip it if: you draw straight from life and rarely transfer.
For digital artists: a mid-size pen display. The XPPen Artist Pro 16 Gen2 (around $500) and the Wacom Cintiq 16 (around $700) let you draw on the screen without the price tag of a 24-inch display. Worth it for: artists who already use a screenless tablet and keep losing track of where the pen is. Skip it if: you already own a recent iPad and Apple Pencil. That’s a pen display already.
For charcoal, pastel, and solvent users: clean air. A HEPA purifier such as the Coway Airmega Mighty2 (around $270) placed near your work zone captures fine dust before it settles. Worth it for: charcoal and soft pastel artists, especially in small closed rooms. Skip it if: you work in watercolor or graphite with a window you can open.
Step 4: The clean studio system

A clean studio is a studio you’ll want to walk into tomorrow. This system is organized by medium, because cleanup looks very different for a painter and a sketcher.
Painters: the 5-minute reset
- Wipe palettes while paint is wet. Dried acrylic peels off with effort; wet acrylic wipes off in seconds. Or skip the step entirely with disposable palette paper.
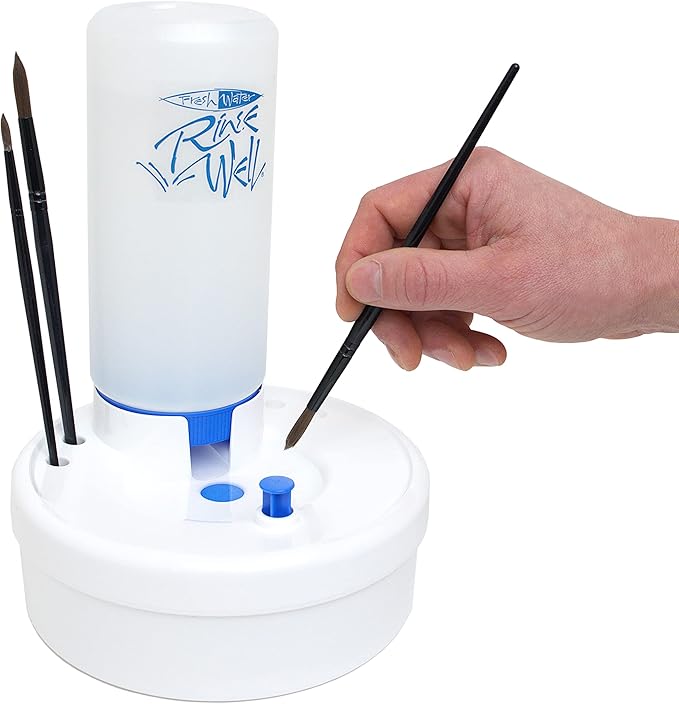
- Rinse brushes in clean water, not murky water. Fresh water gets pigment out of the ferrule (the metal part), where it builds up and splays the bristles.
- Wash with brush soap once a week to pull out the last of the pigment and keep the bristles soft.
- Dry brushes flat or tip-down. Never dry them standing tip-up in a cup; water runs into the ferrule and loosens the glue.
A rinse well that keeps fresh water moving means you’re never cleaning brushes in yesterday’s paint water.

Sketchers: the 2-minute reset

- Tap charcoal and graphite dust into the trash.
- Wipe your board and desk with a slightly damp microfiber cloth.
- Knead your kneaded eraser until it’s clean again (stretch and fold it until the gray disappears).
- Slip loose drawings into a flat drawer or portfolio before you leave the room.
Digital artists: the weekly reset
- Wipe the screen with a dry microfiber cloth (no cleaning sprays on matte drawing surfaces).
- Check your pen nib. A worn nib scratches the surface, and replacements are cheap.
- Tidy cables and back up your files.
For a full supply-by-supply system, see the ultimate guide to organizing your art supplies and how to organize your brushes, pens, and tools.
Bonus: Five dream studio looks to save
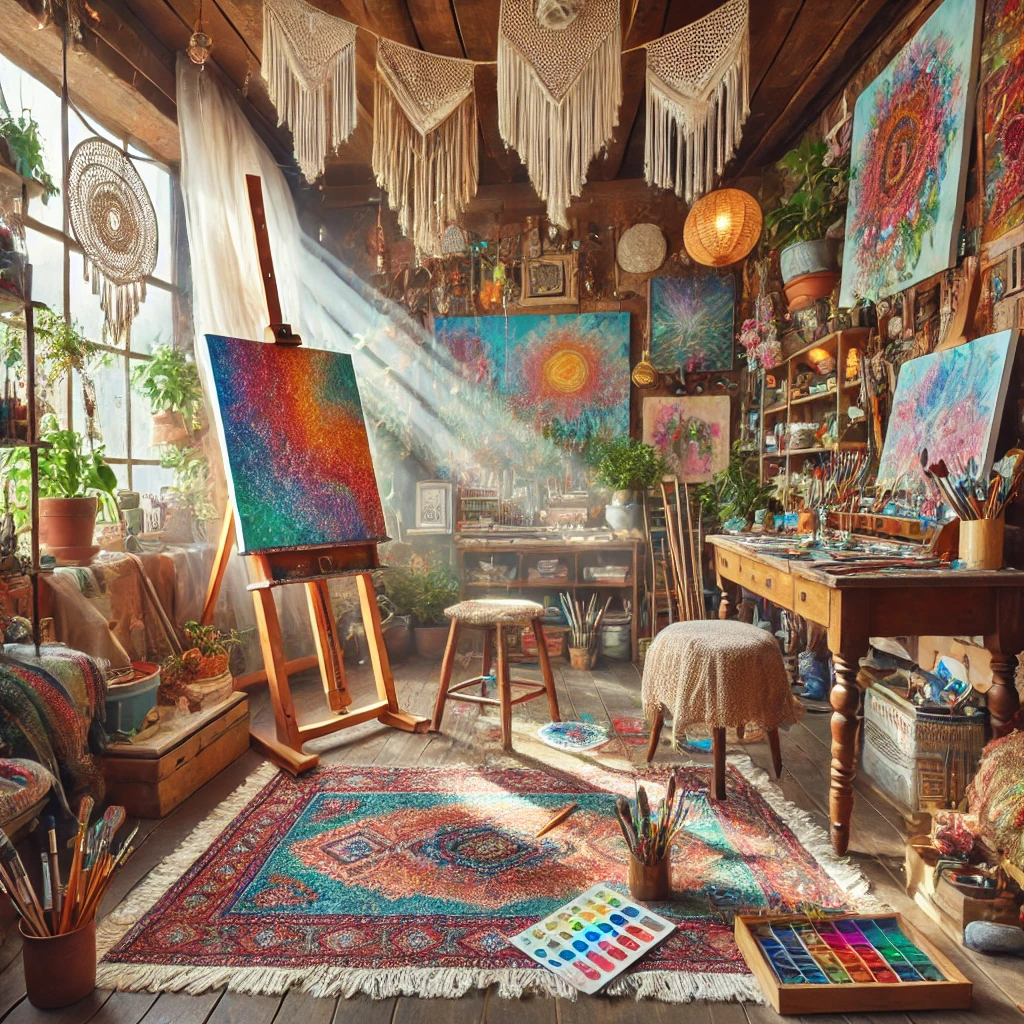
Once the studio works, make it a place you love. Here are five looks to pin, each with the three pieces that create the feeling.
1. Sunlit Minimalist
White walls, pale wood, and nothing on the floor that doesn’t need to be there.
- A clear acrylic wall organizer for pens and brushes
- A light oak easel standing near the window
- A natural jute rug to warm up the floor
More in modern minimalist art studio inspiration.
2. Vintage Charm
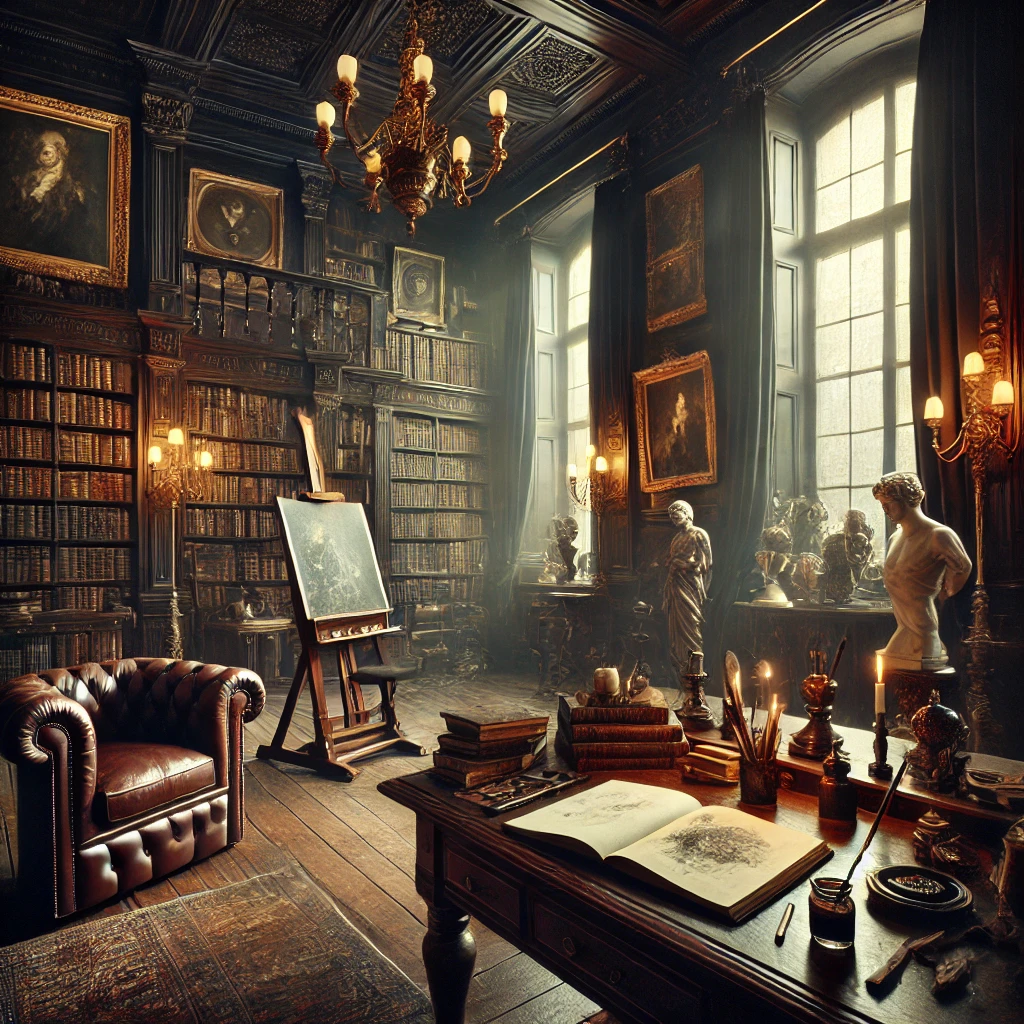
Old wood, warm brass, and a little patina on everything.
- An Art Nouveau style brass lamp on the desk
- A gold-framed mirror to bounce light around the room
- Wooden crates turned on their sides as shelves
See vintage art studio ideas for more.
3. Bohemian Color
Plants, pattern, and color that makes you want to paint.
- A macramé wall hanging above the desk
- A brightly colored rolling cart
- Floor cushions for sketching sessions on the floor
4. Dark Academia

Deep walls, old books, and a little drama.
- Brass candlesticks on the shelves (as decor; keep open flame away from paper and solvents)
- An apothecary-style cabinet with small drawers for pencils and nibs
- A plaster or marble-look bust to draw from
5. Industrial Loft
Metal, wood, and tools on display.
- An articulating metal lamp clamped to the desk
- A metal pegboard wall for scissors, rulers, and brush cups
- A rolling kitchen-style console as a paint station
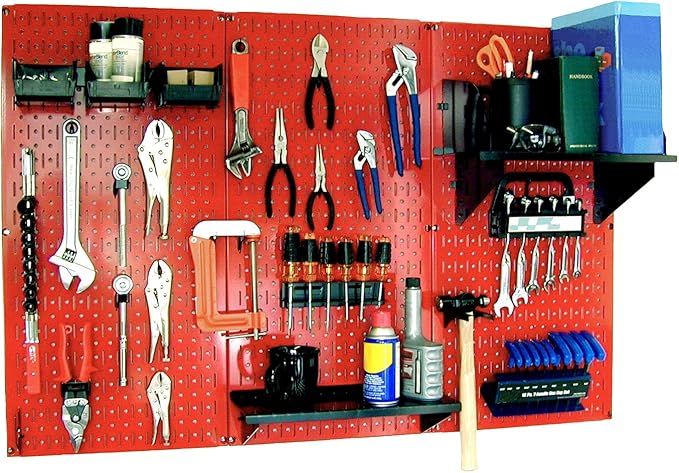
Pick one look and repeat its key material three times (oak, brass, or black metal) on the desk, a shelf, and a frame. That’s what makes a studio look intentional instead of thrown together.
The takeaway
Set up the zone your medium needs first: air and drying space for painters, angle and flat storage for sketchers, screen height and desk depth for digital artists. Then layer on the look you love. A studio built around what you make is one you’ll keep using.
What’s your main medium, and which of the five dream looks is closest to your style? Tell me in the comments. And save this pin to your studio board so you have the medium checklist when you’re ready to set up.