This post contains affiliate links. If you buy through them, I may earn a small commission at no extra cost to you.
Ever spent an hour drawing hair one strand at a time, only to end up with something that looks like a straw broom? You’re not alone, and the fix is easier than you think.
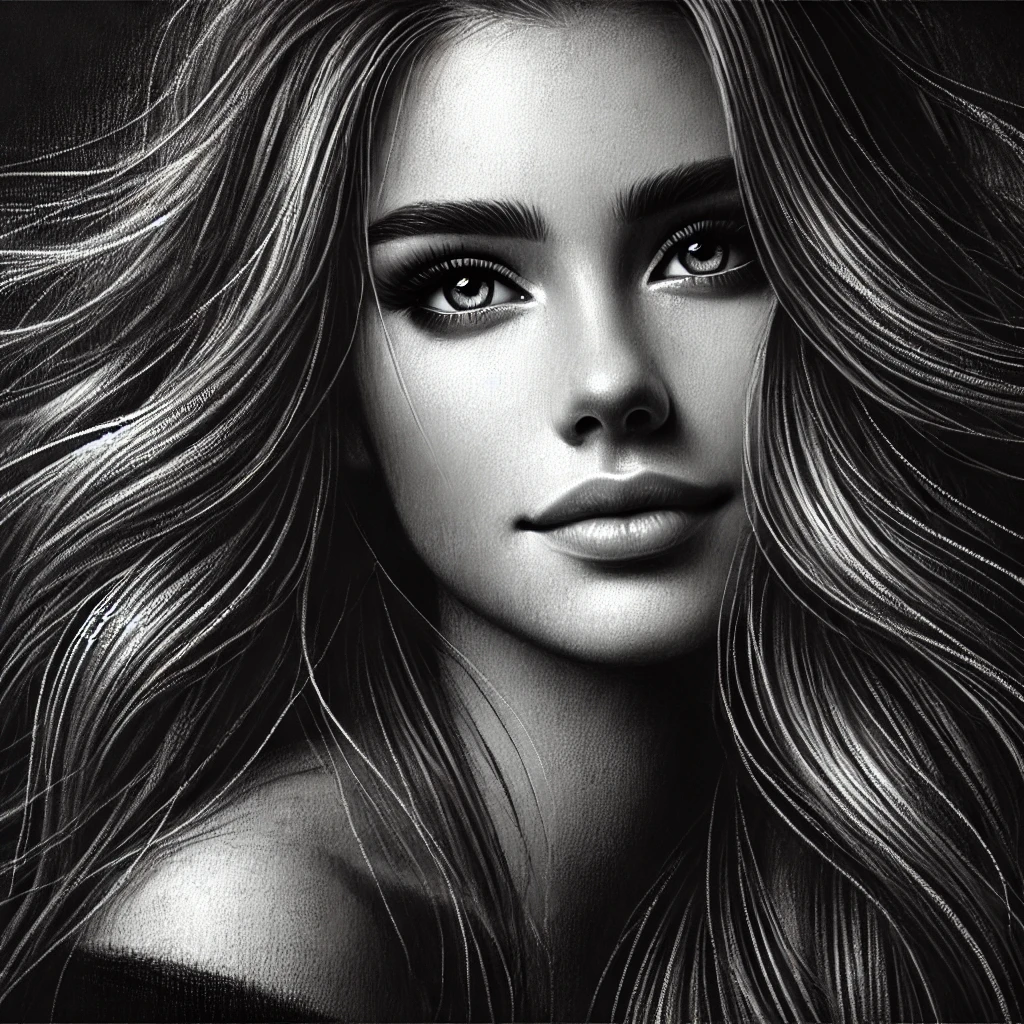
Here’s my take: realistic hair is drawn in shapes, and strands are the very last thing you add. Your eye reads hair as a few big masses of light and shadow. Get those masses right and a handful of crisp strands on top will sell the whole thing. Skip them and no amount of detail will save it.
This guide walks you through my five-pass method with charcoal pencils, a cheat sheet for different hair types, and the three mistakes I see most often.
If you only do one thing
Squint at your reference until the hair turns into 3 to 5 simple shapes of light and dark. Shade those shapes first, leave the shiny band as bare paper, and only then pick up a sharp pencil for strands.
What you need (and what each tool does)
You don’t need a huge kit. You need a range of softness, something to blend, something to lift, and a way to add bright white.
| Tool | Job in hair | My pick |
|---|---|---|
| Hard charcoal pencil (H/HB) | Light flow lines, fine strands | General’s charcoal pencils |
| Soft charcoal pencil (4B/6B) | Deep shadows near the scalp | Faber-Castell Pitt charcoal |
| Blending stumps | Soft base tones | 12 pc blending stumps |
| Kneaded + precision erasers | Lifting highlights and strands | Kneaded and precision eraser set |
| White charcoal or gel pen | Final bright accents | White charcoal pencil |
For paper, smooth Bristol gives you crisp, fine strands. A toned gray or tan paper is wonderful for hair because you can push darks down and pull lights up with white charcoal. If you’re choosing between surfaces, my guide to the best paper for charcoal breaks them down.
Want to compare pencil brands first? See the best charcoal pencils for artists.
Think in shapes, then strands
This one mindset shift does most of the work.
- flat helmet look
- hours of lines
- no volume
- harsh outlines
- real volume
- faster progress
- soft edges
- strands as accents
Hair sits on a round skull, so it behaves like a form wrapped around a ball. It catches light on the top of each curve and falls into shadow underneath. Treat each lock or section like a ribbon with its own light side and dark side.
The hair value scale
Before you shade, know where your values live. Most hair, light or dark, follows the same pattern from the shiny band down into the deepest shadow.
A blond braid and a black bob both use this scale. The difference is where the scale sits. Dark hair spends most of its area in the bottom three stops, with a narrow, sharp highlight. Light hair lives mostly in the top three, with darks only in the deepest pockets.
How to draw realistic hair in 5 passes
Pass 1: Map the flow
With a sharp H or HB charcoal pencil, sketch the outer silhouette and a few long lines that show which way the hair travels. Start every line at the root (the part or hairline) and pull it out toward the ends.
Keep the pressure feather light. These lines are a road map, and you want them to disappear under later layers. Mark the highlight band with a faint dotted line so you don’t shade over it by accident.
Pass 2: Block in the base tones
Switch to a medium pencil and lay a soft, even tone over everything except the highlight band. Use the side of the lead and follow the flow lines.
Blend lightly with a clean stump, always in the direction the hair grows. Never blend across the strands. One gentle pass is enough here; you’re building a foundation, not finishing.
Blending is its own skill. For stump vs tortillon vs brush and a gradient drill, read how to blend charcoal like a pro.
Pass 3: Build layers section by section
Now work one lock or section at a time. Add darker tone on the shadow side of each curve, near the scalp, at the nape, and where one lock tucks under another.
Use your 4B or 6B for the deepest areas. Build them in two or three light layers instead of one heavy one, so the paper’s tooth doesn’t fill up too early. Filled tooth means you can’t layer or lift anymore.
Pass 4: Lift strands and highlights
This is the fun part. Pinch your kneaded eraser into a thin wedge and drag it through the highlight band and across the top of each lock, following the flow. Each drag pulls up a soft, light strand.
For sharper, thinner strands, use a precision eraser with a clean edge. Vary the length. Real hair has some long sweeping strands and lots of short broken ones.
Pass 5: Crisp hairs and bright accents
Sharpen a hard pencil to a needle point and add a few dark, crisp strands over the midtones and along the shadow edges. Fewer than you think: 10 to 20 well-placed strands will do more than 200.
Finish with tiny touches of white charcoal or a white gel pen on the brightest spots and a few flyaways at the silhouette. Stop while it still looks a little loose.
If you learn better by watching, this tutorial walks through the process:
Hair type cheat sheet
Different textures need different shapes. Here’s what to look for and one tip for each.
| Hair type | Key shapes | Tip |
|---|---|---|
| Straight | Long ribbons, one wide highlight | Keep lines long and confident |
| Wavy | S-curves, highlight on each crest | Highlights break at every wave |
| Curly | Spirals, clumps, small loops | Shade each clump as its own form |
| Coily | Dense cloud, soft texture | Use texture and stippling, few lines |
| Braids | Repeating rounded sections | Dark gaps between each section |
Two extra notes:
- Dark hair needs fewer midtones than you’d expect. Push the shadows hard and keep the shine narrow and crisp.
- Light or gray hair is mostly paper. Let the darks live only in the gaps, and draw the lightest strands by lifting rather than by adding.
Three mistakes that make hair look flat
- Over-blending. Smudging everything into one smooth gray wipes out the texture that makes hair read as hair. Blend the base, then leave the top layers crisp.
- Hard outlines. A dark line around the silhouette turns hair into a helmet. Let the edge break up with flyaways and soft, lost edges where hair meets a light background.
- Inconsistent light. If the face is lit from the left, the hair is too. Check that every highlight band sits on the same side of the head.
Flip your drawing upside down or check it in a mirror every 15 minutes. Odd shapes and missing shadows jump out when your brain stops recognizing it as hair.
Here’s a second tutorial worth watching once you’ve tried the steps on your own:
Practice plan: one week to better hair
| Day | Exercise | Time |
|---|---|---|
| 1 | Value scale, 5 stops, highlight to core shadow | 10 min |
| 2 | Single straight ribbon of hair | 15 min |
| 3 | Wavy lock with 3 crests | 20 min |
| 4 | One curly clump, shaded as a form | 20 min |
| 5 | Short braid, 4 sections | 25 min |
| 6 to 7 | Hair on a full portrait study | 45 min |
Pair this with portrait drawing tips so the hair sits right on the head.
Investment pieces worth it
Charcoal hair work is all about subtle values. Two things make a real difference once you’re drawing regularly: light you can trust and a surface that keeps you from smudging.
Daylight Artist Studio Lamp, around $275. With 95+ CRI and very high brightness, it shows the gap between a light midtone and bare paper clearly, which is where hair highlights live. Worth it if you draw in the evenings or in a dim room. Skip it if you have a big north-facing window and draw by day. Used three evenings a week for two years, that’s under $1 a session.
Stand Up Desk Store adjustable drafting table, around $300. A tilted surface keeps your hand off the drawing and your head over the work, so you see proportions without distortion. Worth it if you do long portrait sessions. Skip it if a tabletop easel already gives you a good angle.
Artograph LightPad 950 LX, around $280. Handy for transferring a clean flow map from a rough sketch onto good paper, so you never erase into the tooth. Worth it if you do a lot of portraits. Skip it if you prefer to sketch directly on your final sheet.
The takeaway
Draw hair as a few big shapes with a clear highlight band, build the darks in layers, then lift and add strands at the very end. Fewer strands, placed well, look more real than hundreds of tiny lines.
Which hair type gives you the most trouble: curls, braids, or long straight hair? Tell me in the comments. And save this pin for your next portrait session.