This post contains affiliate links. If you buy through them, I may earn a small commission at no extra cost to you.
Ever drawn something carefully, shaded it for an hour, and still felt like it looked flat? Before you blame your skills, look at your paper.
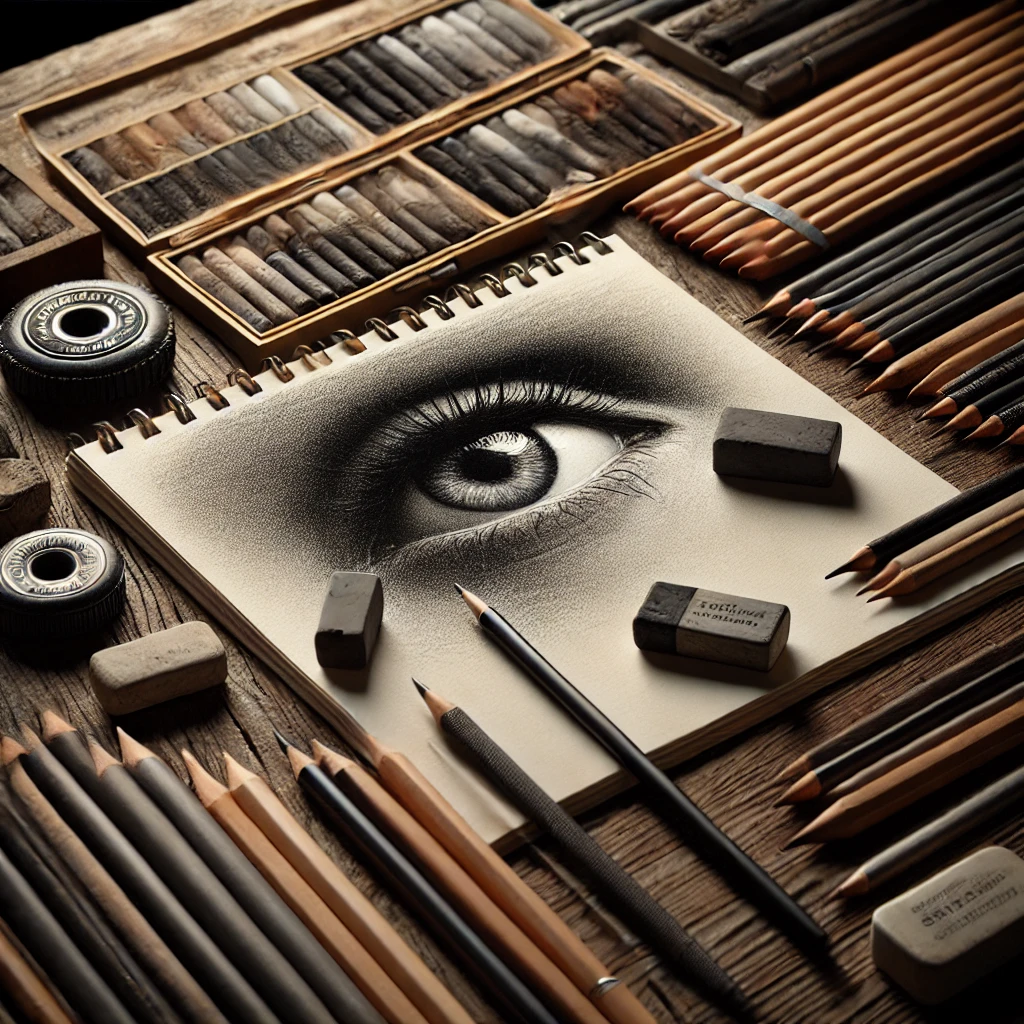
My take: paper is the most underrated tool in realistic sketching. The same 2B pencil looks silky on smooth paper, grainy on toothed paper and glowing on toned paper. Pick the surface for the effect you want and half the realism is done before your first mark.
This post is the tool kit: paper, pencils, erasers and the few extras worth owning. For technique, I’ll keep things short and point you to the guides that cover it in depth.
If you only do one thing
Buy one pad of toned tan or gray paper and a white charcoal pencil. Drawing on a midtone surface teaches you to add both shadows and highlights, and realistic drawings start to look three-dimensional much faster.
The three paper families
Drawing paper comes in three broad families. Most beginners only ever use one, usually a smooth printer-like sketchbook, and then wonder why their charcoal won’t stick.
| Surface | Best medium | Effect | Try it for |
|---|---|---|---|
| Smooth | Hard to mid graphite, ink | Fine detail, soft blends | Eyes, hair, botanicals |
| Toothed | Soft graphite, charcoal | Grain, rich darks | Portraits, landscapes |
| Toned | Graphite or charcoal plus white | Highlights pop | Still life, figures |
Smooth paper (often called plate or smooth Bristol) has almost no surface texture. Graphite glides on, blends into seamless gradients and holds very fine lines. The downside: it fills up fast, so you can only stack a few layers before the pencil starts sliding. A smooth surface sketchbook is ideal for detailed graphite studies.
Toothed paper (labeled medium, vellum or rough) has a visible grain that grabs pigment. It holds many layers, which is what you want for deep shadows and for charcoal. A toothed drawing pad is my pick for most realistic portrait practice. My best paper for charcoal drawings guide goes deeper on tooth if charcoal is your main medium.
Toned paper is tinted, usually tan, gray or black. The paper itself becomes your midtone, so you draw the shadows dark and the highlights light. A toned sketchbook is the fastest way I know to make a drawing look lit from within.
- fine lines
- seamless blends
- few layers
- crisp detail
- visible grain
- many layers
- deep darks
- holds charcoal
Paper weight matters too. Around 60 to 80 lb (about 90 to 130 gsm) is fine for daily sketching. If you erase and blend heavily, look for 100 lb (about 160 gsm) or more so the surface survives the abuse.
How toned paper works
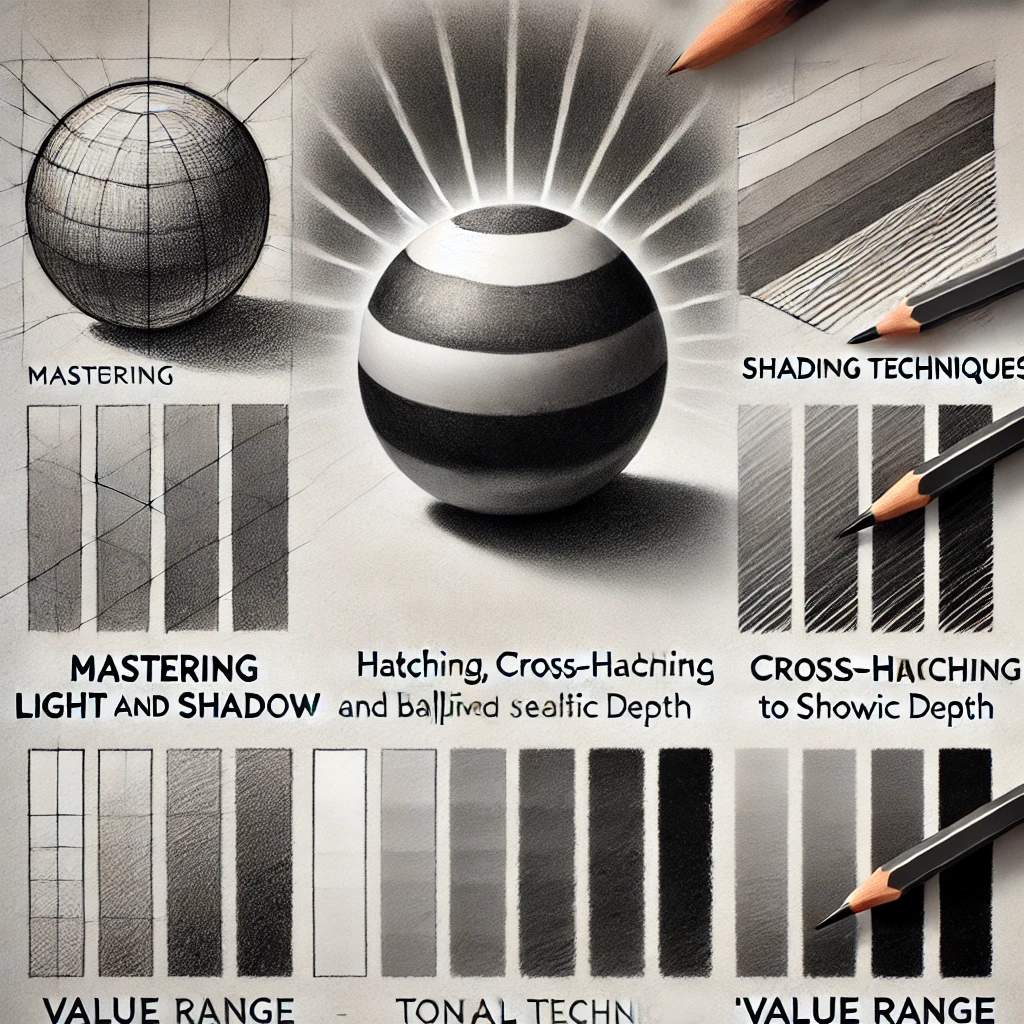
On white paper, every highlight is just a spot you avoided. On toned paper, highlights are something you draw, usually with white charcoal, a white pastel pencil or a white gel pen. That changes how you think about light.
A few rules for toned paper:
- Leave lots of paper showing. The tone is doing the midtone work. If you cover it all, you’ve thrown away its advantage.
- Use white sparingly. Save it for the brightest 5 to 10 percent: the shine on an eye, the top plane of a nose, a rim of light.
- Graphite on dark paper can disappear. Graphite has a shine that reads lighter on deep gray or black. Charcoal or matte graphite holds darks better there.
- Black paper flips your brain. You draw only the light. It’s a wonderful exercise once you’re comfortable with tan and gray.
Pencils: what you need and what you don’t
For realistic sketching, you need a range of grades, not a huge set. Hard pencils (H grades) give light, crisp lines that don’t smudge much. Soft pencils (B grades) give rich, dark tone that smudges easily.
A graded sketching pencil set with grades from about 4H to 8B gives you room to grow. If you want to compare specific brands, my best graphite pencil brands guide breaks them down, and charcoal vs graphite helps you decide which medium suits your style.
Starter kit vs upgrade kit
Here’s how I’d spend money in two stages. The starter kit covers everything you need for realistic sketches for months. The upgrade kit is for when you’re drawing several times a week and know what you like.
| Item | Starter kit ($) | Upgrade kit ($$) |
|---|---|---|
| Pencils | Graded set, 4H to 8B | Pro set plus matte graphite |
| Paper | Toothed pad and a sketchbook | Smooth, toothed and toned pads |
| Erasers | Kneaded eraser | Kneaded, eraser pen, vinyl |
| Blending | Paper stumps | Stumps in 3 sizes plus chamois |
| Highlights | White gel pen | White charcoal pencil set |
For the starter kit, a sketching accessory set with stumps, erasers and a sharpener saves buying each piece separately. For the upgrade, the Faber-Castell 9000 graphite set and Faber-Castell Pitt Graphite Matte pencils are a great pair: classic shiny graphite for most work, matte for the darkest darks. A Strathmore 400 drawing pad and a Moleskine Art sketchbook round out the paper side.
Drawing with the eraser

Realistic artists use erasers as drawing tools, not only for fixing mistakes. You lay down tone first and then pull the light out of it. It’s how you get soft glints on hair, light catching on fabric and the wet look of an eye.
- Tone the area. Lay an even mid value with a 2B over the whole shape.
- Smooth it. Blend with a stump so there are no visible strokes.
- Lift soft lights. Shape a kneaded eraser into a point or wedge and dab, don’t rub. Each dab lifts a little more.
- Cut crisp lights. Use an eraser pen for sharp highlights like strands of hair or the edge of a glass.
- Restate the darks. Highlights look brightest next to a dark. Add a touch of 4B right beside them.
My kneadable erasers guide has more on shaping and cleaning them, and texture in your sketchbook shows how eraser marks build surface texture.
Technique, in brief
The tools only work if the drawing underneath is solid. Three short reminders:
- Light and shadow. Pick one light direction and stick to it. My shading techniques guide walks through the parts of light on a form.
- Proportion. Start with very light lines (a 2H is perfect) and check angles before adding any tone. A grid can help with tricky references. The proportion and perspective sketching guide covers measuring methods.
- Detail last. Big shapes, then values, then details. My realistic drawing tips post covers the full process.
Common tool mistakes
| Mistake | What happens | Fix |
|---|---|---|
| Charcoal on smooth paper | Slides, won’t build darks | Switch to toothed paper |
| Pressing hard for darks | Shiny, dented paper | Use a softer grade |
| Rubbing with a kneaded eraser | Smears, tears tooth | Dab and lift instead |
| Blending with fingers | Oily, patchy tone | Use a stump or chamois |
| Covering all of toned paper | Loses the midtone | Leave 40 to 60 percent bare |
Investment pieces worth it
Once you have the basics, these bigger purchases make realistic work easier. None of them are required.
A light pad for transfers and value checks. The Artograph LightPad 950 LX is about $280 with a 24 by 17 inch surface, big enough for full-size portrait paper. It’s useful for transferring a careful line drawing onto good paper so you don’t erase the surface before you start shading. Worth it for: artists who do finished pieces and want clean paper. Skip it if: you mostly sketch in a sketchbook, where a transfer step doesn’t make sense. The U.S. Art Supply Lightmaster at around $130 is the budget option.
A daylight studio lamp. Subtle values are hard to see under warm, dim bulbs. The Daylight Artist Studio Lamp has a 95+ CRI rating and runs around $275. Over three years of sketching three evenings a week, that’s under $2 a session. Worth it for: evening artists and anyone working on detailed realism. Skip it if: you have a bright north-facing window and draw during the day.
A tilting drafting table. Drawing on a flat surface distorts proportions because you see the paper at an angle. The Studio Designs Vintage Drafting Table is solid wood, tilts, and runs about $270. Worth it for: a dedicated drawing corner. Skip it if: you have limited space. A tabletop drawing board gets you most of the benefit.
The takeaway
Realistic sketching gets easier when your paper matches the effect you want: smooth for detail, toothed for depth, toned for glow. Start with a small graded pencil set, a kneaded eraser and one toned pad, then upgrade only what you actually use up.
Which paper have you been using without thinking about it? Tell me in the comments, and save this guide for your next art supply run.