Smart, Space-Saving Ways to Build a Beautiful & Functional Creative Corner
You don’t need a huge room to create a stunning, inspiring art studio. In fact, some of the most creative artists in the world work from tiny nooks, kitchen corners, or compact bedrooms. The secret isn’t square footage — it’s smart organization.
When your tools have a place, your space feels open.
When your storage is intentional, your creativity flows.
And when your setup works with your small space, you never feel cramped or overwhelmed.
This guide gives you the most effective, aesthetic ways to organize a small art studio so you can turn even the tiniest corner into a functional, beautiful workspace.
SECTION 1 — Start by Defining Your Creative Zone
The biggest mistake artists make in small spaces is spreading their supplies everywhere.
Before you think about storage, define:
- Where you’ll create
- What materials you use most often
- What needs to stay out vs. be stored away
Your “creative zone” can be:
- A desk in the corner of a bedroom
- A dining table you use part-time
- A wall nook in a living room
- A closet studio (yes, it works beautifully)
- A rolling art cart setup that moves with you
Once your zone is defined, the organization becomes effortless.
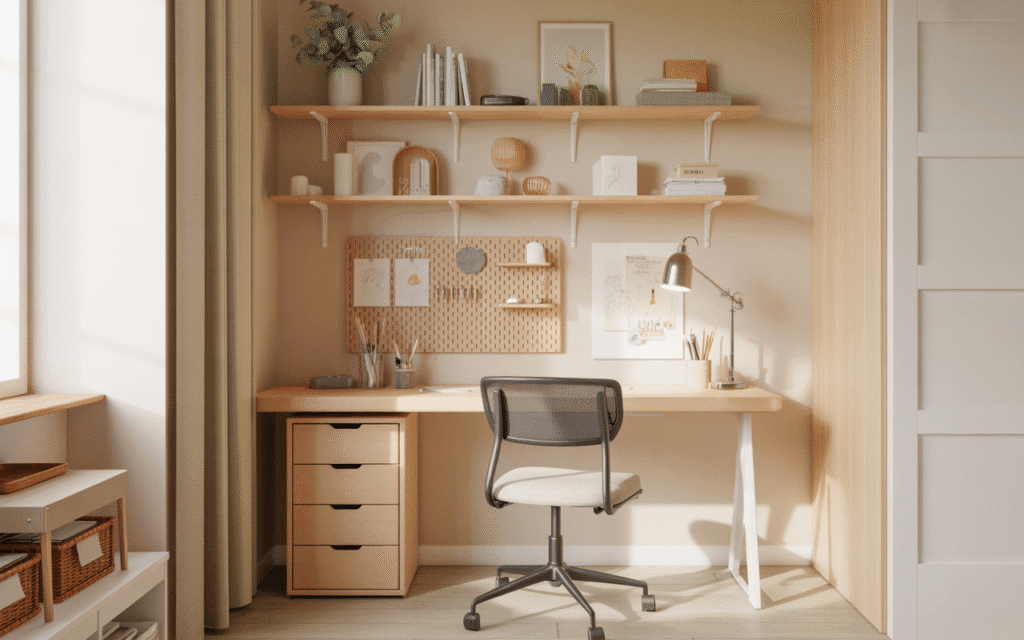
SECTION 2 — Maximize Vertical Space (Your #1 Small-Studio Trick)
When floor space is limited, go upward.
Here are the most functional and aesthetic vertical storage solutions:
1. Pegboards for High-Use Tools
Pegboards instantly give you:
- Brush storage
- Tool storage
- Hanging cups
- Mini shelves
- Tape dispensers
- Inspiration clips

Why they work so well:
They keep your desk clear while turning your wall into a customized organization system that grows with you.
2. Floating Shelves Above Your Desk
Floating shelves are perfect for storing:
- Bins and baskets
- Pencil jars
- Paint trays
- Decorative items
- Sketchbooks
- Small canvases
Choose shelves in:
- White
- Light wood
- Greige
- Warm natural tones
This gives your studio that elegant, Pinterest-worthy look.
60inch Floating Shelf for Wall Mounted, Honey Oak Wooden 60in Large Floating Shelves, Heavy Duty Bracket, 60 X 6.5 X 1.75 in, Set of 2

3. Wall-Mounted Racks for Paper & Canvases
These save huge amounts of space.
Use them for:
- Canvas boards
- Paper pads
- Portfolios
- Cutting mats
- Large sketch pads
→ How to Store Canvas, Paper & Sketchbooks
4. Magnetic Wall Strips
Perfect for:
- Metal tools
- Scissors
- Palette knives
- Small rulers
- Clips
They keep items accessible without taking up any surface space.
Long Wide 12" x 3" Metal Organizer with Strong Magnets & Wall-Mounting Hardware for Home, Office, or Dorm (3 Pack) Matte Black

SECTION 3 — Use Compact, Multi-Purpose Storage Furniture
When you work in a small space, every piece of furniture needs to pull double duty.
1. Slim Drawer Units
Look for:
- Narrow profiles
- Deep + shallow drawer combinations
- Rolling capability
Store:
- Paint tubes
- Pens
- Pencils
- Tools
- Small canvases
- Adhesives
→ Best Drawer Units for Artists

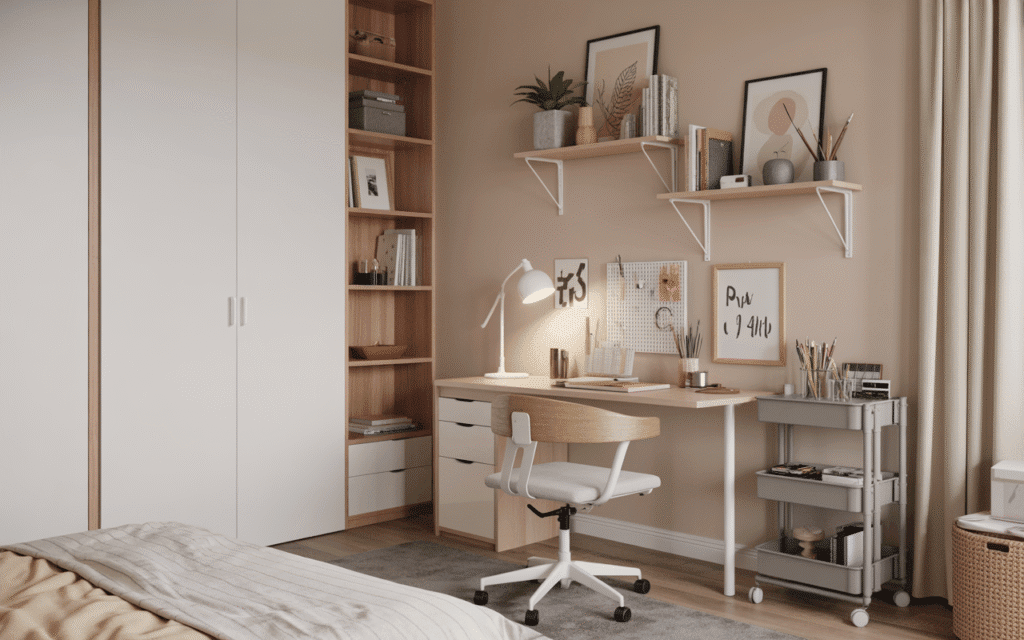
2. Carts That Fit Under Your Desk
Under-desk carts are perfect because they’re hidden while you work.
Use them for:
- Watercolor supplies
- Acrylic paints
- Crafting tools
- Daily-use materials
Pull them out during projects — then roll them away.
Mobile Utility Cart Kitchen/Under Desk Cart with Caster Wheels - WHT (15.35" X 10.24" X 26.8"H)

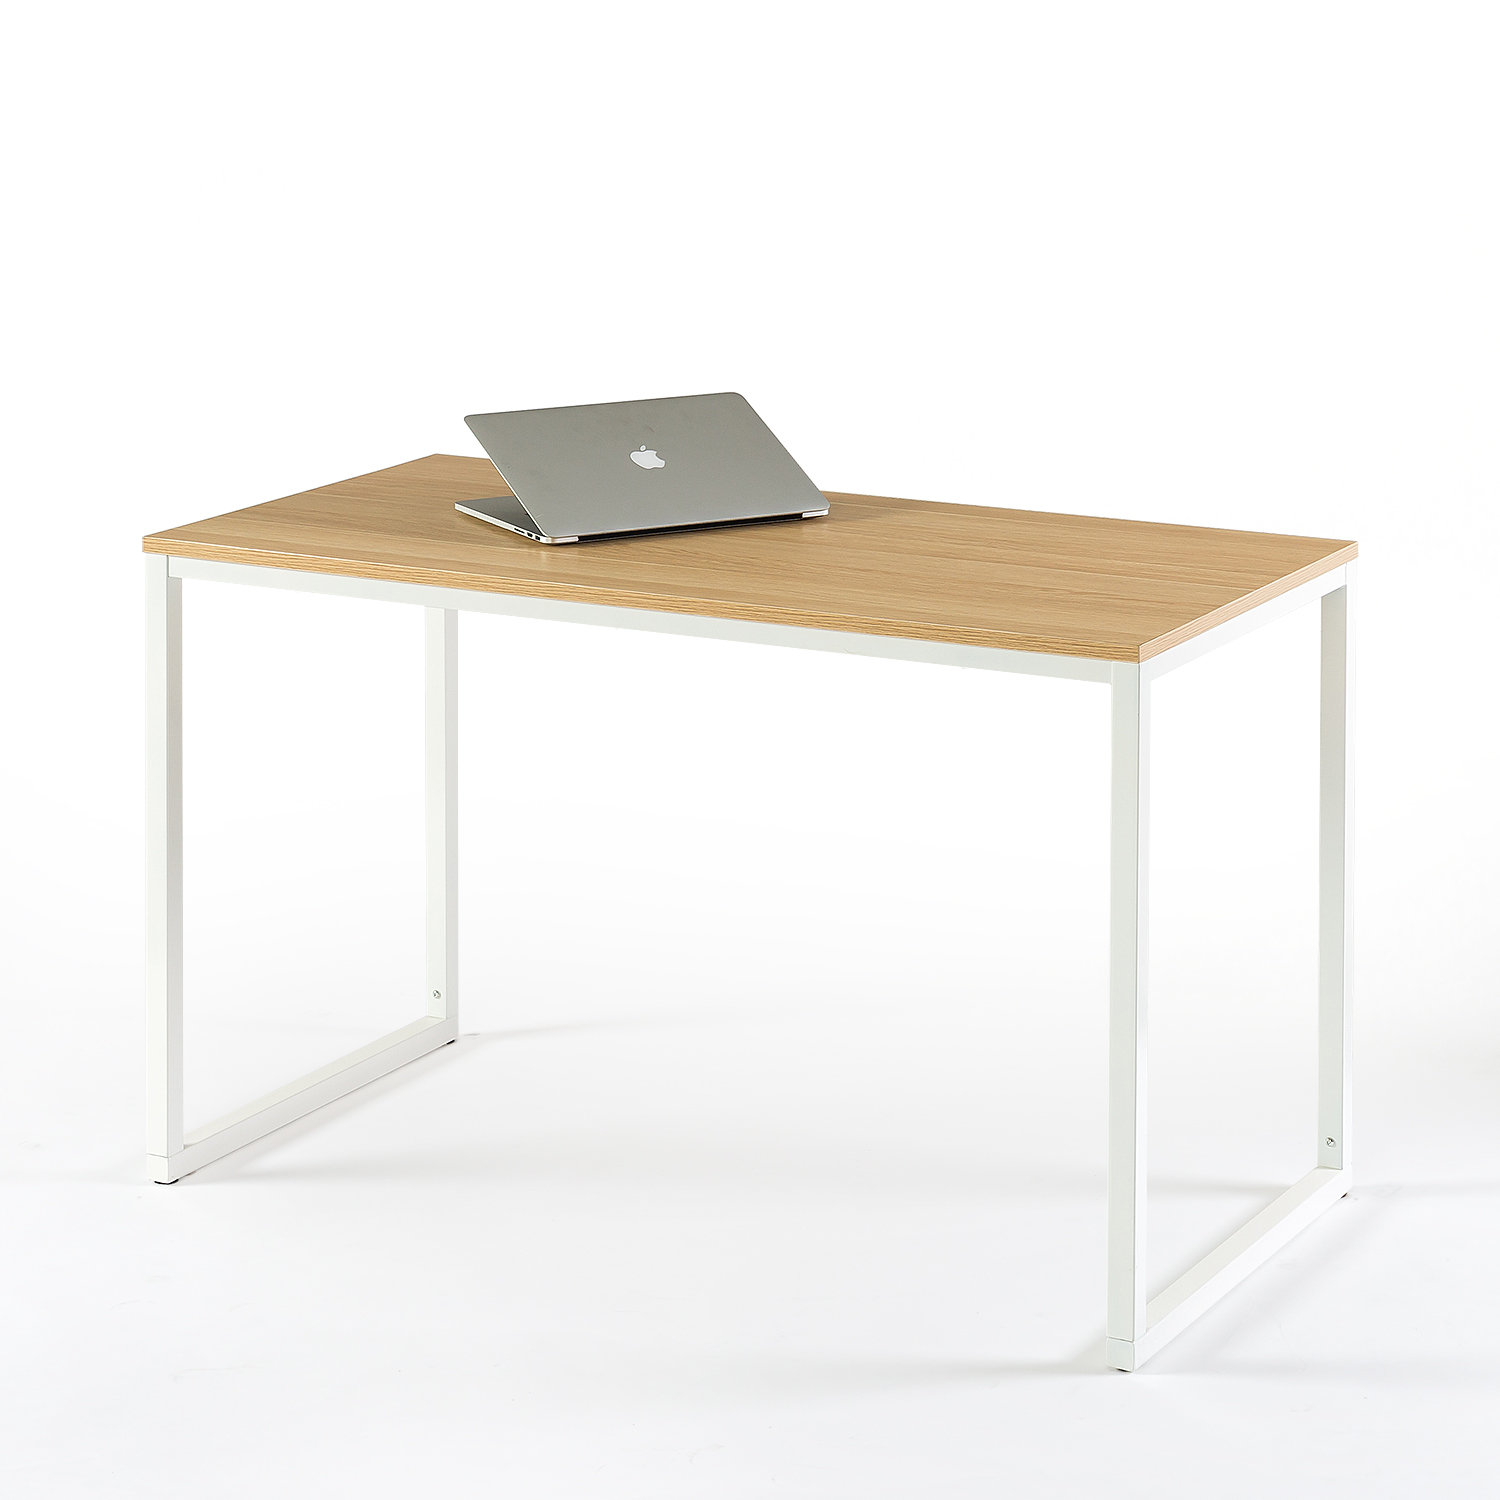
3. Foldable or Compact Desks
If space is extremely limited:
- Choose a fold-down wall desk
- Use a narrow writing desk
- Try a drop-leaf table
This gives you workspace when you need it but keeps your room open.
No Assembly Required Compact Desk for Home Office, Writing, and Study

4. Aesthetic Storage Baskets
Great for storing:
- Bulky items
- Not-so-pretty supplies
- Seasonal tools
Choose:
- Rattan
- Linen
- Jute
- Tan or cream baskets
They bring a natural, calming aesthetic to your studio.
Baskets for Organizing, Storage Basket with Built-in Handles, Water Hyacinth Shelves (Medium 2-Pack, Natural Hyacinth)

SECTION 4 — Build Micro-Zones for Your Supplies
Even in a tiny space, you can create micro-zones that keep your workflow smooth.
Here’s how:
1. Wet Media Zone (Mini Version)
Use:
- A narrow cart
- A small desktop caddy
- A shallow drawer
Store:
- Paints
- Brushes
- Palette knives
- Water cups
→ 10 Genius Ways to Organize Your Paints
Korean-Made Portable Tote for Bathroom, Office, Crafts, or School Supplies (Rectangle, White)

2. Dry Media Zone
Perfect for:
- Pencil sets
- Charcoal
- Erasers
- Pastels
Use:
- Divided drawer trays
- Acrylic pencil organizers
- Ceramic cups
4-Size Versatile Bathroom and Vanity Drawer Organizer Trays, Storage Bins for Makeup, Bedroom, Kitchen Gadgets Utensils and Office

3. Paper Zone
Use:
- Magazine holders
- Vertical file organizers
- A single shelf with dividers
→ How to Store Canvas, Paper & Sketchbooks
Clear PET Desk Organizer and Storage Bins Holding for Magazines, Binders, Notebooks, Envelopes, Multi-purpose Plastic Document Organizer for Home Office, 4 pack

4. Tools & Essentials Zone
Keep your most-used items in one compact spot:
- Scissors
- Rulers
- Tape
- Adhesives
- Blades
Use:
- A small pegboard
- A tool roll
- A divided organizer
SECTION 5 — Use Hidden Storage to Keep the Space Calm
Small spaces get visually overwhelming fast — hidden storage keeps everything peaceful.
1. Closed Cabinets or Lidded Bins
Use for:
- Crafting supplies
- Extras you don’t reach for often
- Bulky tools
Closed storage is perfect when your studio is part of a shared living space.
2. Storage Ottomans
These offer:
- Seating
- Storage
- Aesthetic appeal
Great for:
- Yarn
- Fabric
- Sketchbook overflow
- Seasonal supplies
3. Closet Shelves + Bins
Turn a closet into:
- A mini studio storage zone
- A paper station
- A paint storage hub
Even one shelf can hold a huge amount of organized supplies.
5 Tier White Metal Shelving Unit,Adjustable Heavy Duty Garage Shelves,Utility Rack Organizer Shelf for Kitchen Pantry Closet Garage

SECTION 6 — Keep Your Desk Clear (Your Creativity Will Thank You)
A clear desk makes a massive difference in small studios.
Follow the Clear Desk Rule:
Only keep daily-use items on the surface:
- A cup of pencils
- A few brushes
- A small bin of tools
- A water cup
- A sketchbook
Everything else goes into:
- Shelves
- Drawers
- Carts
- Baskets
This gives your mind space to create — not get cluttered.
SECTION 7 — Make It Aesthetic (Small Studios Thrive on Beauty)
Small studios feel larger when they are visually cohesive.
Here’s how to keep it stunning:
1. Use a Neutral Color Palette
Soft tones feel calming and spacious:
- White
- Cream
- Beige
- Light wood
- Warm neutrals
2. Match Your Storage Systems
Choose:
- All acrylic
- All white
- All rattan
- All natural wood
Matching = instantly more polished.
3. Add a Mini Moodboard
Even a tiny inspiration wall brings life to your space.
Use:
- A small corkboard
- A wire grid
- Mini shelves
- Clip-on photo strings
4. Decorate With Your Supplies
Your tools are beautiful.
Display:
- Jar of paintbrushes
- Glass jar of pencils
- A small stack of sketchbooks
- A few tubes of watercolor
SECTION 8 — The Best Small-Space Habits to Keep You Organized
These micro-habits will keep your mini studio immaculate.
1. Daily Reset (2 Minutes)
- Put tools back
- Roll your cart away
- Clear scraps
- Empty water cups
2. Weekly Refresh (5–10 Minutes)
- Re-sort drawers
- Empty trash
- Check dried paint
- Tidy shelves
3. Seasonal Declutter (10–20 Minutes)
- Donate unused supplies
- Clean bins
- Refresh your inspiration wall
- Re-evaluate what you actually use
CONCLUSION
A small art studio can be every bit as functional — and beautiful — as a full-sized workspace. With the right systems, compact storage, and aesthetic touches, your creative corner becomes a calm, inspiring place where you can make your best work.
Start with your vertical space, create micro-zones, choose compact furniture, and use hidden storage for visual calm. Combine functionality with beauty, and your tiny art studio will feel open, organized, and endlessly inspiring.
[…] → Small Art Studio Organization Ideas […]