This post contains affiliate links. If you buy through them, I may earn a small commission at no extra cost to you.
Most art studios get built backwards. People buy the pretty storage first, then wonder why they still don’t want to sit down and draw.
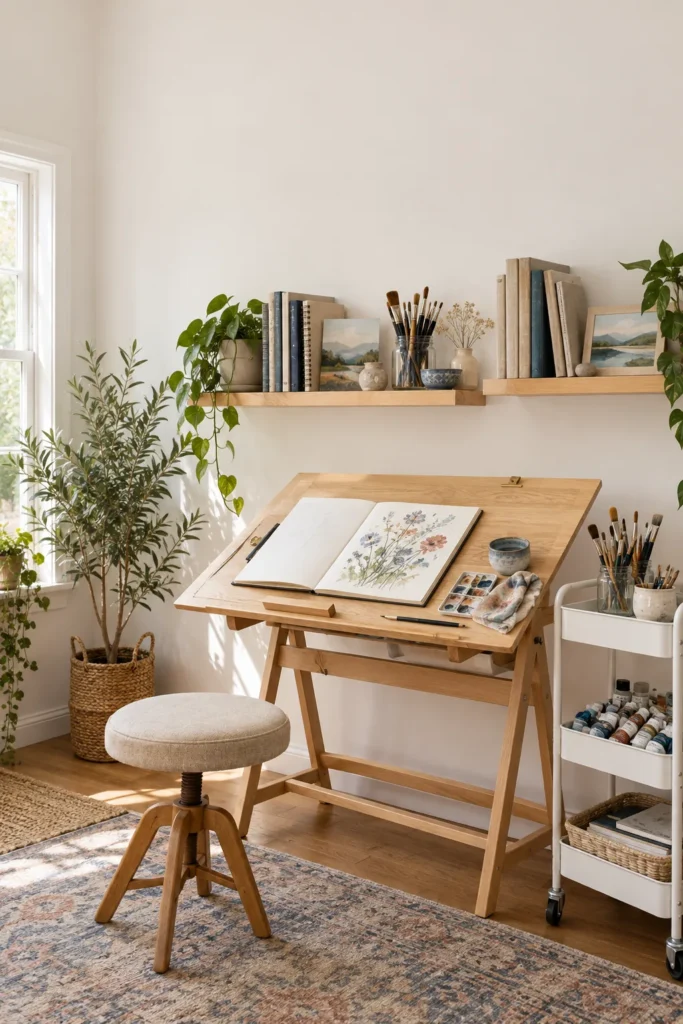
Here’s my take, and the whole guide is built on it: set up your studio around your body and your light first, and your storage last. Storage is the fun part to shop for, so it’s tempting to start there. But a beautiful drawer unit can’t fix a chair that makes your back ache after 40 minutes or a lamp that turns your blues green.
The pattern I see over and over: artists put up with a bad setup for years because the discomfort creeps in slowly. A studio is a place you’ll sit in for hundreds of hours. Build it like that matters.
If you only do one thing: swap your studio bulbs for 5000K daylight bulbs with a CRI of 90 or higher. It costs about $20, takes ten minutes, and every color decision you make afterward gets more accurate.
Start here: which studio are you?
Pick the one that sounds like your space. Each one changes what you buy first.
The corner studio (about 15-40 square feet)
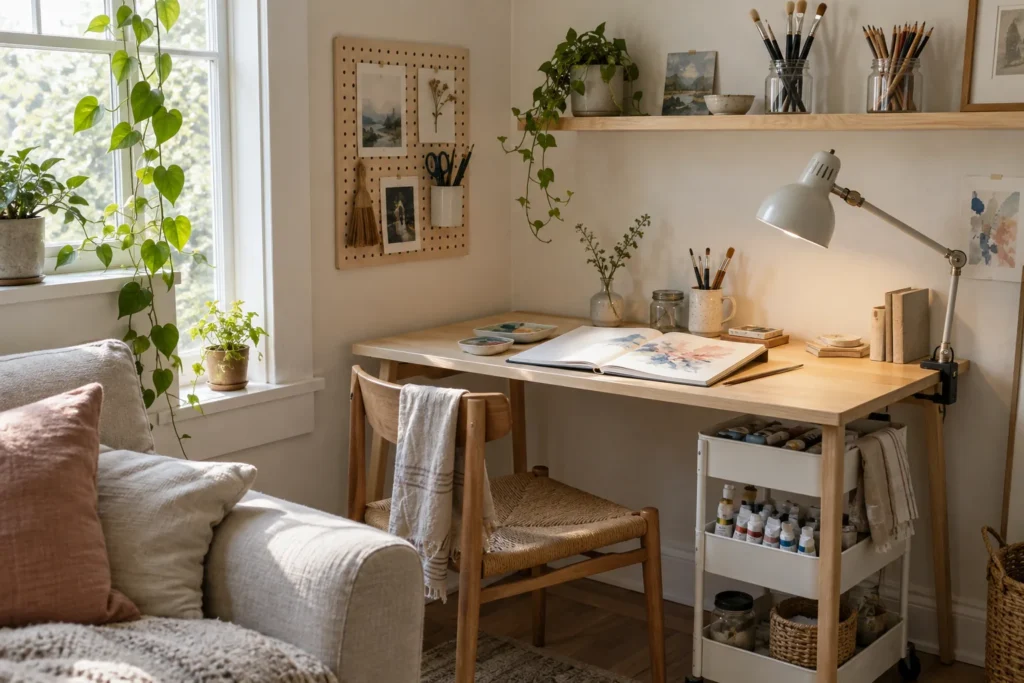
A corner of a bedroom, living room, or landing. You have one wall, maybe two, and no room for anything that doesn’t earn its spot.
- Your priorities: one great task lamp, a desk 24-30 inches deep, a rolling cart, and wall storage.
- Your rule: everything you use daily lives within arm’s reach of your chair. Everything else goes up the wall or behind a door.
- Skip for now: a freestanding easel, flat files, anything wider than 48 inches.
The spare room studio (a full room, usually 90-140 square feet)
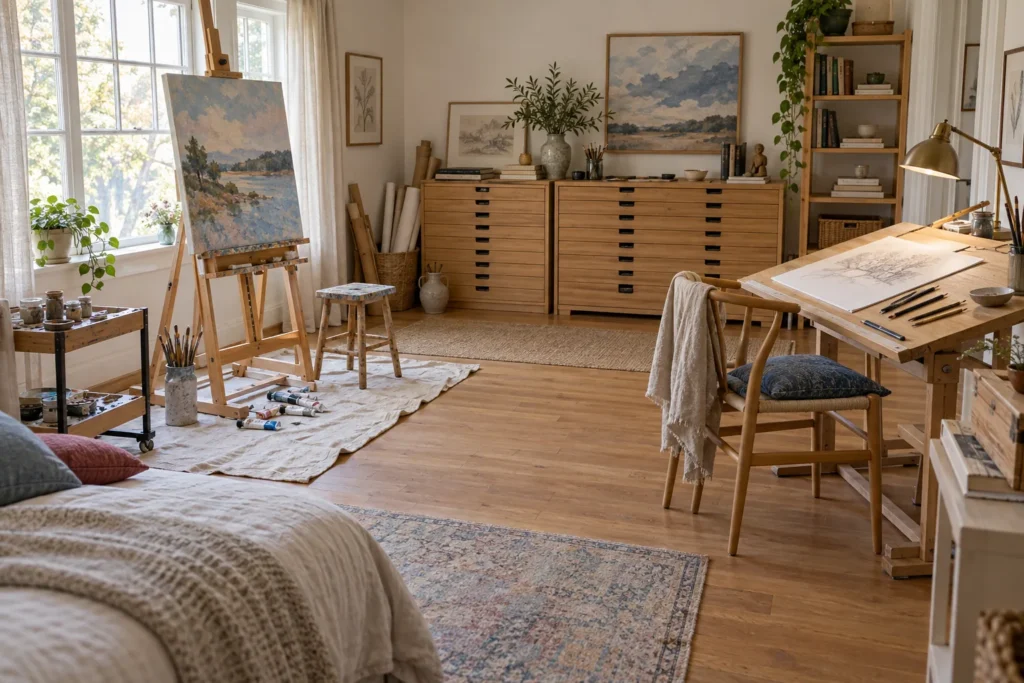
A guest room, an empty office, a bonus room. You have space for zones, which is a real luxury, and also the easiest way to end up with a room full of furniture you don’t use.
- Your priorities: a large work surface, a proper chair, separate zones for wet and dry media, and good overhead plus task lighting.
- Your rule: leave at least 36 inches of open floor behind your chair and around your easel so you can step back from your work.
- Worth planning for: an H-frame easel, a drafting table, a flat storage solution for paper.
The shared room studio (dining room, home office, family space)
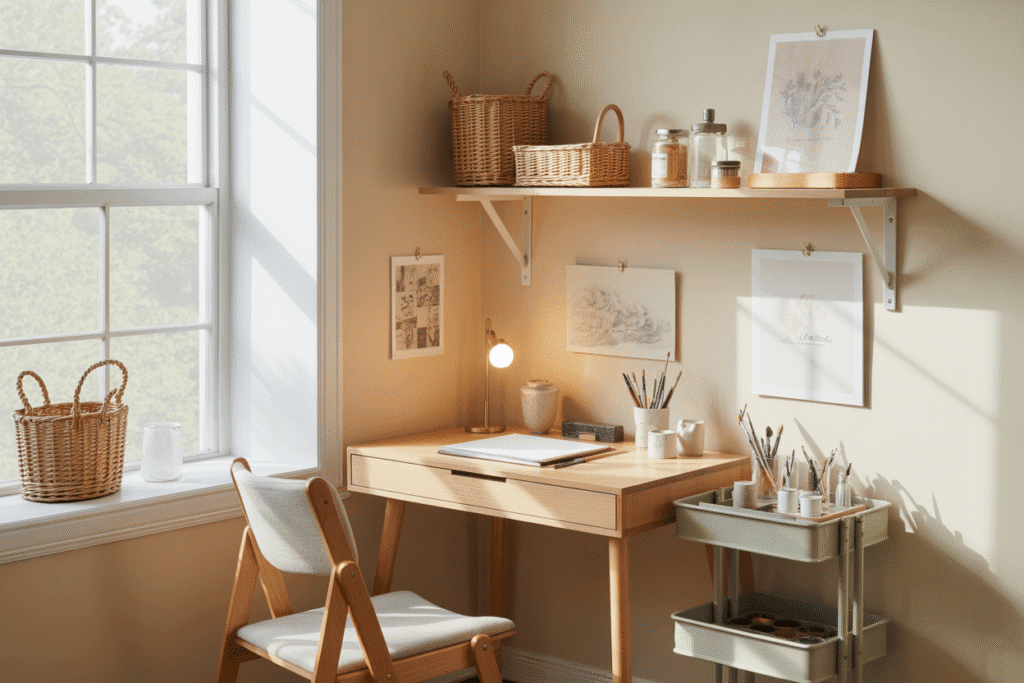
You share the room with people, meals, or a work laptop. Your studio has to appear and disappear.
- Your priorities: closed storage, a cart that rolls into a closet, and a cleanup routine under five minutes.
- Your rule: if it can’t be packed away in one trip, it doesn’t live in the shared space.
- Worth planning for: a craft armoire that hides the whole studio behind doors (more on that below).
The build order: what to buy first, second, and third
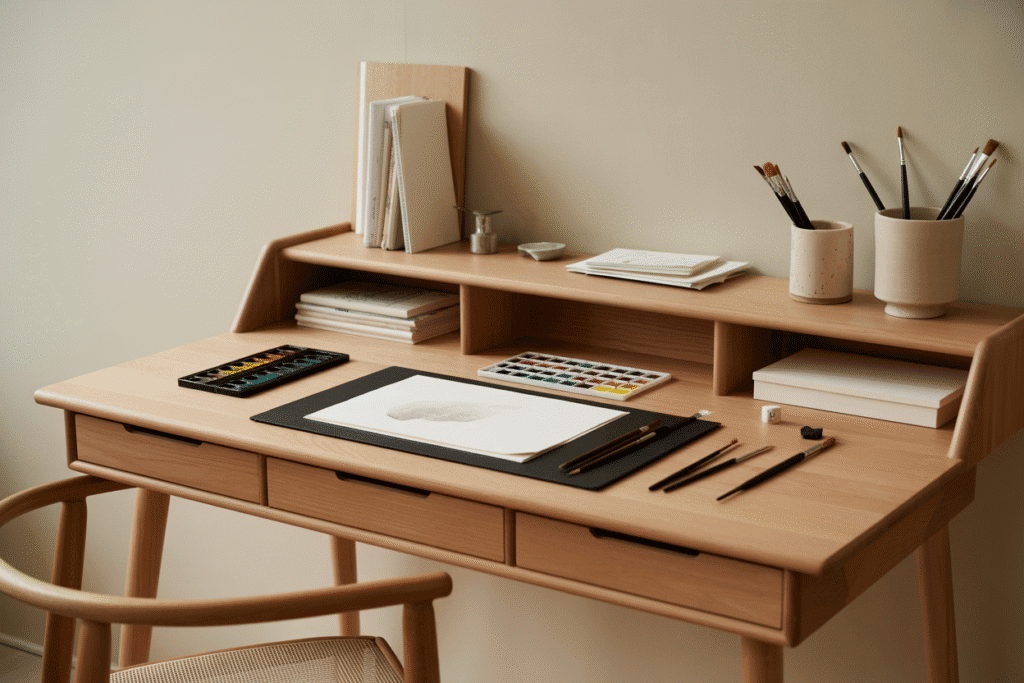
This order protects your budget. Each step makes the next one easier to choose, and you can stop at any step and still have a studio that works.
Step 1: Light (week one, about $20-$110)
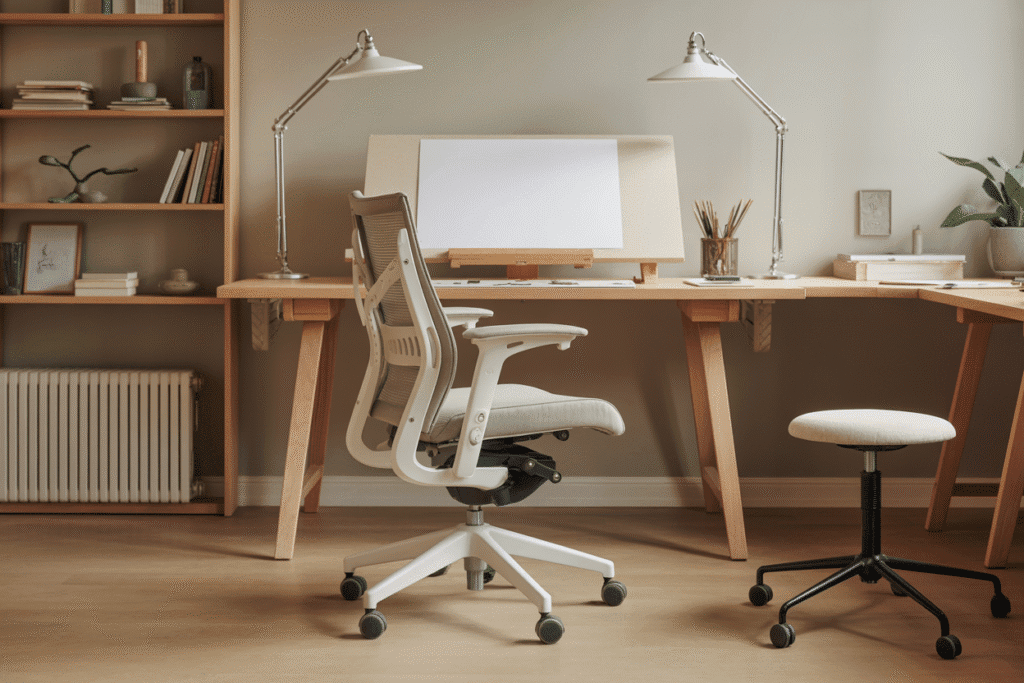
Light comes first because it’s cheap, it changes everything, and it tells you where the desk should go.
- Use 5000K bulbs with 90+ CRI for working. 5000K is close to midday daylight. CRI (color rendering index) measures how true colors look; 90+ is the floor for color work.
- Add a task lamp on the opposite side of your drawing hand. Right-handed? Light from the left, so your hand doesn’t cast a shadow over your line.
- Keep 2700K-3000K warm bulbs for ambient light only, like sconces or a reading lamp. They’re lovely for mood and terrible for judging color.
- Use the window, but diffuse it. A sheer white or linen panel softens hard sun. North-facing windows give the steadiest light through the day.
60 Watt Equivalent A19 Standard Bulbs, E26 Base, 800 LM, Efficient 9W Energy Saving, Non-Dimmable, 80+ CRI, 120V, UL Listed, for Living Room, Office

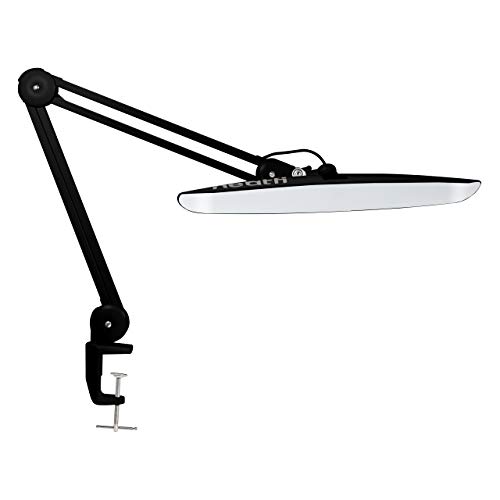
24W Bright Architect Task Lamp, 20 Inches Dimmable Computer Light, Adjustable Desk Light for Home, Office, Crafts, Nails & Hobbies (Non-CCT, Black)
Step 2: Your chair and work surface (month one)
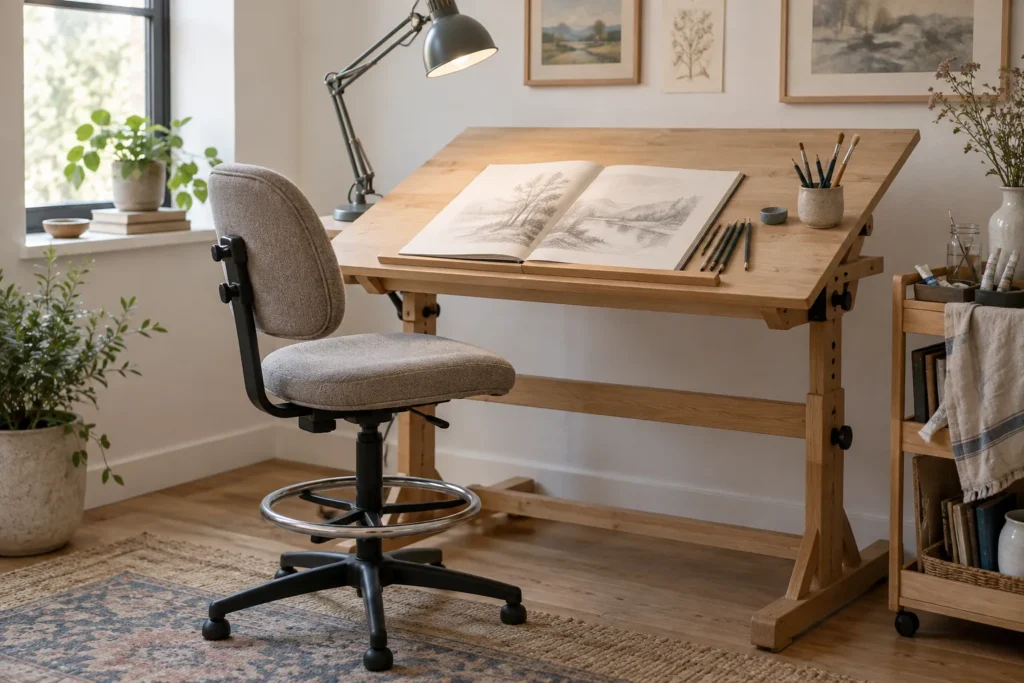
This is where your body lives. Get it right before you spend on anything decorative.
Desk height: sit with your shoulders relaxed and bend your elbows. Your work surface should land at or just below elbow height, with elbows at about 90 degrees. For most people that’s 28-30 inches for a seated desk.
Desk depth: 24 inches is the minimum for drawing. 30 inches gives room for a lamp, a water cup, and a sketchbook open flat without anything hanging off the edge.
Tilt your drawing surface. A board angled 15-30 degrees brings the paper toward your eyes so your neck doesn’t crane forward. This one change can make a two-hour session feel like a 45-minute one.
Counter-height work needs a drafting chair. If your table is 36 inches or taller (common for drafting tables and standing work), a regular chair leaves your feet dangling. A drafting chair with a foot ring fixes that.

Executive Ergonomic Computer Standing Desk Chair with Lumbar Support and Adjustable Footrest Ring Khaki

Adjustable Desk With Storage Shelf, Stand Up Home Office Computer Table | Wayfair
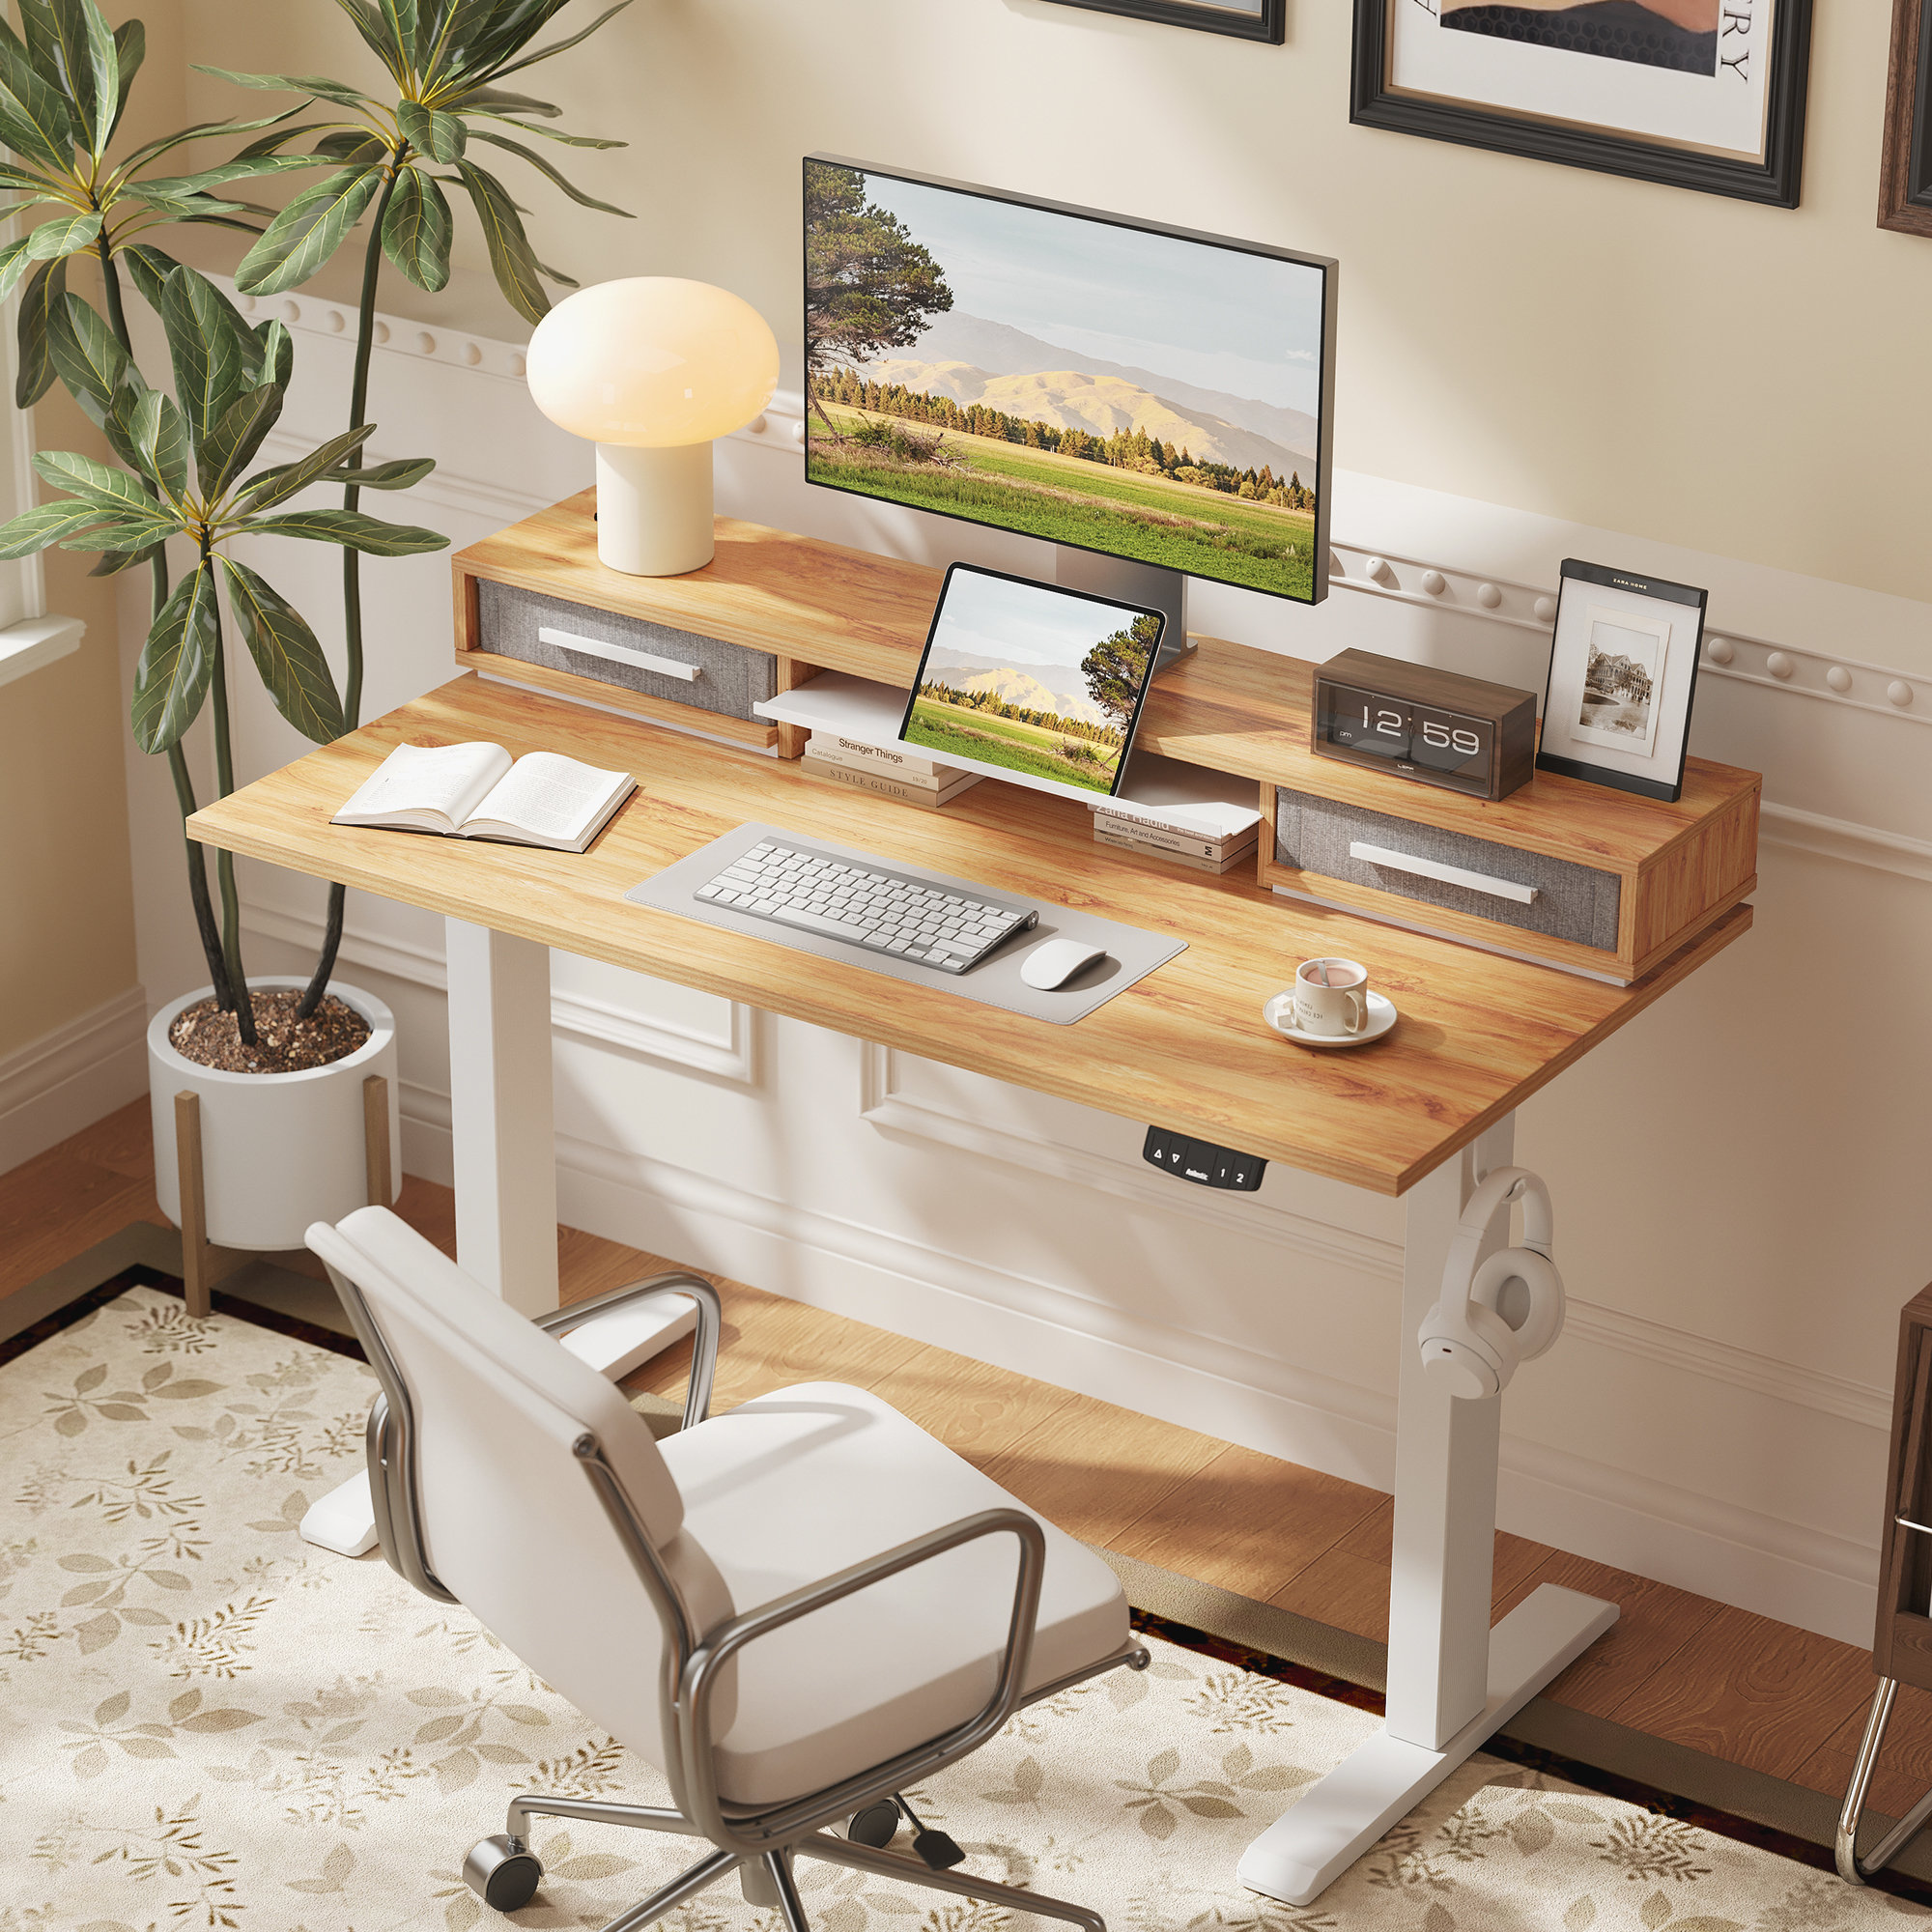
A standing desk is worth it if you switch positions, not if you stand all day. Alternating every 30-45 minutes is easier on your back and legs than either position held for hours.
For a deeper comparison by price, see my guide to the best art desks for every budget.
Step 3: Daily-reach storage (month one or two)
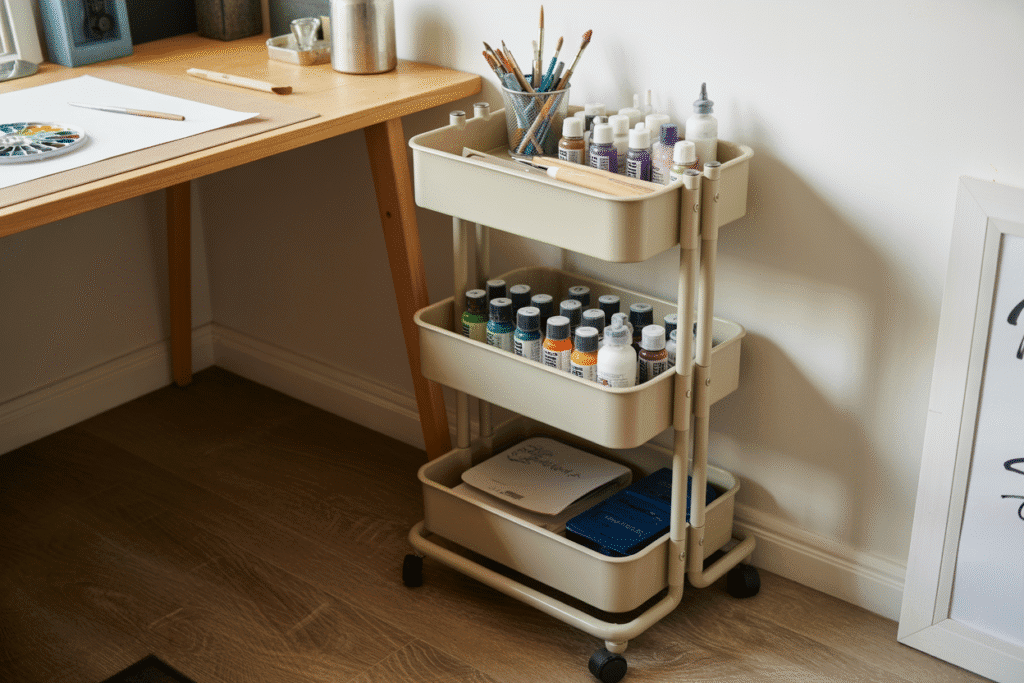
Now storage. Start with only the supplies you touch every session: your pencils, current paints, brushes, eraser, water cups.
My rule for daily tools: keep daily tools between hip and shoulder height. Bending to the floor and reaching overhead dozens of times a session adds up in your back and shoulders.
- A rolling cart is the best first storage buy. It parks beside your chair while you work and rolls away when you’re done. Load it like this: daily tools on top, paints and mediums in the middle, paper towels, rags, and backstock on the bottom.
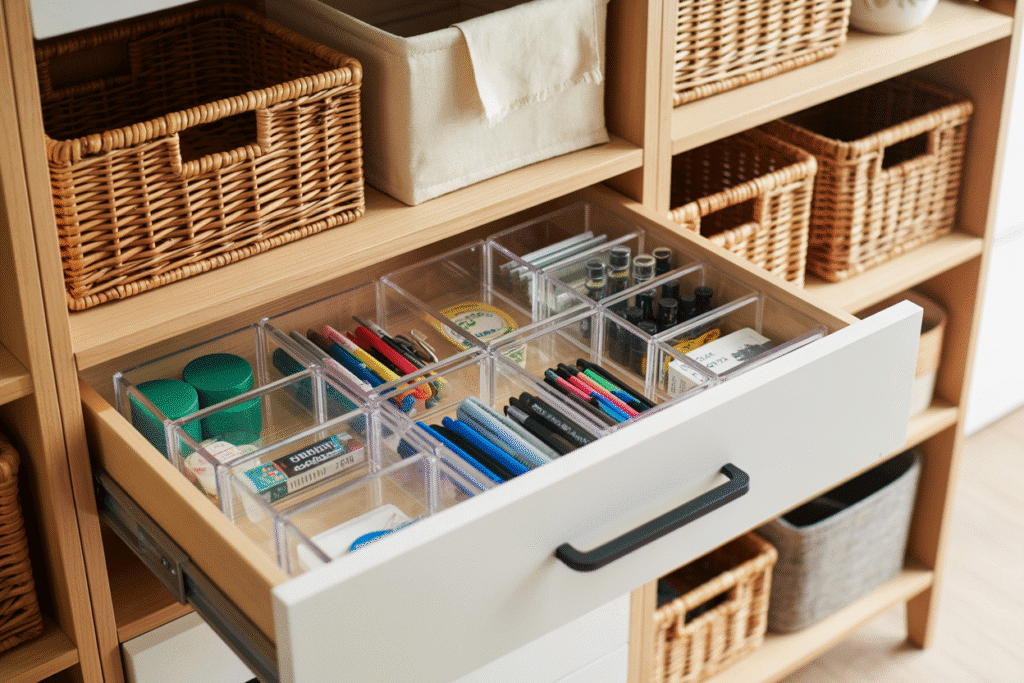
- Shallow drawers beat deep ones. For paint tubes, pens, and pencils, drawers 2-3 inches deep let you see everything at once. Deep drawers turn into piles.
- Use clear drawer inserts so small tools stop migrating.
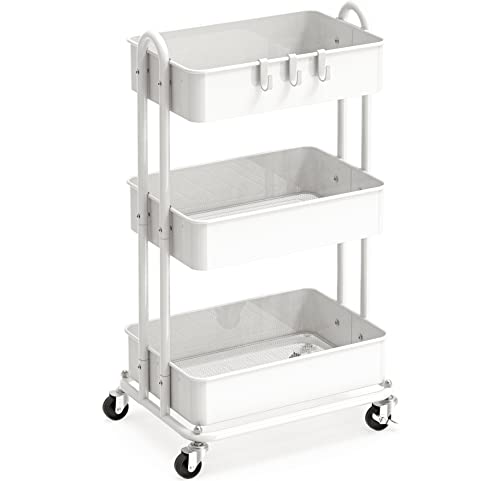
More options in the best rolling art carts and the best drawer units for artists.
Step 4: Wall storage (month two or three)
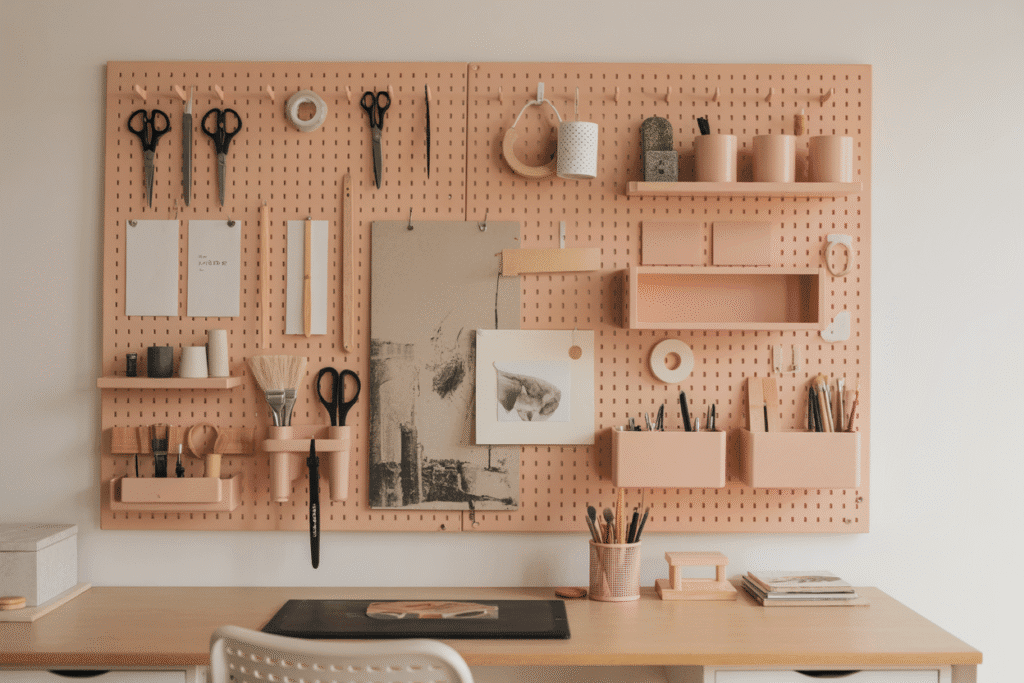
Once you know what you reach for, put the next tier of supplies on the wall. Walls are free square footage, especially in a corner studio.
- Pegboard for scissors, rulers, tape, and cups of brushes. Metal pegboard holds more weight than fiberboard and won’t sag.
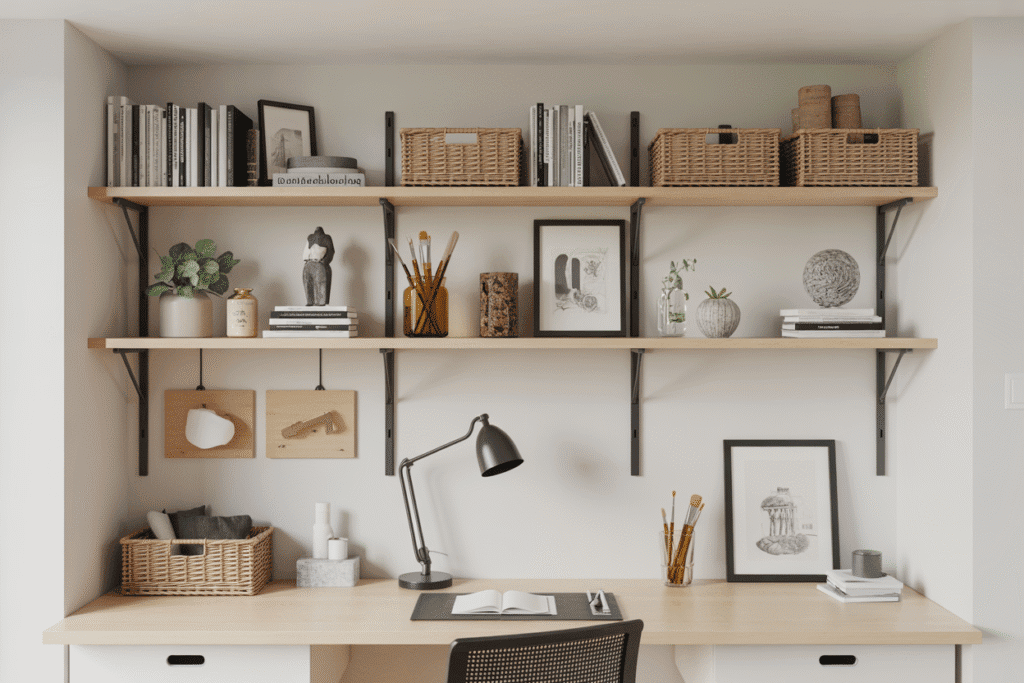
- Floating shelves for jars, sketchbooks stored upright like books, and a few pieces you love looking at.
- A cork or magnetic board at eye level for reference images and works in progress.

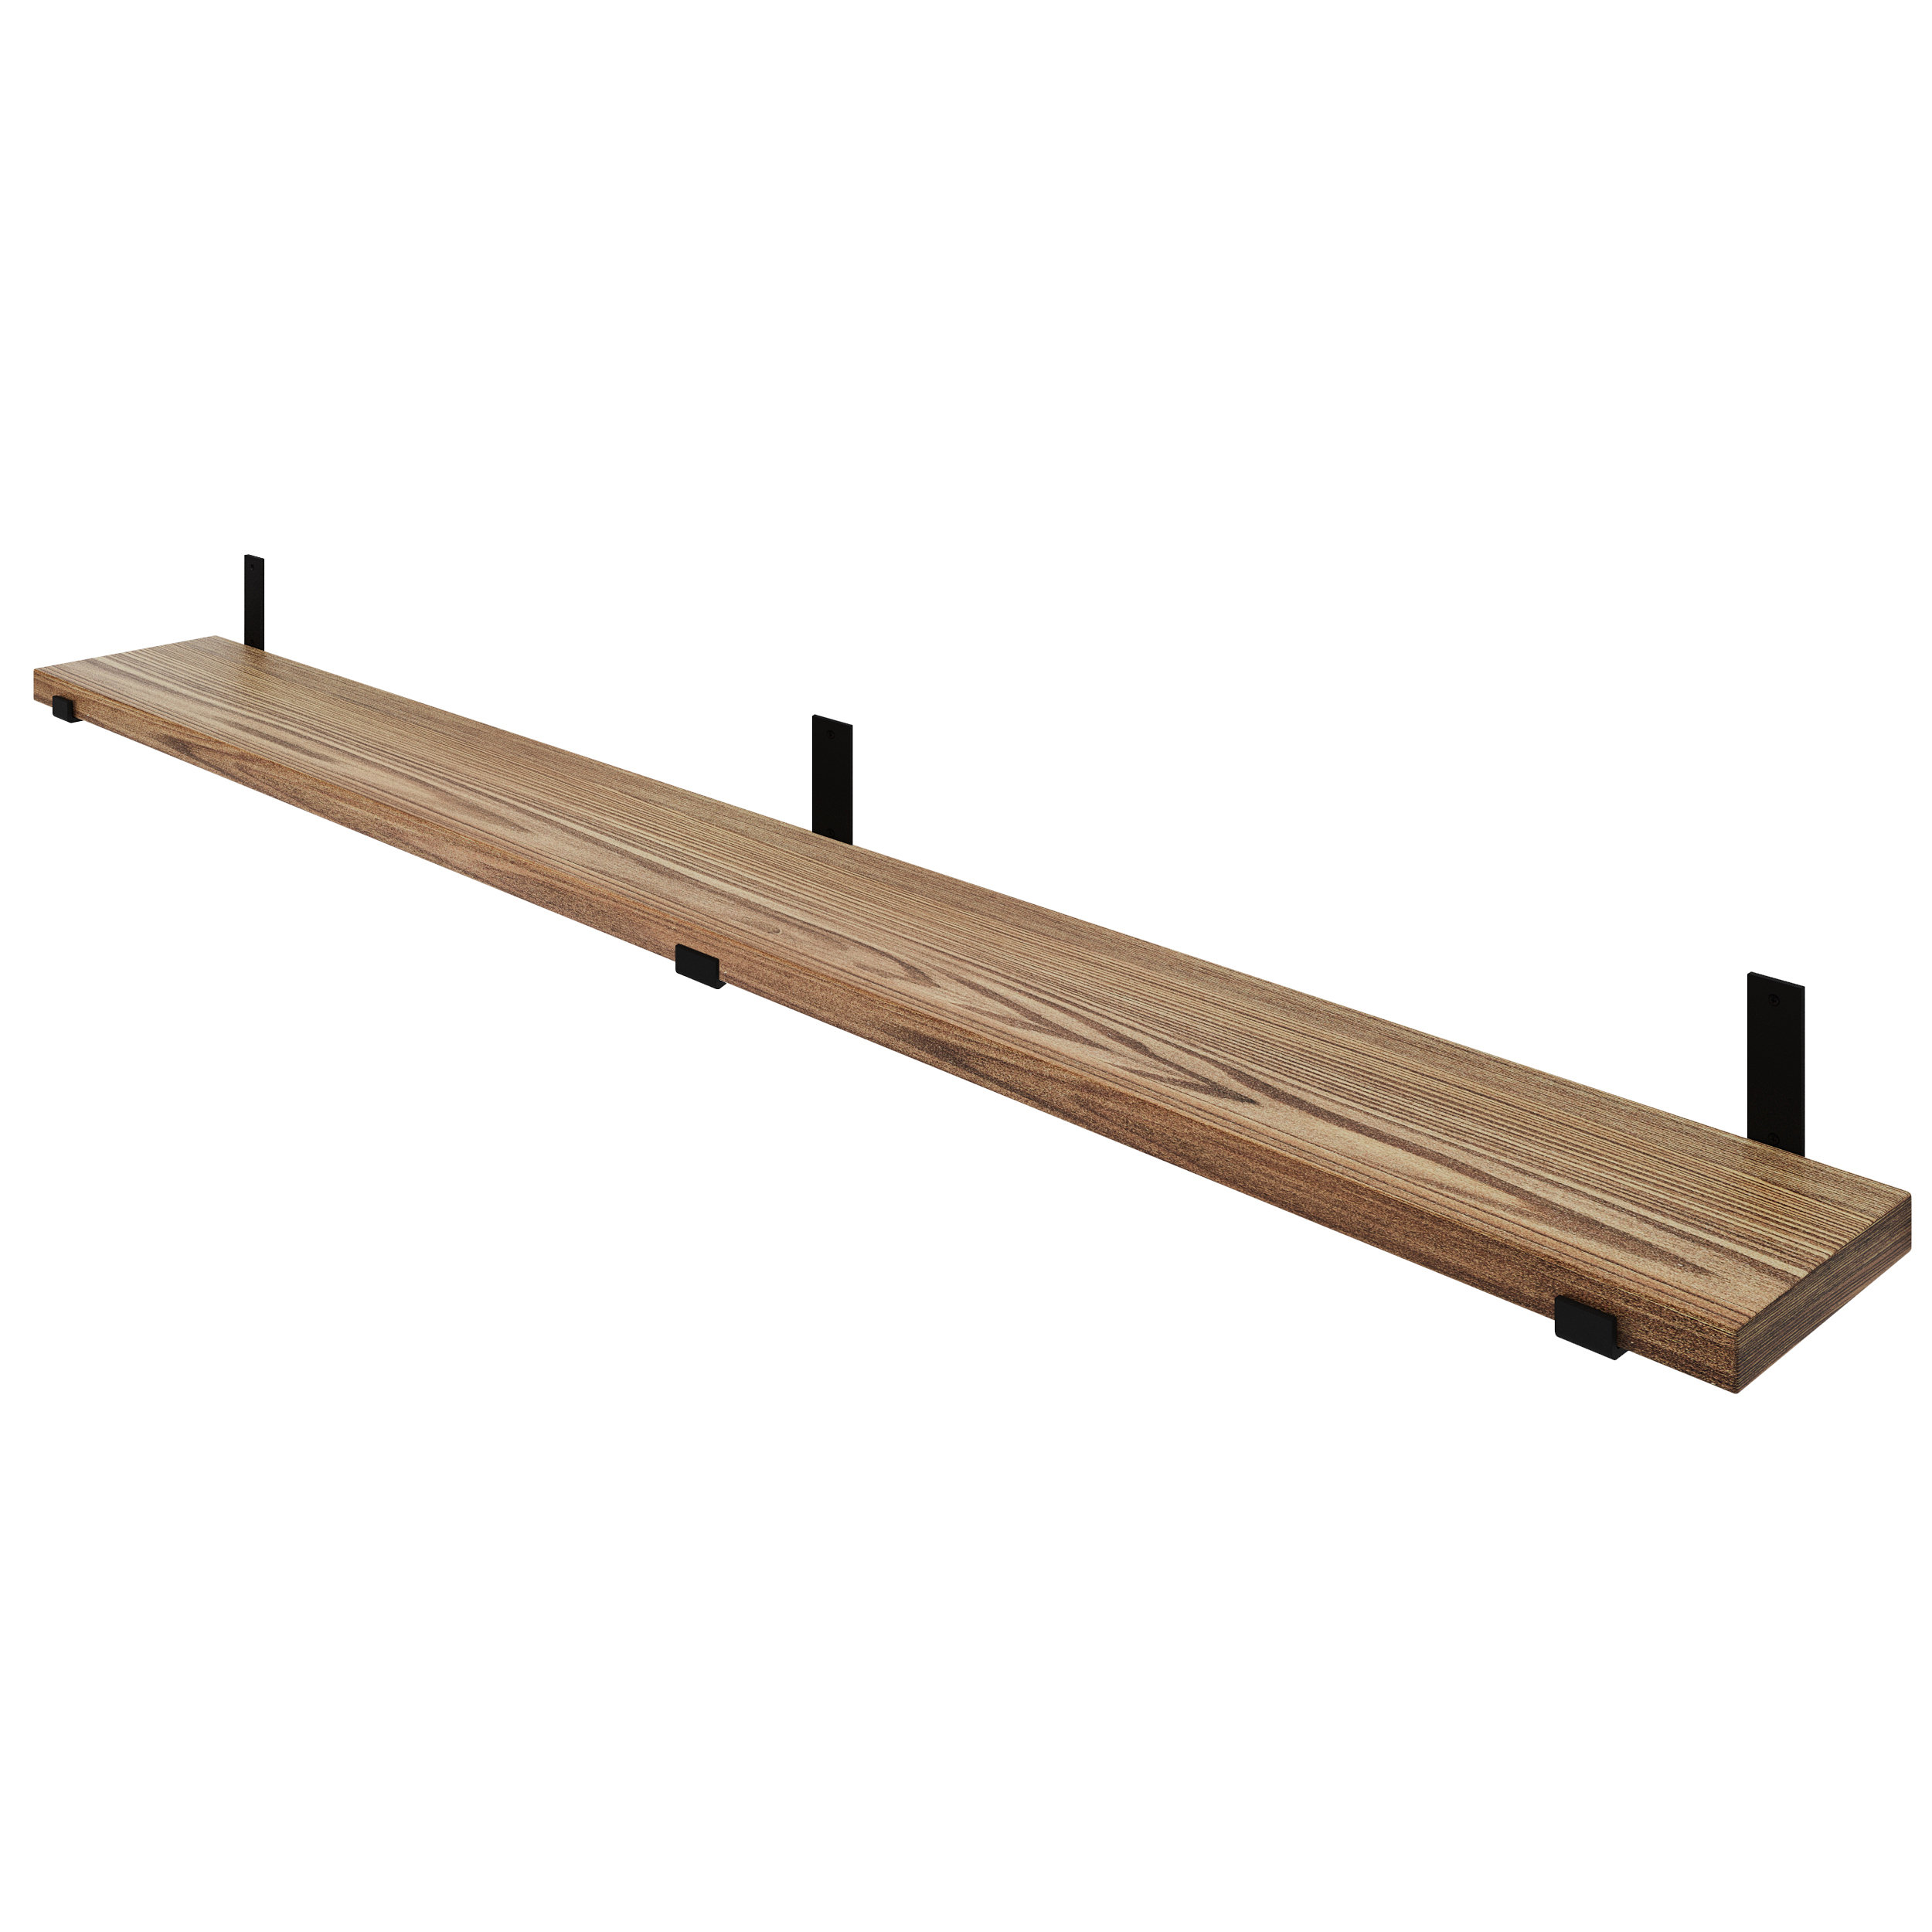
See the best shelves for art studios for more.
Step 5: Long-term storage for paper and canvas
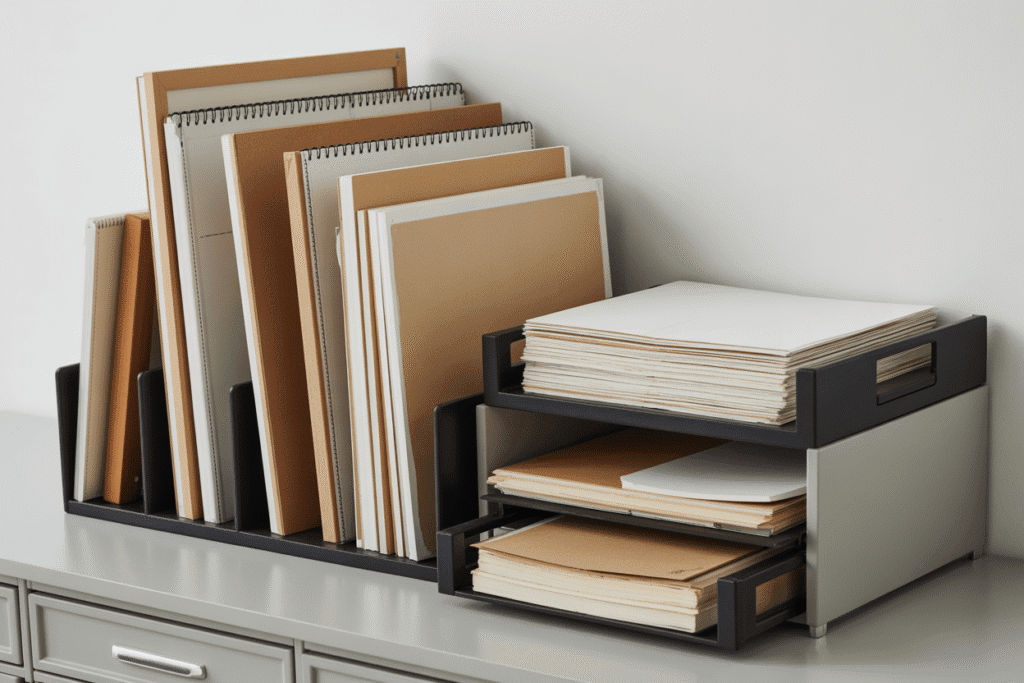
Paper and canvas are the supplies that get ruined by bad storage. A few numbers to protect them:
- Store loose paper flat, never leaning at an angle where it bows.
- Aim for 40-50% humidity and keep paper out of direct sun, which yellows it.
- Canvases stand upright on their stretcher edges, with a sheet of foam board or cardboard between them, never resting on a corner.
- Sketchbooks stand upright on a shelf, spine out, like books.
The full system is in how to store canvas, paper, and sketchbooks.
Step 6: Investment pieces and styling
Only now, once the studio works, is it time for the bigger purchases and the pretty touches. By this point you know exactly where things go and what you’re missing, so you won’t buy the wrong size.
Set up zones by medium
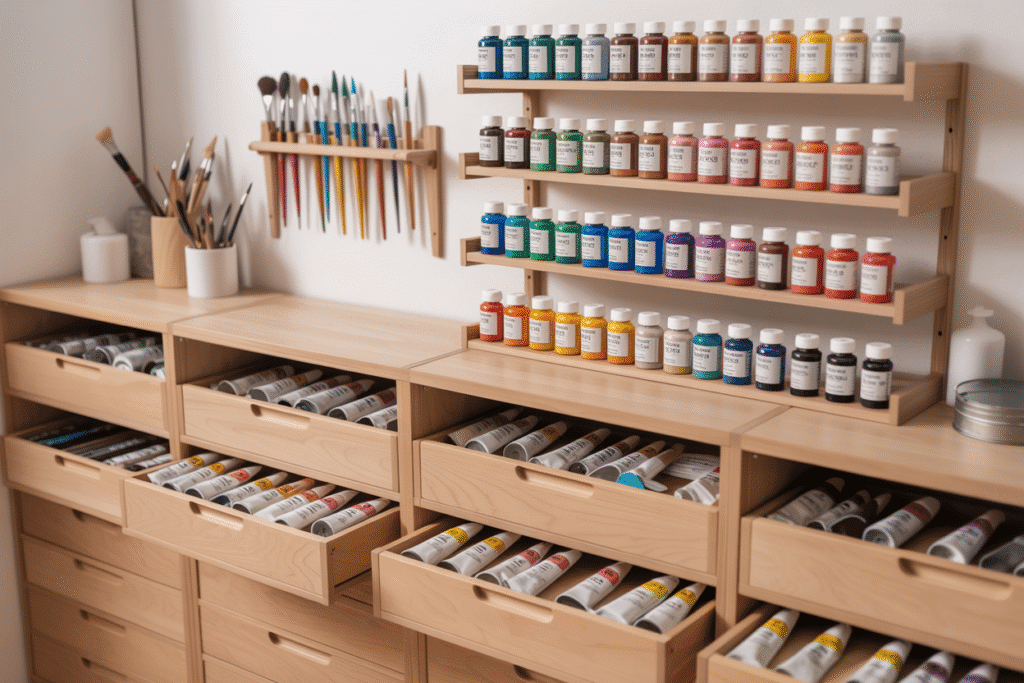
If you work in more than one medium, separate zones save cleanup time and protect your supplies from each other. Even a corner studio can have two micro-zones on one desk.
Painting zone
- Easel or tabletop easel with the canvas center at eye level
- Rolling paint cart on your dominant side
- A canvas drop cloth under everything wet
All Media Adjustable Beech Wood Studio Easel, Painting Floor Easel Stand, Movable and Tilting Flat Available, Holds Canvas Art up to 77

Drawing zone
- Tilted board or drafting table
- Task lamp opposite your drawing hand
- Graphite, charcoal, and erasers in a shallow tray within reach
Digital corner
- Tablet or drawing display at an angle, with the top of any monitor at or slightly below eye level
- Cables bundled and run along the back edge of the desk
Photo and content corner
- A plain wall or backdrop near your best window
- A spot to shoot finished work flat or on an easel
Keep wet media and paper at least an arm’s length apart. A knocked-over water cup is the most common way good paper dies.
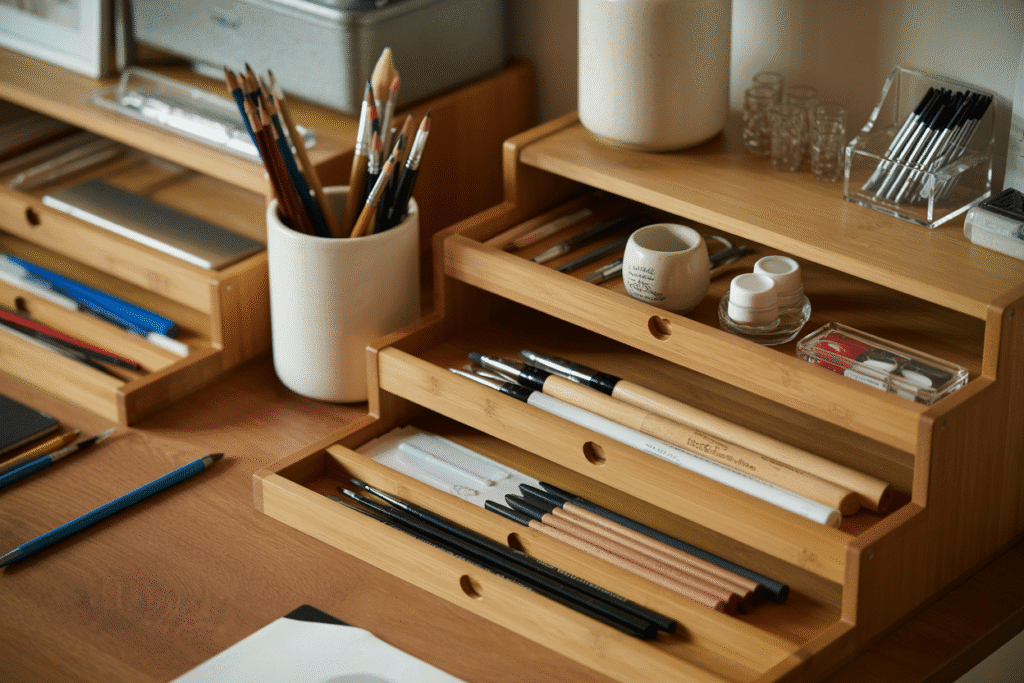
Layouts that work
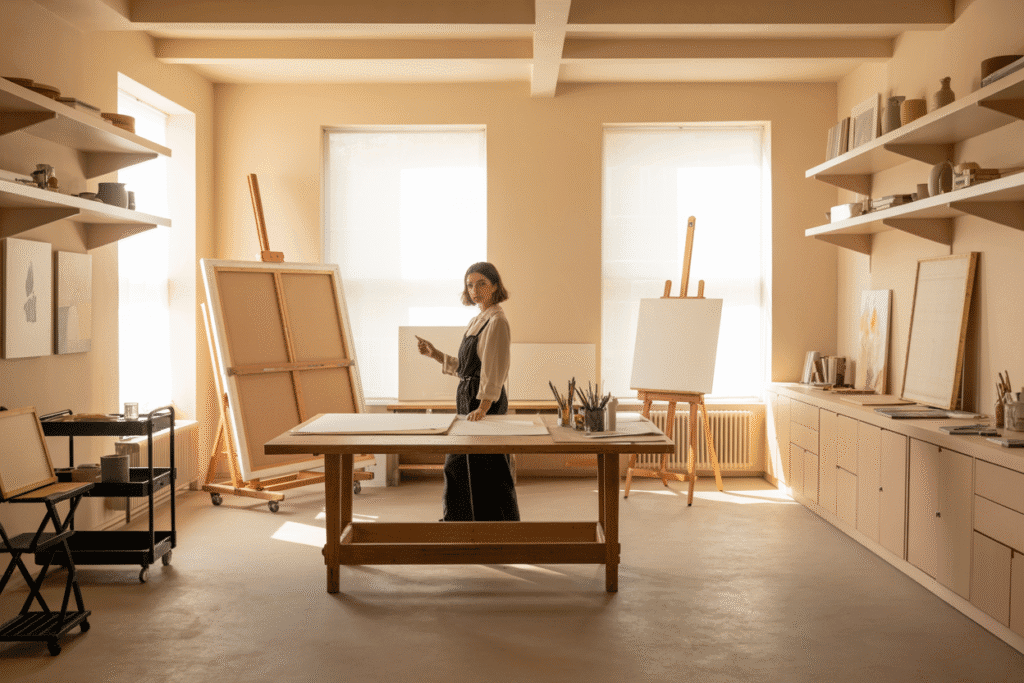
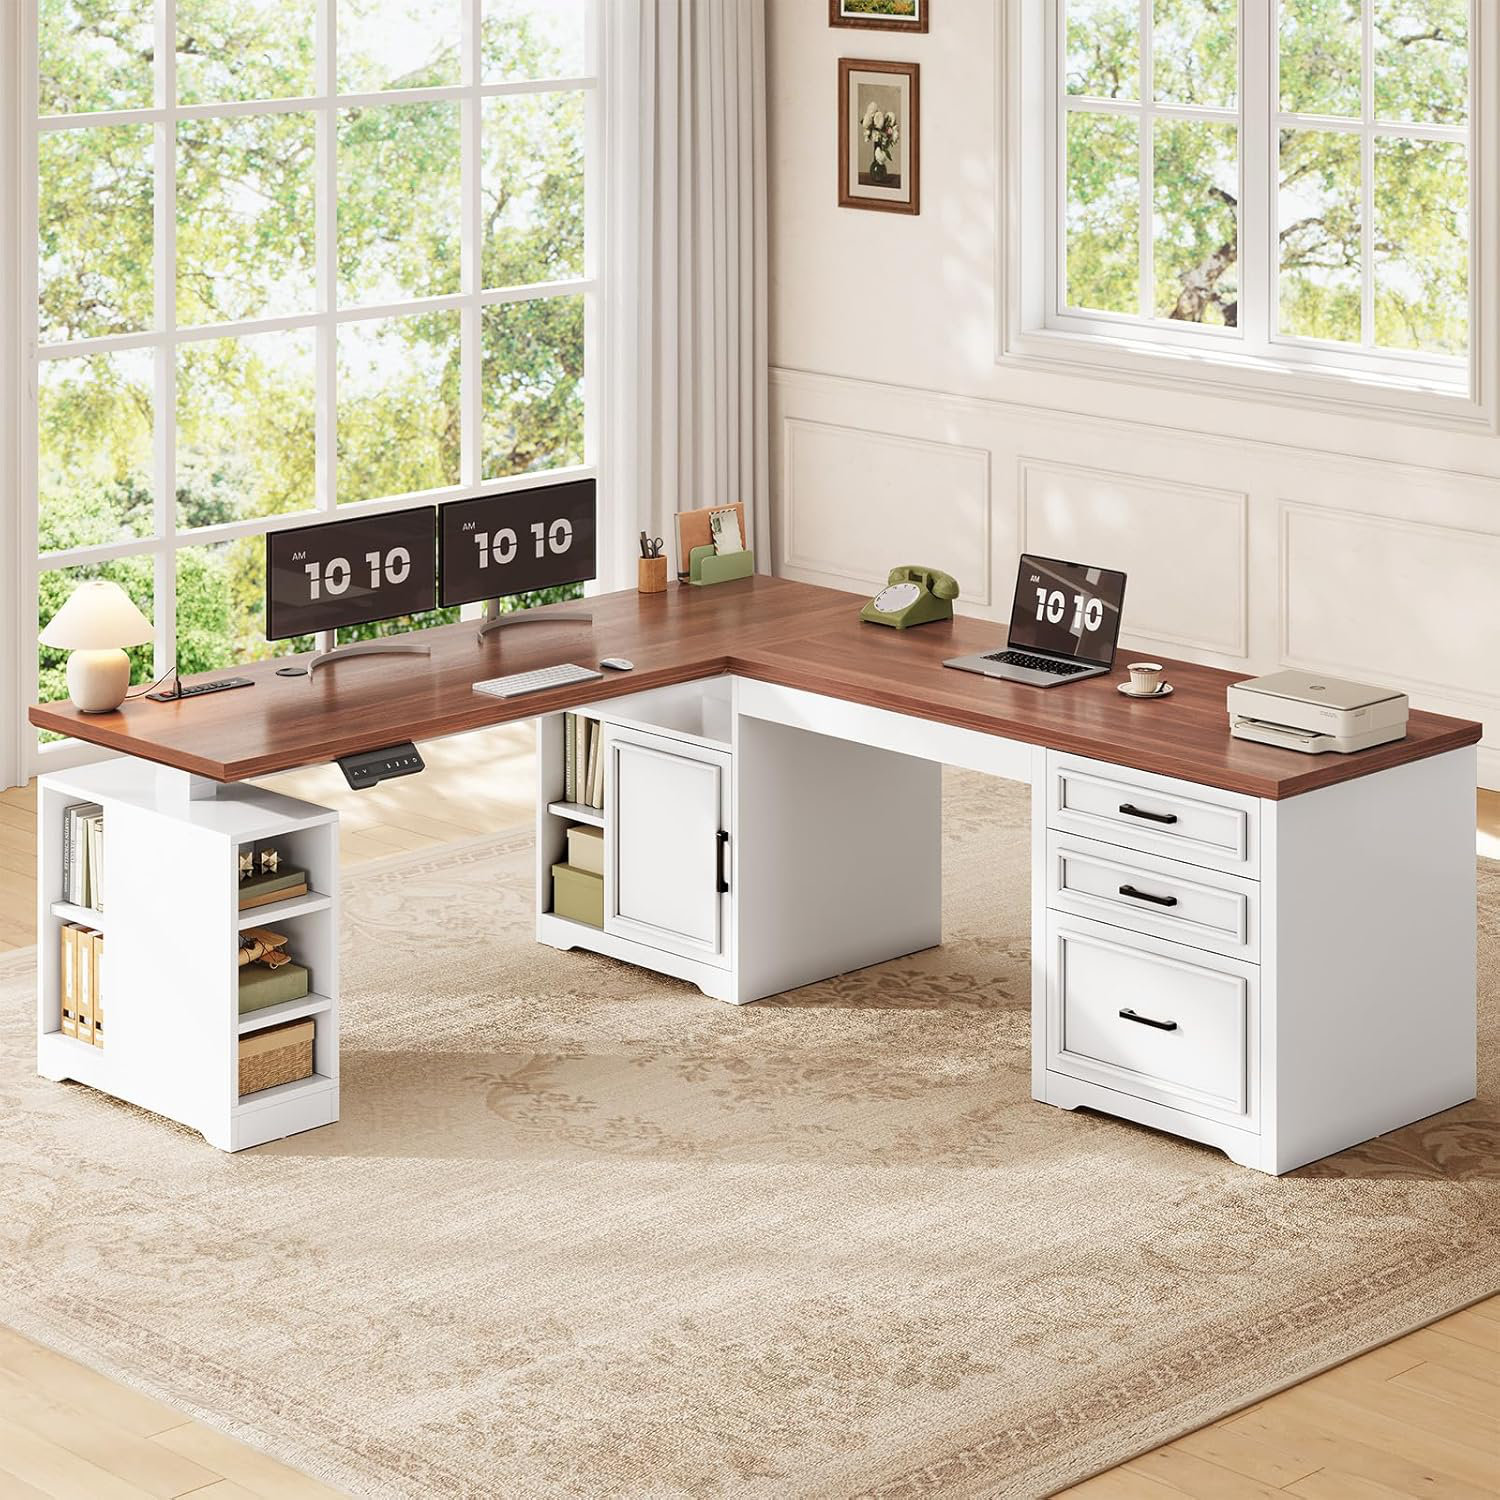
L-shaped corner: two surfaces at a right angle. One for wet work, one for dry or digital. You swivel instead of clearing the desk. A corner desk is the easiest way to get this in a small footprint.
L Shaped Computer Desk, Farmhouse L Shaped Electric Standing Desk & Reviews | Wayfair
Wall run: one long desk along a wall, storage above and below. Great for spare rooms and shared rooms because everything stays on one side.
Island: a big table in the middle of the room, walkable on all sides. Best for large work, collage, and teaching. Needs at least 3 feet of clearance on every side.
Minimal corner: a single desk, a lamp, a cart, and a pegboard. Four items. It works better than most people expect.
Investment pieces worth it
These are the higher-ticket items I’d save for. Each one solves a specific problem, so each comes with who should buy it and who should skip it.
A real chair: Steelcase Series 1 or BOLISS drafting chair. The Steelcase Series 1 runs around $500 and offers adjustable lumbar support and seat depth, two features cheaper chairs often skip. Seat depth matters more than people think: if the seat edge presses the backs of your knees, you’ll perch forward and lose the backrest. Spread over five years of three sessions a week, $500 is about 64 cents a session. If you work at counter height, the BOLISS ergonomic high-back drafting chair (around $300) gives you back support plus a foot ring. Worth it for: anyone who works 4+ hours a week or already gets back or neck ache. Skip it if: you sketch in 20-minute bursts on the couch and like it that way.
Studio lighting: Daylight Artist Studio Lamp. The Daylight Artist Studio Lamp is around $275, with a 95+ CRI and up to 6,000 lux. That’s color-accurate light bright enough to work at night without guessing. Over four years at four sessions a week, it’s about 33 cents a session. Worth it for: painters, colored pencil artists, and anyone who works after dark or in a room with poor windows. Skip it if: you mostly do graphite or ink, where color accuracy matters less and a good clamp lamp with daylight bulbs covers you.
A drafting table or H-frame easel. For drawing, the Studio Designs Vintage Drafting Table in solid wood is around $270 and tilts so your neck stays neutral. For painting, the MEEDEN Extra Large Heavy-Duty H-Frame Studio Easel in solid beech is around $220 and holds large canvases steady while you work. If you want a showpiece, my premium pick is the reclaimed teak Williston Forge Hackett drafting table. Worth it for: spare-room studios and anyone working larger than 11×14 regularly. Skip it if: you’re in a corner studio. A tabletop drawing board does 80% of the job in a fraction of the space. The H-frame vs. A-frame easel guide breaks this down.
Storage that hides or lasts: Sauder craft armoire or Bisley drawers. The Sauder Craft & Sewing Armoire (around $420 in white) puts an entire studio behind two doors, which is exactly what a shared room needs. The Bisley 6-Drawer Steel MultiDrawer Cabinet (around $245) is the classic design-studio drawer unit: steel, shallow drawers sized for A4 paper, built to outlast a dozen plastic carts. Worth it for: shared-room studios (armoire) and anyone tired of replacing sagging plastic drawers (Bisley). Skip it if: your storage works fine today. Upgrading something that already works is the definition of wasted money.
One more if you work in pastel or charcoal: fine dust hangs in the air long after you stop blending. A HEPA air purifier like the Levoit Core 400S-P (around $190) placed near your drawing zone helps keep it out of your lungs and off your shelves. Skip it if you work mainly in paint or pencil.
Styling: make it a room you want to walk into
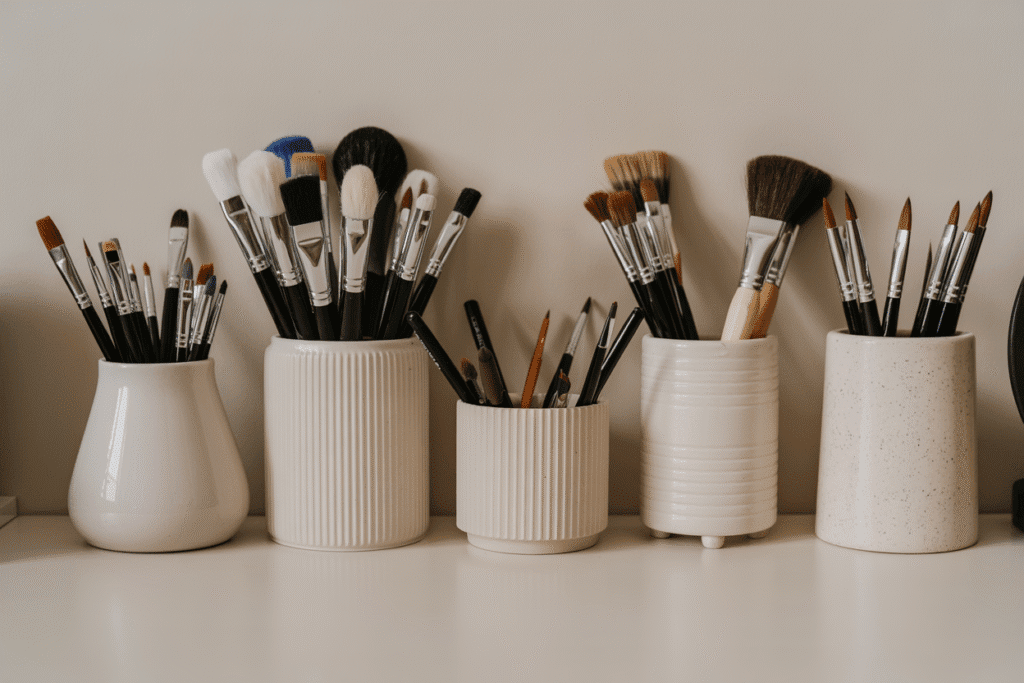
You’ll go to your studio more often if you like how it looks. A few rules that keep it pretty without cluttering it:
- Pick a calm base palette. Warm white, cream, greige, or light wood walls and furniture let your art be the color in the room.
- Repeat one material three times. Wood, rattan, or brass on the cart, the shelf, and the frames ties the space together.
- Display supplies you love. A jar of brushes or a row of colored pencils is decor. A pile of half-used tape is not.
- Make an inspiration wall at eye level. Cork, a wire grid, or a magnetic board. Rotate it monthly so it stays fresh.
- Add one plant. Pothos, snake plant, and ZZ plants handle low light and forget-to-water weeks.
For more ideas, see aesthetic art supply storage ideas.
Keep it working: the 3-10-30 routine
A studio setup only works if it resets easily. This routine keeps it from sliding back into chaos:
- After every session (3 minutes): caps on, brushes rinsed and laid flat or tip-down to dry, daily tools back on the cart.
- Weekly (10 minutes): clear the desk to bare, toss dried-out pens, put strays back in their zone.
- Every season (30 minutes): pull out everything you haven’t touched in three months. Donate it, store it, or move it closer if you’re about to use it.
The supply-by-supply system for this is in the ultimate guide to organizing your art supplies.
The takeaway
Build in this order: light, then your chair and surface, then daily-reach storage, then the wall, then the big pieces. A studio built around your body and your light is one you’ll actually use, and that’s the only studio worth paying for.
Which studio are you working with: a corner, a spare room, or a shared space? Tell me in the comments, along with what you’re planning to buy first. And save this to your studio board so you have the build order when you’re ready to shop.
[…] The Complete Art Studio Setup Guide […]